Do you know how to weave in ends in Tunisian crochet projects?
There are different methods for different types of projects and in this tutorial I will show you the 3 methods I use, depending on the project.
We will be exploring weaving in ends along the stitch columns, along the rows, and across fabric in different orientations.
If you prefer to watch this process and follow along with spoken instructions, I also made video tutorials for all the techniques, so check them out below.
Before you start weaving in the ends in Tunisian crochet
You need to prepare your project before you weave in the ends.
I like to weave in right at the end of the project, so I’m sure I will not have to take anything out. Sometimes adjustments need to be made, so it’s better to have the tails out until the end.
I am not a fan of crocheting over your ends and leaving them, so I don’t recommend that you do.
Always leave a tail that’s 15-20 cm or 6-8″ long, so you can go back and forth 3 times over a length of 5 or more cm (2″).
When switching to a new ball of yarn, leave such a tail for both yarns. Weave the ends in the fabric, starting from the join and going in the opposite directions, to prevent a hole from appearing at the join.
When weaving ends, regardless of which method you choose, weave parallel strands, to cover a 1-2 cm wide area, instead of going through the same spot over and over. This will prevent a rough line from appearing in your work.
Flip your work to look at the back or “wrong side” of the work and decide which method you’ll use.
Weaving in ends along the stitch columns
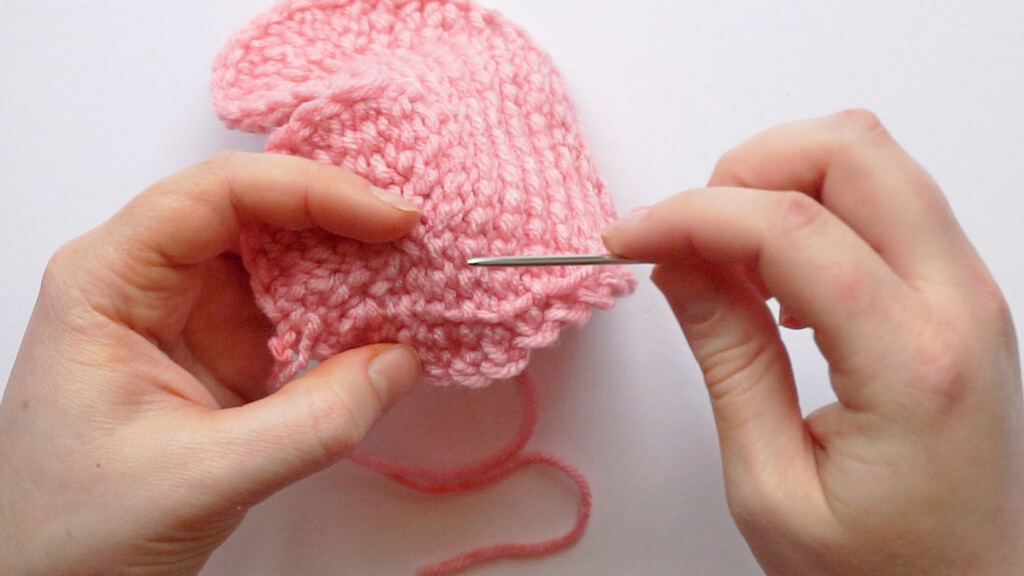
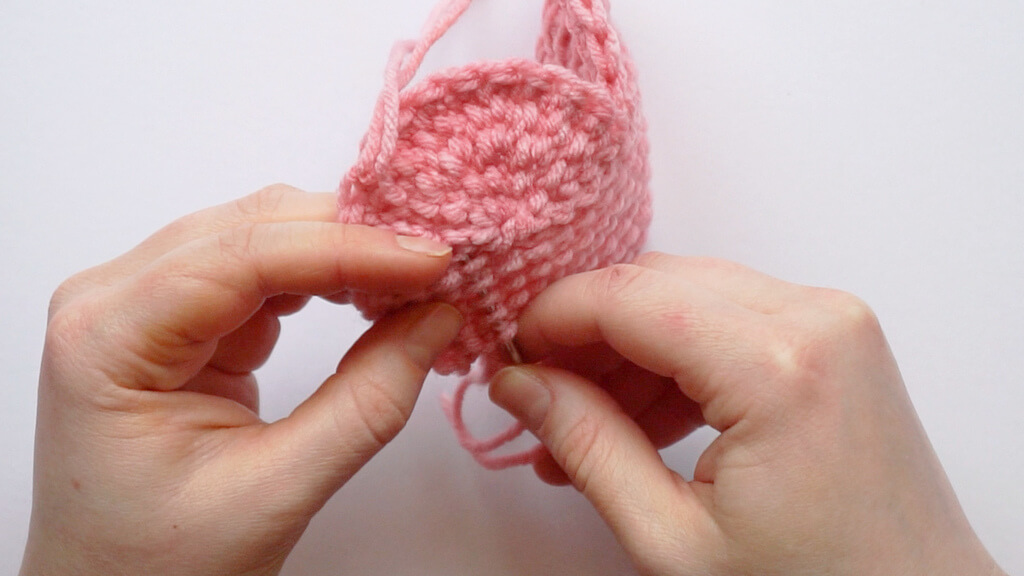
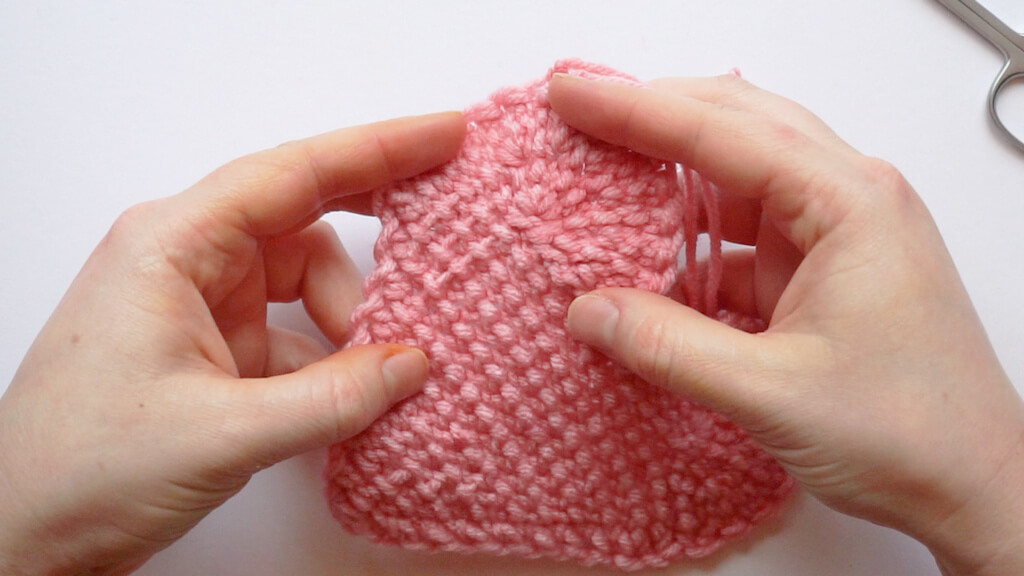
This method is suited for compact fabrics, where the back of the work will not be shown. For example, use this method for projects made with the Tunisian simple stitch.
It goes fast, but you need to check the front of the work often while passing the needle through the loops on the back.
Go forwards and backwards 3 times over a length of at least 3-5 cm or 2″ to ensure the ends are woven securely.
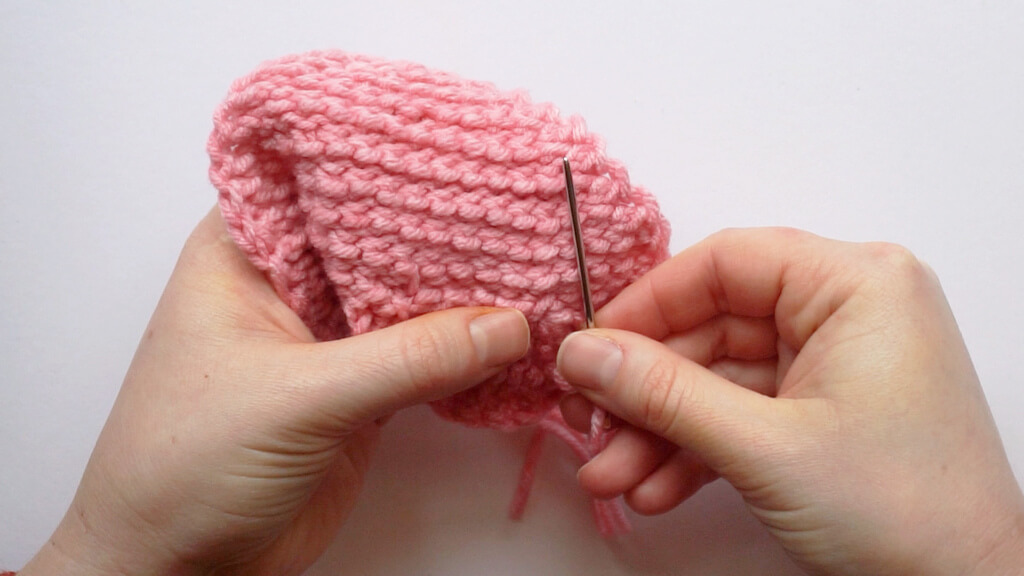
Pick up loops on the back of the work.
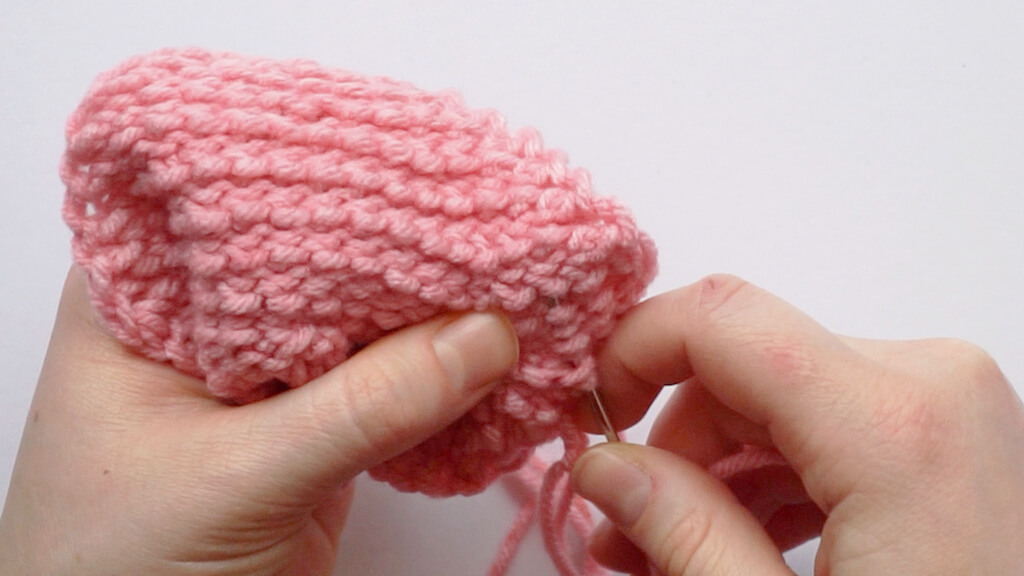
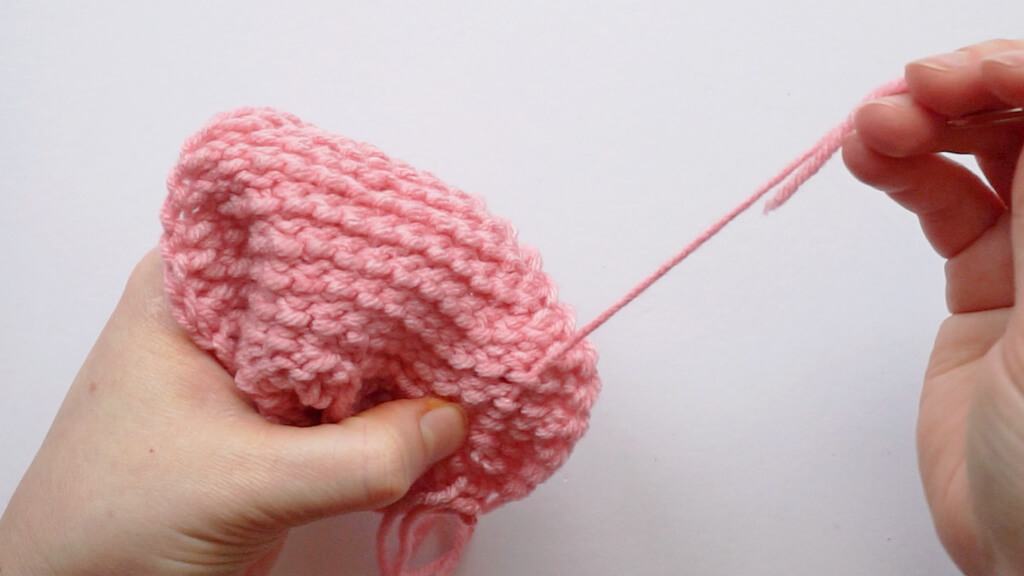
Weaving in ends along the rows
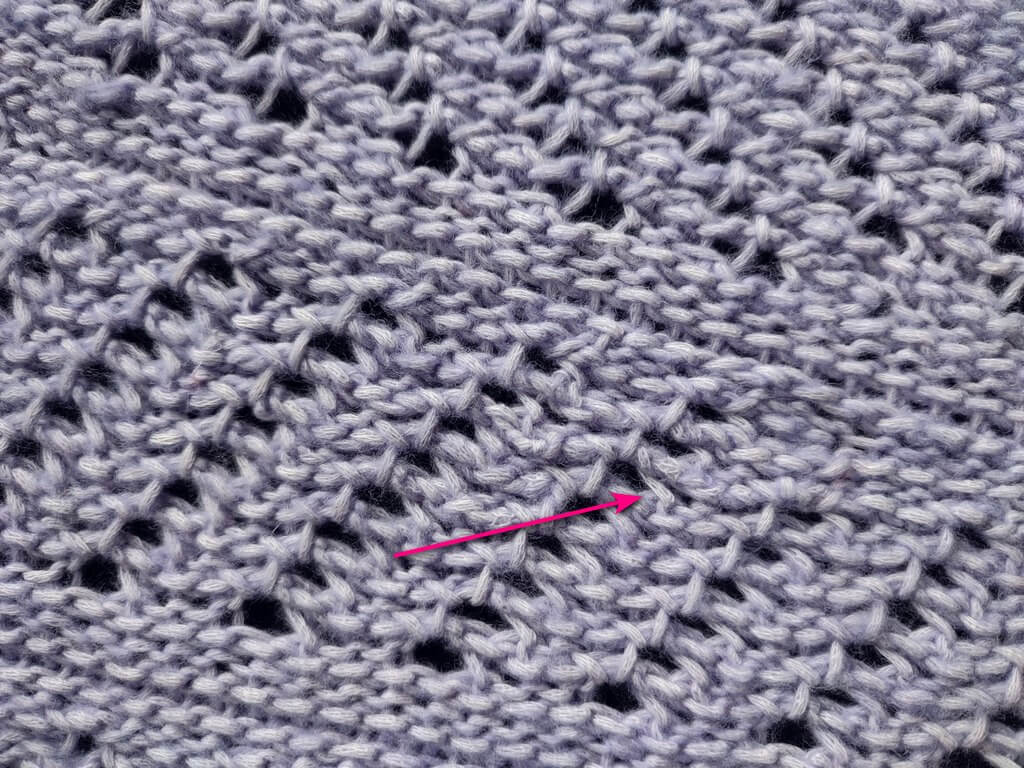
When you make Tunisian crochet lace, you want to weave the ends in along the rows, to prevent them from being visible on the front.
This method also makes the back of the work look nice, which is important for reversible projects.
You weave the tail in along the back bumps in a single row, keeping the distance of 4-5 cm or 2″.
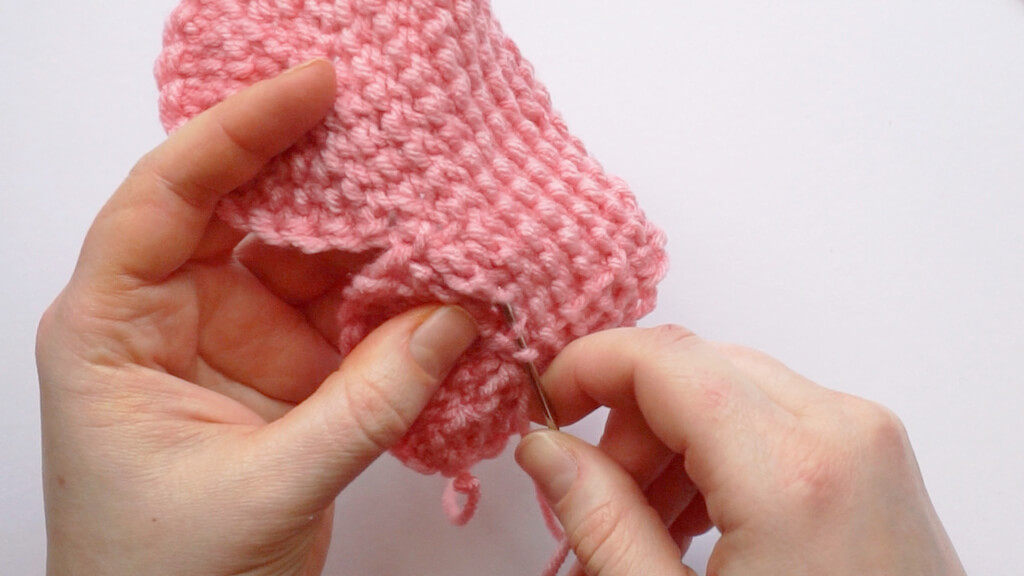
To switch direction, navigate to the next row, then return along the back bumps in that row.
Do not reuse the same row twice, as that will make a bulky return pass chain.
This is what it looks like in practice in lace projects:
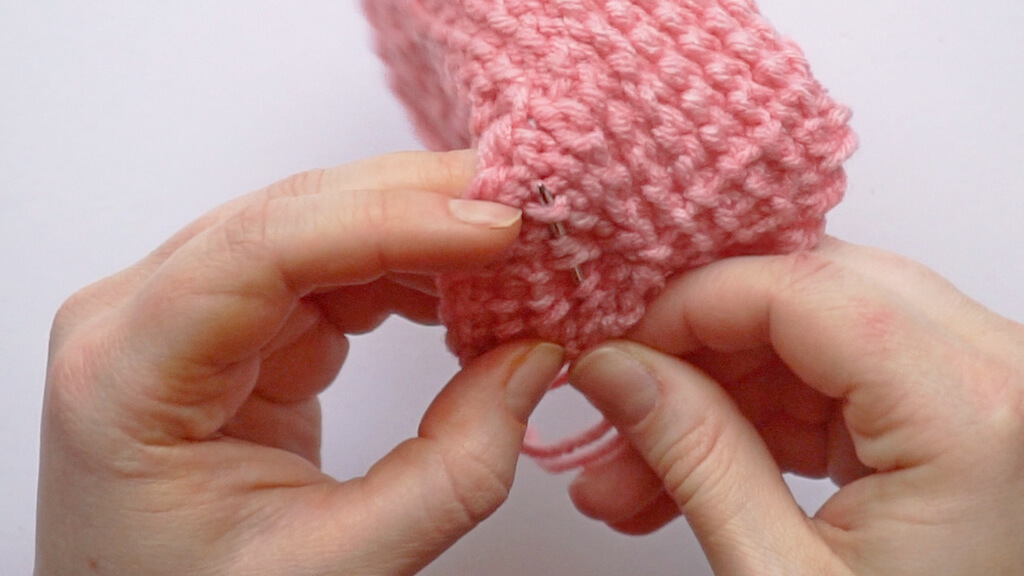
Weaving in ends across the back of the work
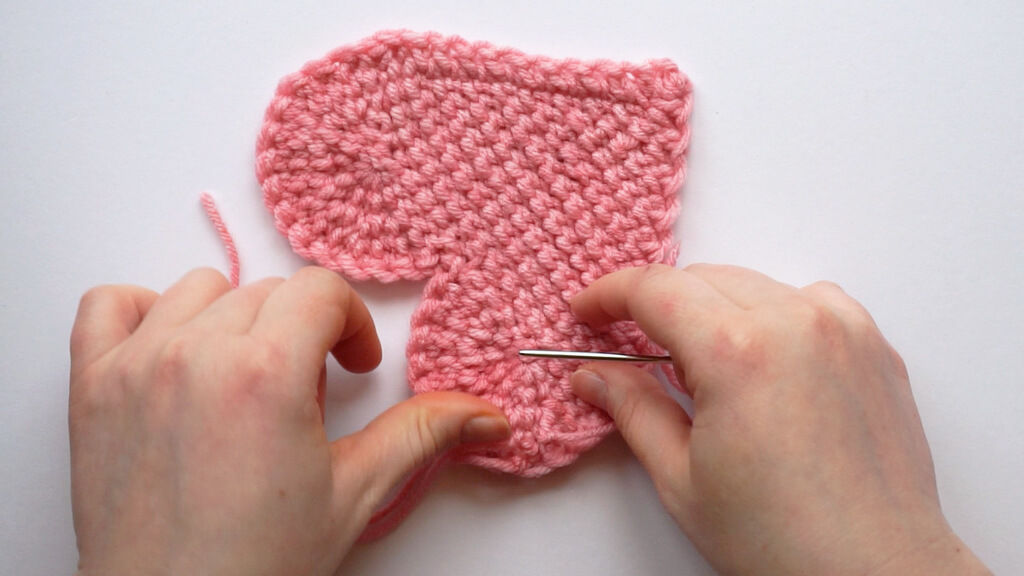
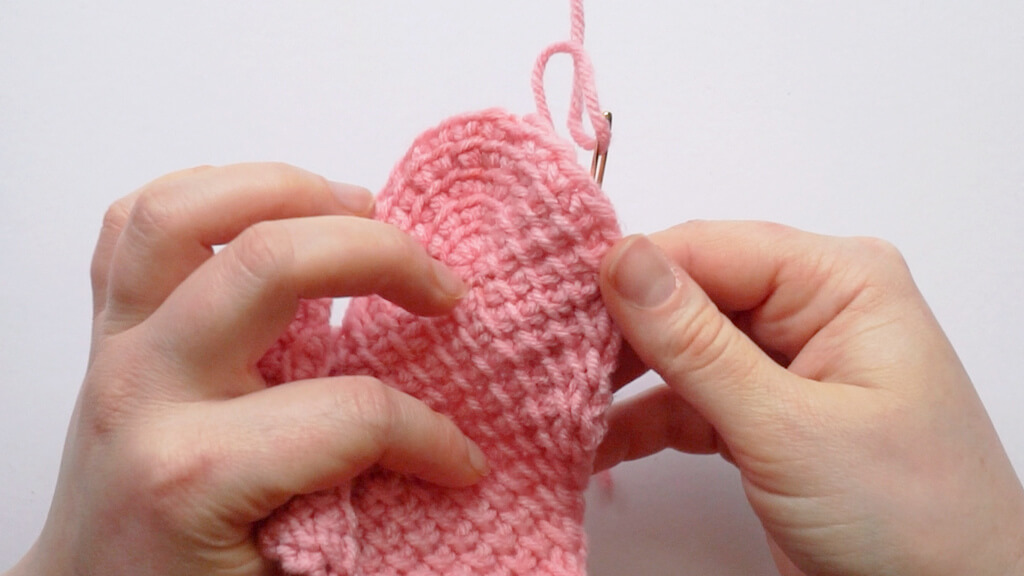
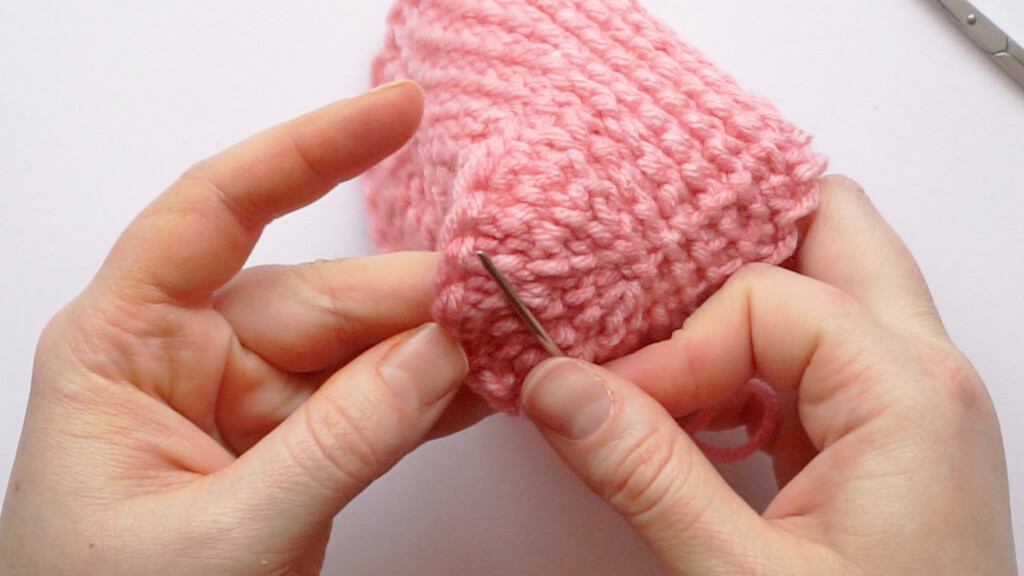
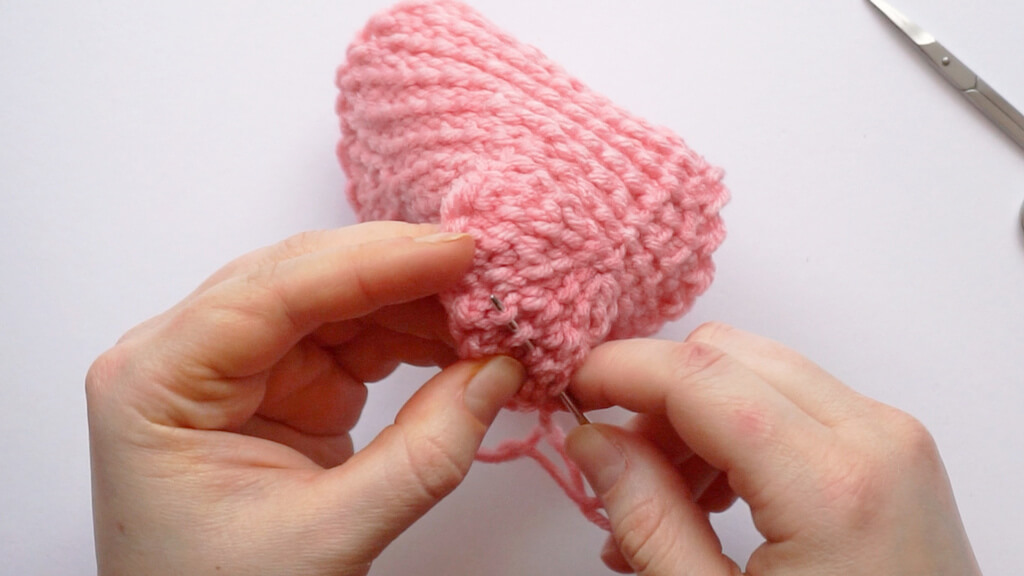
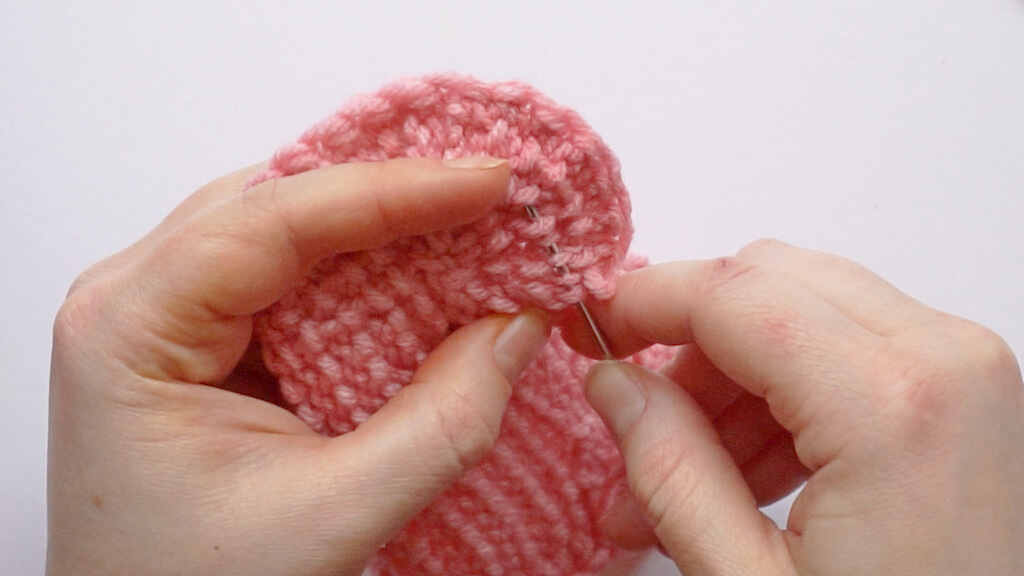
Projects with any kind of shaping don’t have straightforward rows and columns that go perpendicularly to each other, so you won’t be able to use the methods described above.
You will need to use a combination of these two methods and to do your best to go in lines that are parallel to each other, even if you have to go diagonally over some rows and columns.
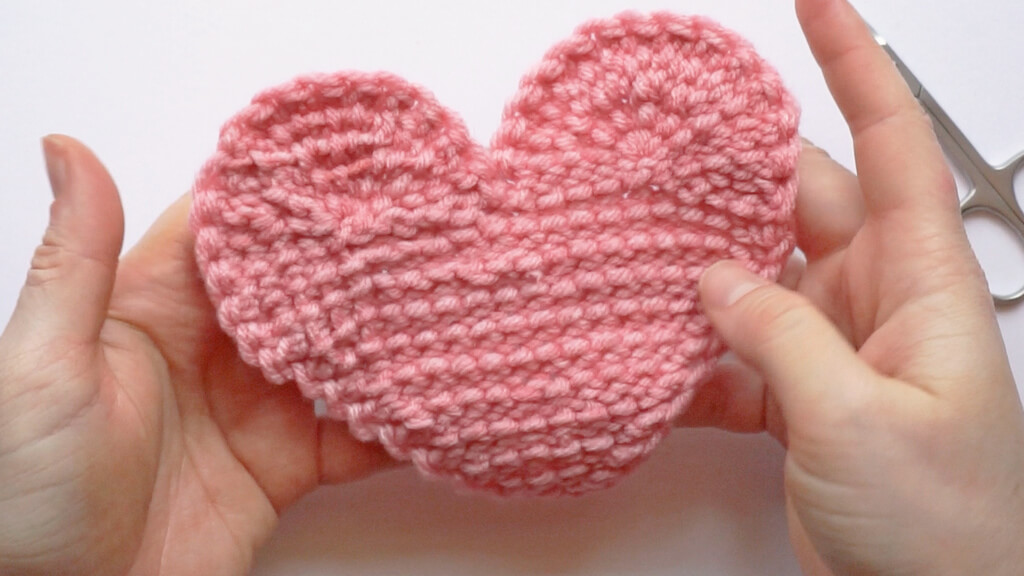
This method is great for weaving ends in projects with scallops, short row shaping or other types of shaping.
In this example, I will weave in the ends in the scallop that forms the cup at the top of the heart.
Video tutorial on how to weave in ends in Tunisian crochet
Right handed tutorial.
Left handed tutorial on weaving in ends in Tunisian crochet.
Try out these methods for weaving in ends in a project
If you want to try out one or several of these methods for weaving in ends in Tunisian crochet, the best way is making a small project.
Here are all the free Tunisian crochet patterns on the blog:
Corner to corner Tunisian crochet scarf pattern
Nordic star Tunisian crochet baby blanket pattern
Tunisian crochet cat ear beanie free pattern
Free wavy mosaic Tunisian crochet pattern
Feather and fan Tunisian crochet pattern for a washcloth
Tunisian crochet asymmetrical rounded triangle shawl tutorial
How to make a Tunisian crochet mosaic bee potholder
Free pattern for leaf lace Tunisian crochet bandana
Tunisian crochet houndstooth pattern for fingerless mittens
Tunisian crochet in the round tutorial with free pattern
If you enjoyed this tutorial, make sure you check out all the other articles on the Tunisian crochet resources page, in which I’ve added both video and photo tutorials with lots of tips to make your projects the best.


