One of the most common stitches used in Tunisian crochet is the Tunisian knit stitch.
It’s often recommended as an alternative to the stockinette stitch in knitting to folks who don’t want to or can’t knit. But there’s more to the Tunisian knit stitch than meets the eye.
Let’s explore that together in this article in which I share examples of Tunisian knit stitch projects and how to do the stitch (and how to bind off in pattern) both in written instructions, a video tutorial and a photo tutorial.
Now pick up a hook and some suitable yarn and make a foundation row. If you don’t know how to do that, check out the tutorial on how to make different types of foundation rows.
Contents

Tunisian knit stitch definition
The Tunisian knit stitch is almost as easy to make as the Tunisian simple stitch.
It creates a fabric that looks like knit stockinette, with V shapes that create parallel columns. The fabric is smooth, uniform, soft to the touch. It also curls a lot more than the Tunisian simple stitch.
The back of the fabric shows rows of horizontal loops that create parallel ridges.
The stitch has a slightly squashed proportion, being wider than it is tall, but not as short as knit stitches from knitting.

How to crochet the Tunisian knit stitch
To make a fabric using the Tunisian knit stitch, you need to start with a foundation row.
If you don’t know how to make a foundation row, follow one of the tutorials on this page.
For this tutorial, we will cast on 11 stitches, not counting the first loop.
To make the first Tunisian simple stitch, insert the hook between the two vertical bars of the first stitch in the foundation row (in the stitch right after the first loop on the edge).
To begin, look at the foundation row and locate the two vertical bars of the first stitch.

Then insert the hook between these two vertical bars, from the front of the work towards the back.
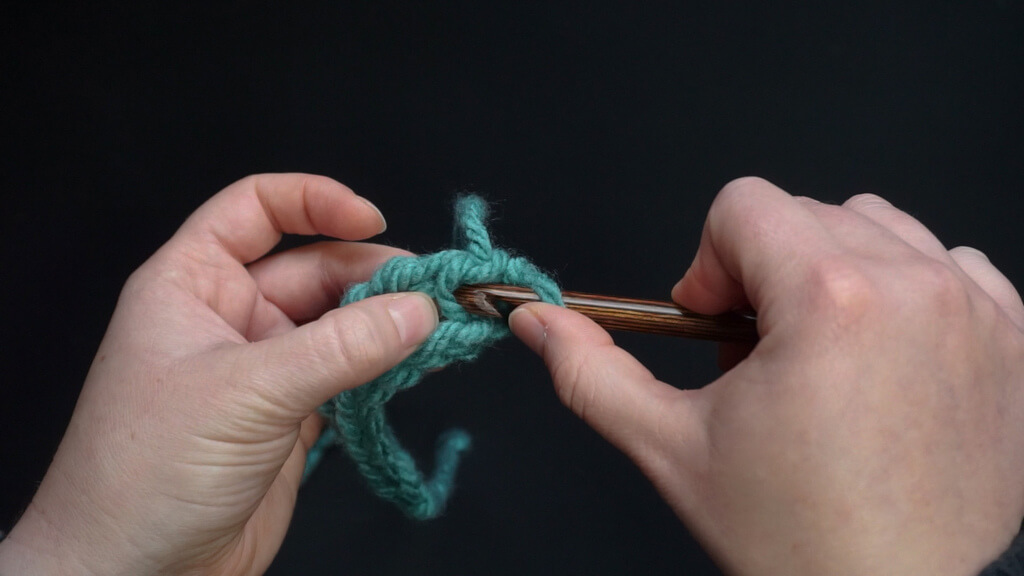
Yarn under and pick a loop on the hook. Keep this loop on the hook.
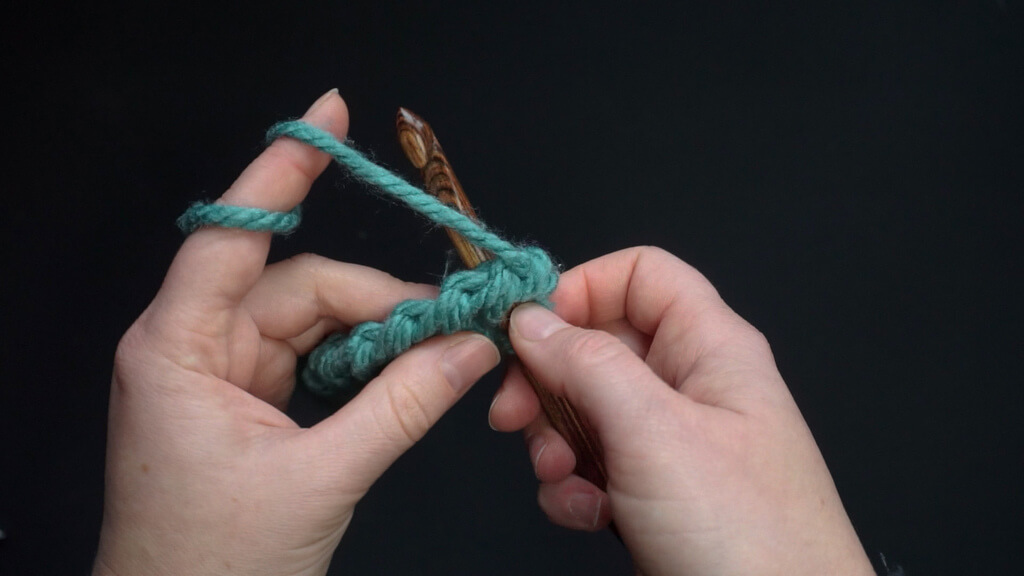
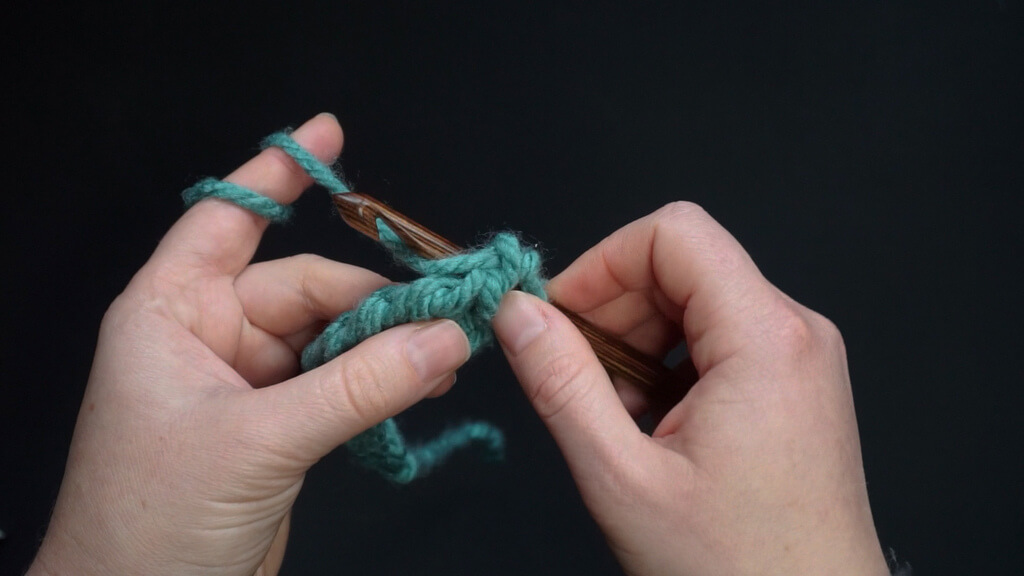
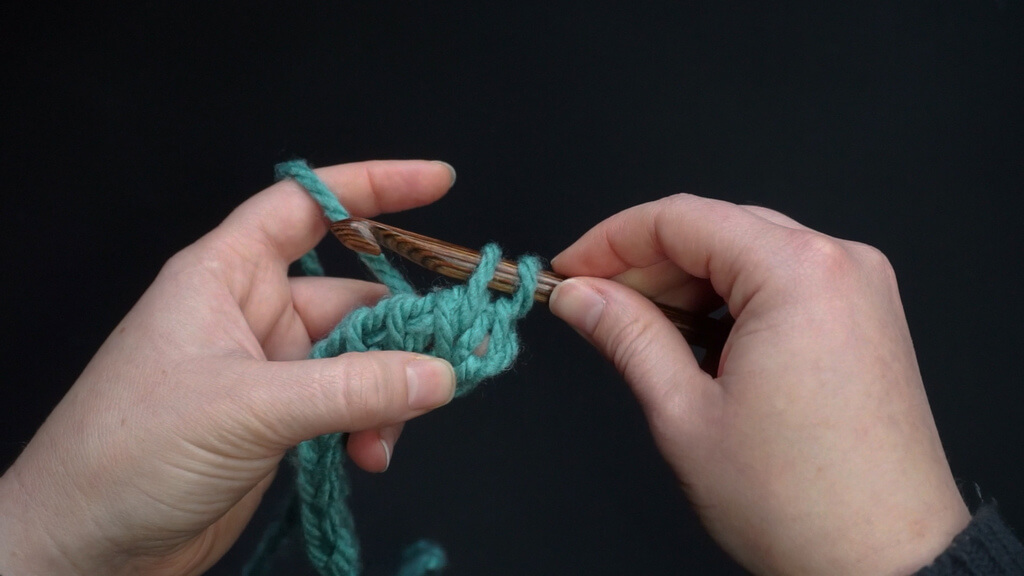
Continue inserting the hook between the next 2 vertical bars and picking up loops.
Pick up loops in all the stitches in the foundation row.
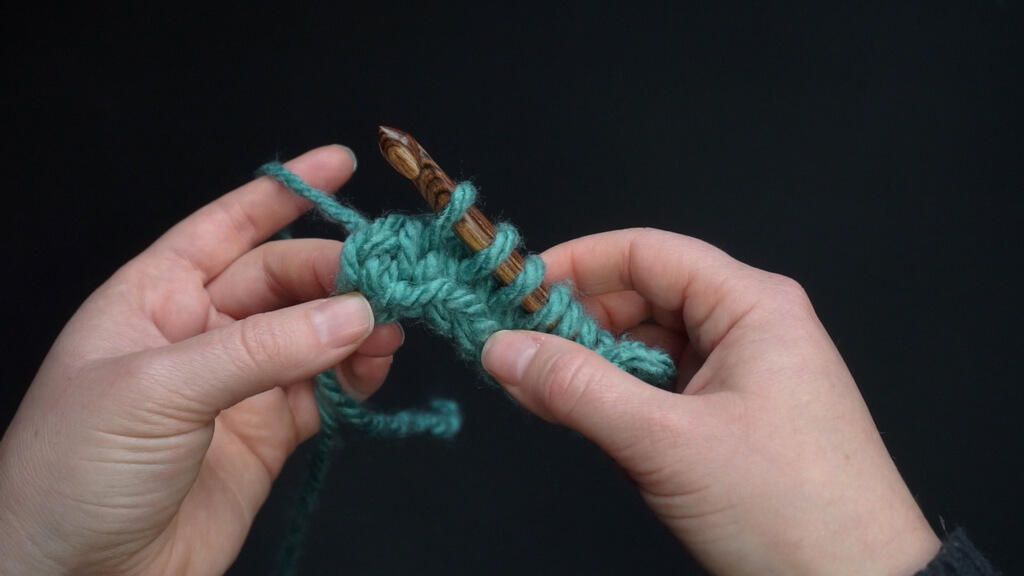
At the end of the row, insert the hook under the two vertical bars on the edge and pick up a loop. This is usually called the last stitch.
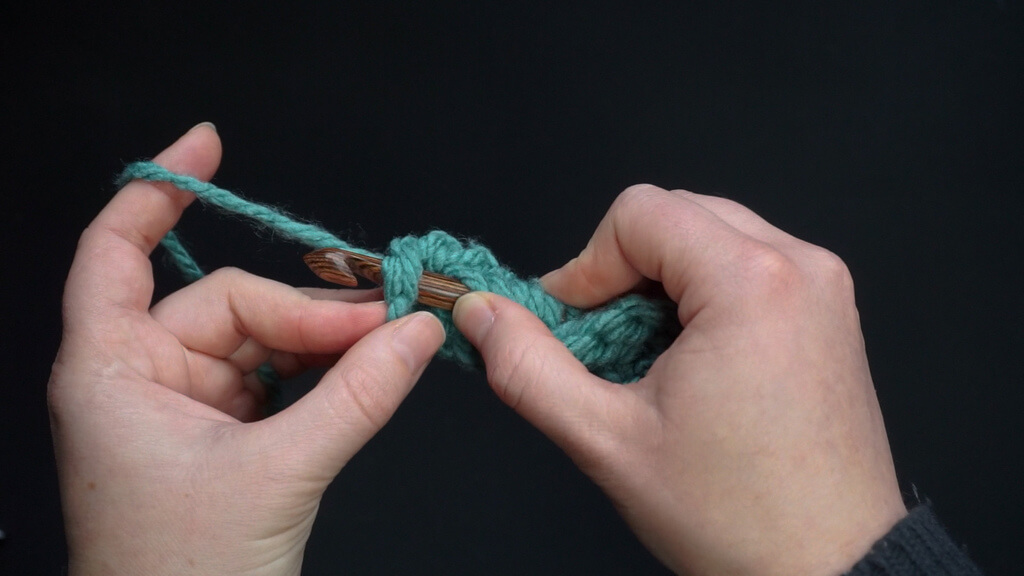
To make the return pass, first chain one. This will create a straight and smooth edge. Some designers skip this step to make a tighter edge at the end of the row.
Continue to make the return pass by repeating “yarn over and pull through two loops on the hook”.
Once the return pass is complete, you should have only 1 loop left on the hook.
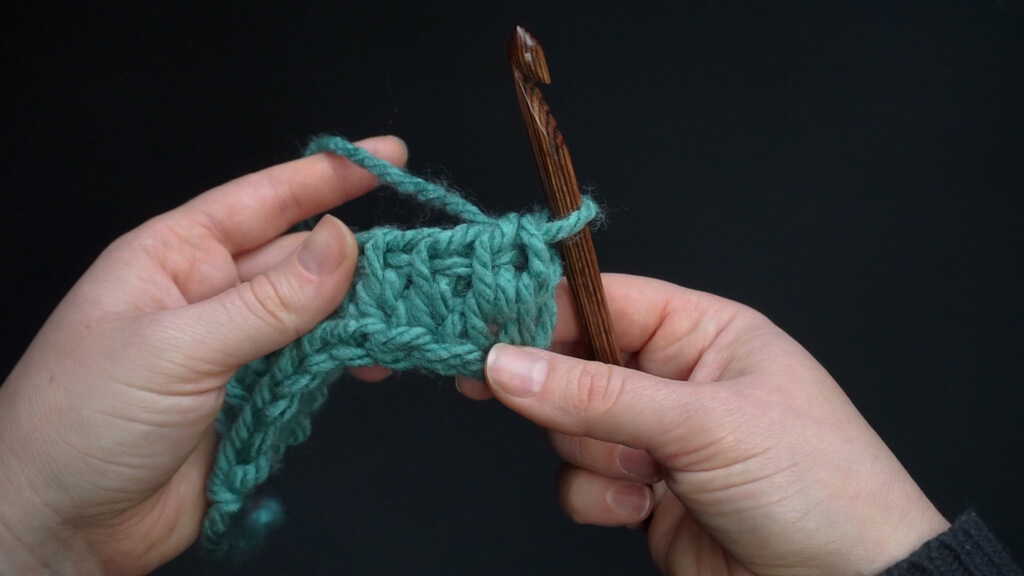
Continue picking up stitches between the vertical bars of the stitches below to make a Tunisian knit stitch fabric.
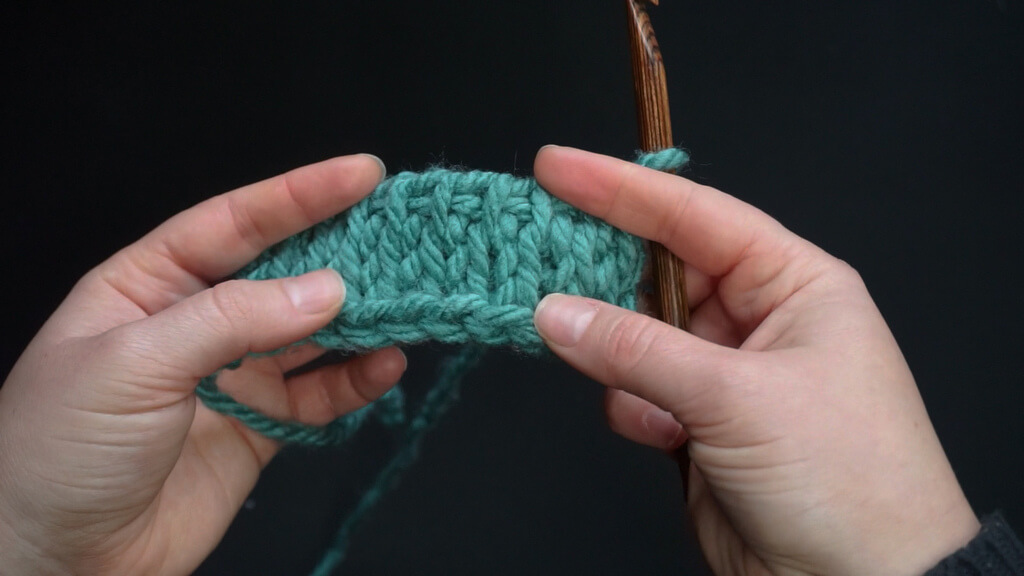
The back of the work will look bumpy, with thick ridges. This is how it should look.
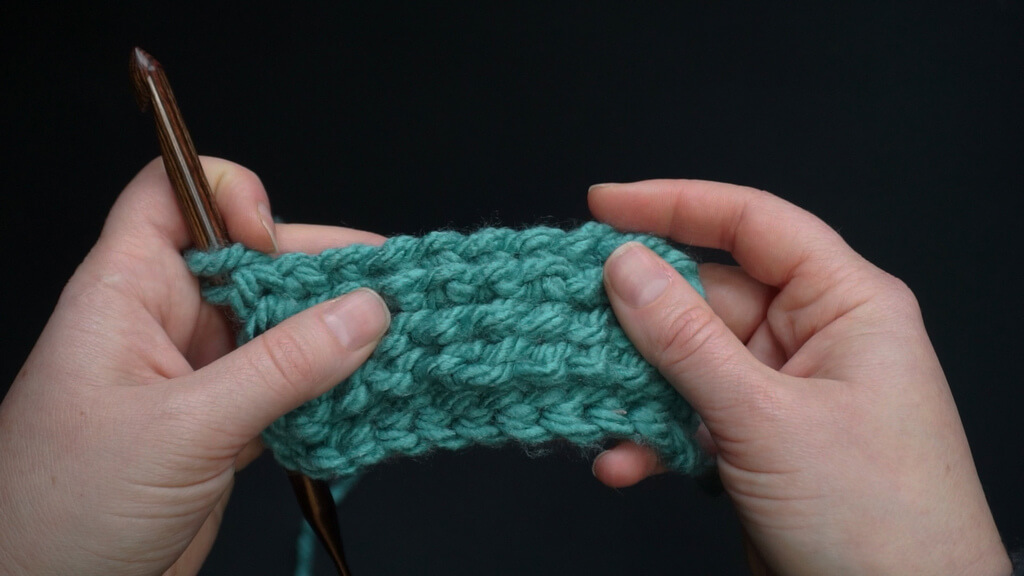
This will also cause the fabric to curl even more than the Tunisian simple stitch.
To bind off in pattern, insert the hook as if to make a Tunisian knit stitch and pull up a loop. Slip stitch and repeat the process until you reach the last stitch.
Pick up the last stitch as usual and slip it. Cut off the yarn and pull the thread through the loop to secure it.
To weave in the end, follow one of the 3 methods for weaving in ends that I detailed in this tutorial.
Video tutorial for the Tunisian knit stitch
Right handed video tutorial for the Tunisian knit stitch.
Left handed Tunisian knit stitch video tutorial.
In these videos I also show how to make the knit stitch in various other stitches and how to bind off the Tunisian knit stitch.
Managing curling in Tunisian knit stitch
Just like the Tunisian simple stitch, the knit stitch tends to curl. This is part of the stitch because of how it is created, so it cannot be eliminated without aggressive blocking or without altering the fabric in some way to make it lay flat.
Seaming helps taming the curl of Tunisian knit stitch projects, although the edges that are not seamed will still curl.
One option is to add a non-curling border to your project, or even to use the extreme curling of this stitch to create a very elastic ribbing that you can attach to your projects.
Working the opposite of the knit stitch together with it will create a reversible and elastic fabric.
Learn how to make the opposite of the Tunisian knit stitch here and then learn how to use them together to create a very elastic ribbing that you can attach to the edges of your projects.
Patterns using the Tunisian knit stitch
This stitch can be used either on its own, or as part of a stitch pattern. You can make hats, scarves, blankets, articles of clothing, shawls, slippers, pillows (ideally seamed or with non-curling borders included).
I am working on adding patterns that use the Tunisian knit stitch to the portfolio. Until then, enjoy exploring the available Tunisian crochet patterns on the blog.
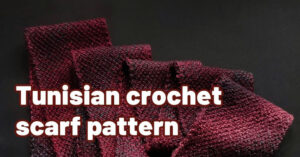
Corner to corner Tunisian crochet scarf pattern
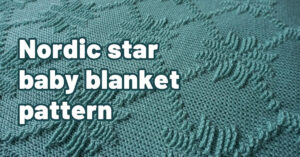
Nordic star Tunisian crochet baby blanket pattern
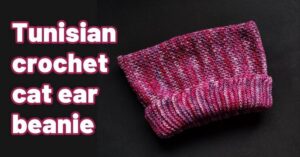
Tunisian crochet cat ear beanie free pattern
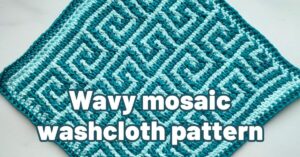
Free wavy mosaic Tunisian crochet pattern
Feather and fan Tunisian crochet pattern for a washcloth
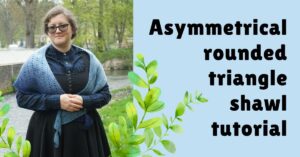
Tunisian crochet asymmetrical rounded triangle shawl tutorial
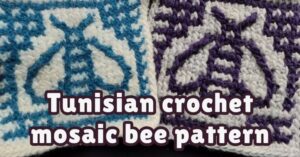
How to make a Tunisian crochet mosaic bee potholder
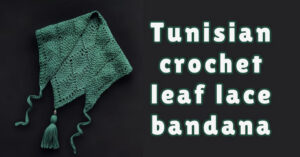
Free pattern for leaf lace Tunisian crochet bandana
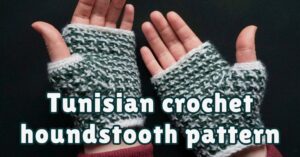
Tunisian crochet houndstooth pattern for fingerless mittens
Tunisian crochet in the round tutorial with free pattern
I hope you learned something new about this Tunisian crochet stitch and that you will try out all the other stitches.
Visit this page for an overview of Tunisian crochet resources, including links to all the stitch tutorials and other tutorials that will help you start and complete Tunisian crochet projects.

