How do you make stitches that look like Tunisian knit stitches, but on the back of the work? You use Tunisian reverse purl knit stitches.
In this tutorial you’ll learn to make the extremely easy Tunisian reverse purl stitch that does exactly that and will allow you to make reversible knit stitch fabrics.
You can read the instructions, follow along with the photos or with the video tutorial (for which I’ve created both a right handed and a left handed version).
You’ll then be able to use this stitch in making reversible fabric with double ended hooks or a very elastic ribbing to add to the edge of your projects (or, why not, make entire projects out of).
All you need is some yarn and a hook to try this out.
Contents
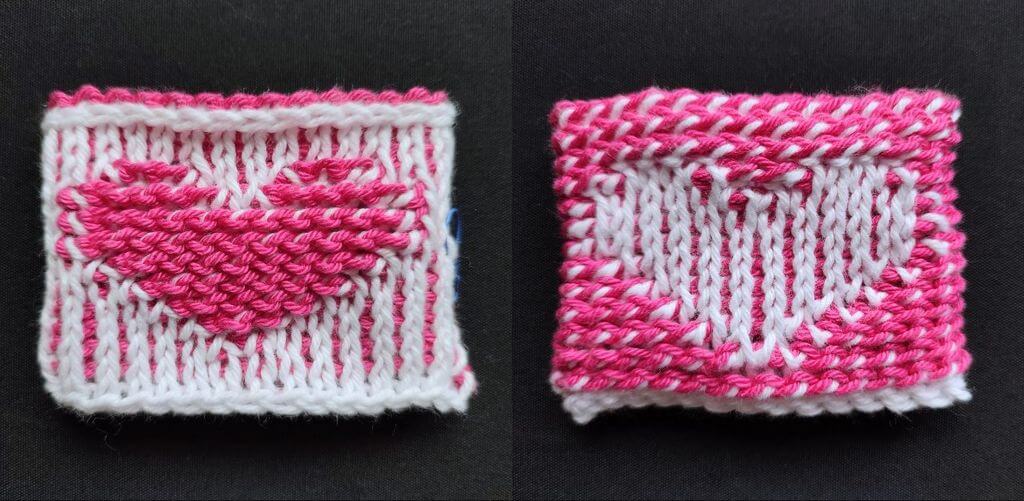
About the Tunisian reverse purl knit stitch
The name is a mouthful, I know, but if you read each word on its own and remember the definition, you’ll understand why I chose this name for this Tunisian crochet stitch.
In Tunisian crochet, when you make a purl stitch, you bring the yarn to the front. In this case, we will bring the yarn to the front of the hook to make the stitch.
It’s a reverse stitch because we make it on the back of the work, so it will look like the reverse of a stitch that is worked on the front.
It’s also a knit stitch because we go between the two vertical bars of the stitch below, yarn over, and pick up a loop.
This means that this stitch has all the properties of the Tunisian knit stitch, which you can explore more in depth on the blog.
How to make the opposite of the Tunisian knit stitch
You can start with a foundation row or you can make this stitch in any existing row in your work.
To begin, look at the row into which you’ll be working and locate the two vertical bars of the first stitch.
Then bring the yarn to the front of the hook (this is the “purl” part).
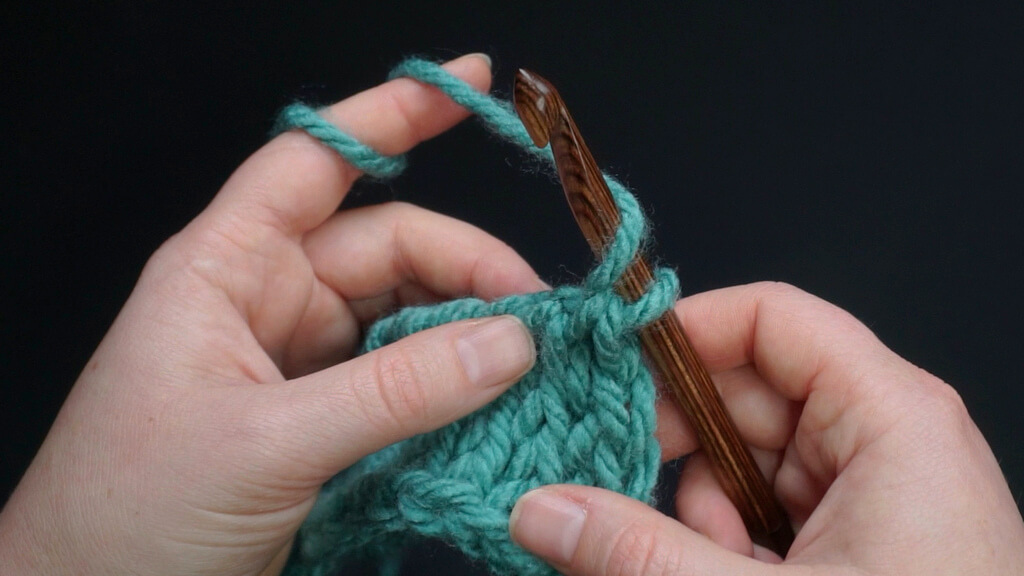
Then insert the hook between the two vertical bars of the selected stitch, from the back of the work towards the front.
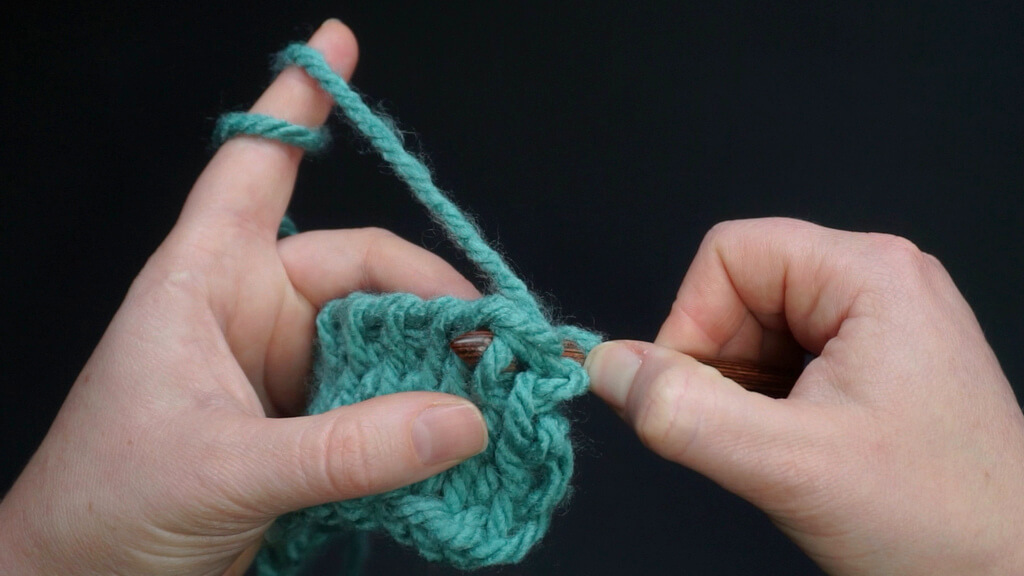
Yarn under and pick a loop on the hook. Keep this loop on the hook.
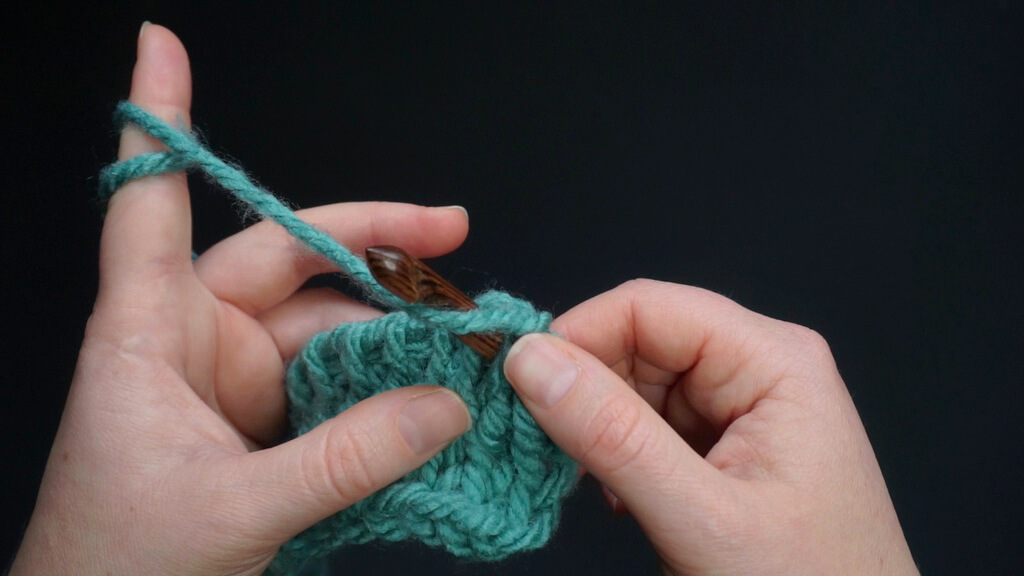
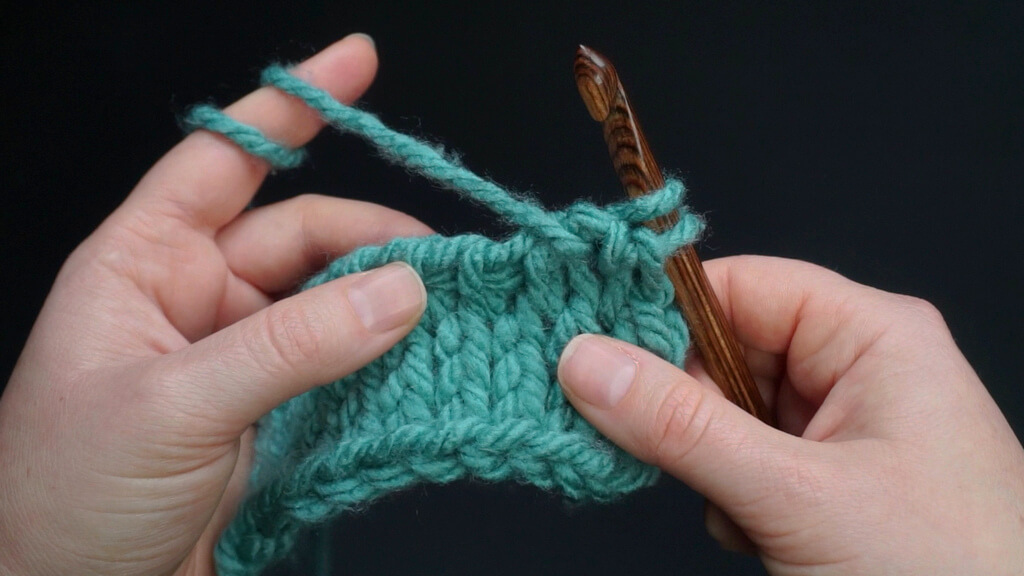
Continue picking up stitches in this manner, with the yarn remaining in the front.
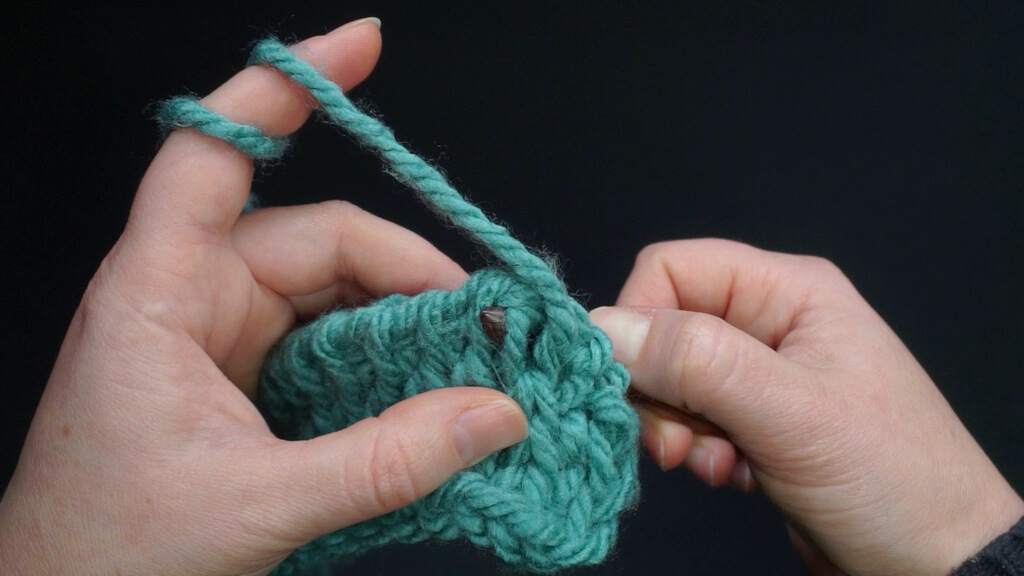
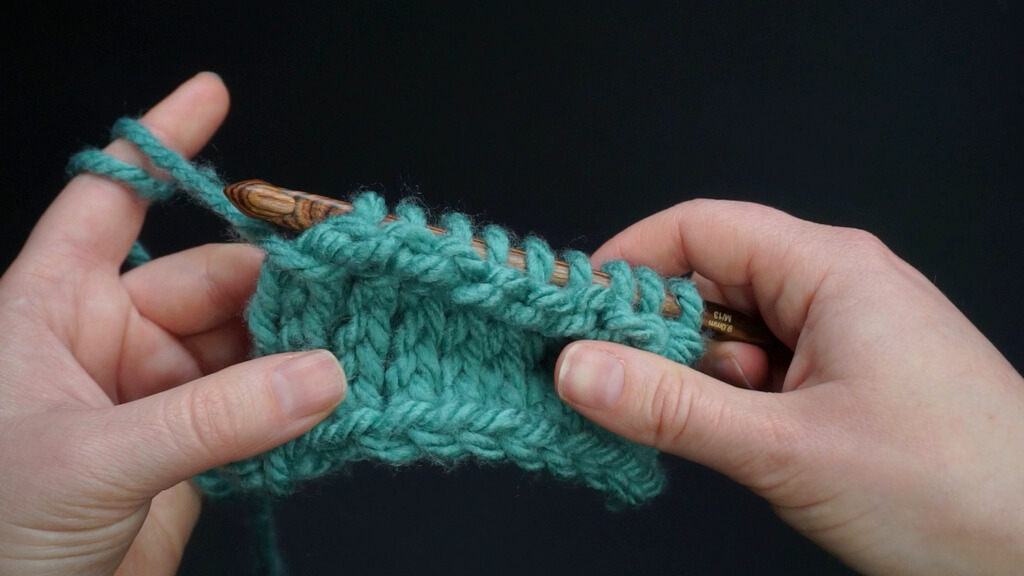
Once you’ve finished the stitches in the row, make the last stitch as usual.
Insert the hook under the two vertical bars on the edge and pick up a loop.
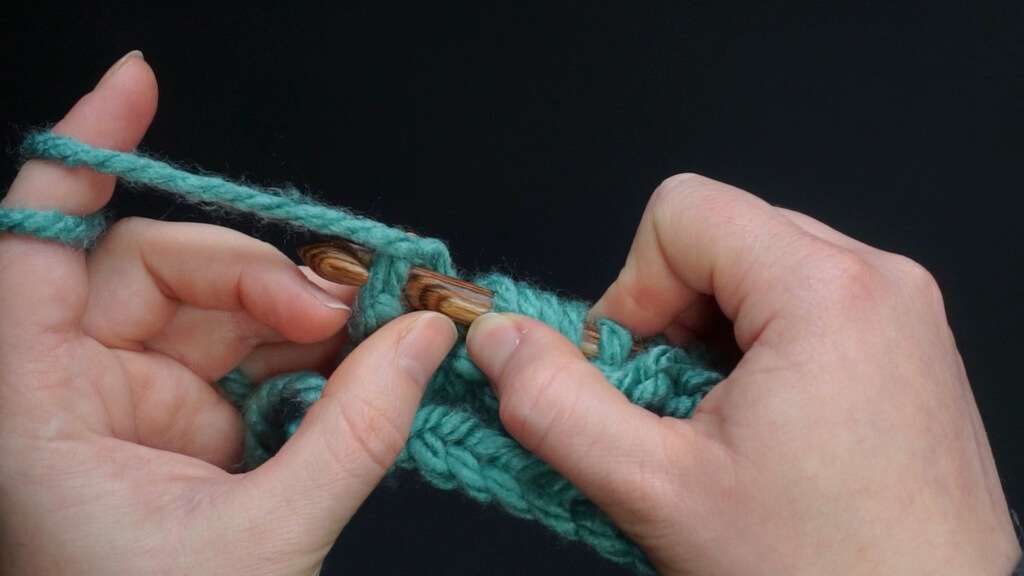
Finish the row with a regular return pass.
To make the return pass, chain one and repeat “yarn over and pull through two loops on the hook” until one loop is left.
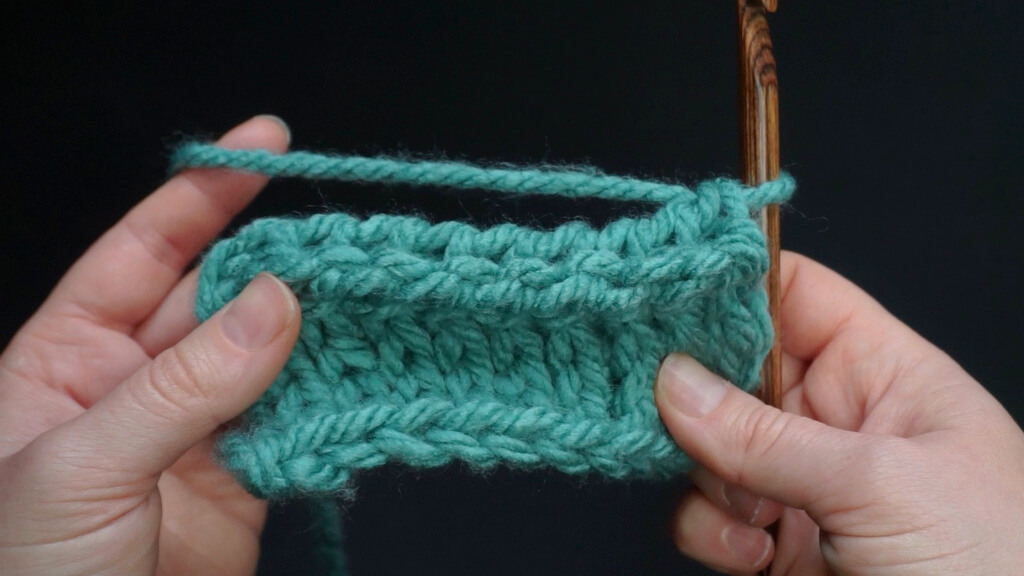
Continue picking up stitches behind the vertical bars of the stitches below to make a Tunisian reverse purl knit stitch fabric.
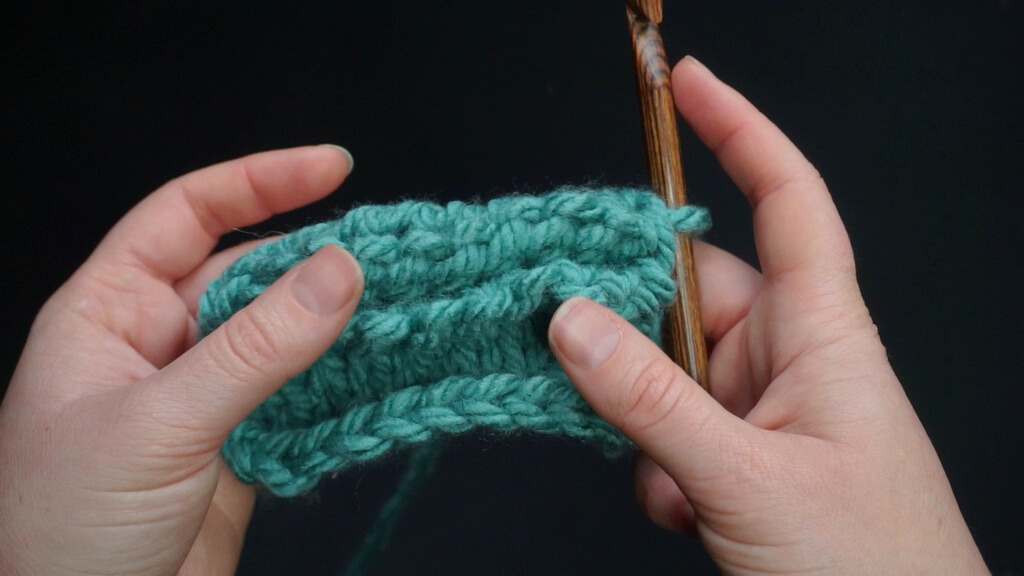
The back of the work will look smooth, like a fabric made up of Tunisian knit stitches.
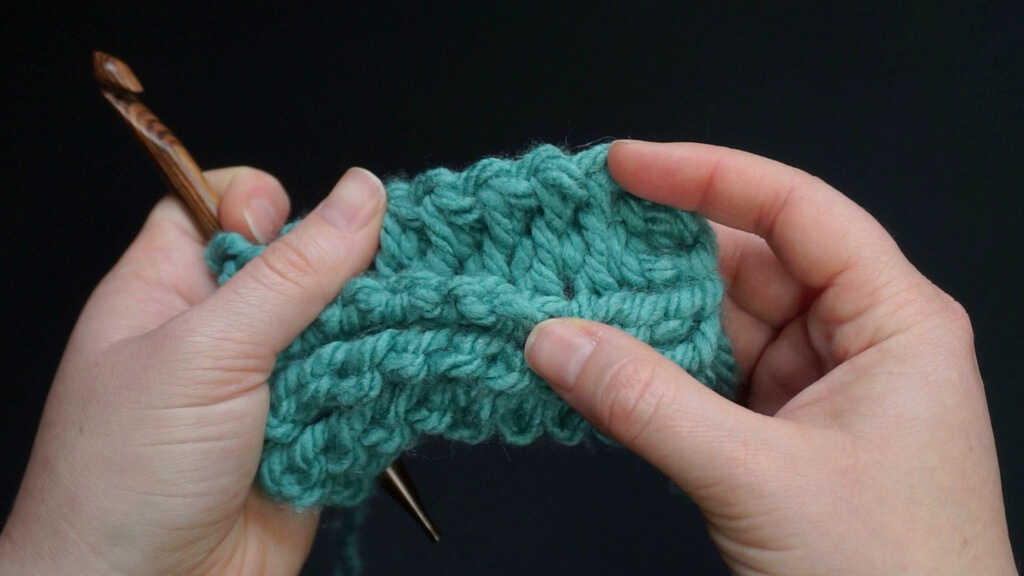
To bind off in pattern, insert the hook as if to make a Tunisian reverse purl knit stitch and pull up a loop. Slip stitch and repeat the process until you reach the last stitch.
Pick up the last stitch as usual and slip it. Cut off the yarn and pull the thread through the loop to secure it.
To weave in the end, follow one of the 3 methods for weaving in ends that I detailed in this tutorial.
Video tutorial for the Tunisian reverse purl knit stitch
Follow along with the video tutorial of your choice to learn how to make this stitch and some of its applications.
Right handed video tutorial.
Left handed video tutorial.
Patterns using this stitch
At the moment I’m designing and creating patterns that require ribbing on the edge that is created using this stitch, so you could replace the ribbing in this chunky beanie pattern or in the Sporeprint sweater pattern.
Update: This stitch is now used in the Malleable beanie, where it is part of the ribbing.
You could also use this stitch to replace reverse stitches in flat projects worked in the round with a double ended hook. I don’t currently have many such patterns, but there are many out there for squares and hexagons.
If you want to explore other free patterns on the blog, here’s a selection.
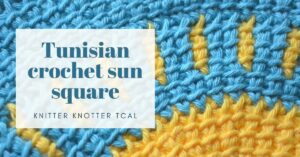
Tunisian crochet sun square – fun free pattern
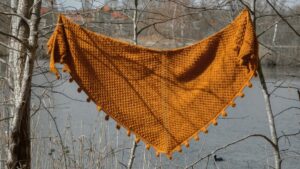
Tunisian crochet asymmetrical rounded triangle shawl tutorial
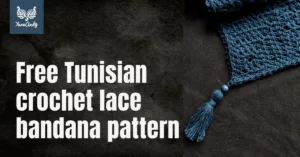
Free Tunisian crochet lace bandana pattern
Limonite – a new Tunisian crochet shawl pattern
Free pattern for sideways Tunisian crochet beanie with elastic brim
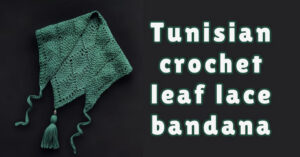
Free pattern for leaf lace Tunisian crochet bandana
Tunisian crochet houndstooth pattern for fingerless mittens
Free Tunisian crochet pattern – Cooling collar
Phyllite – free Tunisian crochet shawl pattern for beginners
Advanced Tunisian crochet mosaic tutorial
I hope you learned something new about this Tunisian crochet stitch and that you will try out all the other stitches.
Visit this page for an overview of Tunisian crochet resources, including links to all the stitch tutorials and other tutorials that will help you start and complete Tunisian crochet projects.
Subscribe to my emails by clicking on the image below to find out when I publish future tutorials and patterns.

