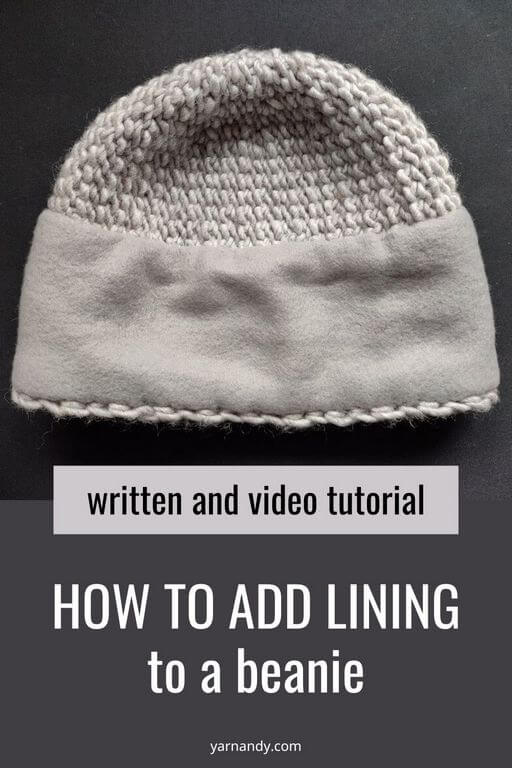
Do your ears also freeze in winter when the wind blows through your handmade hat? Then you might need to learn how to line a crochet beanie (or a knit one).
If you have sensitive ears like me, you might benefit from a fleece lining sewn inside your hat, which will keep your ears warm and your head looking pretty while you wear your favorite hat.
You can definitely do this to store-bought hats too, unless they are already lined, which sometimes is the case. If you have a hat with ear flaps, you’ll need a different tutorial because then we’ll also be sewing around curves, not just straight lines like in this case.
In this tutorial, I’m showing you how to add fleece lining to a Tunisian crochet beanie that you can also make for yourself using the free pattern also on the blog, but you can add this kind of lining to crochet hats or knit hats as well.
If you prefer a video, see below for a full video tutorial of the process.
Contents
Video on how to line a crochet hat
Right handed video.
Left handed video.
Materials to line a beanie
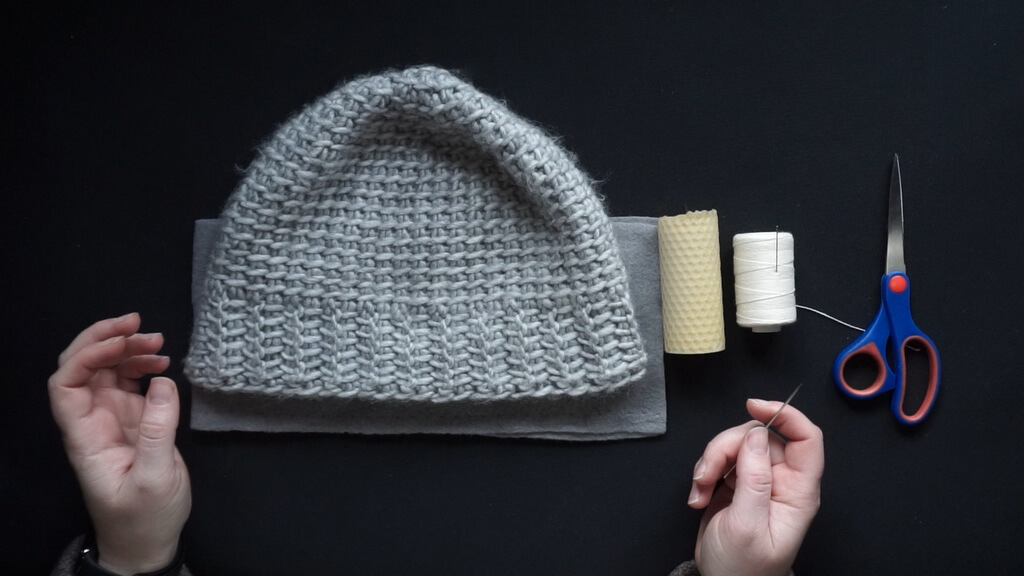
What you will need to line the hat:
- the hat, of course, which can be handmade or store bought; a hat that doesn’t already squeeze your head works best, since we will add a bit of thickness to it;
- a piece of fleece fabric that you cut to a height that is enough to cover your ears plus seam allowance on both sides, the top and bottom, plus seam allowance for the seam here that we will make on the inside.
- sewing thread – ideally a thread for hand sewing that is slightly thicker than the sewing machine thread; if you can find cotton or linen sewing thread, also get some wax;
- beeswax for natural fiber sewing thread (cotton or linen);
- big enough sewing needle for your thread;
- a pair of scissors for the fabric and something to cut the thread;
- sewing pins – 8 or more;
- measuring tape.
Preparing the lining fabric
The fabric that you line with should be elastic, tightly knit, ideally a bit fuzzy, and designed for warmth.
You can use a thicker jersey or a light fleece, as they are both knit fabrics. Do not use cotton jersey, as it will not keep your head warm.
You can find fleece in fabric stores or you can use fabric from a light lap blanket for outdoor use that you can find in most supermarkets for a very affordable price. Wash it before using to line the hat.
Use the measuring tape to measure around your head (not around the hat, as the hat might be elastic and will stretch out when worn) and remove 1-2 cm from the measurement (this is the negative ease needed to help keep the hat on your head).
Add the seam allowance you prefer. In my case, I chose 1 cm for either side, so 2 cm in total. This is the length of the piece.
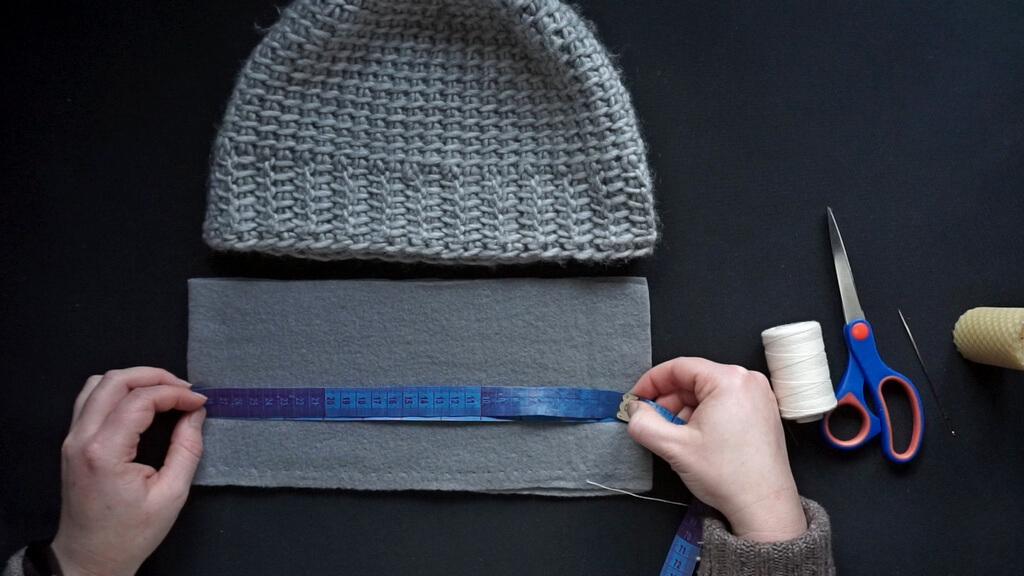
For height, measure the hat from the brim to the point where it starts to decrease towards the crown. Again add seam allowance (I used 1.5 cm in this example) to both top and bottom.
This seam allowance will be tugged between the lining and the hat when the process is complete.
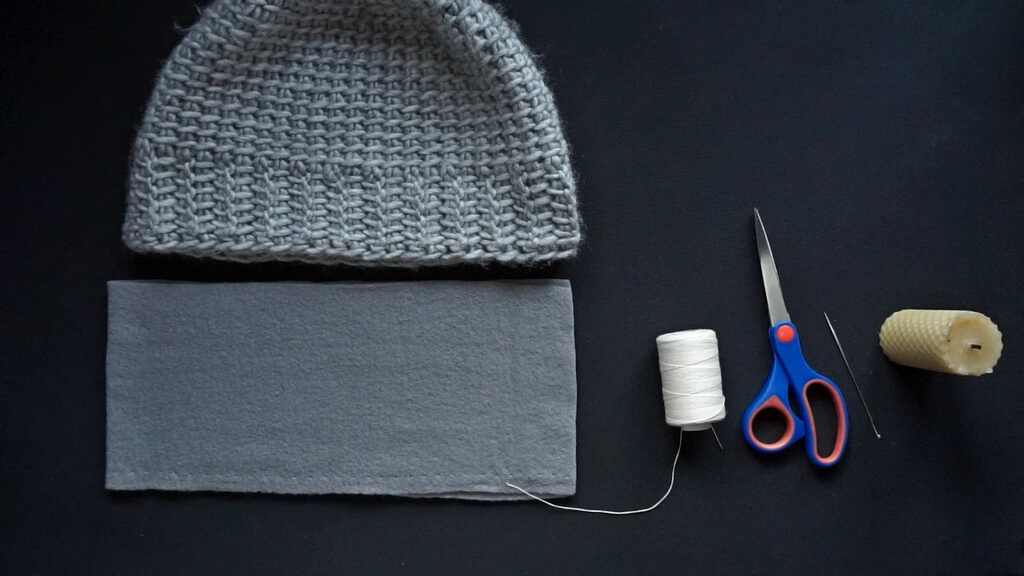
Once the fabric is cut, fold it with the beautiful side (if it has a printed side or a softer side) inside, so it will touch your ears and head when the hat is worn.
Now you are ready to proceed.
Sewing the lining into a loop
Cut a piece of thread to make the first seam. Ensure the thread is not longer than length of your arm for easy sewing
If you chose a thicker sewing thread made of natural fibers, like cotton or linen, pass it a few times through the wax to strengthen it and make it easier to pass through the fabrics without shredding.
If using a polyester thread, skip this step. If the thread is too thin, you can double it before passing it through the needle.
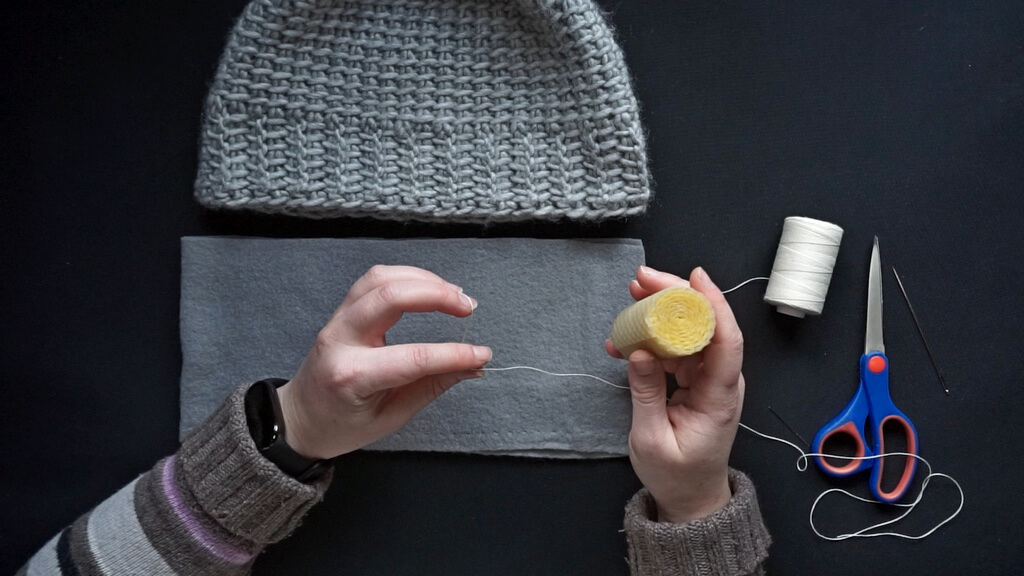
Make a knot on one end, and thread the other end, then make a straight seam along the short edge of the fabric lining.
If desired, pin the two sides of the fabric together before you start. I’ve found that fleece likes to stick to itself, but pins help.
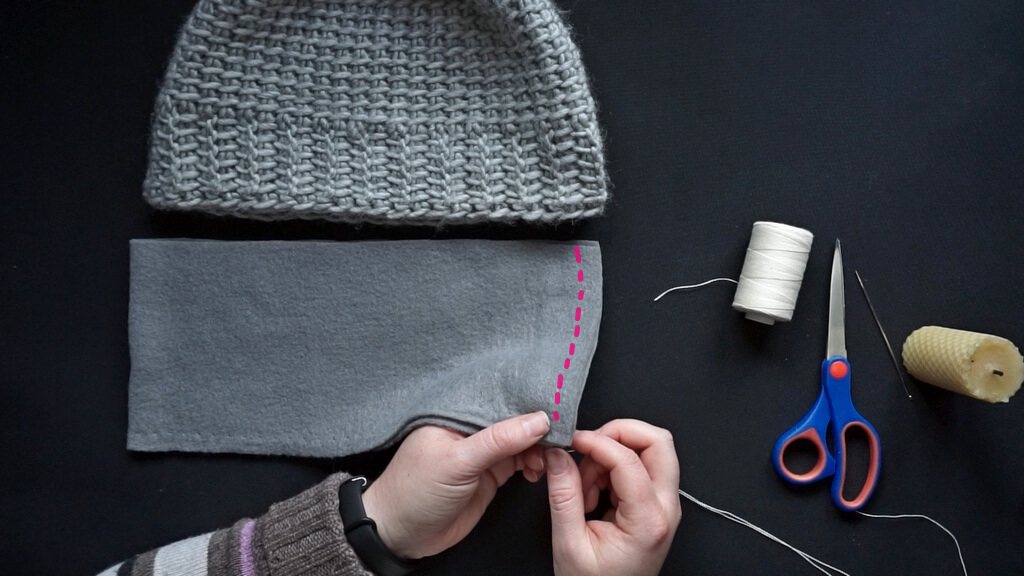
If you have a sewing machine, you can also do this step with the machine, ideally with an elastic stitch.
Start from the back of the fabric about 1.5 cm away from the bottom edge and the width of your seam allowance away from the short edge (1 cm in my case). Bring the needle to the front, through the two layers.
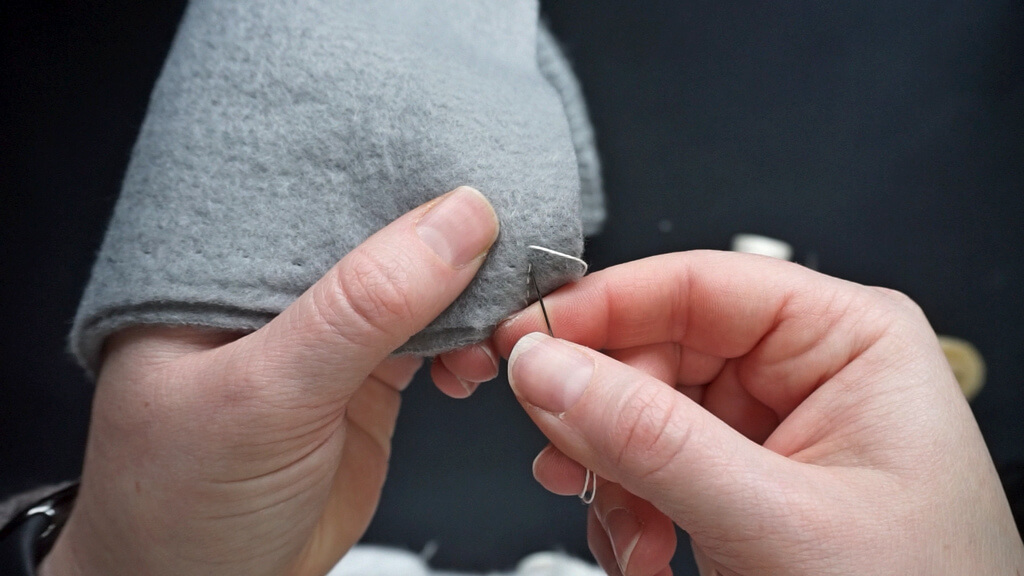
Insert the needle behind the previous exit point and then bring it back up ahead of that point, to make a back stitch.

Repeat this process, going back on the front and forward on the back of the fabric to create a line of back stitches.
This is a sturdy seam that is required to keep the loop of fabric properly sewn. It’s also an elastic seam, so the fabric can stretch when you pull the hat over your head.
When you reach about 1.5 cm from the other long edge, don’t tie off the thread, but make a few back stitches in one spot. Then push the needle to the other side of the fabric, between the two layers.
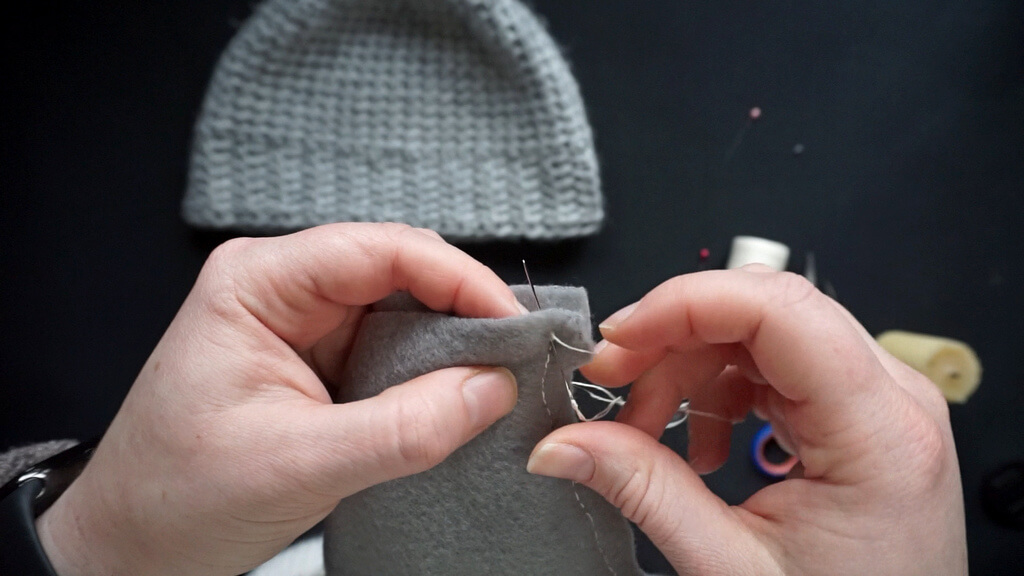
You can check the seam to make sure it’s strong and uniform.
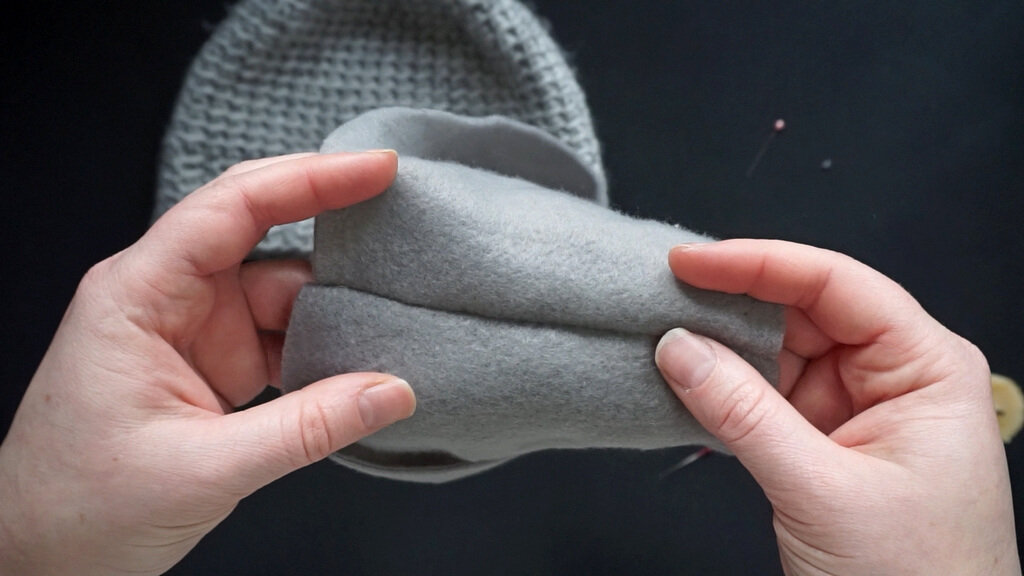
Turn the piece of lining with the thread downwards, to prepare for inserting the lining in the hat.
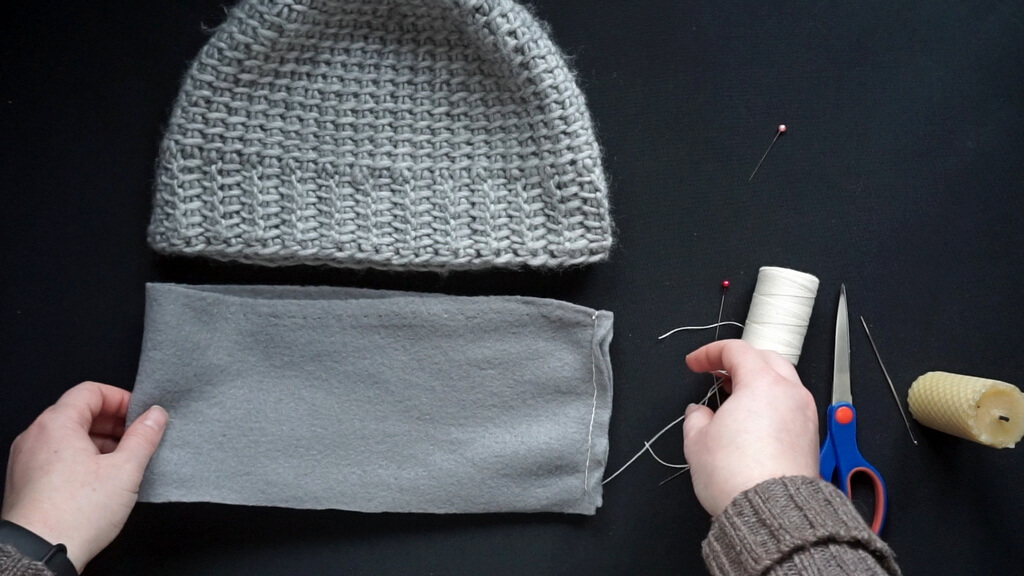
Seaming the brim edge of the lining
Leave the fabric as it was, inside out, and gently insert it into the hat.
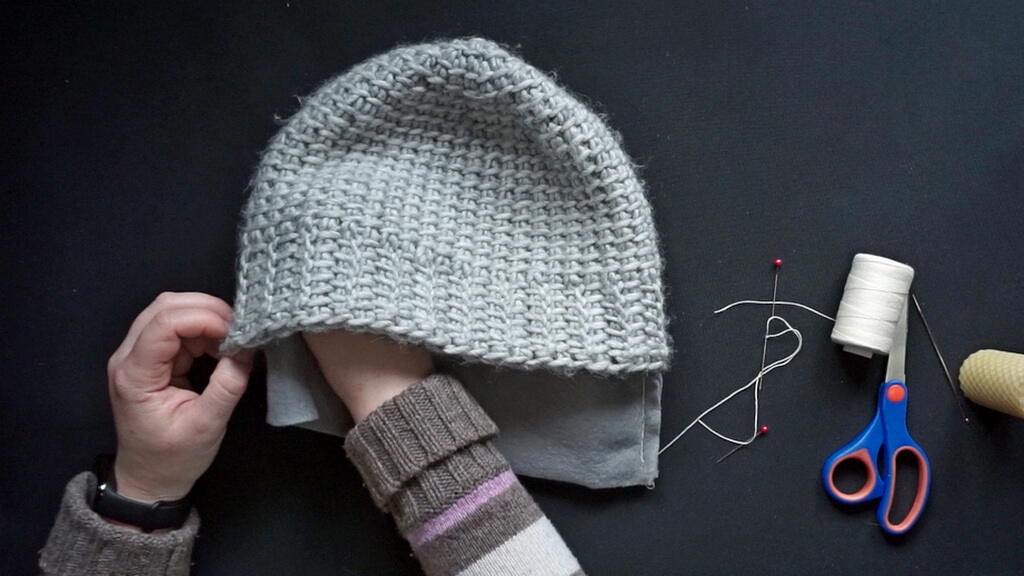
You want to leave a bit of the fabric outside (the width of your seam allowance). This will get folded inside.
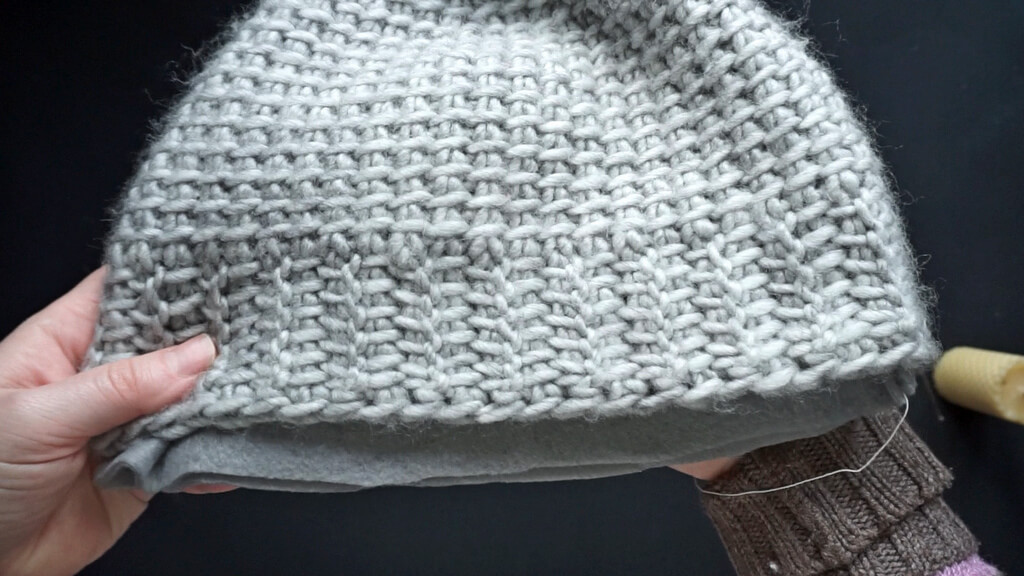
You take this seam allowance and fold it towards the inside of the hat, so it ends up between the lining and the hat.
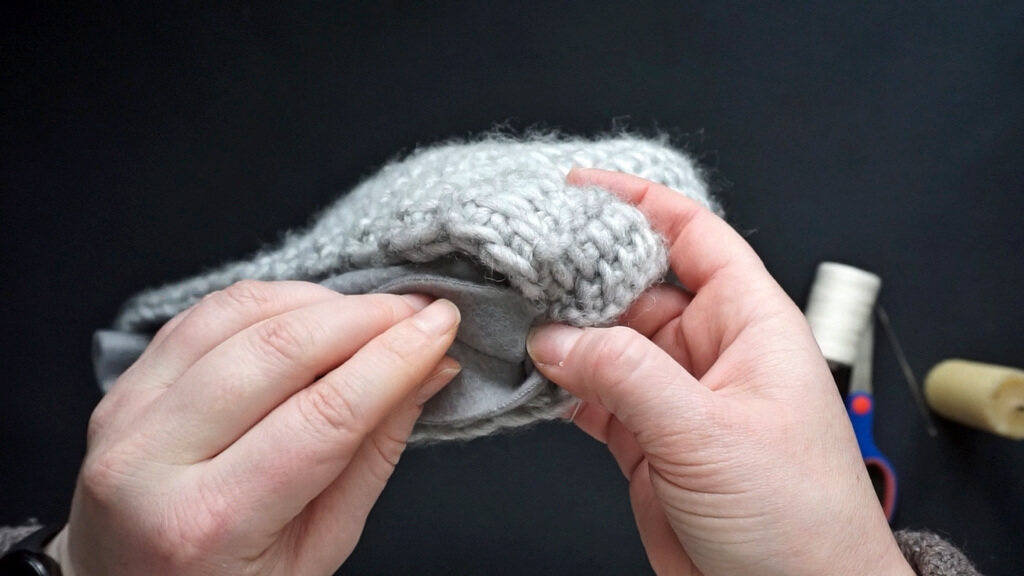
This is what it should look from inside the hat, aligned slightly below the edge. If you align it right on the edge, some of the lining might show up when you wear the hat.
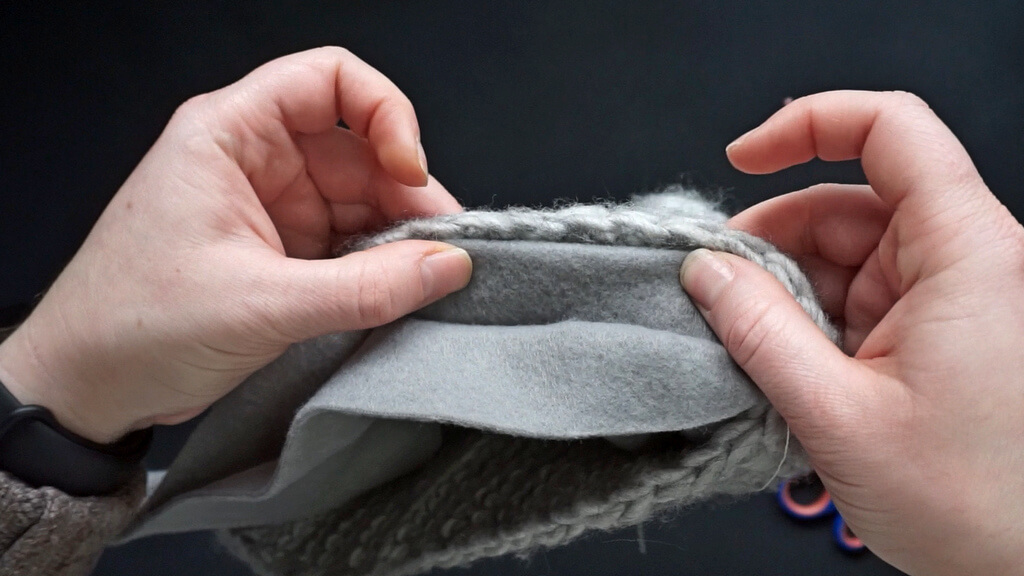
If you have a seam in the back of the hat, you can align the first seam in the lining with it. I moved the lining seam a little to the side so the two seams don’t become bulky.
You can use the thread to tack the lining in place next to the seam or what you want the back of the hat to be, then prepare the rest of the lining.
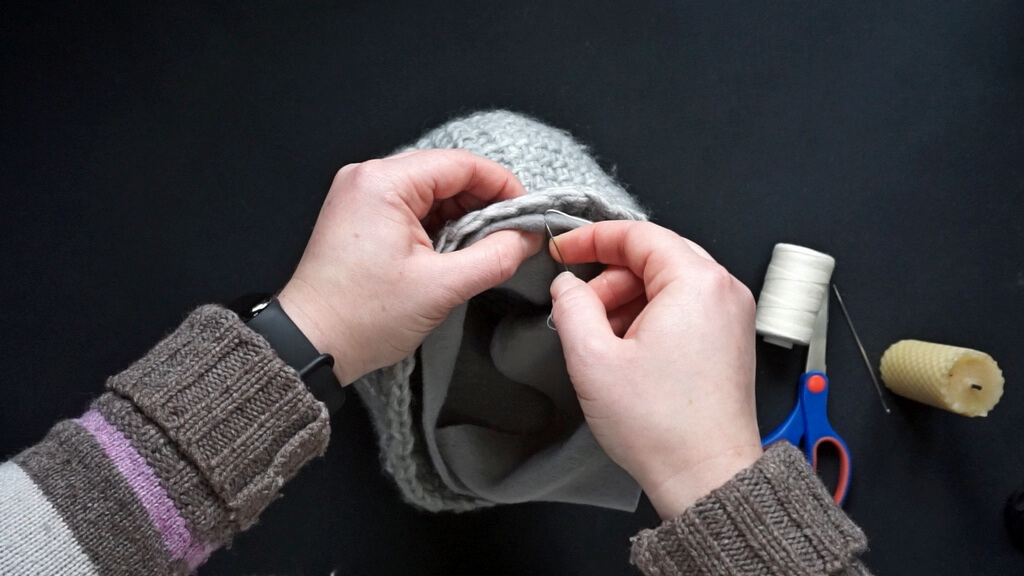
First find the point opposite to both the lining and the hat, fold the edge over and insert a pin.
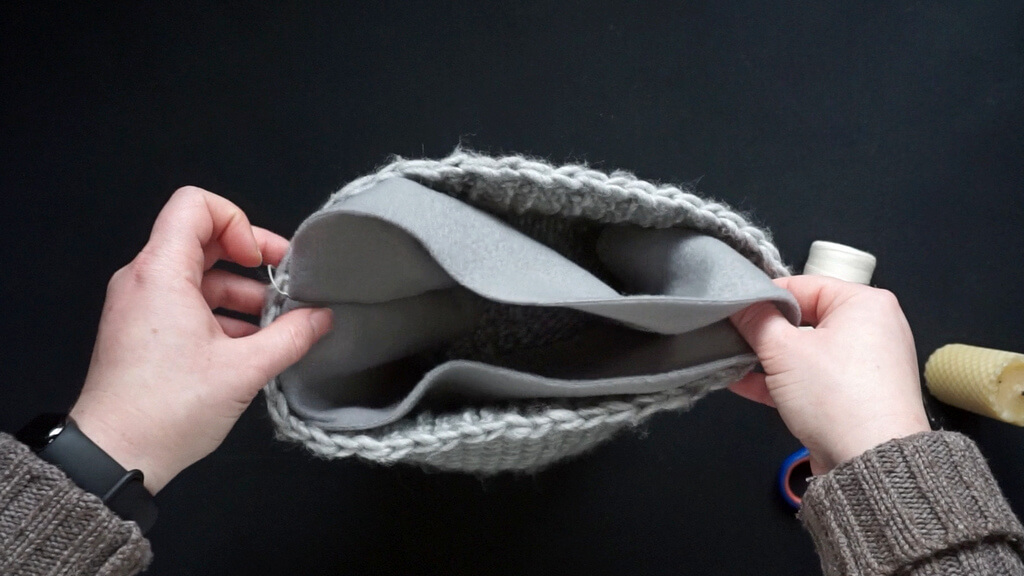
See below the folding and pinning of the edge.
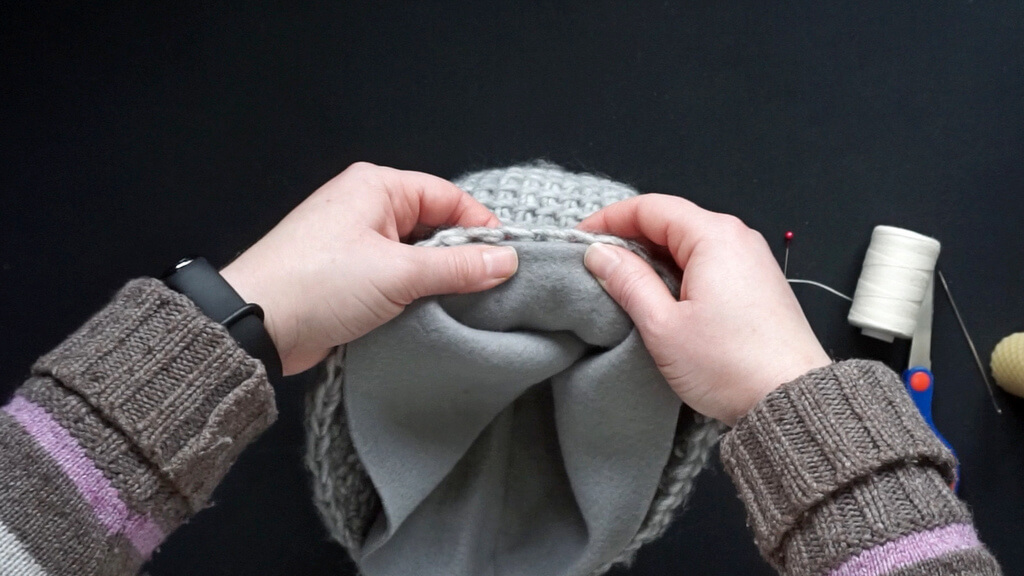
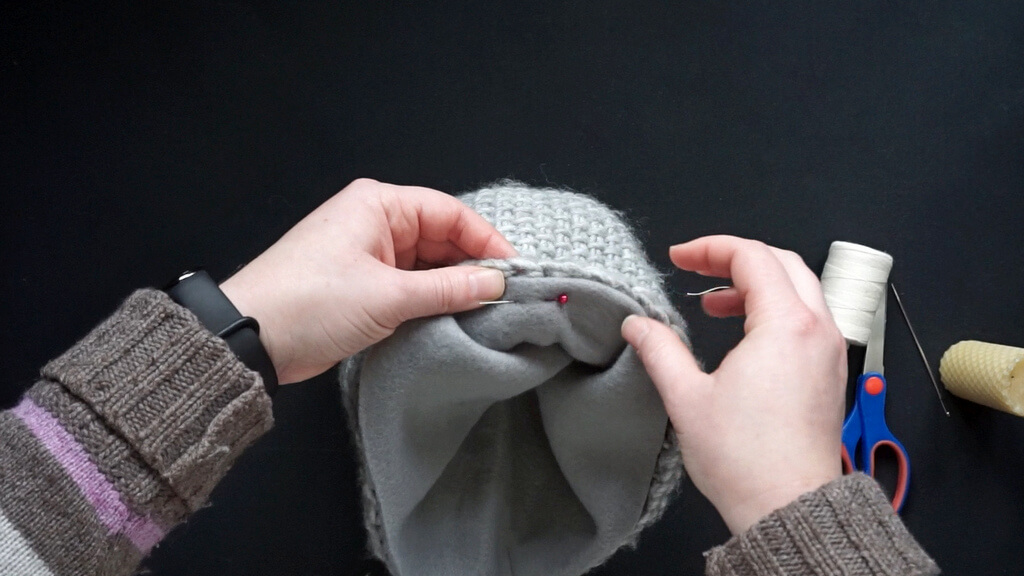
Then continue repeating this first midway between the two points, on either side. Then again midway between the four points.
The lining should be all folded inside and pinned before you start seaming, but also evenly distributed around.
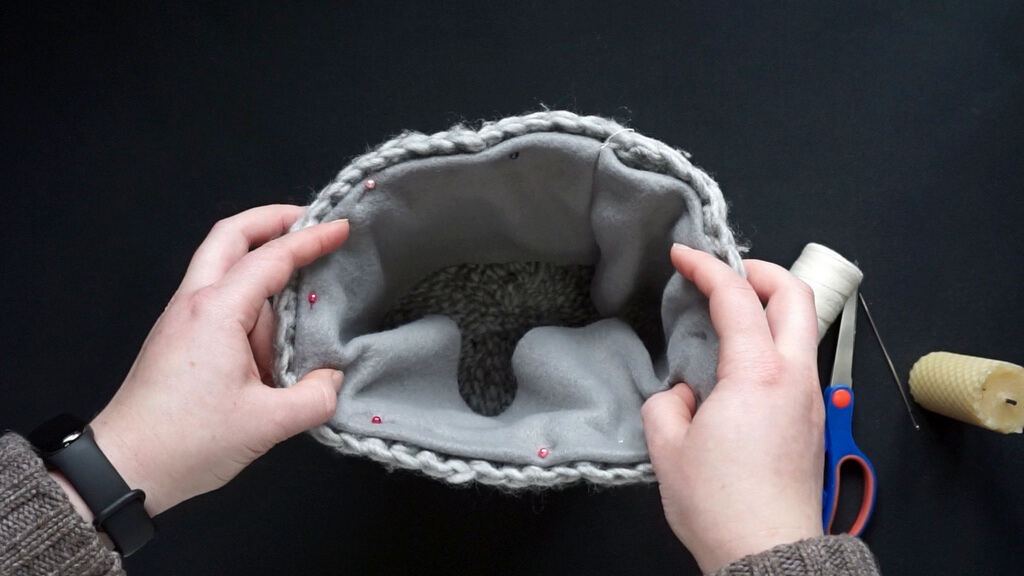
Now you can start seaming. Hold the hat with the lining facing you and start from the thread that is attached to the first seam.
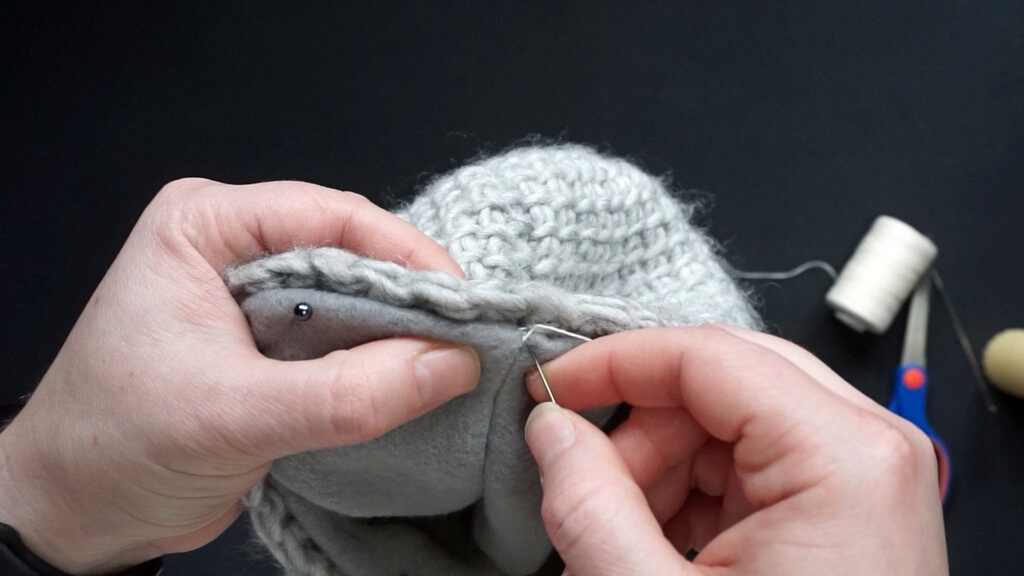
I like to sew by holding the hat in my non-dominant hand and working towards it.
Go through the lining fabric, and then through the fabric of the hat and then come up several millimeters to the side.
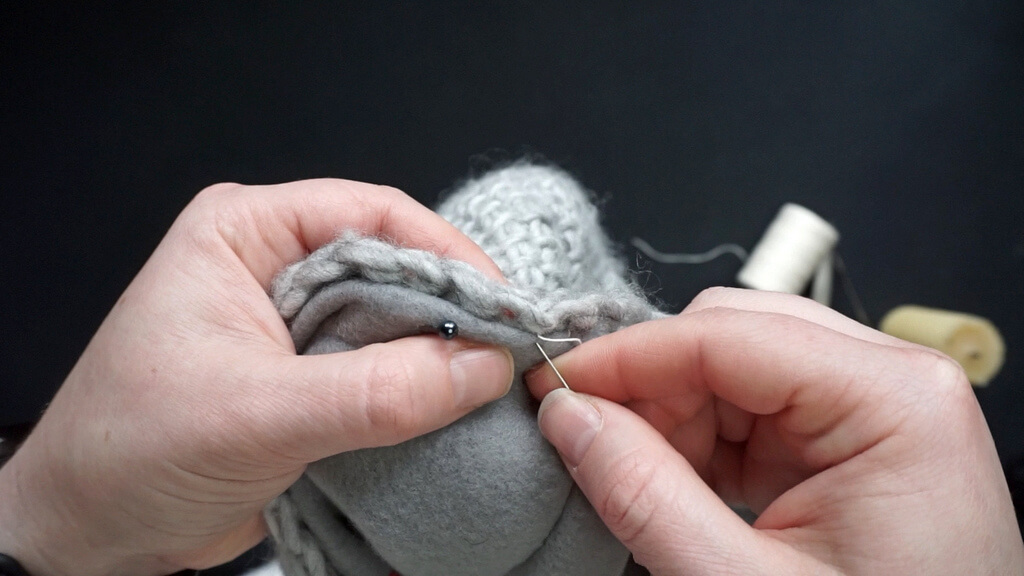
Then again go inside the lining fabric below, through the fabric of the hat, to the side, and up.
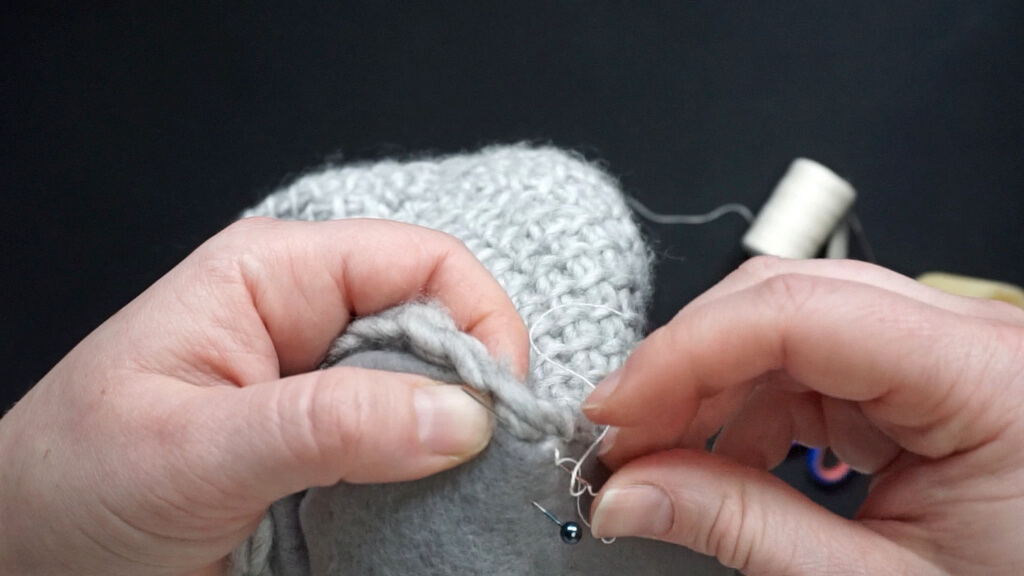
This is a kind of slip stitch that catches the lining just in very small stitches, so it’s not so visible.
You can do it as often as you like, ideally every few millimeters, and when you reach the pins, you can take them out.
On the front of the hat, you will not see the thread, so even if you don’t use matching thread like I am here for demonstration purposes, the thread that you use for lining will not be visible except in very, very small bits.
When your thread runs out, make a few back stitches on the spot. I also like to go back a bit through the fabric and then snip it and prepare a new thread and attach it and continue seaming around.
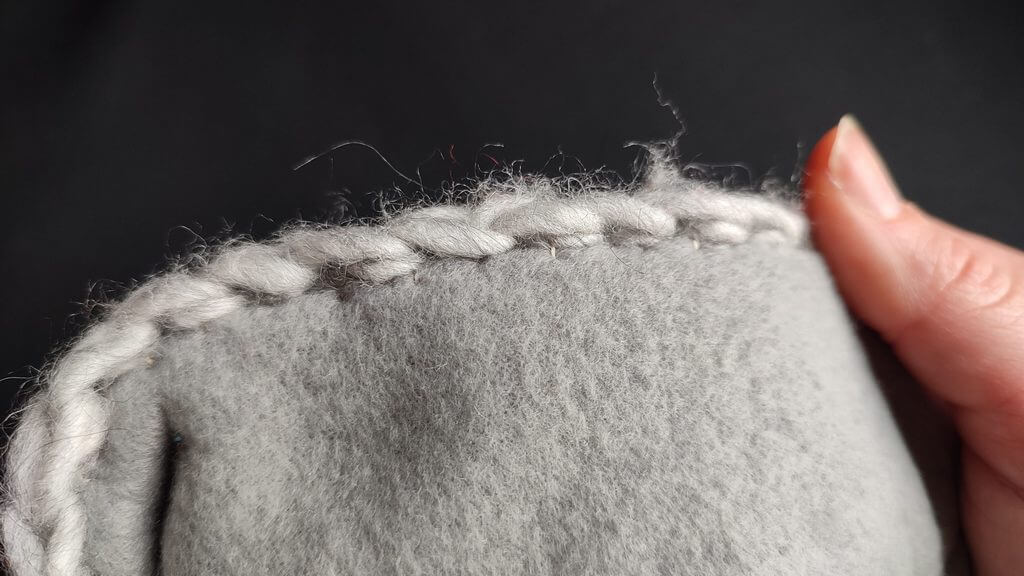
Once you reach back to the beginning, just tie off the thread and set it aside for now because you need to prepare the other end of the lining.
Seaming the second edge of the lining
Turn the hat inside-out, so the lining fabric is flat against the inner side of the hat.

Fold the edge of the lining towards the inside and then pin. I like to do this on opposite sides first, just like before. Try to go for straight fabric. Don’t try to stretch it out too much.
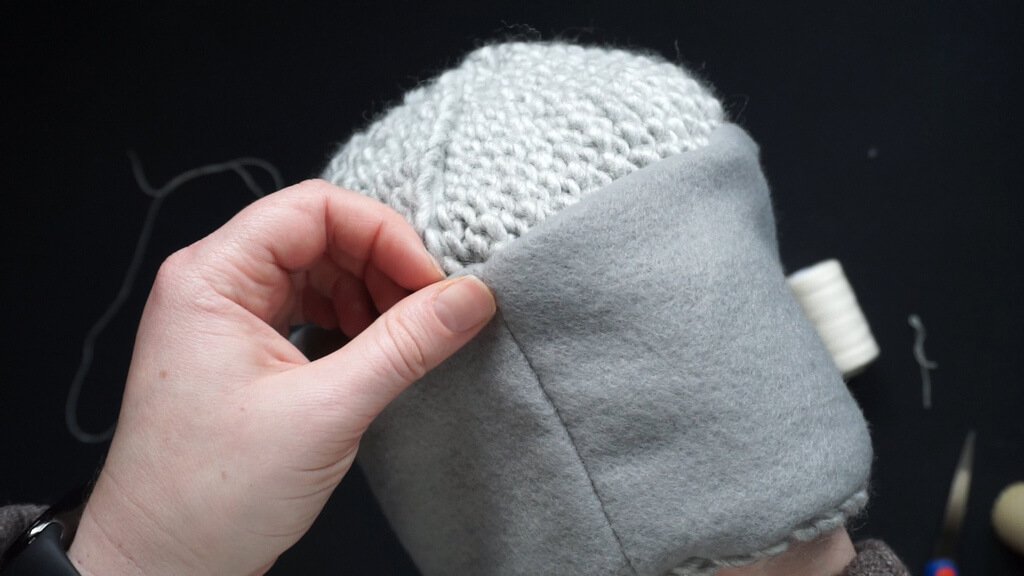
When you have finished pinning around, pick up your thread or prepare new thread if you have run out.
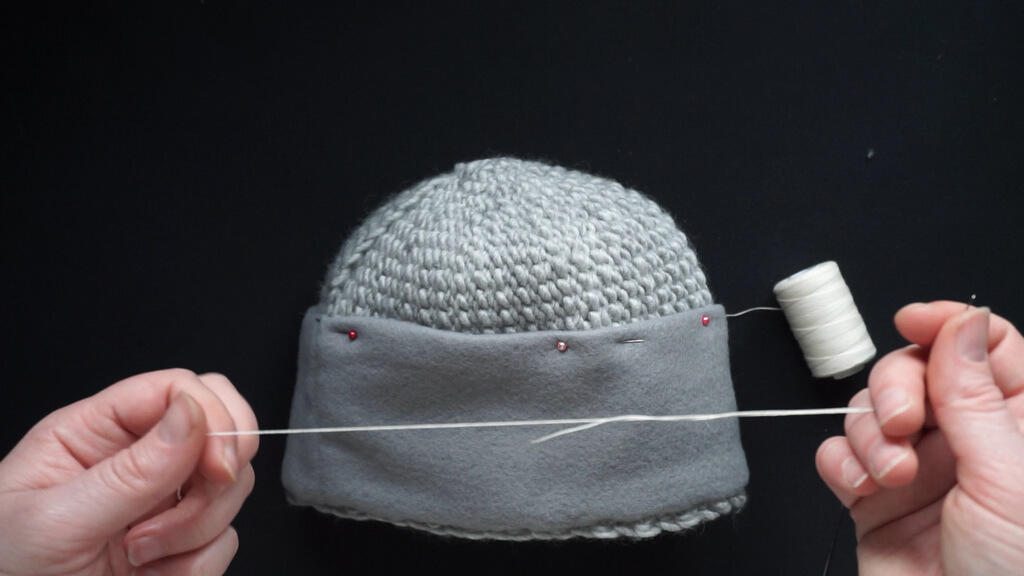
I like to hold the hat with my non dominant hand and feel the needle if it comes out in the other side. It should not, so I pull the needle back a bit if that happens.
Attach the thread with a knot on it from underneath the lining fabric, between the lining and the hat. This will hide the knot.
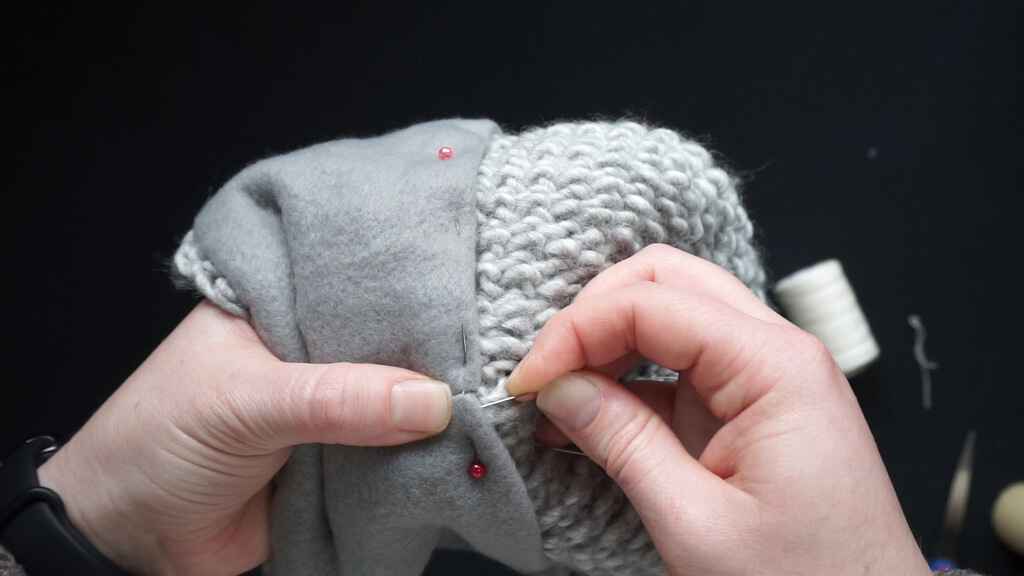
Go through the fabric of the hat on a diagonal, coming up again through the lining fabric, close to the edge.
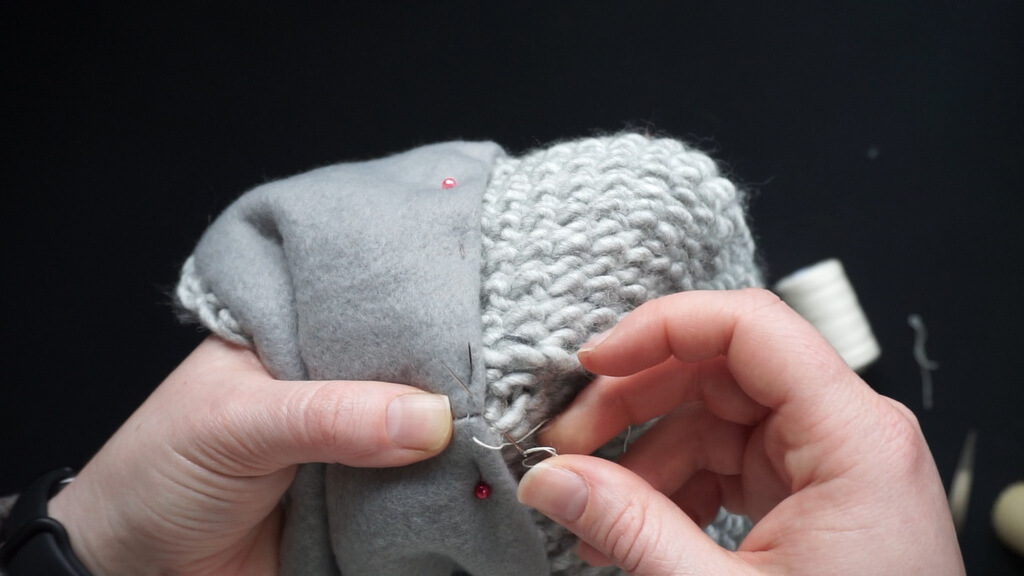
Repeat this process around, going into the hat, through it slightly on a diagonal, then coming up through the lining.
Don’t pull too hard on this thread, so you can still stretch the hat if needed. If you want to, you can secure the thread once in a while with a few stitches on the spot.
The small stitches should be nearly invisible, as they get lost in the fluffiness of the fabric and the back of the hat.
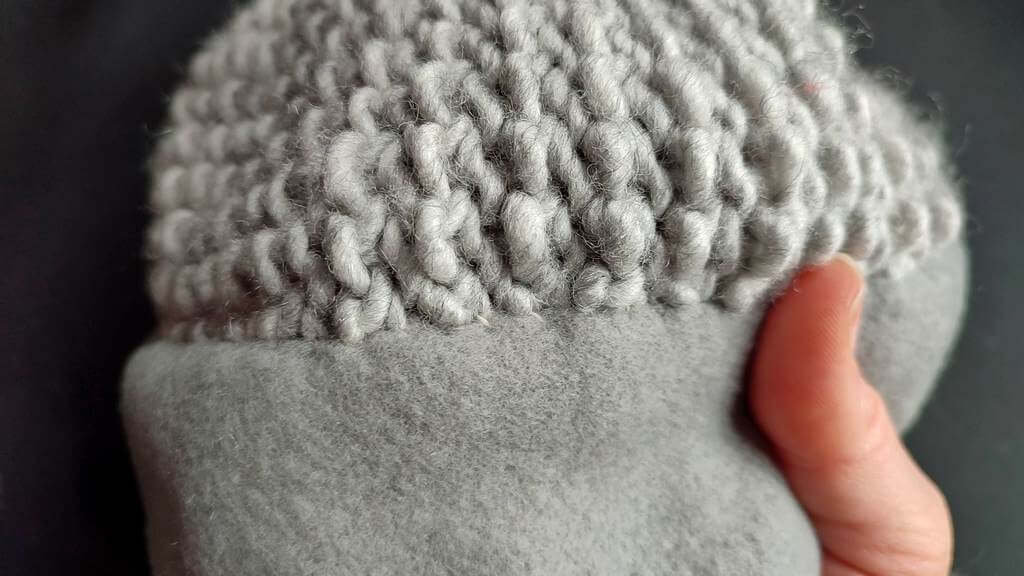
Once this seam is finished, the lining is complete and you can wear your lined hat. Or you can wash it and then wear.
This is how the added lining looks from the inside of the hat.
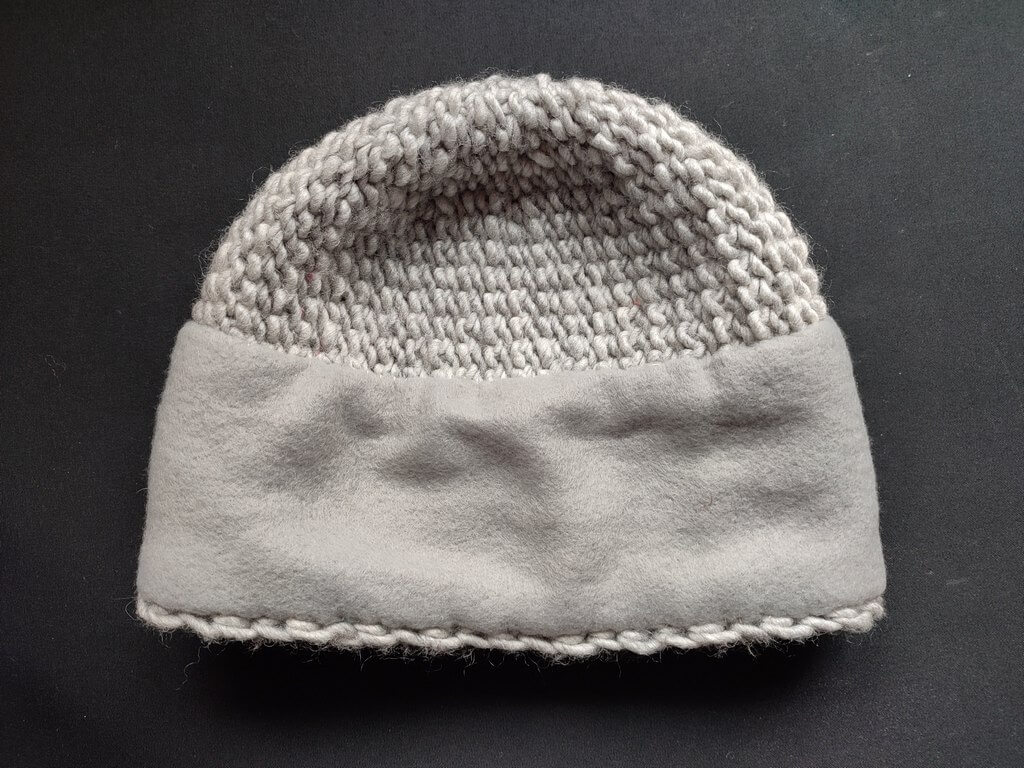
And this is how it looks from the outside. Can you tell the difference between the lined and the unlined beanie?
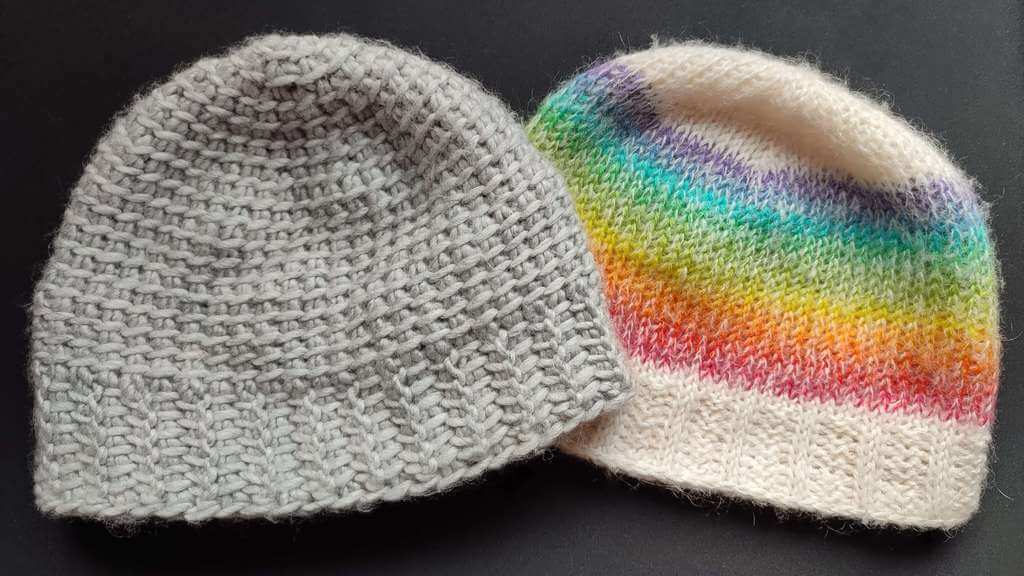
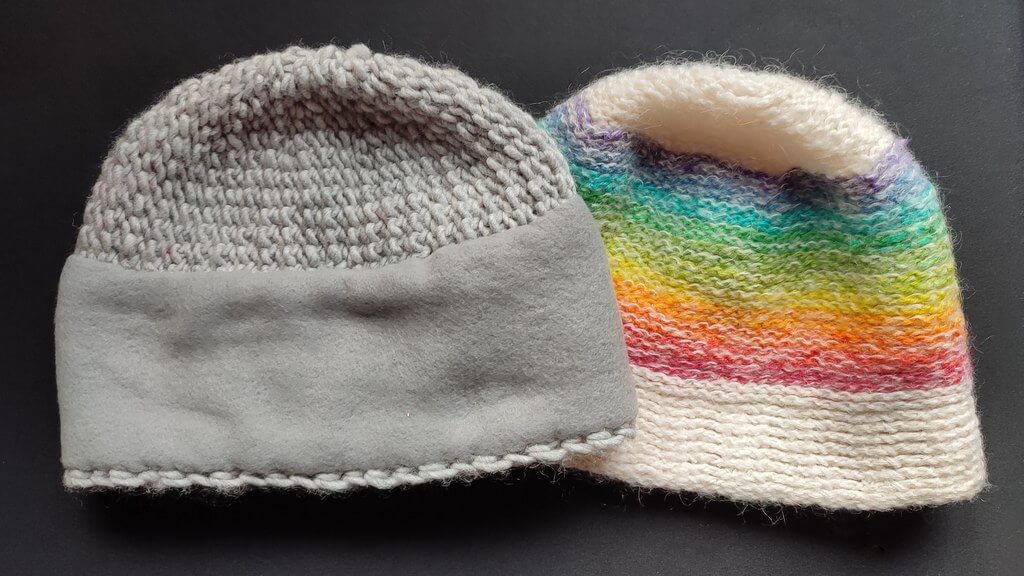
Here they are inside out. I will line the rainbow beanie with some white fleece using the same method.
If you’re interested in finding how to make the rainbow beanie or how to line other crochet projects with various types of fabric, subscribe to my email updates below and open those emails when I send them out every Friday.
Another pattern where you might use this method is this sideways Tunisian crochet beanie built in the same way as the chunky version.
I’m planning a few more projects of different shapes that I will line and I will show you how to do that for each type.
I’ve already shown you how to line a blanket with fleece using a crochet hook, so check that out if you are interested.
I hope this tutorial has been useful and that you will share it with your friends who like to make hats, but live in windy places.
Hugs,
Andrea
