In this simple flower granny square pattern, you’ll find full video instructions that will show you how to make a flat companion square to the Peony square. To get written instructions and all the other parts of the pattern, please buy a PDF copy of this pattern.
This article includes affiliate links to some recommended yarns. They may make me a small commission if you buy yarn using the links, without changing anything for you.
In this blog post, you’ll find full instructions for making a flat square that fits in perfectly with the Peony square that I showed you how to make in the previous blog post.
You could use this to complement or surround the 3D flower squares, or you can even use it on its own to make a delicate and lacy baby blanket or a full spread. You can use it together with other squares in a sampler blanket as well.
You are free to use this square in any kind of combination.
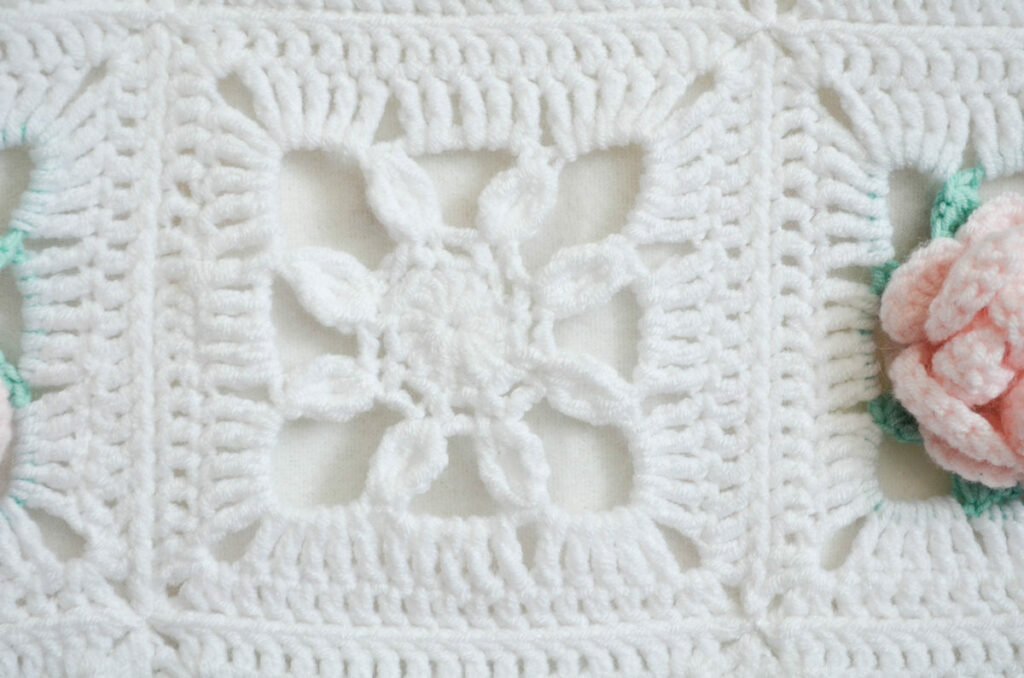
If you want instructions for the whole blanket, including the border, you can now get a PDF copy of this pattern from my shop.
You will find a PDF version of this pattern in my shop, on Ravelry (if Ravelry bothers you, but you want to use it, I came up with a workaround for the current themes that give people migraines), on Etsy, on Payhip and on Lovecrafts.
Notions
- Yarn for a simple square: Himalaya Enjoy yarn, 8 grams or about 24-25 meters.
- Hook: 4 mm hook or hook that works for your yarn.
- Tapestry needle.
- Scissors.

Stitches and other abbreviations
- BLO – back loop only;
- Ch – chain;
- Dc – double crochet;
- FLO – front loop only;
- MR – magic ring;
- Sc – single crochet;
- Sk – skip stitch;
- Sl St – slip stitch;
- St – stitch;
- Tr – treble crochet – YO, pull up a loop, repeat [YO and pull through 2 loops on hook] 3 times;
- YO – yarn-over
Difficulty
This pattern is not beginner friendly! It is rather for intermediate to advanced crocheters.
You need to know how to work in front and back loops of stitches, how to work multiple rows into stitches on the same row, how to make clusters and standing stitches (chains work too, but I don’t recommend them).
Observations
- The peony is made in essentially two rows. The first row is the foundation and all the other rows are worked into back and front loops of stitches on this row. Pay attention to which loop you need to work in for each row.
- You should use standing stitches wherever possible (detailed in videos).
- It’s better to weave in the ends after you finish working with each color. It will make working with the new color much easier.
- The video uses US terms. For US terms, please buy a copy of the PDF pattern.
Gauge and finished size
16 Dc across and 9 rows should give you a 10 cm by 10 cm or 4” by 4“ square.
One square measures 13 cm or 5” across.
The blanket consisting of 30 squares, arranged in a 5 by 6 grid will measure 65 cm by 78 cm or 25” by 30”, baby blanket size. Make more squares for a larger blanket.
Dear Peony flower granny square step by step video
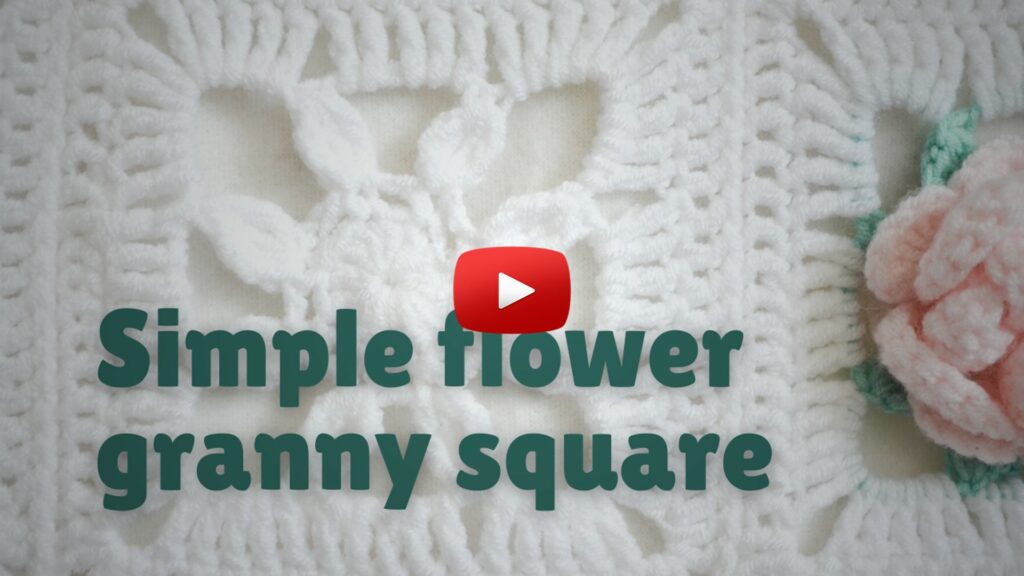
To make the square, please follow along with the video tutorial.
Click on the thumbnail to go to YouTube and follow along with the tutorial.
If you need captions, you can enable the manually created and edited closed captions that I created for this video by clicking on the CC button and you can even translate them into subtitles if you prefer watching the instructions in the video in another language.
Simple flower granny square instructions
R1. 16Dc in MR, Sl St into the top of the first Dc
R2. 1Sc, repeat [Ch3, Sk1, 1Sc in St] 7 times, Ch3, Sk1, Sl Sl into first Sc
Make the first cluster by using a standing Tr or Ch3.
R3. repeat {4Tr cluster, Ch6, 4Tr cluster, Ch8} 4 times, Sl St into top of first cluster.
R4. Standing Tr in the next Ch6 Sp, 4Tr in the same Ch6 Sp, repeat [{5Tr, Ch 2, 5Tr} in next Ch8 Sp, 5Tr in next Ch6 Sp] 3 times, {5Tr, Ch 2, 5Tr} in next Ch8 Sp, Ch2, Sl St into top of first Tr.
R5. Standing Dc in the same St, repeat [1Dc in each St to Ch2 Sp, {2Dc, Ch2, 2Dc} in Ch2 Sp] 4 times, 1Dc in each St to first St, Sl St into top of first Dc or make an invisible seam.
Cut off yarn and weave in the ends.
Final thoughts
If you want to add a backing to this blanket, I’ll have a separate blog post about backing blankets with fleece. I’ll update this blog post once that one is published.
There will also be another pattern video for the edging and another blog post and video that will show you how to unite the squares.
If you use Ravelry, you can add it to your project queue or make a project page and link it with the pattern page, so I can see what you make.
Keep close and sign up to my emails if you haven’t already (you’ll get a nice pattern too).
If you want more free patterns, check these out:
I’ll see you soon.
Be safe and healthy!
Hugs,
Andrea


1 thought on “Dear Peony – simple flower granny square pattern”