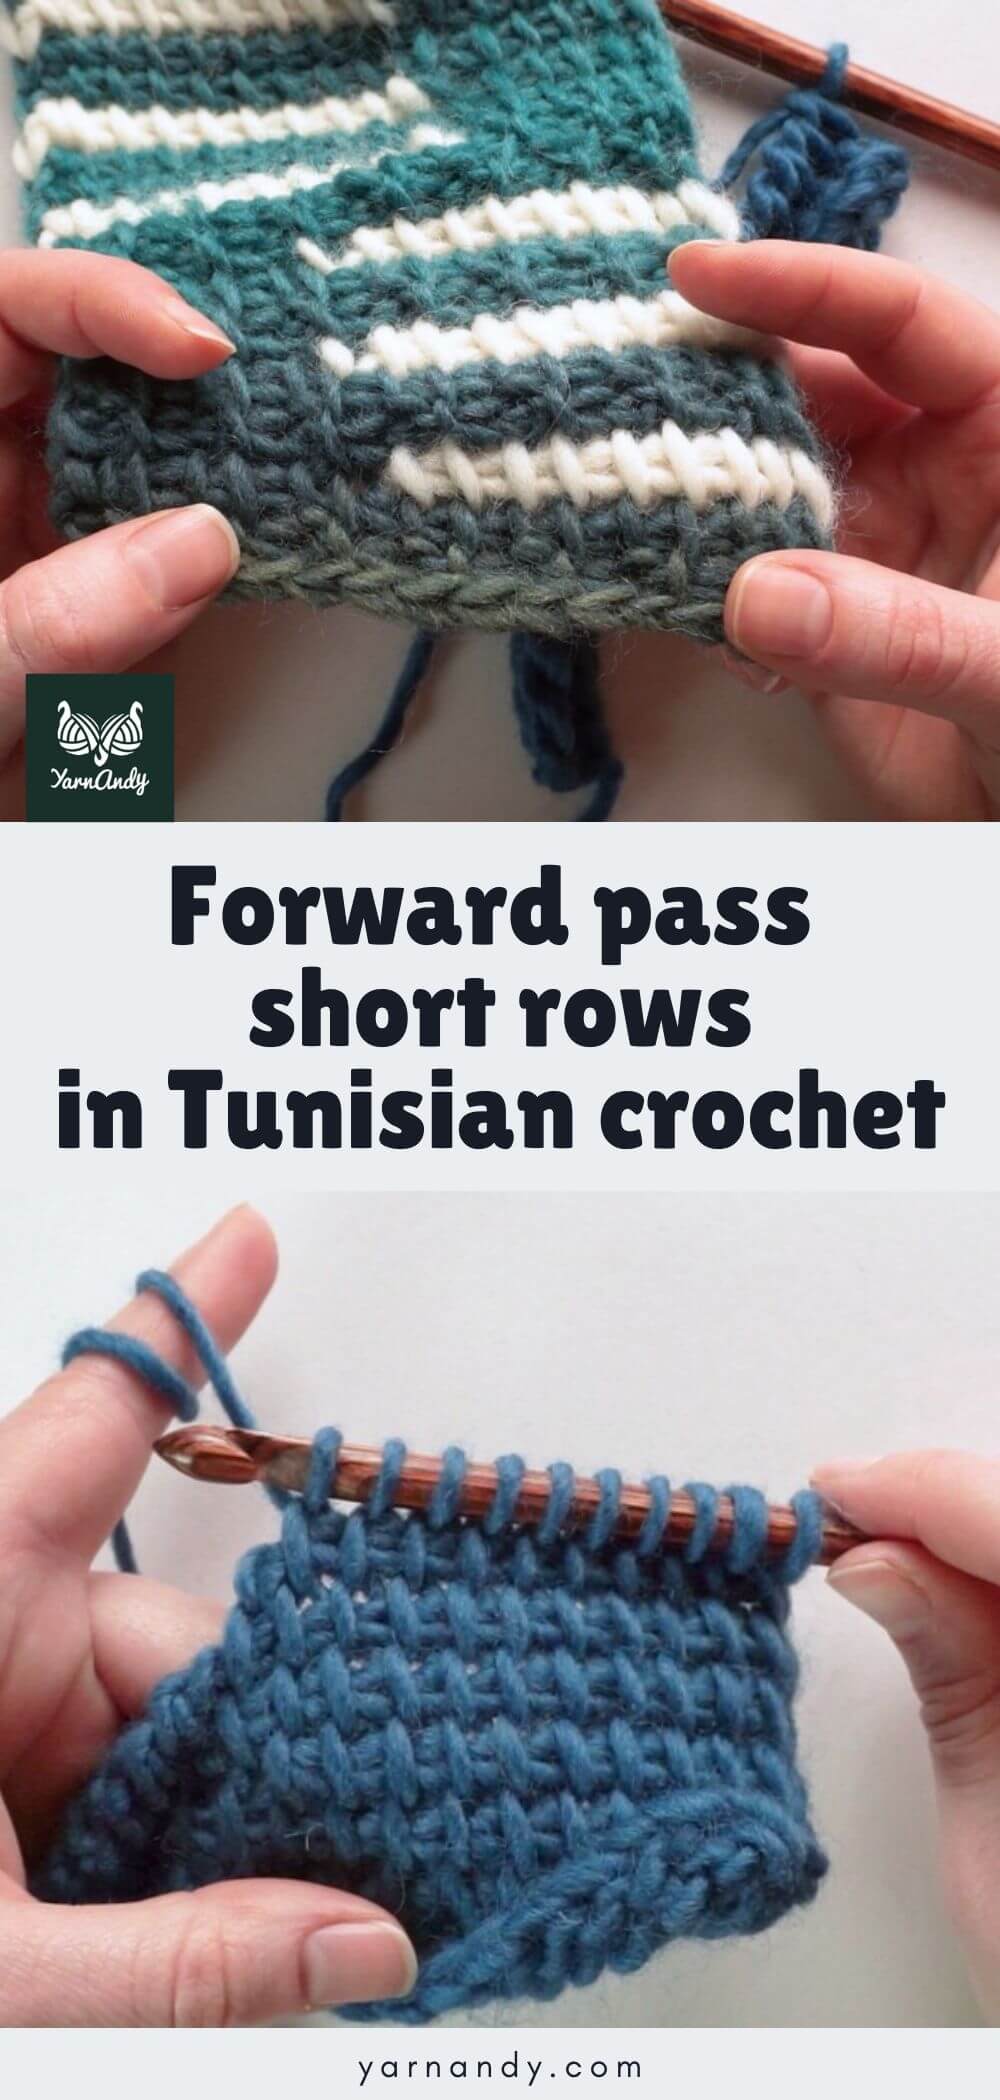
Learn how to make forward pass short rows in Tunisian crochet, which you can use for shaping garments, making circles or other items with curved edges.
When you want to shape Tunisian crochet fabric, one of the ways to do it is by using short rows.
The easiest method is working short rows on the forward pass, meaning that you pick up stitches and then stop before you reach the end of the row, starting a return pass.
There is also the option of picking up all the loops in the row and only making the return pass for several stitches, before picking up loops again, but that is called a return pass short row, and will be explained in a separate article.
There are multiple ways of making short rows in the forward pass in Tunisian crochet and I demonstrate 3 of these methods in a video tutorial, or in the sections below, with photos.
Contents
Forward pass short rows in Tunisian crochet video tutorials
If you prefer watching me make all the stitches, while explaining what I’m doing and why, pick up some yarn and a hook and follow along with the video tutorial.
The methods I present in this article are shown in the same order as in the video tutorials.
Right handed tutorial
Left handed tutorial
What are forward pass short rows used for?
You will find this type of short row used in a lot of projects, either to add shaping to a flat project, or to create the shape of the item.
You can use them to make rounded shapes, like in the case of all the scrubbies and coasters that you can find here on the blog.
Some examples include the Tunisian crochet face scrubby, the little sun coaster and the citrus slice coaster.
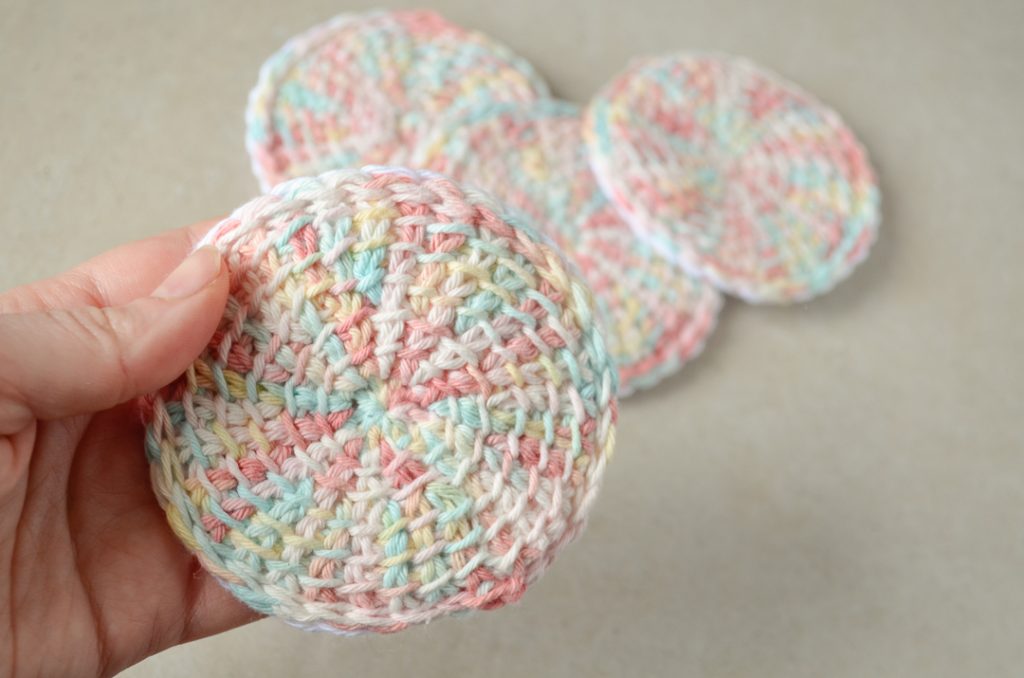
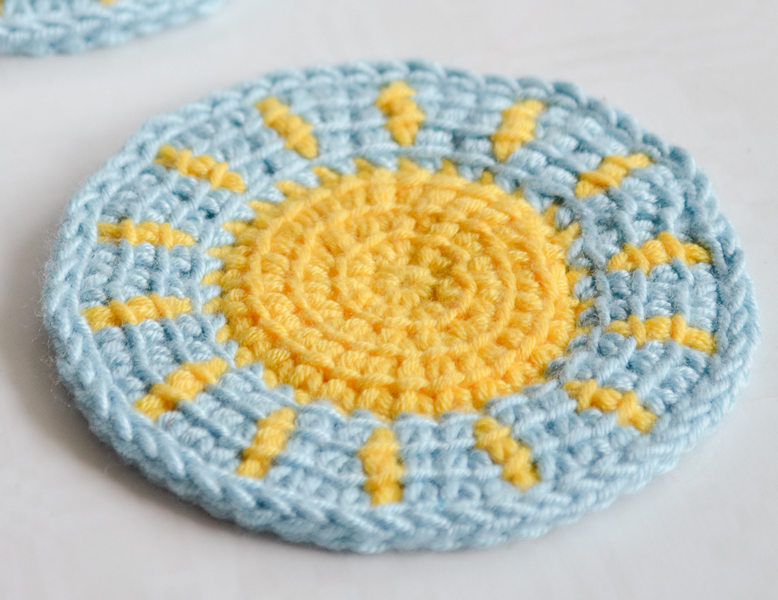
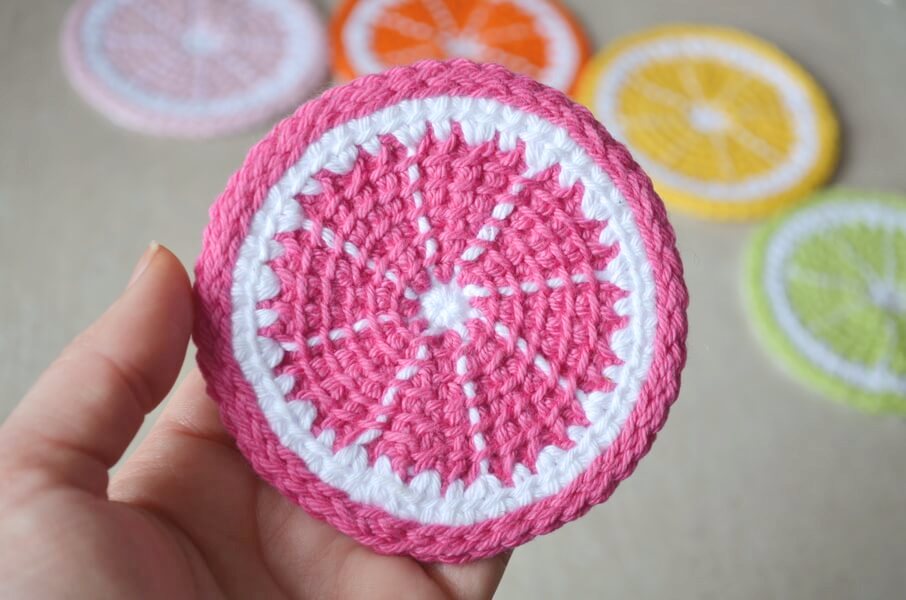
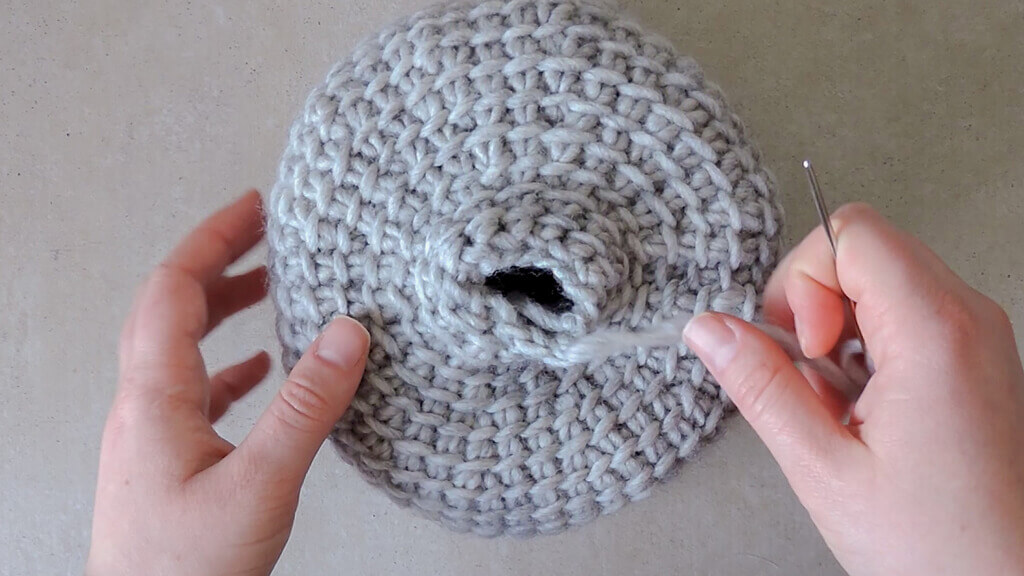
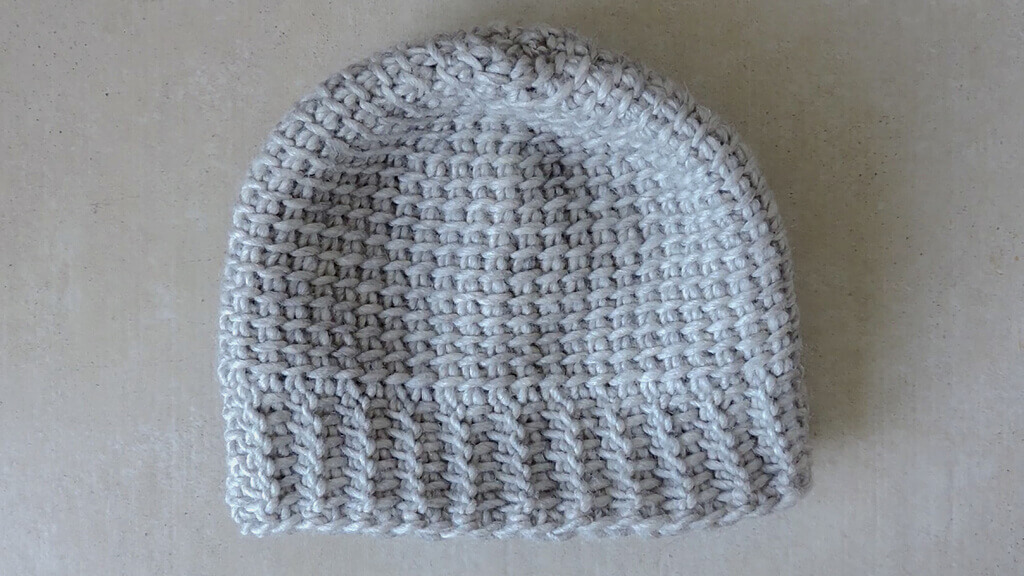
When working sideways, you can use short rows to shape the crown of hats and beanies, like in the linked pattern.
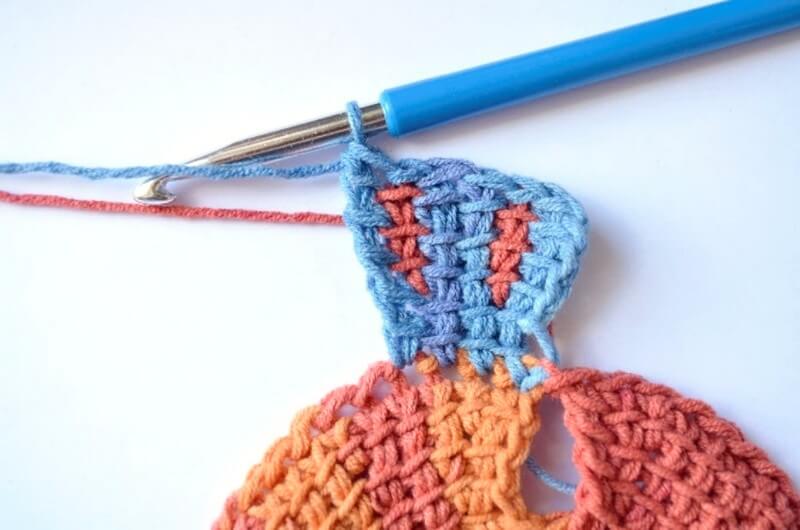
You can also turn corners with Tunisian crochet forward pass short rows, like in this sun square pattern that first uses the short rows to make concentric circles, then uses them to make the circle into a square.
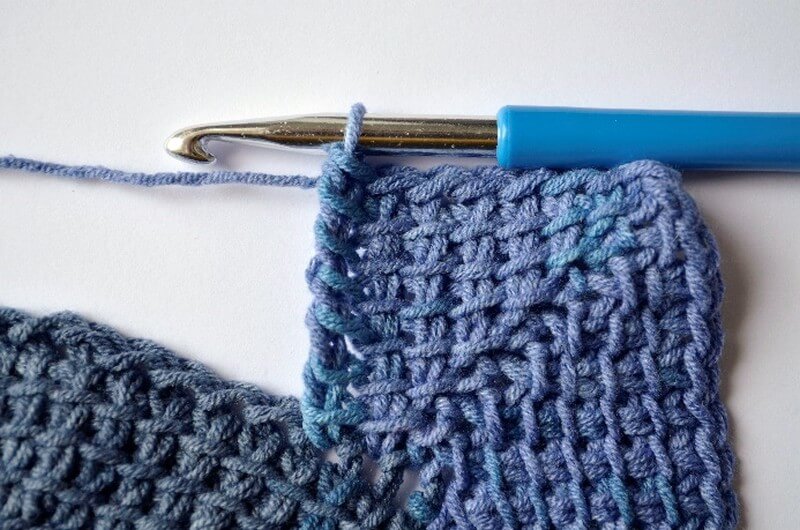
The same kind of short rows are used when adding a non curling border to Tunisian crochet projects.
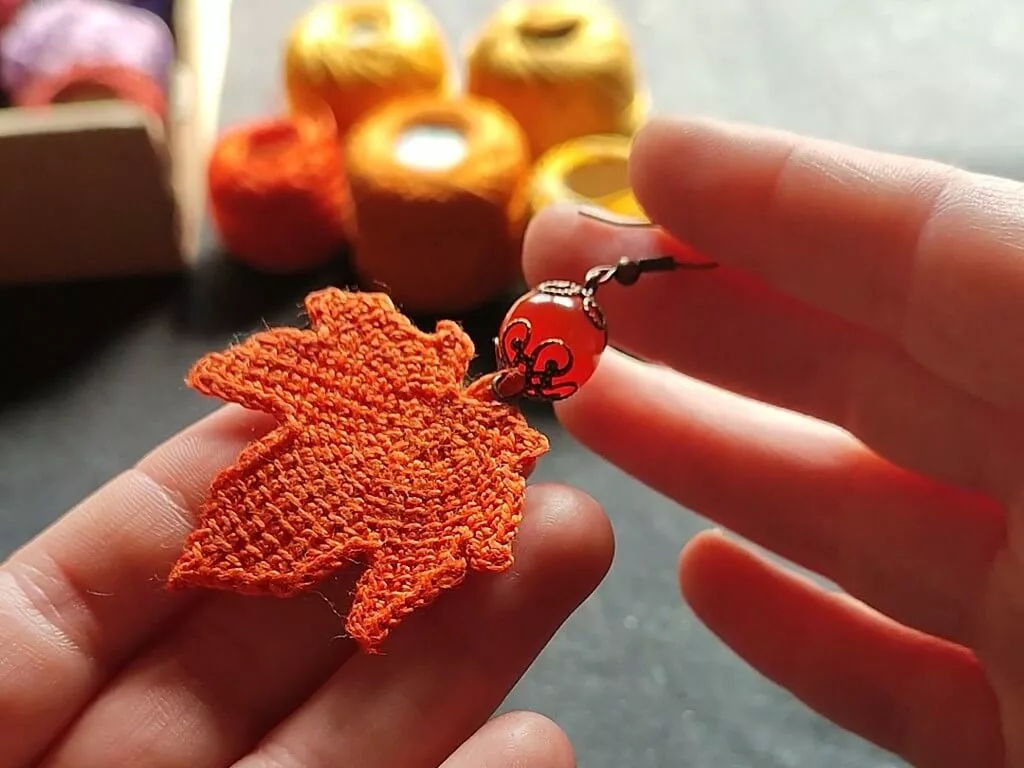
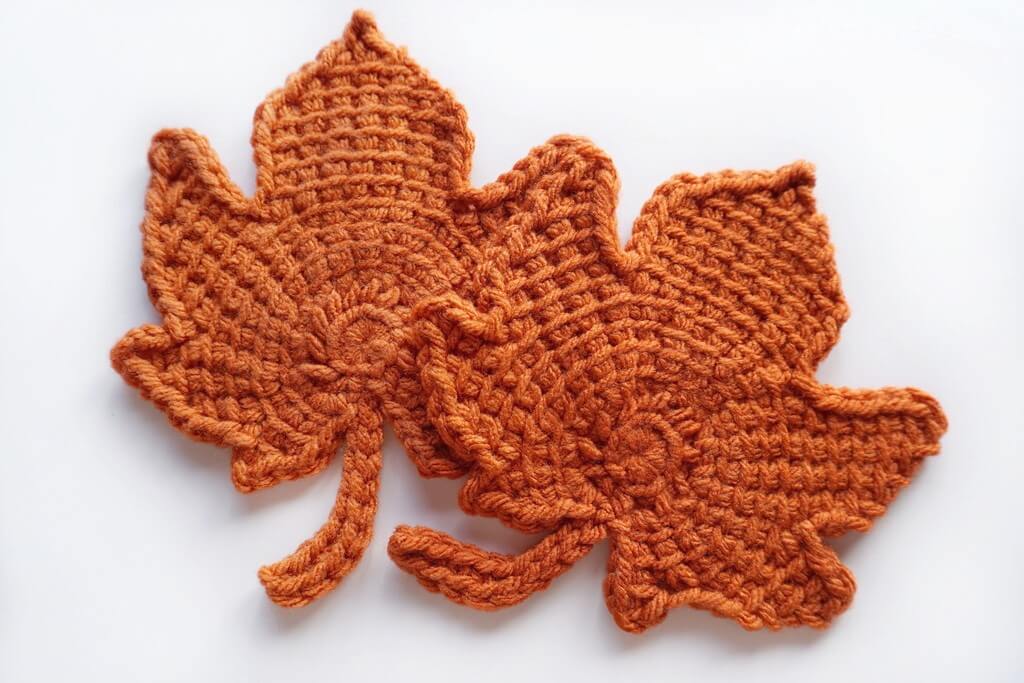
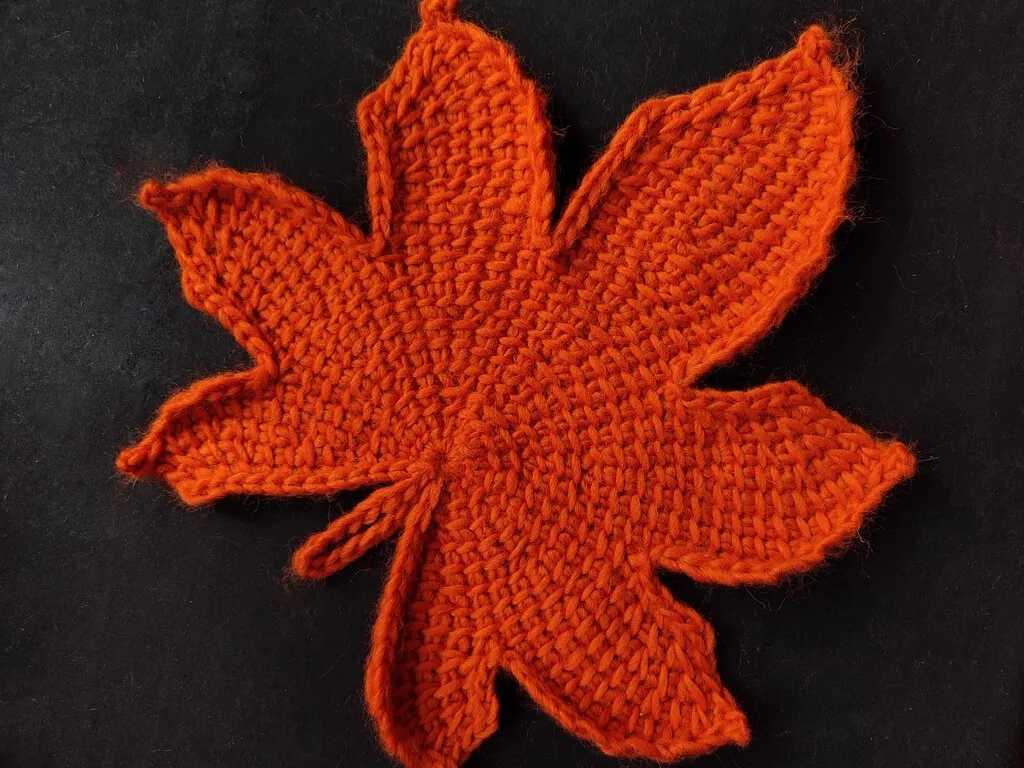
Another use is for making interesting shapes, like the shape of a leaf used in the fall leaf garland pattern or the felted leaf pot holder.
Another use for short rows is in creating rounded shapes, but not necessarily circles, like before. The Macaw wings shawl is built with short rows and full rows that create a wide edge at the top of the shawl.
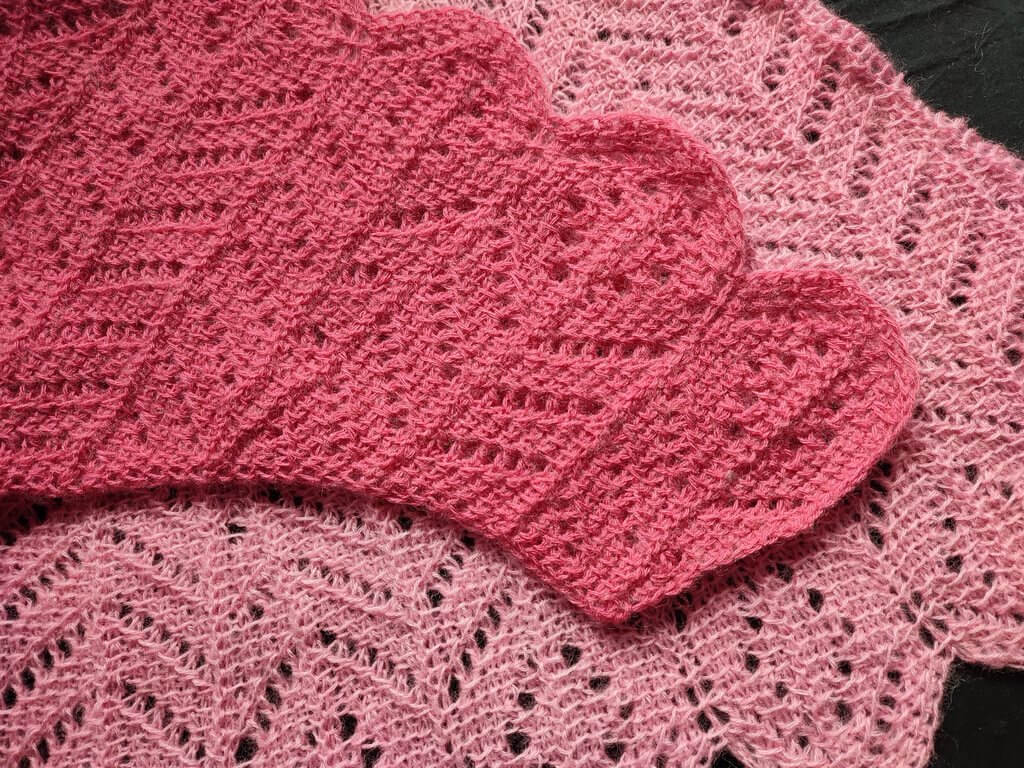
These are all patterns that are available for free here on the blog and you can try them out after learning how to make short rows.
One more important use of forward pass short rows is when making middle of the row short rows, which can be used for shaping the bust or the shoulders of garments.
If making cardigans, you can also use these short rows on one side of the front to make space for the bust. On the other side of the front, you’ll need to use return pass short rows to add the same volume.
My favorite way of making forward pass short rows in Tunisian crochet
My favorite method of making short rows in the forward pass is also the easiest, in my opinion.
It creates a wedge-like shape at the end of the short row, which fits neatly between the row below and the row above the short row.
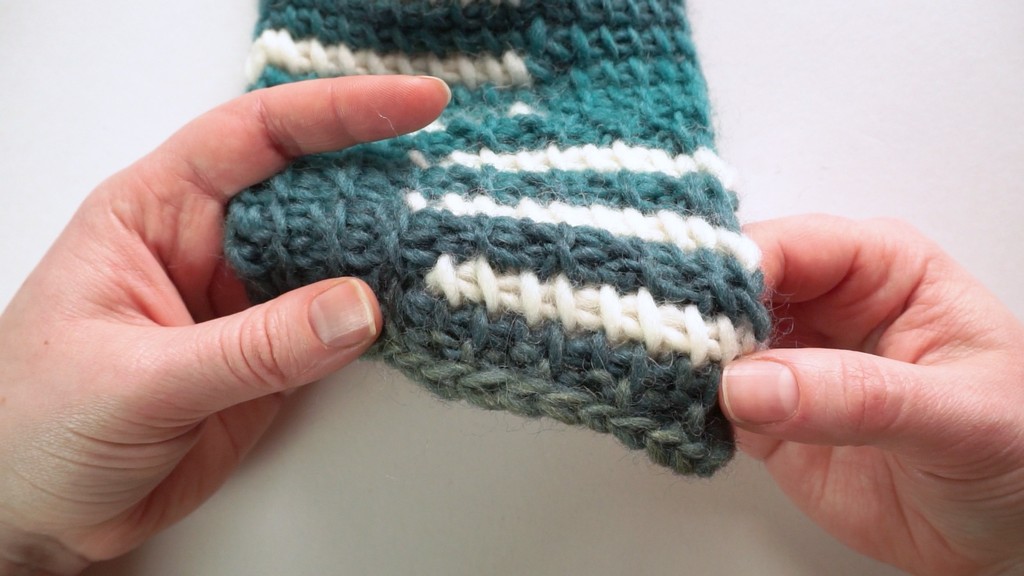
To make this kind of short row, you obviously need a foundation. Here’s how to make a foundation row in Tunisian crochet in 4 different ways.
In general, the foundation row must have more stitches than the short row, but there are also exceptions, like when you make the foundation row a short row. This is used in the Macaw wings shawl pattern (see above).
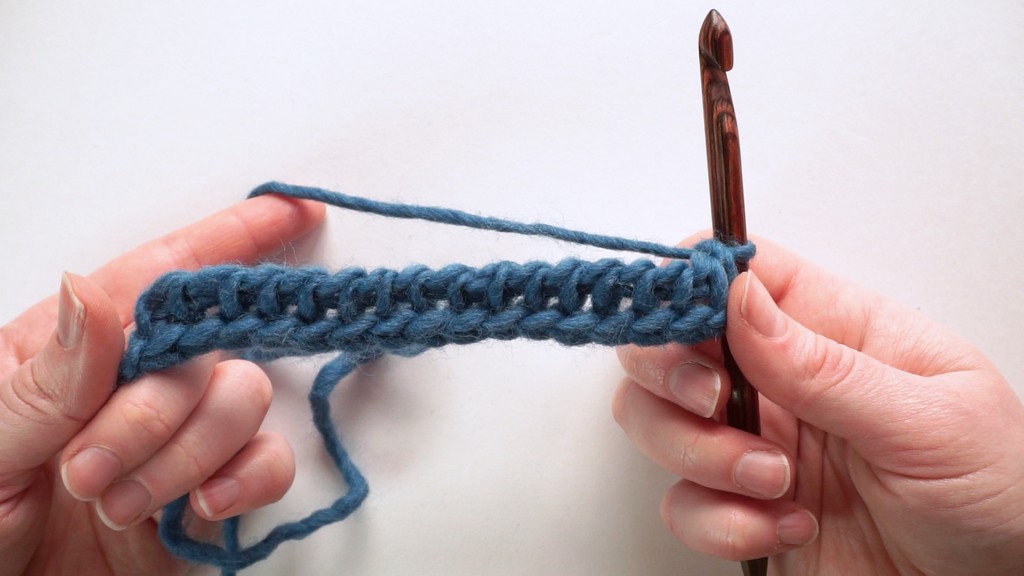
Once you have your foundation, you start the second row. You pick up loops in the foundation row to make your stitches.
For this example, we are using Tunisian simple stitches, but these can be any kind of stitch, as seen again in the Macaw wings shawl, where some short rows are made with Tunisian purl stitches.
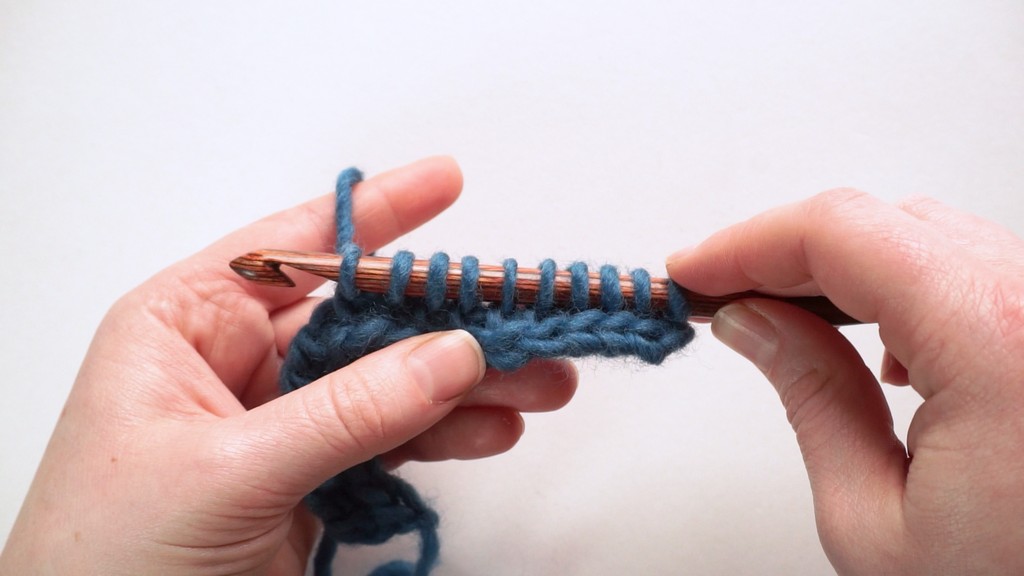
It is important to control the number of stitches you want in the short row. If you want 10 stitches, for example, you will need to pick up 11 loops, for a total of 12 loops on the hook before you begin the return pass.
The reason for this is that the last loop will not be counted as a stitch in the short row. It will, instead, be considered the first return pass chain.
You then begin the return pass, but this is a modified version of the return pass.
Instead of making a chain and then repeating the yarn over, pull through 2 loops on the hook, you start with the yarn over, pull through 2 loops on the hook and continue until you have 1 loop left on the hook.
This way, the end of the short row is narrow and has that wedge shape.
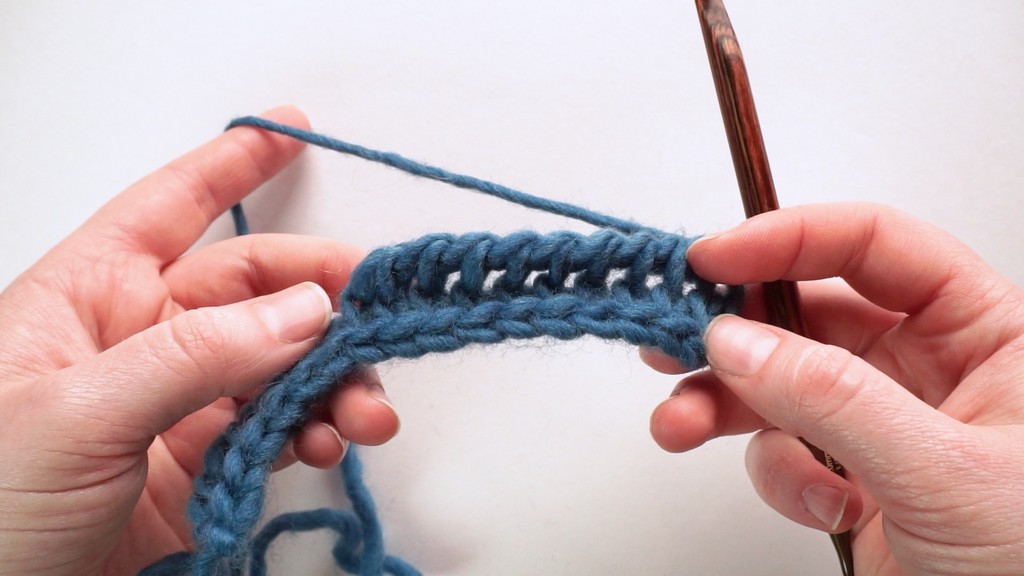
On the following row, when you reach the last actual stitch of the short row, you work into it, then you pick up a loop in the next stitch on the row below, the same stitch where you picked up the loop that became the first chain in the return pass of the short row.
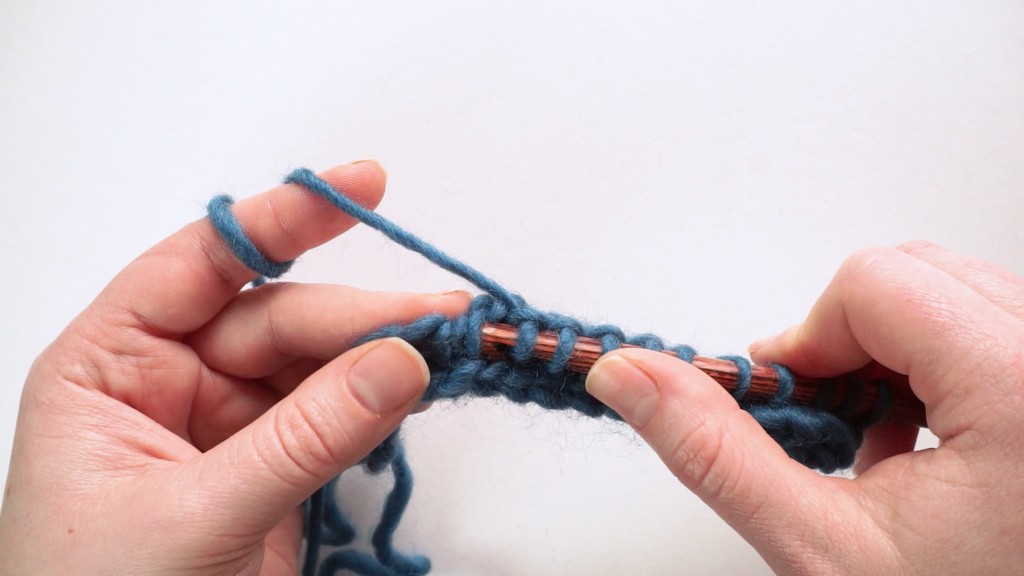
I like to go with the hook behind the horizontal loop as well, even when working Tunisian simple stitches, as it creates a more secure transition in that point.
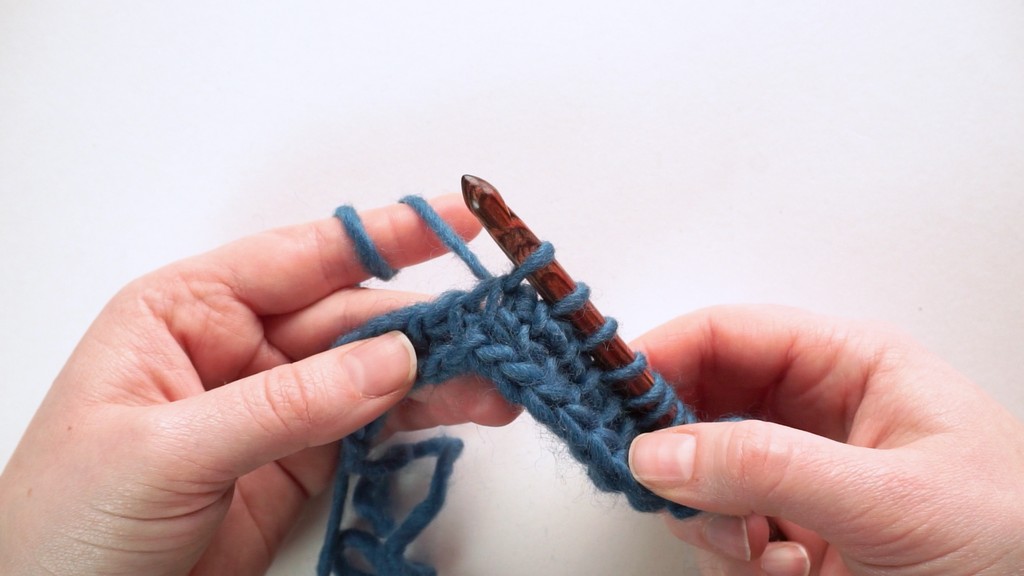
Continue picking up loops in the row below, as per your pattern.
It’s important to keep in mind that this type of forward pass short row is defined by both the return pass in the actual short row (a short row return pass, you will see it noted as SRR in my patterns) and what you do on the next row, when you reach the last stitch.
You will see in the following methods of making short rows that this changes and it influences the way the short row looks.
Second method of making forward pass short rows
For this second method, the short row itself is made in the same manner as in the first method.
What changes is how you pick up loops for the row after the short row.
When you reach the end of the short row, instead of picking up a loop in the same stitch where you picked up the last stitch for the short row, you pick up the loop in the last loop of the short row, which became the first chain of the return pass of that short row.
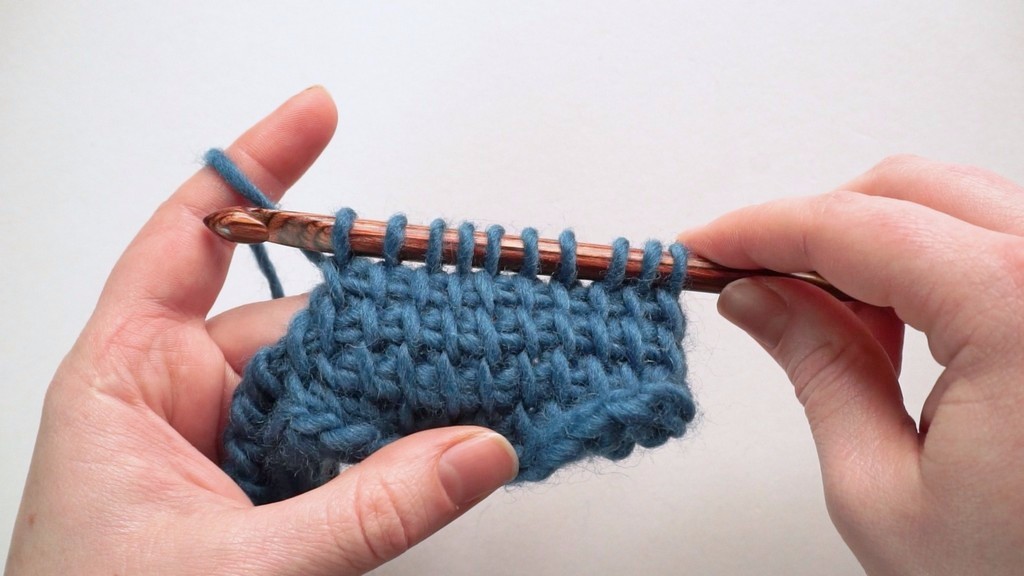
You go with the hook behind the two crossed vertical loops (in practice they are diagonal) and pick up a loop.
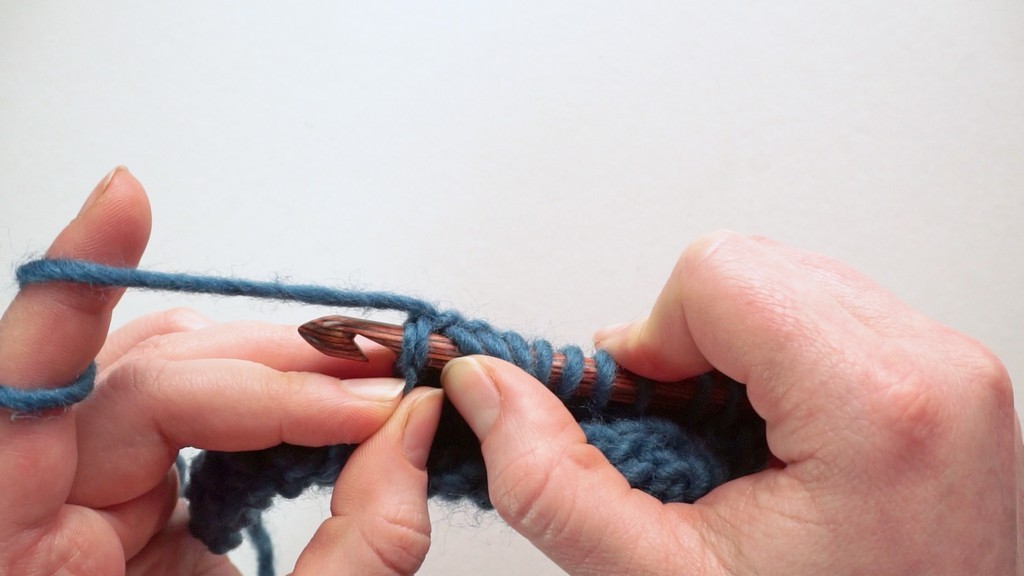
You then move on to the next unworked stitch on the row below the short row, to continue picking up stitches.
This second method makes a small raised loop to show up at the end of the short row.
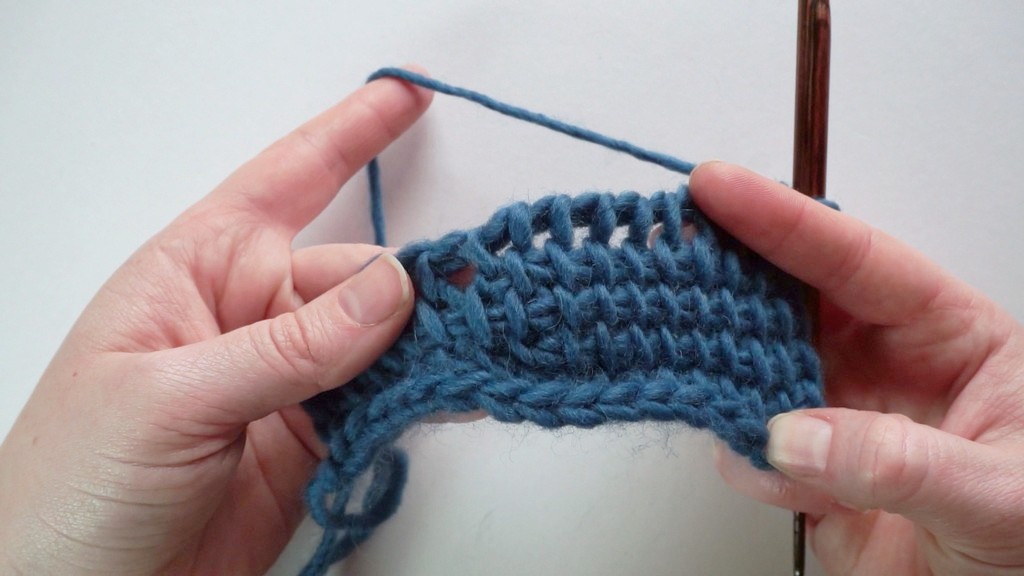
I use this method when working stacked short rows in summer top patterns, as seen in this tutorial (with left handed version here), where they all have the same stitch count, but you essentially make a short row return pass on a regular row.
You use a regular return pass to finish off the row.
These kinds of short rows are useful when making straps or other projects where the edges need to be tight.
But you will also see this type of short row used by other designers, so keep in mind that this kind of short row makes as many stitches as many loops you pick up, not like in the method before, where one loop is not counted as a stitch.
For example, in this case, if you pick up 10 loops, for a total of 11 loops on the hook, your short row will have 10 stitches (we don’t count the first loop on the hook as a stitch).
Third method of making forward pass short rows
This method is a mix of the two before, where the short row itself is identical and we only change what happens when working the row after the short row.
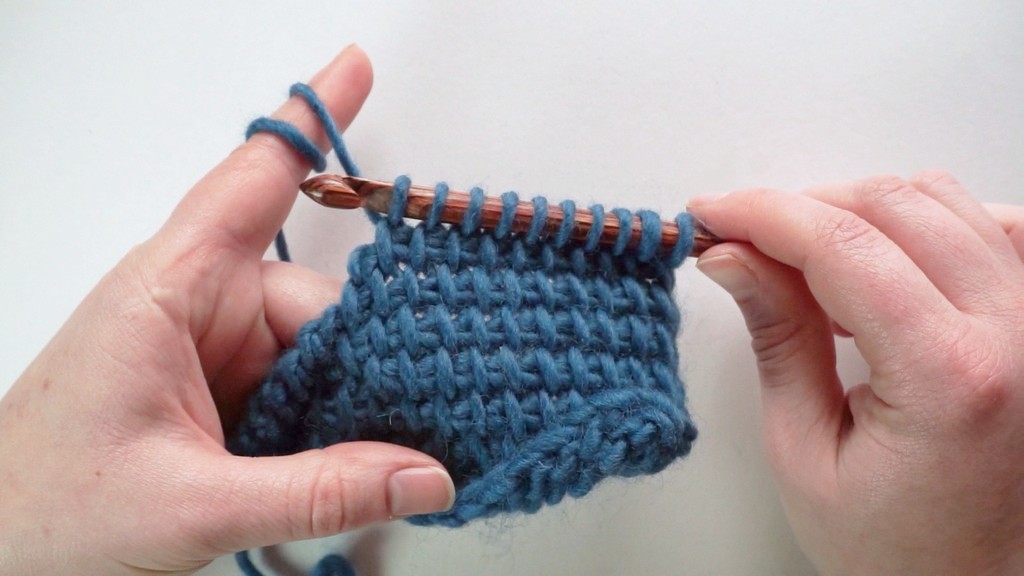
In this method, when you reach the last loop of the short row, you go with the hook behind the front vertical bar of this last loop, then behind the front vertical bar of the loop of the stitch on the row below, the one into which you picked up the last loop of the short row, then you pick up a loop.
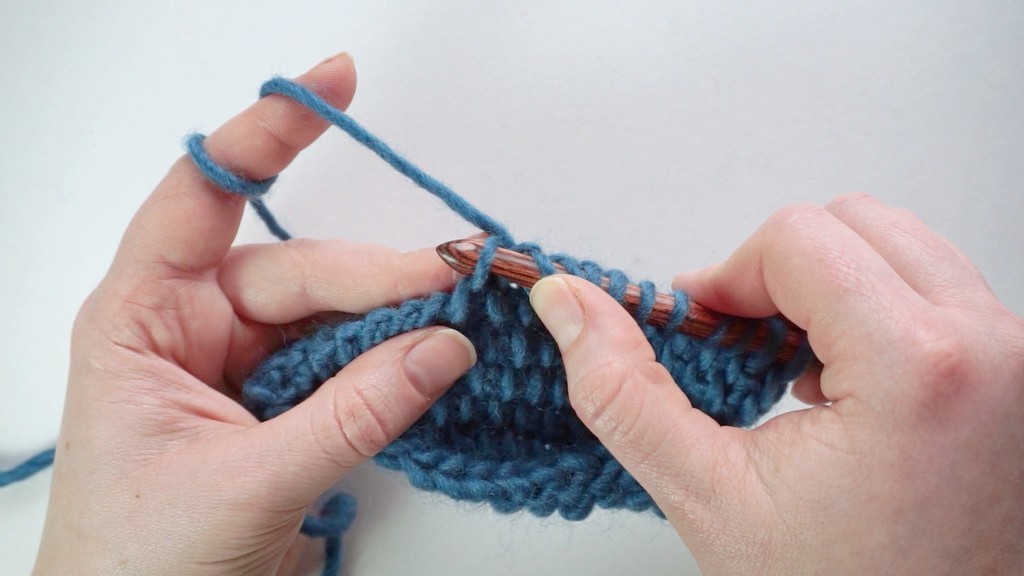
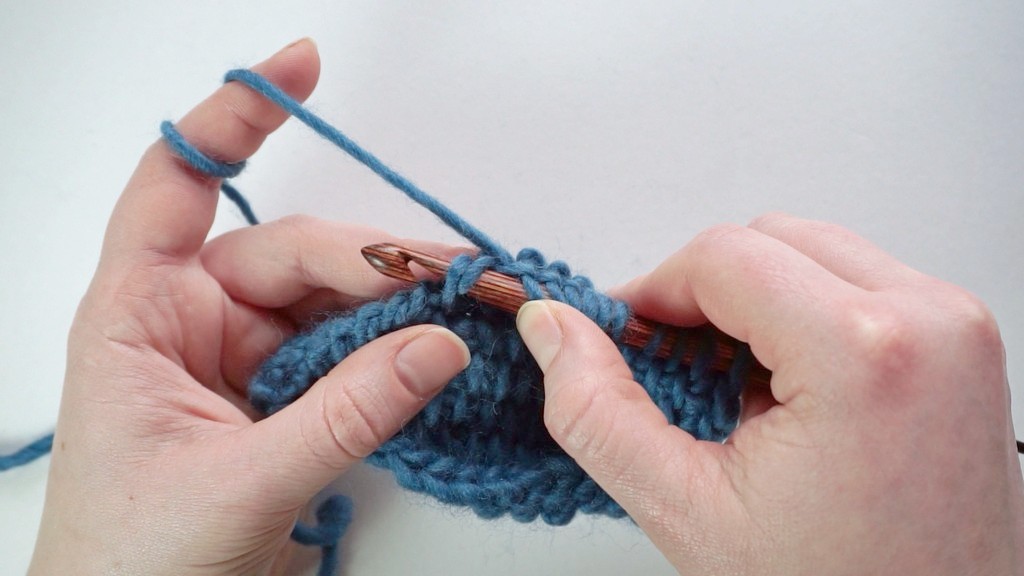
I’d also go with the hook behind the front horizontal bar of that stitch as well, for a more secure stitch.
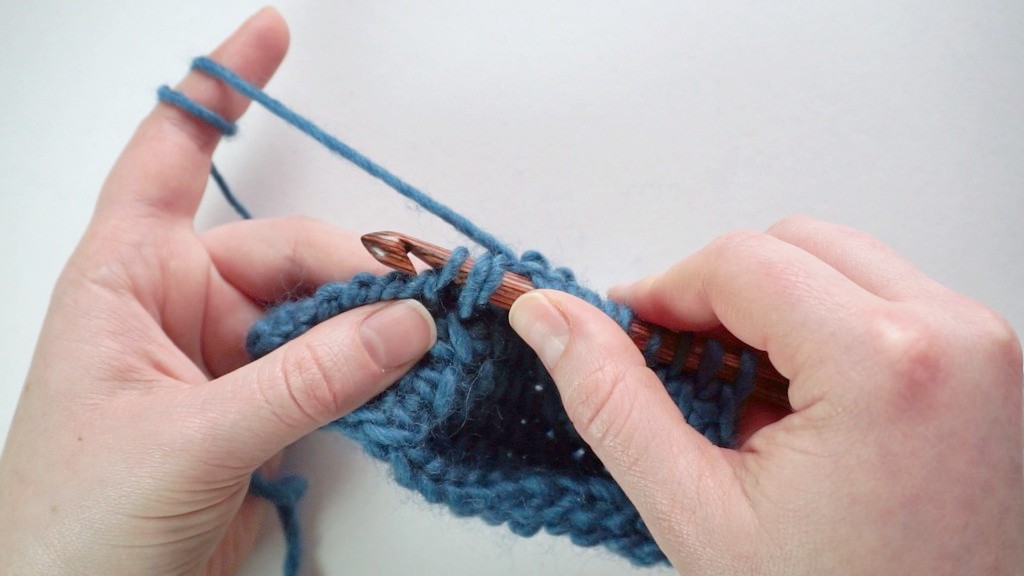
Once the stitch is done, continue in pattern.
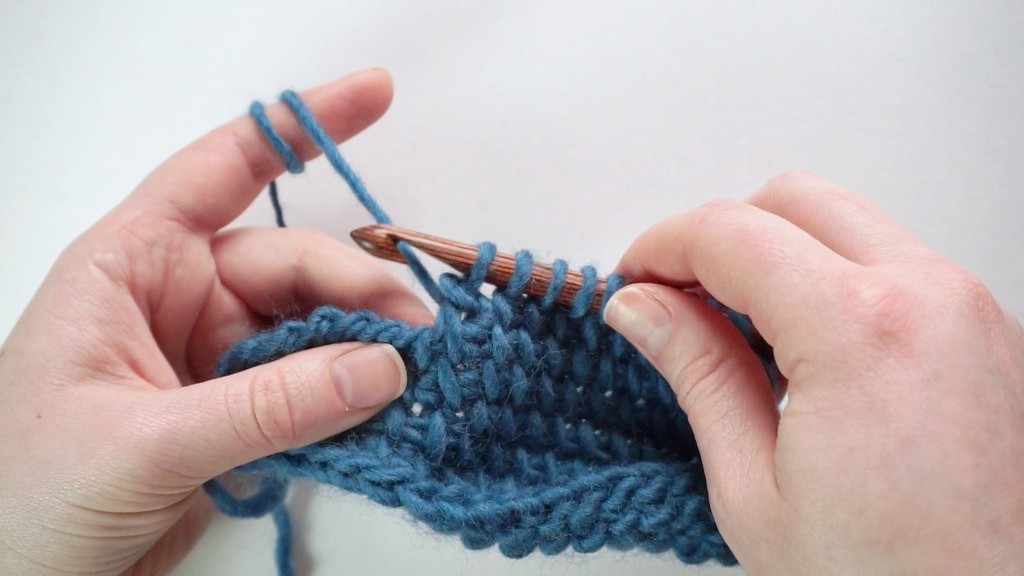
You use a regular return pass to finish off the row.
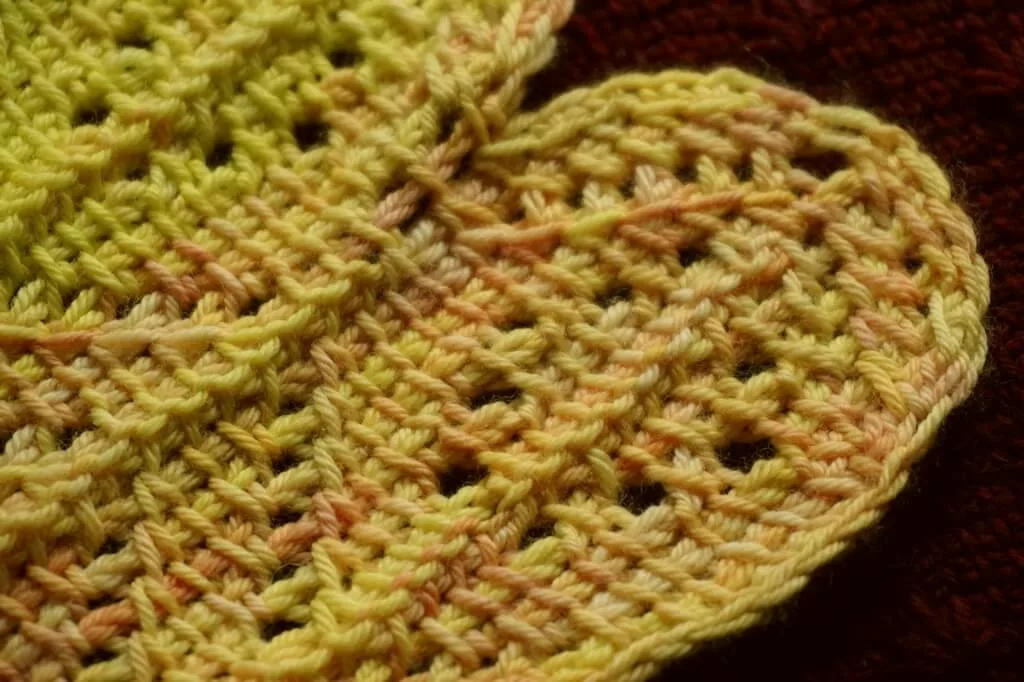
This method also makes the same amount of stitches as loops picked up, just like the previous method, but it also makes a loop show on the front of the work, as seen in the image below.
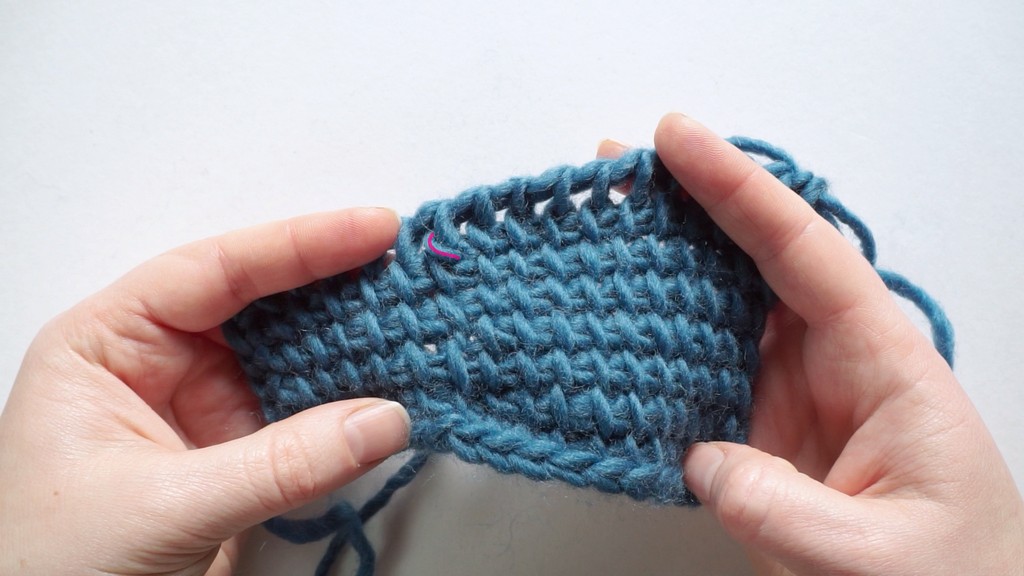
I don’t like the way this extra loop looks, so I would not use this method.
Forward pass short rows when working in the round
While writing this tutorial, I realized that I never thought about short rows when working in the round, as I rarely use this method (for now).
There are several ways of working in the round, either with double ended hooks or with a single ended hook with a cable.
When using a single ended hook, the process is identical to the methods I discuss above, since you use one yarn at a time and work with one hook.
But when working with a double ended hook, you use a separate yarn for the return pass.
Your short rows will have to be made with the same hook end and the same yarn as the forward pass, so pay attention if using different colors for the forward and return pass.
You’ll also need to choose a method of working return pass short rows, since you will essentially be making middle of the row (or round in this case) short rows, so check out that other tutorial to pick a method that you like for making return pass short rows in Tunisian crochet.
Final remarks
That’s it for this tutorial on Tunisian crochet short rows worked in the forward pass.
There are other methods of making short rows, with chaining 1 at the end of the short row, for example, but I’m not a fan of those, so I did not see it necessary to demonstrate them.
You can obviously experiment and explore more ways of making short rows. It certainly is still an unexplored world in terms of what is possible with Tunisian crochet.
Let me know in the comments here or on the videos which method is your favorite and share your projects made with my patterns that include short rows on social media, tagging me @yarnandy.
I am working on developing more patterns with short rows, as they really are a wonderful way of creating shapes in Tunisian crochet, much easier than in both knitting and regular crochet.
Subscribe to my email updates if you want to know how to use these short rows to make bust shaping in garments (updated guide coming soon) and to know when all the other tutorials related to more advanced skills in Tunisian crochet are coming out.
Save this page to come back to it later.
Thank you for reading and I’ll see you around!
Hugs,
Andrea
