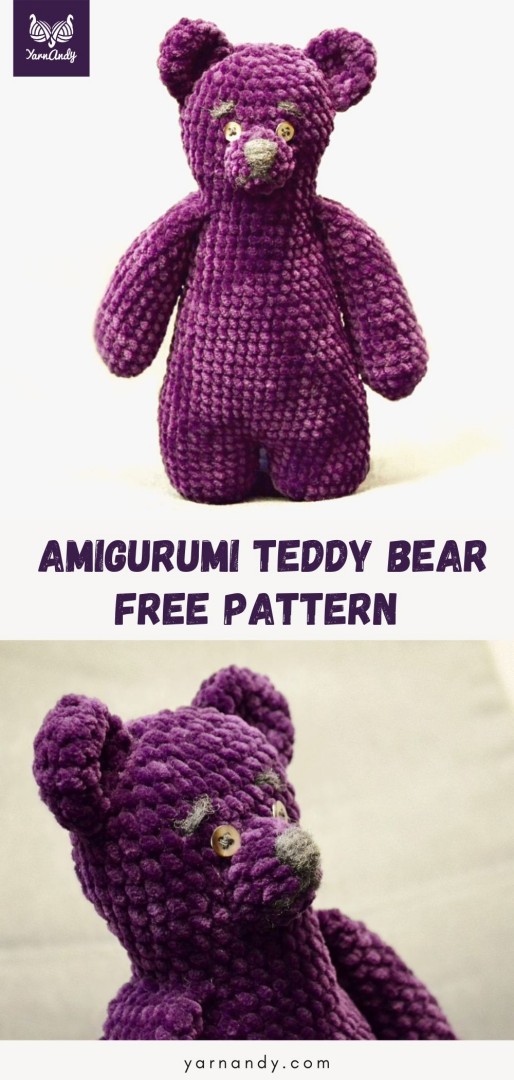
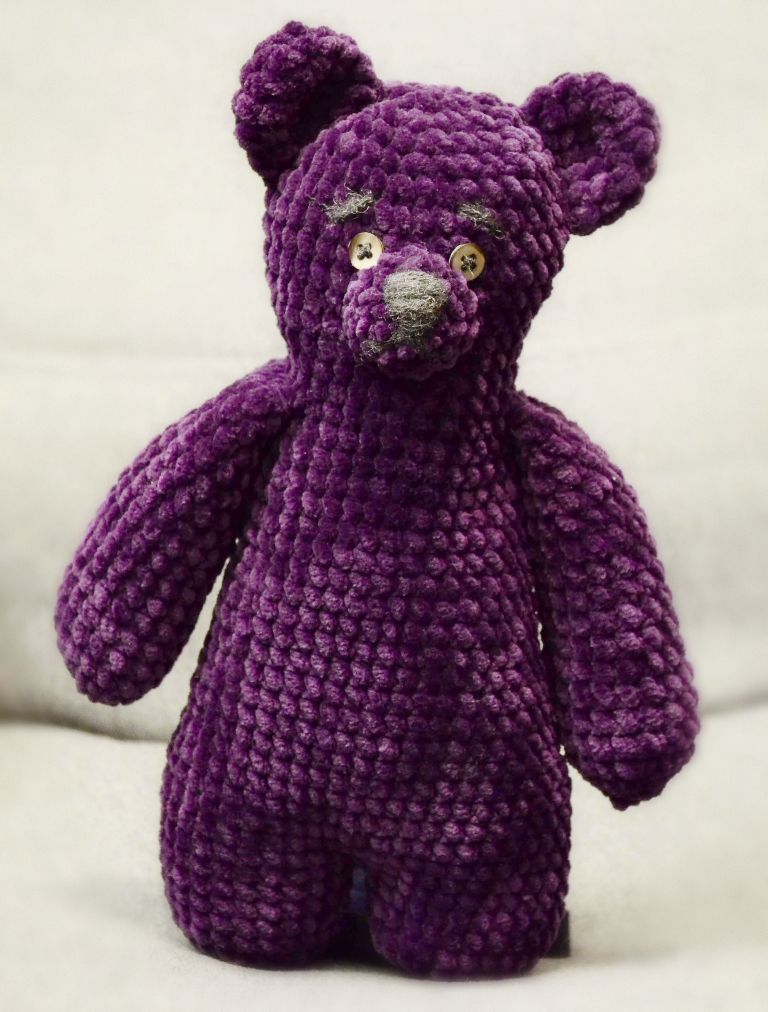
Make a soft and cuddly amigurumi teddy bear toy with chenille yarn or a smaller toy for a toddler using DK weight wool using this free and super easy crochet teddy pattern. You can choose between two arm styles – long and floppy or short and sturdy.
Notice: This pattern was originally published on gradinacufluturi.ro, my older website. I’ve updated it to reflect my current pattern writing style and to make it easier to follow.
Contents
The story of this big amigurumi teddy bear
This “big” teddy was my first completed amigurumi pattern. I have another pattern for a smaller teddy, which I’ll update and publish soon as well.
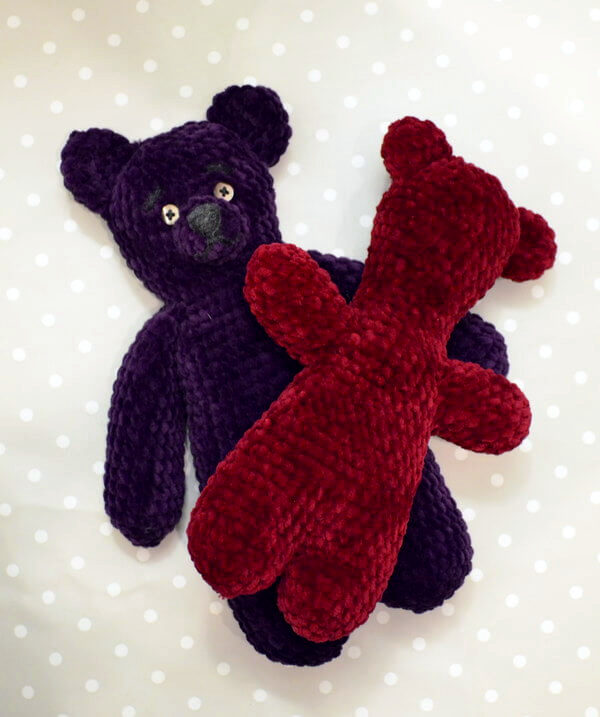
I was trying to recreate a childhood teddy of mine that my mother had sewn out of soft red velvet fabric. It had purple sequin eyes and I loved that teddy to pieces.
It was quite small, but extremely soft and quite elastic. It was made of two pieces, a front and a back.
I tried to recreate it in some cashmere felt for one of my nephews. I sewed on the eyes and the two buttons and added some lavender inside.
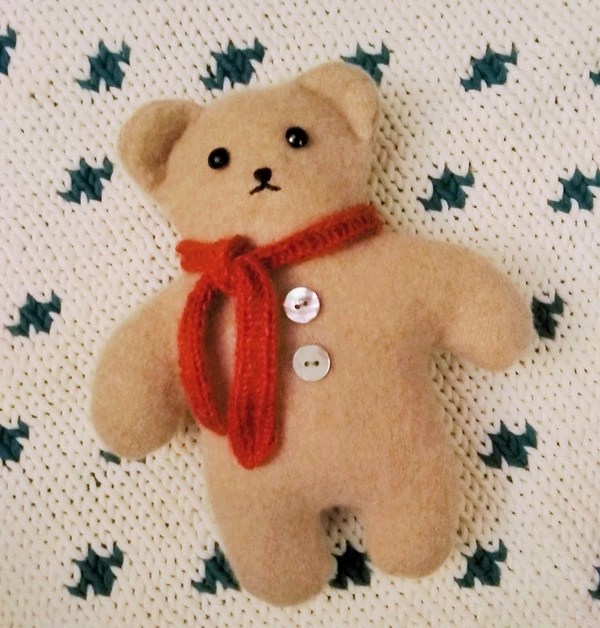
I should make a tutorial for one of these, with the pattern too. Should be fun.
This was before I had lots of experience working with chenille yarn, so frogging was out of the question.
As I was developing the pattern and working out the math for a bear that was the right size and had reasonable proportions, I managed to make two versions, a larger and smaller size.
So this pattern is actually composed of two patterns that make bears of similar size using different yarns or bears of different sizes using the same yarn.
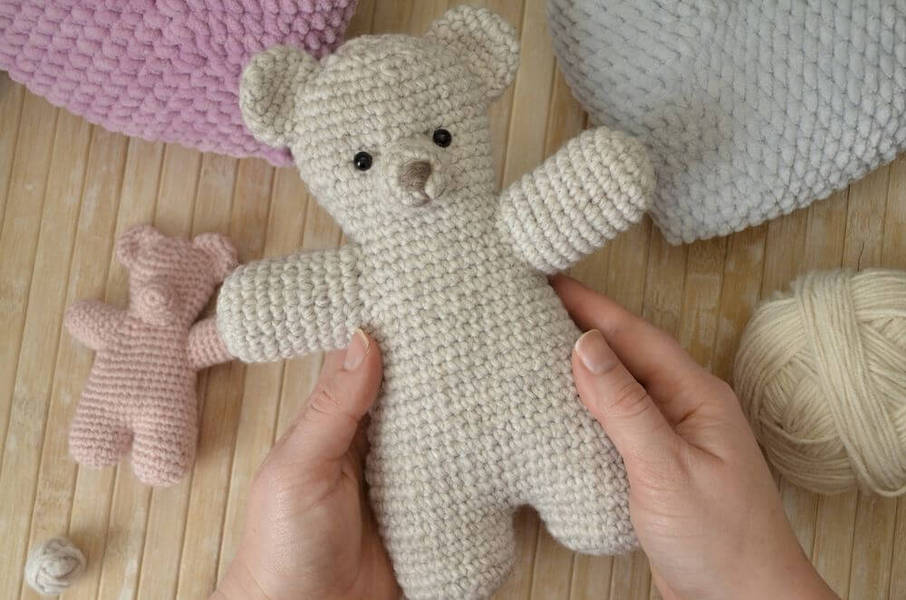
The finished bear measures about 30 cm in height, about 12 cm in width at the widest point and about 6-8 cm thick.
It’s a relatively flat toy and pretty small, so it can be easily grabbed and held by small hands.
If you want to add this pattern to your Ravelry queue, you can find it here.
Notions for making this plush teddy
- Yarn: between 100 and 200 grams of chenille yarn (150-240 meters or yards) – I used Himalaya Dolphin Baby, but there are others out there: Alize Softy Plus or Yarn Art Dolce; or between 100-150 grams of yarn you regularly use for amigurumi (your choice, yardage depends on brand);
- Hook: a hook slightly smaller than the smallest recommended hook for your yarn or recommended hook for chenille or blanket yarn (I used 4.5 mm for my yarn);
- Stitch marker;
- Tapestry needle for sewing pieces;
- Filling of your choice;
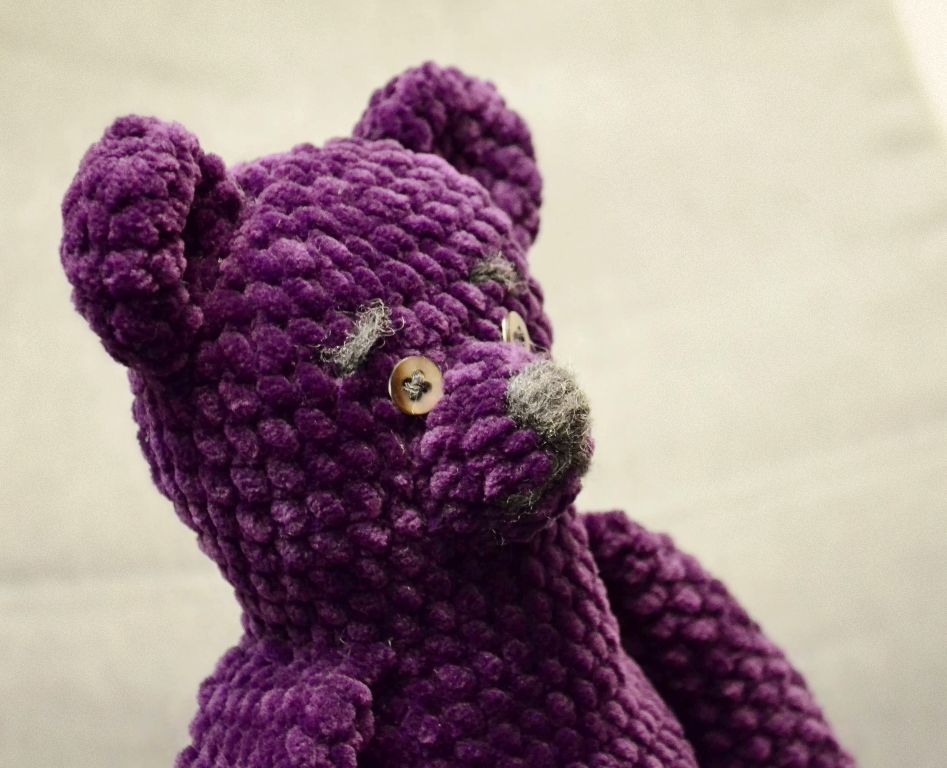
- Safety eyes, sturdy buttons or contrasting yarn for eyes;
- Contrasting yarn or button for nose.
Skill level: beginner
US terms
What you should know before starting the project
- How amigurumi is made (working in a spiral instead of row-by-row);
- Working into a magic ring;
- Increases (working 2Sc in a single stitch);
- Invisible decreases (pulling up a loop through the front loops of each of next two stitches and pulling a loop through all loops on hook);
- Inserting safety eyes or sewing buttons;
- Optional: basic surface embroidery (for the nose);
- Sewing amigurumi pieces to each other.
Observations
- This pattern is written in US terms and is worked in a spiral on the right side of the fabric, like all amigurumi.
- You can use the YO-YO or YU-YO method for creating this toy. The YU-YO will create a slightly smaller teddy.
Abbreviations
- Dec – invisible decrease: insert hook under the FLO of first St and of the second St and draw up a loop, YO and pull through 2 loops on the hook;
- FLO – front loop only;
- Inc – increase: 2 Sc in same St;
- MR – magic ring.
- Sc – single crochet;
- St – stitch;
- YO – yarn over;
- YU – yarn under.
Big teddy bear amigurumi pattern
Legs – make 2
Row 1. 6 Sc in MR (6)
Row 2. 6 Inc (12)
Row 3. Rep [Sc, Inc] 6 times (18)
Row 4. Rep [2 Sc, Inc] 6 times (24)
Rows 5-8. Sc around (24)
For first leg, bind off.
Body – continues from legs (including row count)
Row 9. Connect to first leg by putting your hook through the loop on the other leg, then making first Sc as if it were the next st in the first leg, by pulling up a loop and pulling through all three loops on hook. Pull this st.
Continue Sc around, then continue in second leg by making 1 Sc in the first st that would have followed normally. Finish row with no increase. (48)
Rows 10-12. Sc around (48)
Stuff the lower part of the body, making sure there is equal stuffing in both legs.
Row 13. 11 Sc, Dec, 22 Sc, Dec, 11 Sc (46)
Row 14. Sc around (46)
Row 15. 11 Sc, Dec, 21 Sc, Dec, 10 Sc (44)
Row 16. Sc around (44)
Row 17. 10 Sc, Dec, 20 Sc, Dec, 10 Sc (42)
Row 18. Sc around (42)
Row 19. 10 Sc, Dec, 19 Sc, Dec, 9 Sc (40)
Row 20. Sc around (40)
Row 21. 9 Sc, Dec, 18 Sc, Dec, 9 Sc (38)
Row 22. Sc around (38)
Row 23. 9 Sc, Dec, 17 Sc, Dec, 8 Sc (36)
Row 24. Sc around (36)
Row 25. 8 Sc, Dec, 16 Sc, Dec, 8 Sc (34)
Row 26. Sc around (34)
Row 27. 8 Sc, Dec, 15 Sc, Dec, 7 Sc (32)
Row 28. Sc around (32)
Row 29. 7 Sc, Dec, 14 Sc, Dec, 7 Sc (30)
Row 30. Sc around (30)
Row 31. 7 Sc, Dec, 13 Sc, Dec, 6 Sc (28)
Row 32. Sc around (28)
Stuff the upper part of the body.
Muzzle
Row 1. 6 Sc in MR (6)
Row 2. 6 Inc (12)
Row 3. Rep [5 Sc, Inc] 2 times (14)
Bind off, leave tail for sewing. Sew the nose on now if you prefer, with the lower tip in the middle and the two upper points in row 3. Otherwise, leave this step for later, after you sew the muzzle on the head.
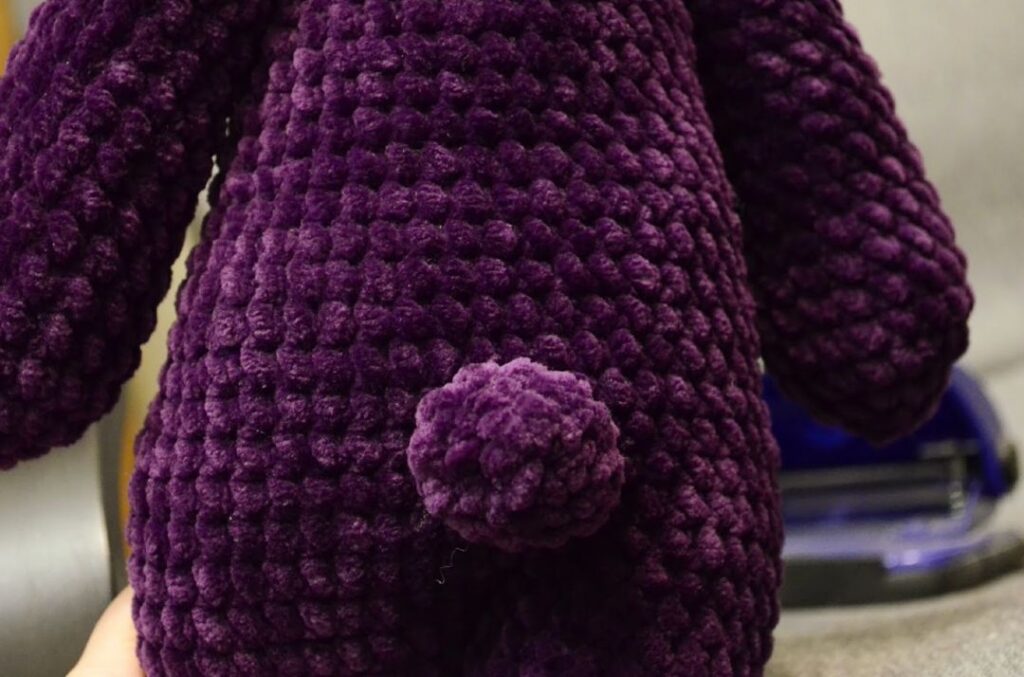
Tail
Row 1. 6 Sc in MR (6)
Row 2. 6 Inc (12)
Row 3. 12 Sc (12)
Bind off, leave tail for sewing.
Head
Row 33. Sc around (28)
Row 34. 10 Sc, Inc, 13 Sc, Inc, 3 Sc (30)
Row 35. 11 Sc, Inc, 14 Sc, Inc, 3 Sc (32)
Row 36. 12 Sc, Inc, 15 Sc, Inc, 3 Sc (34)
Row 37. 13 Sc, Inc, 16 Sc, Inc, 3 Sc (36)
Rows 38-41. Sc around (36)
Sew the muzzle in between Rows 33-38.
Put in the safety eyes or sew them using the contrasting yarn in Row 39 or 40.
Row 42. Rep [4 Sc, Dec] 6 times (30)
Row 43. Rep [3 Sc, Dec] 6 times (24)
Row 44. Rep [2 Sc, Dec] 6 times (18)
Stuff the head.
Row 45. Rep [1 Sc, Dec] 6 times (12)
Row 46. Rep [Dec] 6 times (6)
Bind off, use tail to sew the 6 Sc together into a ring, pull tight.
Ears – make 2
Row 1. 6 Sc in MR (6)
Row 2. Rep [Inc] 6 times (12)
Row 3. Rep [5 Sc, Inc] 2 times (14)
Rows 4-5. Sc around (14)
Bind off, leave tail for sewing.
Arms – long version – make 2
Row 1. 6 Sc in MR (6)
Row 2. Inc 6 times (12)
Row 3. Rep [Sc, Inc] 6 times (18)
Rows 4-16. Sc around (18)
Stuff the bottom of the arm, leaving the top empty.
Squish the arm so the top is closed flat and make 6 Sc along the two sides of the last row to connect them.
Bind off, leave tail for sewing.
Arms – short version – make 2
Row 1. 6 Sc in MR (6)
Row 2. Inc 6 times (12)
Row 3. Rep [Sc, Inc] 6 times (18)
Rows 4-11. Sc around (18)
Stuff the entire length of the arm.
Bind off, leave tail for sewing.
Assembly
The body and head of the teddy bear are worked in one, so the last remaining details to be added are the arms and ears.
Align the arms with the bottom of the head and sew them on using the tail.
If attaching the long arms, sew them in a line along the base of the head.
If attaching the short arms, sew around the opening, going from the bottom of the neck towards the lower part of the body. Sew the arms at a 90 degree angle to the body.
Squish the ears to make them flat and sew them on towards the back of the head, on either side, with the bottom end reaching Row 40 and the top end at around Row 44.
Sew on the tail at the intersection between the legs and the body. Use the yarn tail left over from making the tail.
Final remarks
I hope you enjoyed this pattern and that you make many happy bears.
If you want to show it off on Instagram and you’d also like me to see it, tag me in your post @yarnandy. I’d love to see your version.
In this category you will find some more free amigurumi patterns from the blog.
- Skittle fidget toy;
- Sunflower amigurumi fidget toy;
- Patchy heart amigurumi;
- Dog bone amigurumi;
- Flexagon fidget toy.
If you want me to let you know when I publish more patterns, make sure you sign up to my weekly email with updates about patterns, testing calls and unique offers for subscribers.
Lots of love,
Andrea
