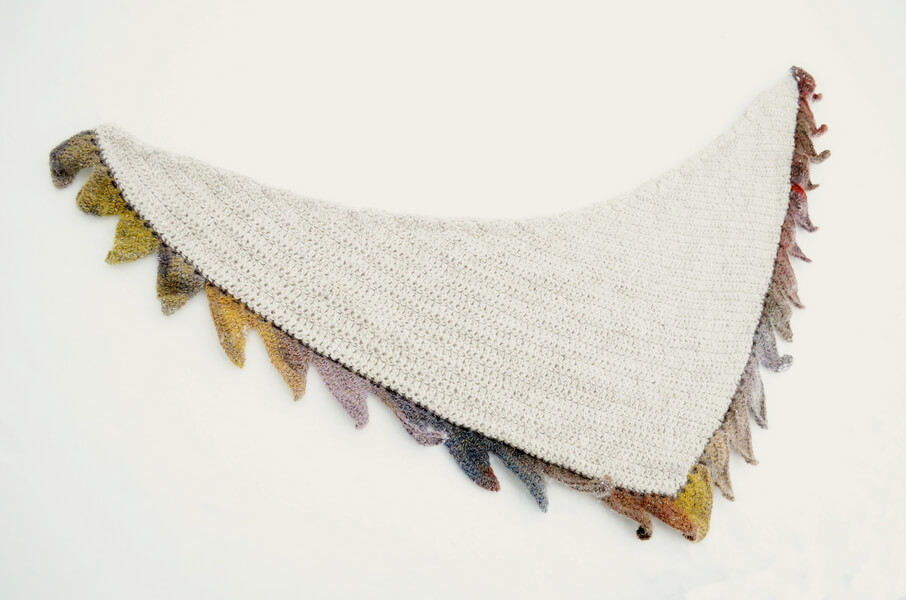
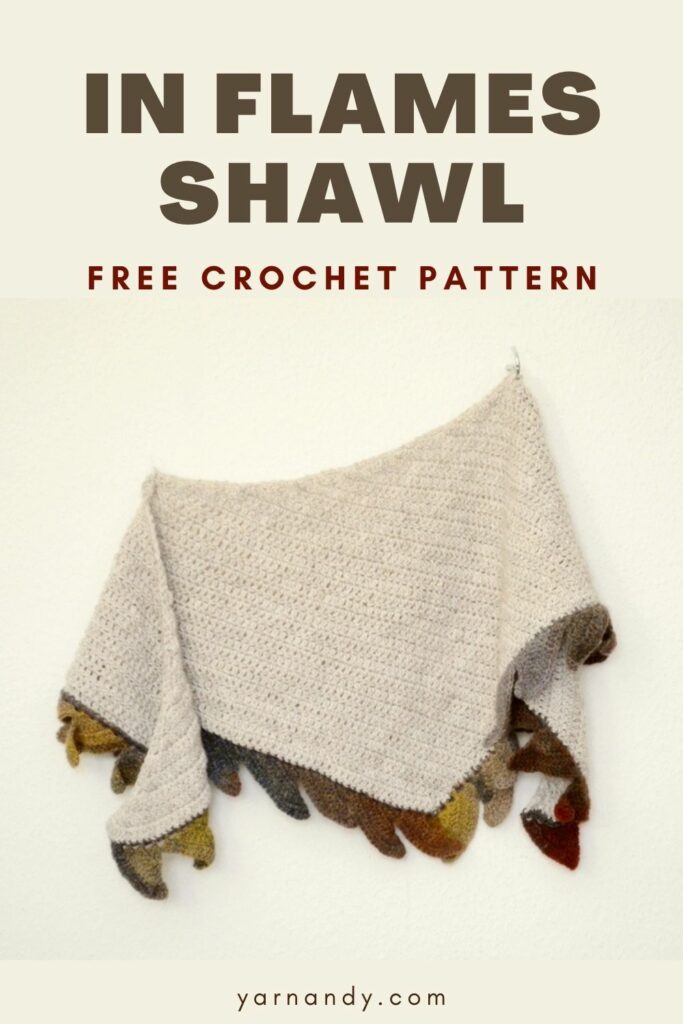
Try out this free crochet shawl pattern to make a very cute rounded triangle shawl with little flames on the edge. Use a chunky yarn for a super quick and cozy shawl that you won’t want to take off.
This article appeared originally on gradinacufluturi.ro in January 2019. I’ve updated it and it will now stay on here.
About this free crochet shawl pattern
If you’ve ever wondered how those lovely knit crescent shawls are made, but never put enough time and energy into finding out (and learning enough about knitting to figure it out), then you’ll love this crochet design that looks like a lot like the knit ones, but is much faster to make.
You can crochet this shawl in any yarn weight and in any size, as you keep going until you either run out of yarn or reach your desired size
This shawl has rounded edges, which makes it drape beautifully, but also features little flames on the edge, made in a similar pattern to the main body of the shawl.
You can follow the pattern for the little flames or add another, fancier border, like this lacy border.
I just recently learned to knit such a crescent shawl, as I’m participating in a KAL hosted by Maliha on Ravelry (if you like knitting, go check it out, it’s open until the end of February), then immediately wanted to know if there are crochet alternatives too. I love knitting, but it’s just so slow for me as a fast crocheter.
So I went on a quest to find all the crochet crescent shawls out there. I could only find a few and they weren’t exactly what I had imagined.
As always in such cases, I made up my own. After a few trials with different amounts of increases and decreases, I stumbled upon a good ratio for the base I was looking for.
Then I used the same math for my very beloved Raspberry croissant shawl and later for the Blueberry Popsicle shawl design as well.
The shape itself isn’t complicated. It is essentially a rounded triangle or a pointed crescent, with increases on one side and decreases on the other side.
It’s worked on the bias, meaning that at least one of the edges is on a curve that leans away from the vertical, as is usual in triangle shawls, where you have a 90 degree angle.
The longest edge is also curved and sits nicely around your neck, without bunching up, unless you want it to.
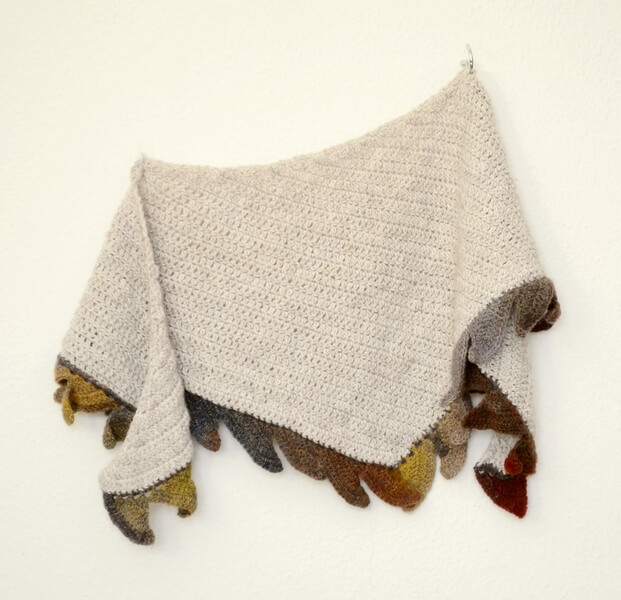
This is such a simple design, that it will make you want to make these shawls all day every day. The rows are worked front loop only (FLO) on one side and back loop only (BLO) on the other side, which creates a beautifully striped fabric.
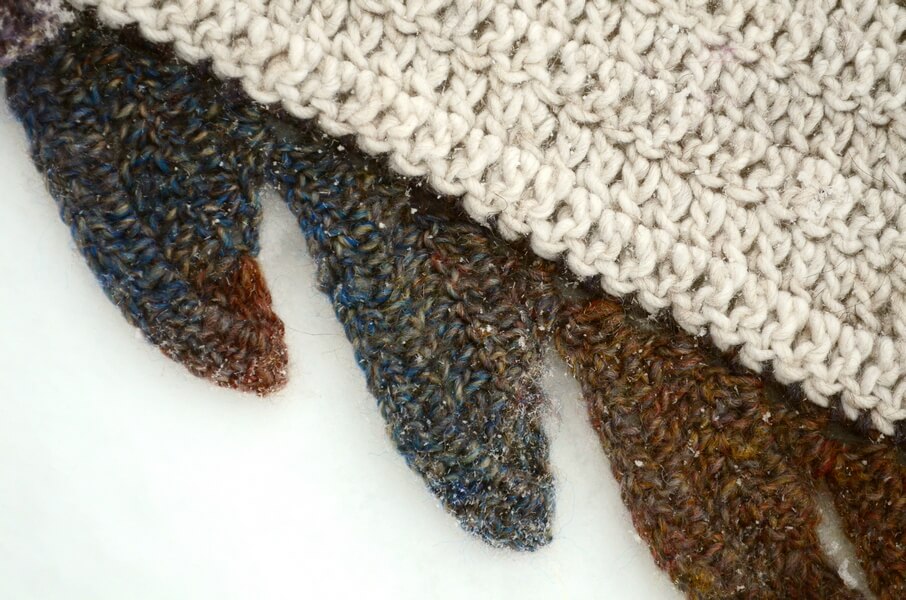
Then the little flames are made as a garland, in a chain, for each side, and attached to the short sides using sc, which creates a border and reinforces both the base and the flames.
As you have already guessed, the name of the shawl derives from the little bits that line it, which I originally imagined would look more like teeth, but I may still have to work on the design to make them look like teeth.
Modifications
Pick two similar weight yarns that go nicely together and have enough contrast.
You can make the shawl as small or as large as you wish, but it will look best when you make the wingspan (the distance between the two narrow points) as long as your arm span.
If you make it larger and without the flames, you’ll be able to wrap it around your shoulders, cross in front and tie it in the back, like in those period TV shows (I’m thinking Outlander and Charité, but I guess there are many more out there).
Pick a lightweight yarn and you’ll get a very light fabric that will protect you in the chilly spring/summer evenings, or a sturdy wool that will keep you warm throughout the winter.
You can use absolutely any yarn you have around, with a hook one size larger than recommended for your yarn. A DK weight or even Aran will work up fast and make a warm shawl.
The pattern is written in US terms and is freely available online on this website.
You may not reproduce this pattern for any commercial use, but of course you can sell any products you crochet based on it.
Notions
- Yarn:
- Base: DK or Aran weight yarn (size 3 or 4) – about 400-600 meters or 200-300 grams at 200 meters per 100 grams; a round wool yarn like a roving-style yarn works well;
- Flames: use any contrasting yarn in a similar weight. Depending on the size of base, it may use up 50-100 meters (55-110 yards).
- Hook: 5 mm;
- Tapestry needle – for weaving in ends;
- Scissors;
- Optional: scales to weigh your yarn;
- Optional: sewing pins.
Stitch abbreviations (US terms)
- BLO – back loop only – work only in the back loop of the stitch, instead of both loops;
- Ch – chain;
- Dc – double crochet;
- Dc2Tog – decrease: YO, insert hook in first St, pull up a loop, YO and pull through 2 loops on the hook, YO, insert hook into second St, pull up a loop, YO and pull through 2 loops on the hook, YO and pull through 3 loops on the hook;
- FLO – front loop only – work only in the front loop of the stitch, instead of both loops;
- MR – magic ring;
- Sc – single crochet;
- Sl St – slip stitch;
- Sp – space;
- YO – yarn-over.
Observations
- Ch 3 at the beginning of even rows counts as Dc.
- Ch 2 + Dc in next St at the beginning of odd rows counts as Dc2Tog, so you will not work into the Ch 2.
- Numbers in brackets (x) show the number of St after finishing the row.
- Ch 4 in the flame pattern counts as Ch 1, Dc.
- Stitches worked in the same space can be found in {curly brackets}.
- You can replace the Ch 3 at the beginning with a standing Dc or even a standing extended Dc.
The crescent shawl base
Row 1. Ch 3, 3 Dc in MR, turn (4)
Row 2. FLO Ch 3, 3 Dc in first St, 1 Dc, Dc2Tog, turn (6)
Row 3. BLO Ch 2, Sk the first St (the Dc2Tog), 1 Dc in each St to last St, 4 Dc in top loop of Ch 3 (the last St), turn (8)
Row 4. FLO Ch 3, 3 Dc in first St, 1 Dc in each St to second to last St (not counting the Ch2), Dc2Tog in last 2 St, turn (10)
Repeat rows 3-4 until the wing span is large enough or you use up 95% of yarn, preferably on a multiple of four rows. Don’t turn when you reach the end of the last row.
Simple border
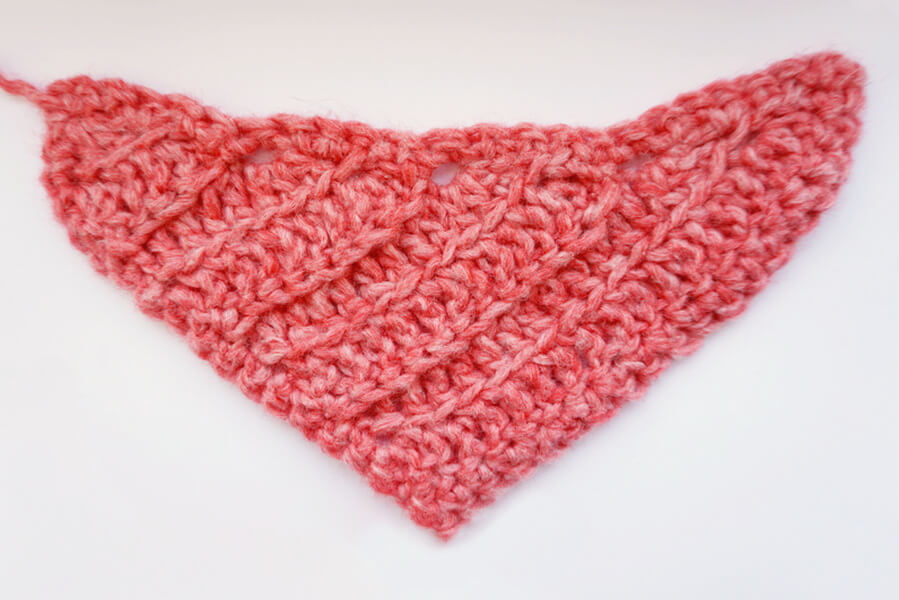
The simple border will give a finished look to the sides, before attaching the flames. Continue without turning, along one short side.
Work with the same yarn.
Row 1. Ch 1. Loosely make 2 Sc in the side of each Dc or Ch 3 you encounter, until the end of the side. Ch 1. Continue on the long side with 6 Sc for each two rows (into one Dc and one Ch 3). Ch 1. Continue with one Sc in each St along the last side of the shawl.
Optional (if you don’t want to make the flame border):
Row 2. Sl st loosely in each St along all the edges, with a Ch 1 at each corner.
Cut off yarn and weave in ends.
The flame border
The little flames come from the same experiment with different shapes that also generated the shawl body.
They may be increased in the same manner and make another large shawl, but for the current purpose they consist of four rows each and they are chained together as they are made.
There is no FLO/BLO in this pattern, work through both loops of each St.
Use the contrasting color.
Row 1. Ch 4, 3 Dc in MR, turn (4 + Ch 1 space)
Row 2. Ch 3, 3 Dc in first St, 1 Dc in each St to Ch 1 SP, {2 Dc, Ch 1, 1 Dc} in last Ch 1 Sp, turn (9 + Ch 1 space)
Row 3. Ch 4, 2 Dc in Ch 1 space, 1 Dc in each St to last St, 4 Dc in top loops of Ch 3 (the last St), turn (14 + Ch 1 space)
Row 4. Ch 3, 3 Dc in first St, 1 Dc in each St to Ch 1 Sp, {2 Dc, Ch 1, 1 Dc} in Ch 1 Sp, turn (19 + Ch 1 space)
Row 5. Ch 4, 3 Dc in Ch 1 space, turn (4 + Ch 1 space)
Repeat rows 2-5 until the chain of flames is long enough to fit one short side of the shawl.
Count the rows of the base and divide the number by four, this is the number of flames you should make for each side.
If your base is not a perfect multiple of four, don’t worry, this is an estimate and you should make one more or one less than the resulting number.
Attaching the flame border
Do not cut the yarn for the first chain of flames, but pick a side of the base that you will use as a front side more often and flip the shawl base over.
It helps to lay the border along the edge you will be working on, right sides facing, then putting in a few pins or clasps that will keep the border in place and will make your tension uniform.
Now, with the wrong side of the base facing you, start stitching the border to the base, beginning in one of the narrow points of the shawl, going towards the middle, with the flames pointing towards the middle.
Make a Sc in each Sc of the base, while making two Sc in each Ch3 or Dc space of the border.
If your tension varied a bit throughout the process of making the border or if you don’t have a multiple of 4 rows for the base of the shawl, add or remove a few Sc while attaching the border.
Use your better judgement for the placement of the Sc stitches, making sure neither piece is puckered or pulled to tight.
As you reach the end of the side, cut the yarn and weave it in.
Make the flame border for the other side and repeat the process. This time you need to cut the yarn before stitching, as you want to place the Sc stitches on the same side as before, so you start from the center and go towards the tip, with the flames still pointing towards the center of the shawl.
Weave in any stray ends, block (or don’t block) your shawl, and wear your shawl proudly. Mine already braved the wilderness through two snowstorms and it kept me warm and happy to be out and about.
Final thoughts
If you want to show it off on Instagram and you’d also like me to see it, tag me in your post @yarnandy or use the hashtag #inflamescrochetshawl, I’d love to see your version.
If you want to add it to your queue on Ravelry for later, find it here.
I hope you enjoyed this pattern and that you’ll tell all your friends about it.
There are more free crochet shawl patterns and other free patterns on the blog and you can find them in the list below.
Hugs,
Andrea


Hi Andrea,
I like the simplicity and shape of your design with the fun addition of the flames. I am interested in making this shawl, however, I am not seeing the details of the shawl pattern.
Thank you, Susie
Dear Susie,
Thank you for reaching out. The pattern was in the second tab, next to the “What you need” section. I removed the tabs, so now everything is one big page. I hope you enjoy it! If you have any other feedback regarding the pattern, I’d love to hear it.
Cheers,
Andrea