It’s Granny square day again and for this year’s event I want to share with you a textured star granny square design that’s dear to me, even though I haven’t yet made any finished project with it. Yet.
If you like celestial or star-related designs and especially if you like intricate, delicate textures, you might enjoy making one or a few of these squares to add to your next granny square project.
Now let me clarify that there is only one design for the classic granny square, the one we all love/hate, but there are countless designs for granny squares out there, all of which are built in the round, with various stitches, but all compatible with each other.
This is one of them, and one of the more complicated ones, but it’s just 6 rows all around, so not a difficult square to make once you’ve gotten over your apprehension because of the long abbreviations (they all make complete sense, I promise).
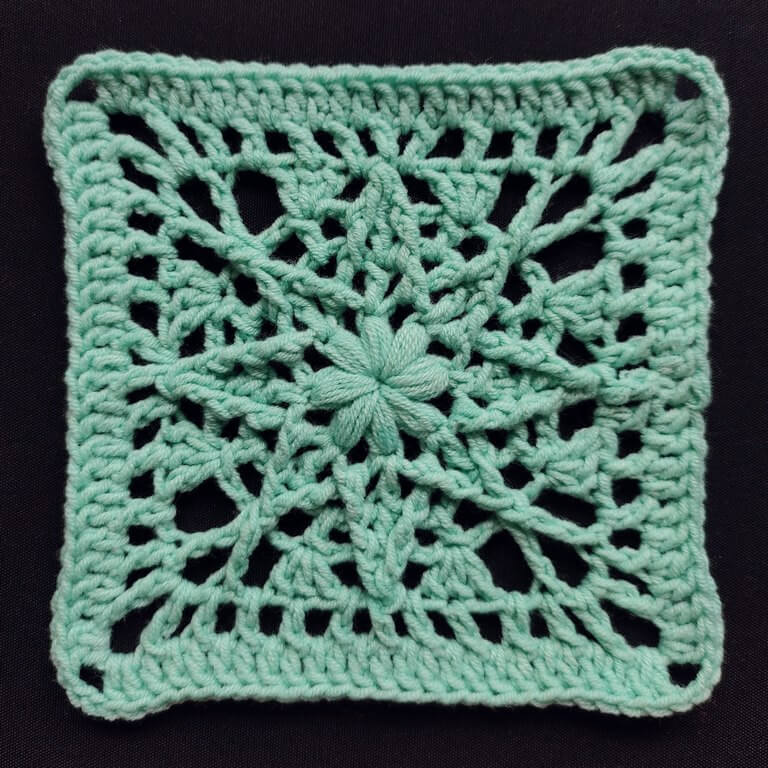
More details about the Polaris granny square pattern
This is one of my oldest designs, with the first iteration made in 2020.
Back then, I was playing with textured stitches and designed the Strawberry cupcake shawl pattern (which got a CAL in 2021).
While experimenting with square designs so I could make a summer top in the same type of construction as the Pine cross summer top, I came up with this construction.
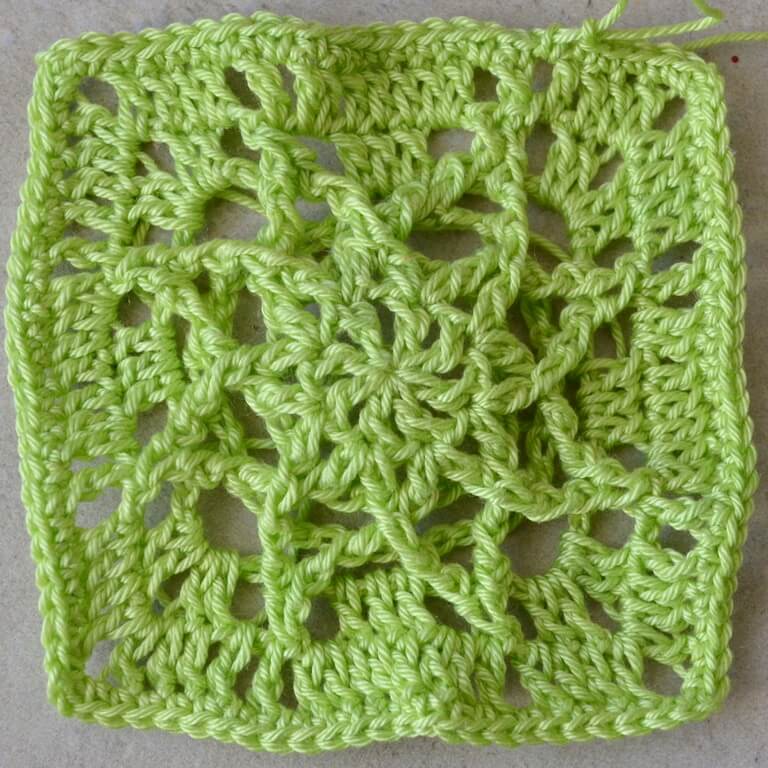
It’s made up of interlocking clusters and front post stitches. The first experiment was in green cotton yarn.
The second in the red cotton yarn I’d considered using for the summer top.
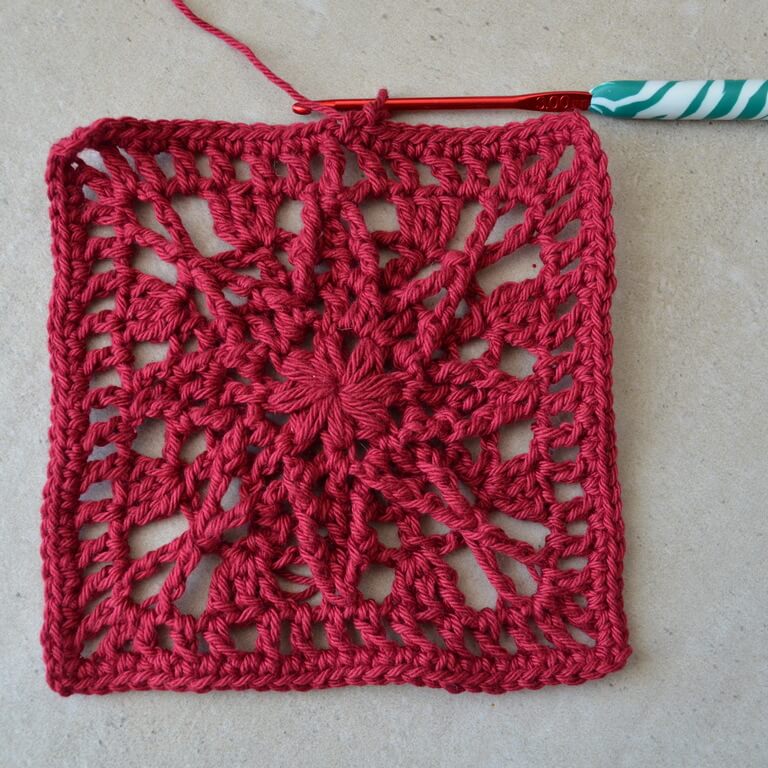
I didn’t feel like I’d have enough yarn to make a top and I still have that yarn around here somewhere, which might become a Tunisian crochet top instead, as I now know that I prefer to wear Tunisian crochet garments.
But I tried the design again with some variegated acrylic/wool mix yarn I had and it came out nice.
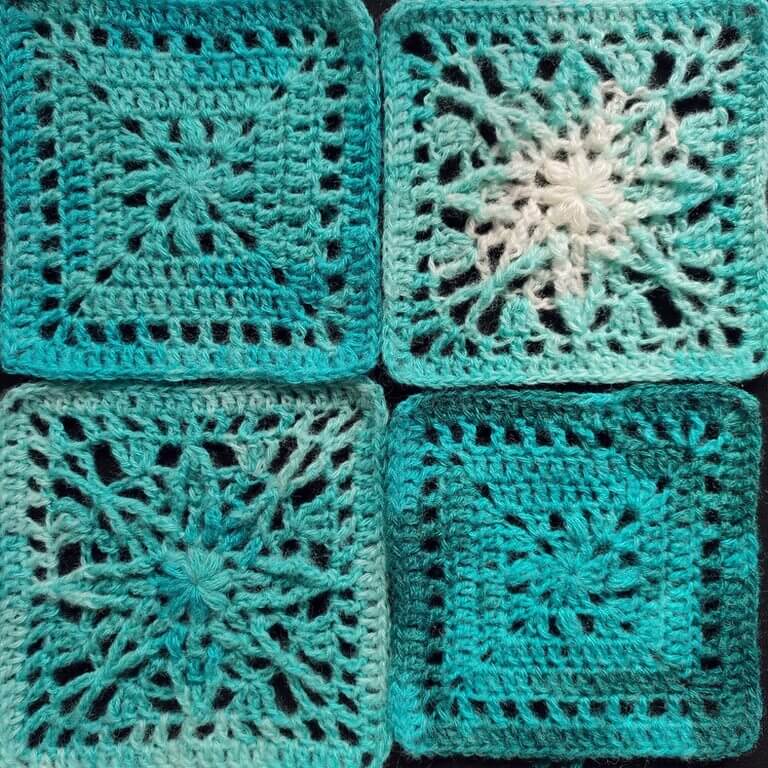
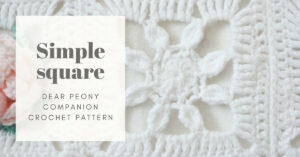
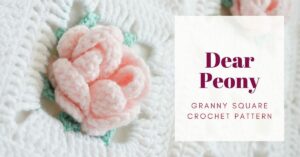
A bit difficult to see due to the color changing in the yarn, but I also designed a plain square that would go with it, so it can become a baby blanket similar in construction to the Dear Peony baby blanket.
If you go that route, I highly recommend to sew a backing to the blanket, so the motifs can pop out and also be protected while handling/washing.
You can also use these as motifs in a granny square shoulder bag or a beach bag. I don’t have a tutorial on how to line those yet, but they are planned.
Skill level – advanced.
The name of the square, Polaris, comes from the shape of the textured 8-pointed star making up the textured surface of this granny square.
The star has four large and four small points, set at a 45 degree angle from each other, similar to the way the North star (Polaris) is often represented on maps.
What you’ll need to make this star granny square
You can make the first in some scrap yarn just to practice. I’ve found that the square looks nice in a variety of yarns.
The samples I showed you are made in size 2-4 yarn, with hook sizes that range between 3 and 4 mm.
One square takes about 6 g of size 2 yarn (400 meters per 100 g), 8.5 g of size 3 yarn (300 meters per 100 g) and 14 g of size 4 yarn (160 meters per 100 g).
Finished sizes with these yarns are 12 by 12 cm, 13 by 13 cm and 14 by 14 cm, respectively.
To keep in mind when making this starry granny square
The square is worked in rounds without turning.
The pattern uses standing stitches throughout for a seamless look. The clusters that start with a standing stitch follow the same principles as the standing double crochet.
There are unique abbreviations used in this pattern. Read each abbreviation by referring to the full name in the list below. They will become familiar over time as you repeat them.
Abbreviations
- Ch – chain;
- Dc – double crochet;
- Fp3DcCl – front post 3 double crochet cluster: YO, insert hook behind front post of next Dc, YO and pull up a loop, YO and pull through 2 loops on the hook; YO, insert hook in top of next Dc, YO and pull up a loop, YO and pull through 2 loops on the hook; YO, insert hook behind front post of next Dc, YO and pull up a loop, YO and pull through 2 loops on the hook; YO and pull through 4 loops on the hook;
- FpDc – front post double crochet: YO, insert hook behind front post of indicated St, YO and pull up a loop, Rep [YO and pull through 2 loops on the hook] 2 times;
- FpDcCl – front post double crochet cluster: YO, insert hook behind front post of next Dc, YO and pull up a loop, YO and pull through 2 loops on the hook; YO, Sk 1 Dc, insert hook behind front post of next Dc, YO and pull up a loop, YO and pull through 2 loops on the hook; YO and pull through 3 loops on the hook;
- MR – magic ring;
- Puff – puff stitch: Rep [YO, insert hook into same St and draw up a loop] 3 times, YO and pull through all 7 loops on the hook;
- Rep – repeat;
- SDc – standing double crochet: draw up a tall loop and use it to YO, insert hook into indicated St and draw up a loop, Rep [YO and pull through 2 loops on the hook] 2 times;
- SFp3DcCl – standing front post 3 double crochet cluster: draw up a tall loop and use it to YO, insert hook behind front post of previous Dc, YO and pull up a loop, YO and pull through 2 loops on the hook; YO, insert hook in top of next Dc, YO and pull up a loop, YO and pull through 2 loops on the hook; YO, insert hook behind front post of next Dc, YO and pull up a loop, YO and pull through 2 loops on the hook; YO and pull through 4 loops on the hook;
- SFpDc – standing front post double crochet: draw up a tall loop and use it to YO, insert hook behind front post of indicated St, YO and pull up a loop, Rep [YO and pull through 2 loops on the hook] 2 times;
- Sk – skip;
- Sp – space;
- St(s) – stitch(es);
- Tr – treble crochet;
- YO – yarn over.
How to make the textured star granny square pattern
Round 1. In MR, Ch 2, Rep [Puff, Ch 3] 8 times, Sl St to top of 1st St — 32 sts
Pull on the tail of the MR to close it, leaving a small gap in the middle, so the piece lays flat.
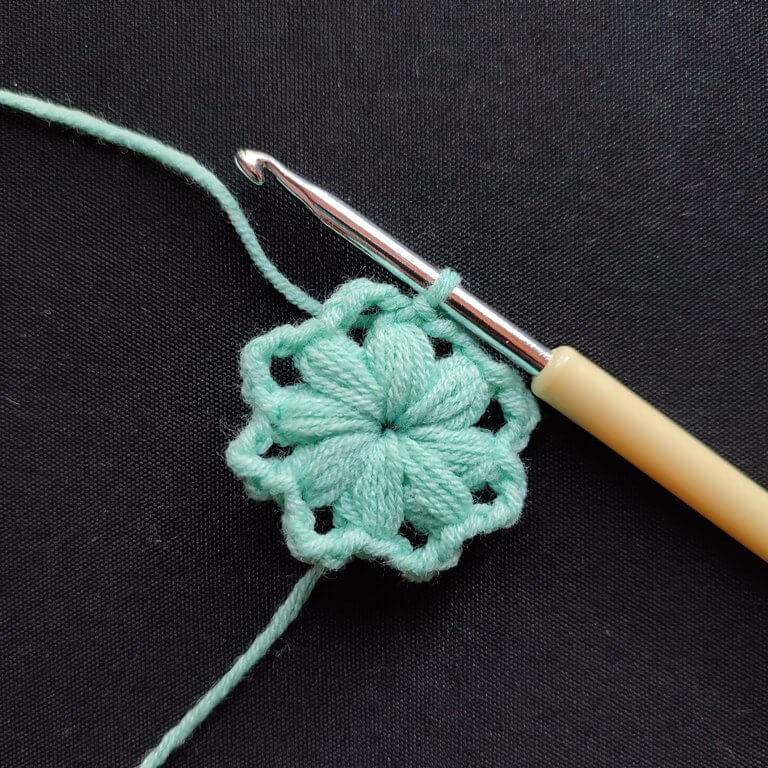
Round 2. SDc in same Sp, Rep [1 Dc in Ch 3 Sp, Ch 3, 1 Dc in same Ch 3 Sp and before the previous Dc, 1 Dc in top of next Puff] 7 times, 1 Dc in Ch 3 Sp, Ch 3, 1 Dc in same Ch 3 Sp and before the previous Dc, Sl St to top of 1st St — 48 sts
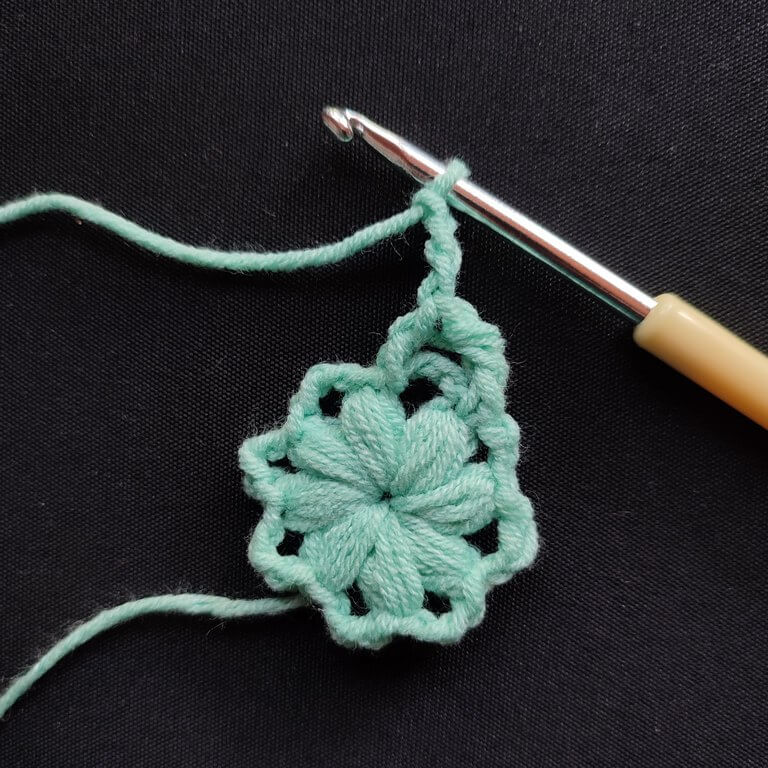
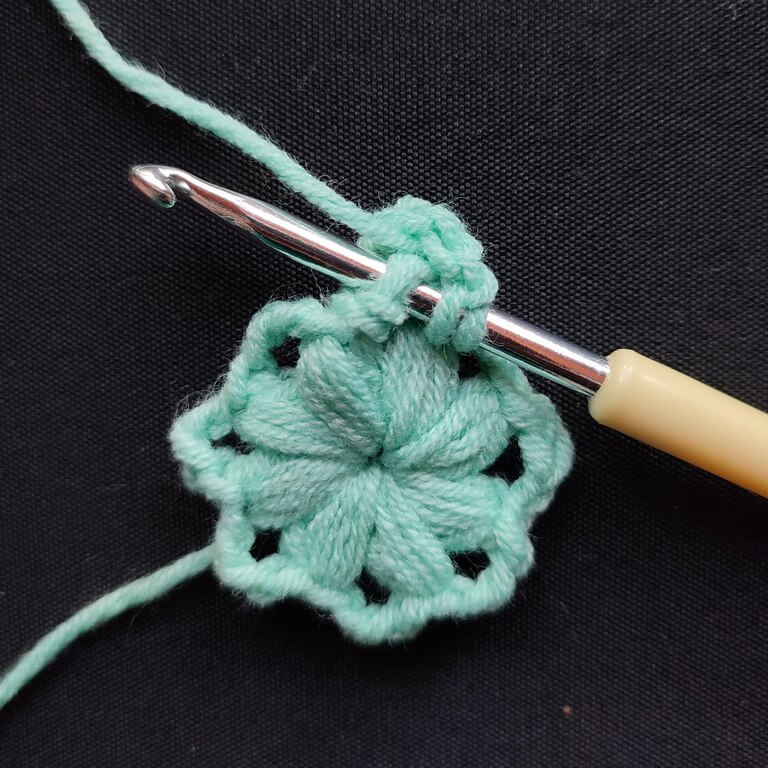
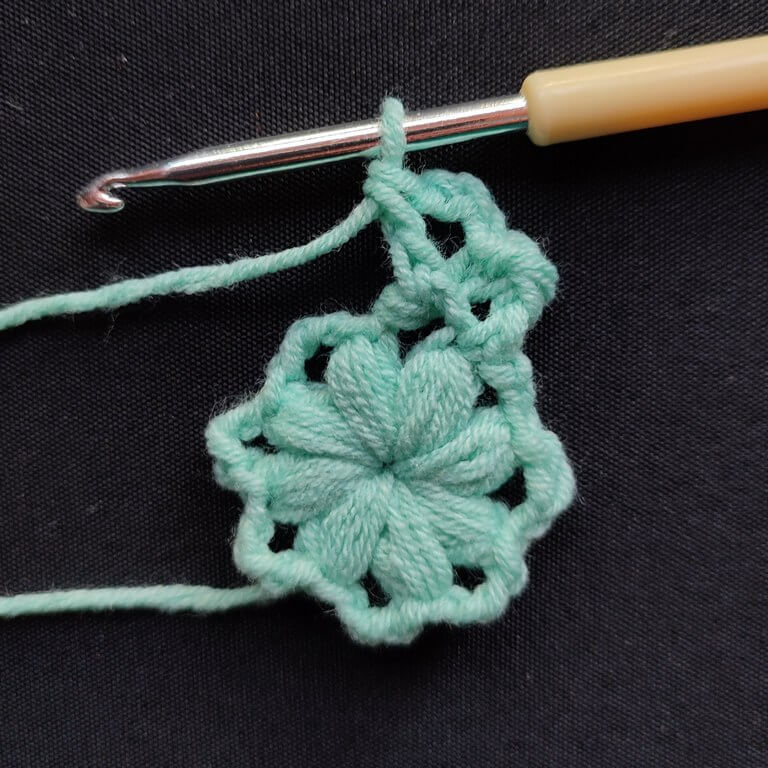
Round 3. SDc in same St, Rep [FpDc around next Dc, Ch 2, 1 Dc in Ch 3 Sp, Ch 2, FpDcCl, Ch 2, 1 Dc in Ch 3 Sp, Ch 2, FpDc around next Dc, 1 Dc in next Dc] 3 times, FpDc around next Dc, Ch 2, 1 Dc in Ch 3 Sp, Ch 2, FpDcCl, Ch 2, 1 Dc in Ch 3 Sp, Ch 2, FpDc around next Dc, Sl St to top of 1st St
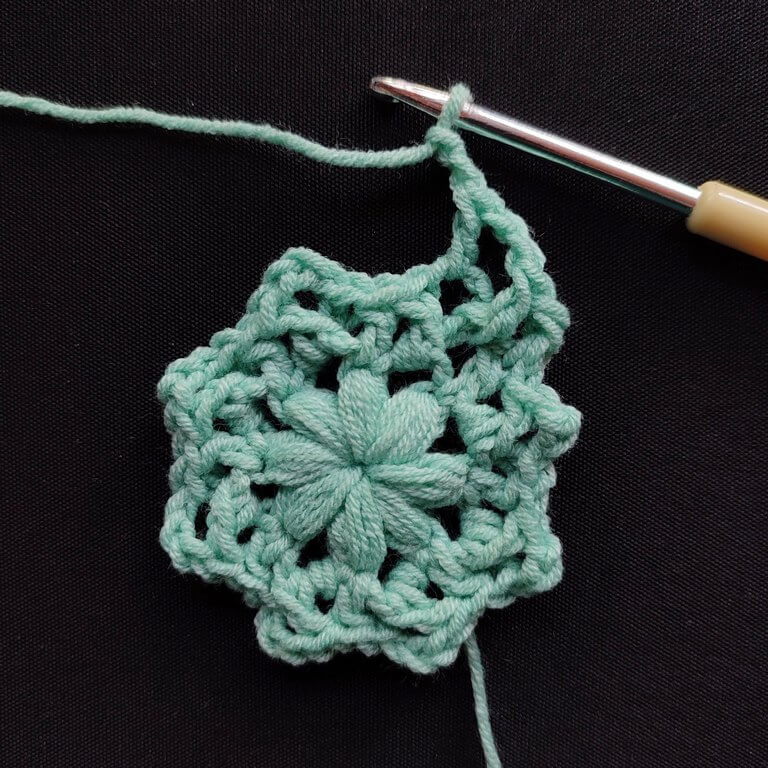
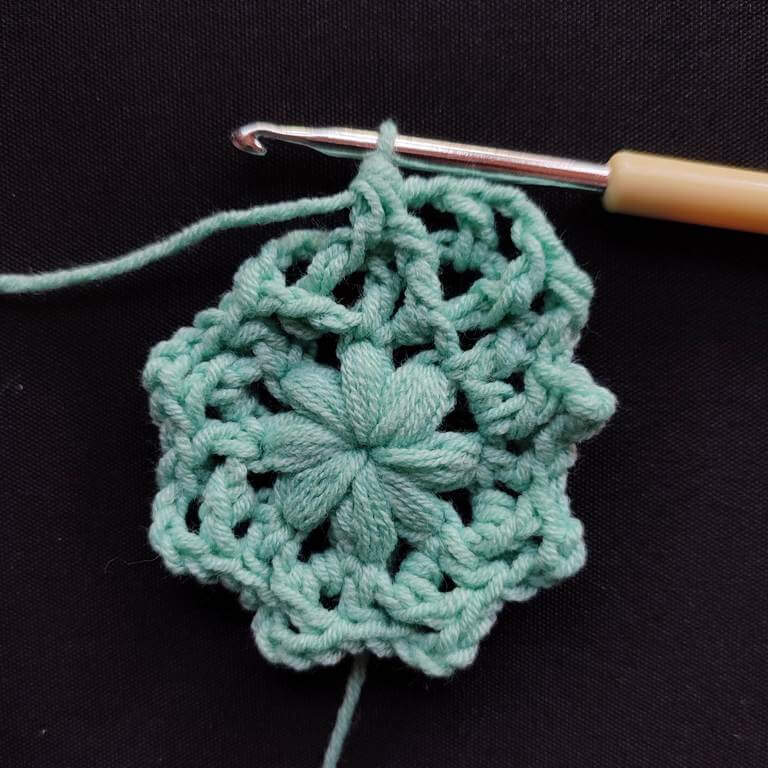
Round 4. SFp3DcCl, Rep [Ch 1, Sk 2, 3 Dc in next Dc, Ch 2, Sk 2, {FpTr, Ch 3, FpTr} around next FpDcCl, Ch 2, Sk 2, 3 Dc in next Dc, Ch 1, Sk 2, Fp3DcCl] 3 times, Ch 1, Sk 2, 3 Dc in next Dc, Ch 2, Sk 2, {FpTr, Ch 3, FpTr} around next FpDcCl, Ch 2, Sk 2, 3 Dc in next Dc, Ch 1, Sk 2, Sl St to top of 1st St
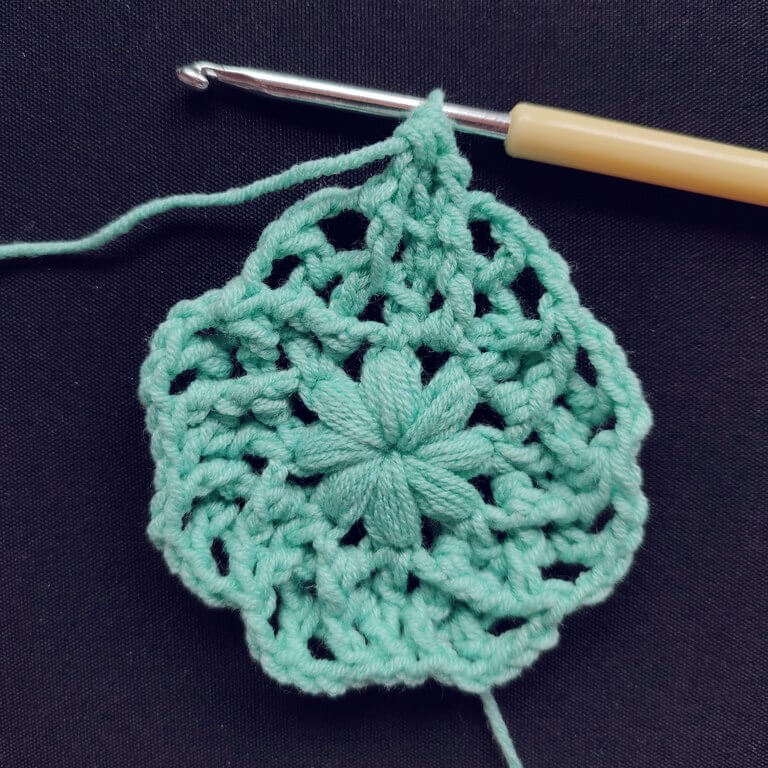
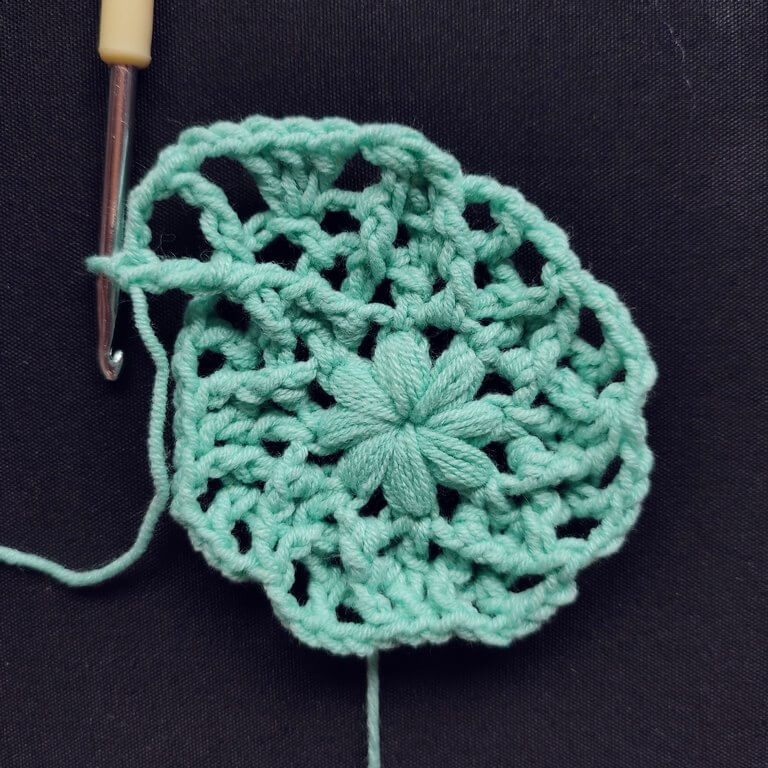
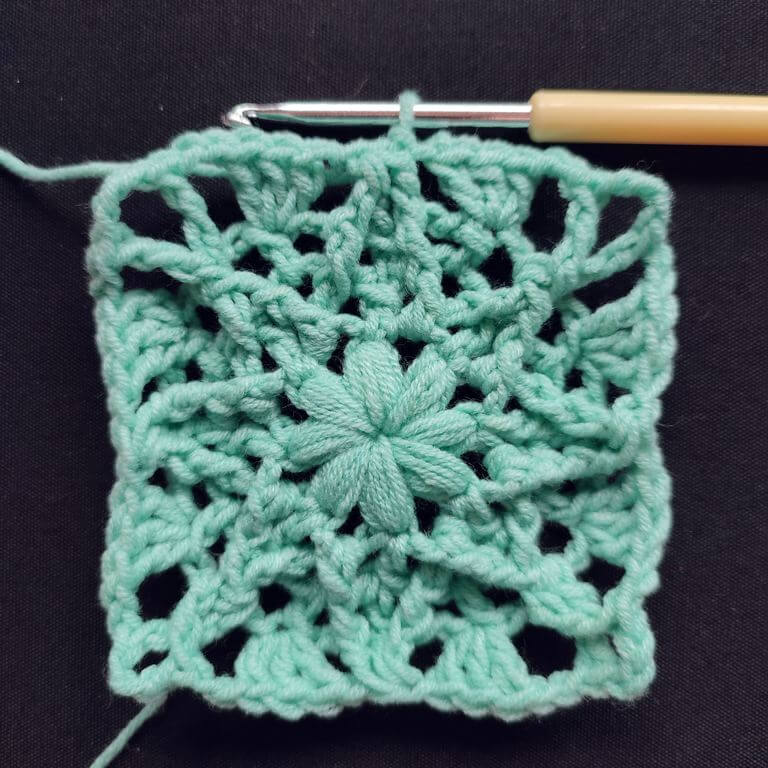
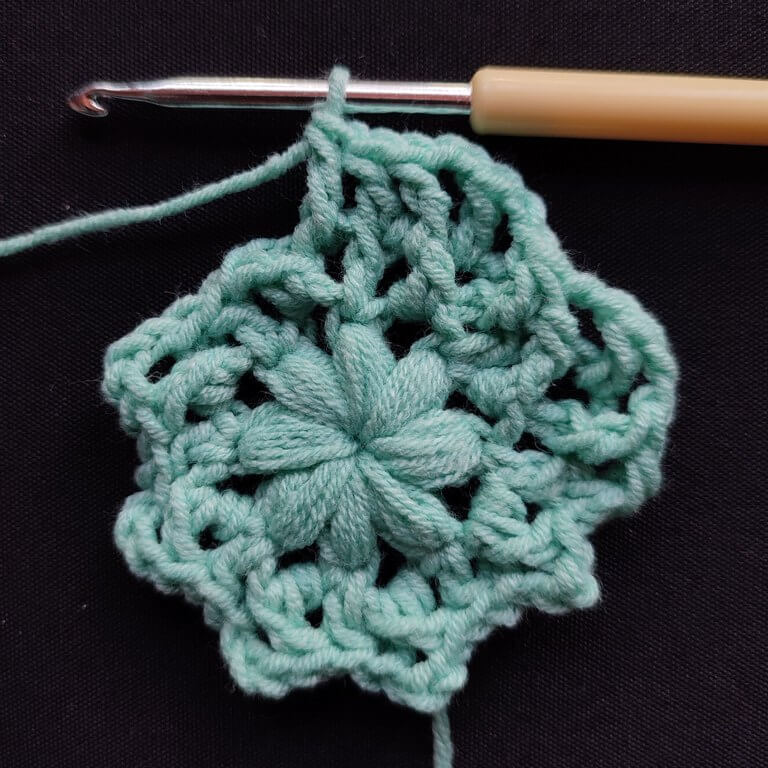
Round 5. SFpDc around cluster below, Rep [Ch 1, 1 Dc in Ch 1 Sp, Ch 1, Sk 1, 1 Dc in next Dc, Ch 1, Sk 1, 1 Dc in Ch 2 Sp, Ch 1, 1 Dc in Tr, Ch 1, {1 Tr, Ch 3, 1 Tr} in Ch 3 Sp, Ch 1, 1 Dc in Tr, Ch 1, 1 Dc in Ch 2 Sp, Ch 1, Sk 1, 1 Dc in next Dc, Ch 1, Sk 1, 1 Dc in Ch 1 Sp, Ch 1, FpDc around cluster] 3 times, Ch 1, 1 Dc in Ch 1 Sp, Ch 1, Sk 1, 1 Dc in next Dc, Ch 1, Sk 1, 1 Dc in Ch 2 Sp, Ch 1, 1 Dc in Tr, {1 Tr, Ch 3, 1 Tr} in Ch 3 Sp, Ch 1, 1 Dc in Tr, Ch 1, 1 Dc in Ch 2 Sp, Ch 1, Sk 1, 1 Dc in next Dc, Ch 1, Sk 1, 1 Dc in Ch 1 Sp, Ch 1, Sl St to top of 1st St
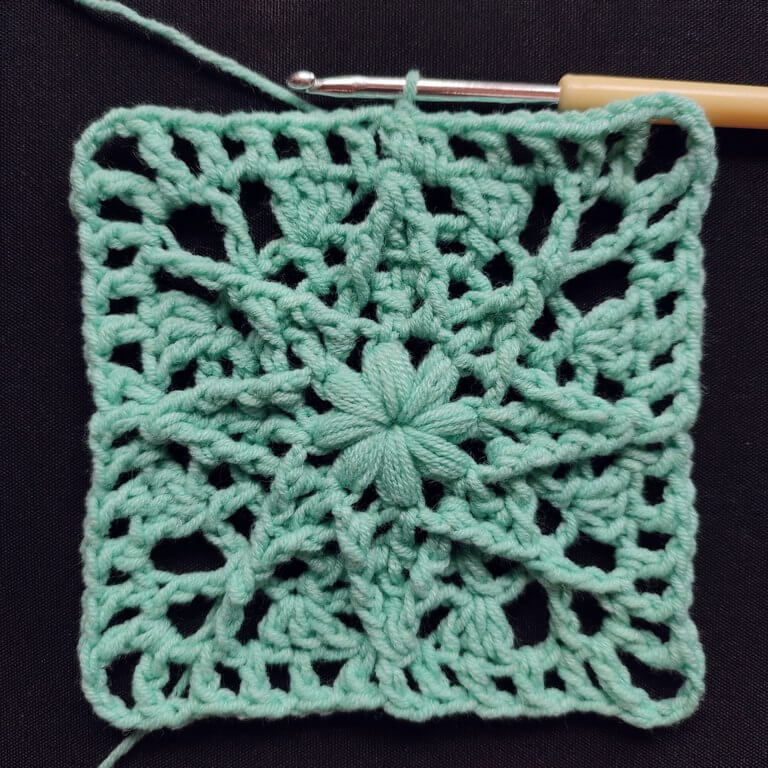
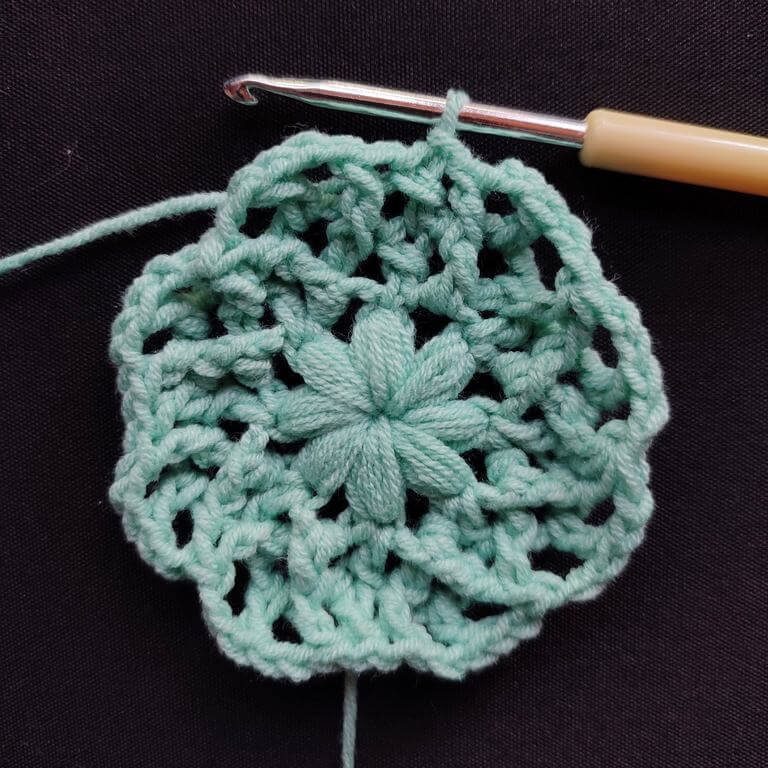
If you like the lacy look, you can stop here and seam your squares along the edges.
Round 6. SDc in same St, Rep [1 Dc in each St and Ch Sp to Ch 3 Sp, {2 Dc, Ch 3, 2 Dc} in Ch 3 Sp] 3 times, 1 Dc in each St and Ch Sp to 1st St, Sl St to top of 1st St
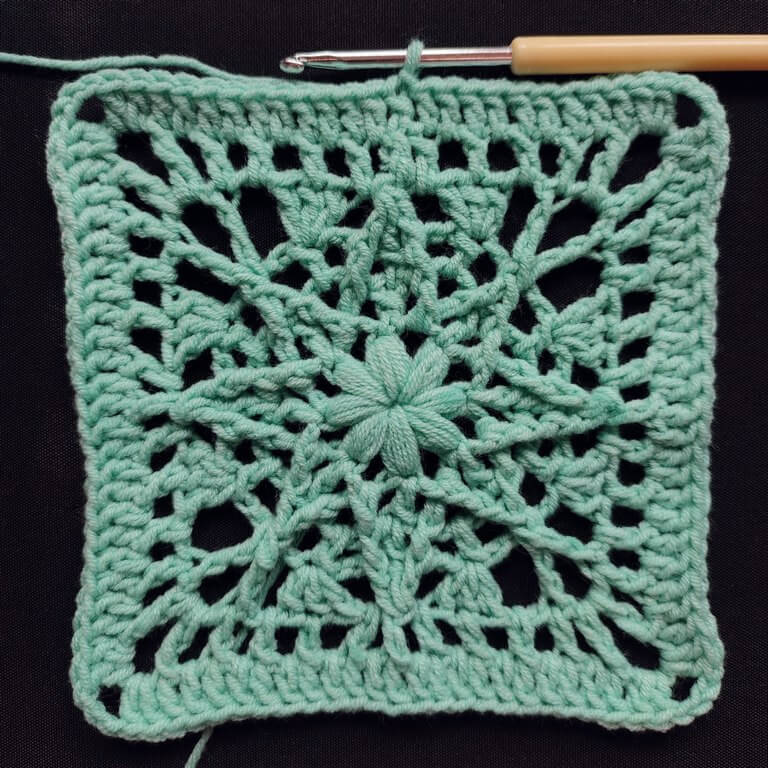
Fasten off, weave in ends. Leave one end longer for sewing if desired.
Final remarks
I hope you enjoyed this pattern for a textured star granny square. Check out the free patterns I linked at the beginning of this article if you want some guidance on making projects that require granny squares.
If you want to be notified when the plain square pattern that goes with the Polaris square is published, make sure you subscribe to my email updates below.
Check out more free crochet patterns for blankets and blanket squares below, including some vintage inspired granny squares.
Free vintage granny square crochet pattern for blankets
Beryl lace square – Tunisian Blanket CAL 2022
Free Tunisian crochet baby blanket pattern
Free vintage-inspired granny square pattern
Leaf border pattern – Dear Peony blanket edging
Dear Peony – simple flower granny square pattern
Dear Peony flower granny square free video pattern
Hugs,
Andrea




I want to make this so bad! I was wondering if there is a video tutorial on making this lovely granny square?
Thanks, Mary. There’s no video yet, but with the written instructions and detailed photos you should be able to make it. Did you try?