Make gorgeous Tunisian crochet coasters using bright and colorful yarn from your stash and this easy, step-by-step pattern tutorial.
I can barely wait for the hot weather and a lovely glass of cold lemonade.
What will you put your cold glass on? Maybe try one of these fabulous Tunisian crochet coasters.
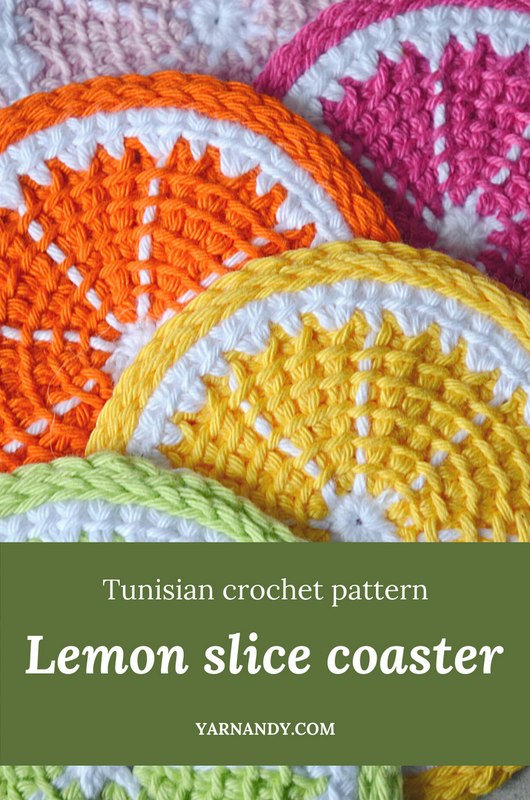
Make them in as many bright colors as you can find – lime green, lemon yellow, tangerine orange or grapefruit hot pink are some of my choices.
Contents
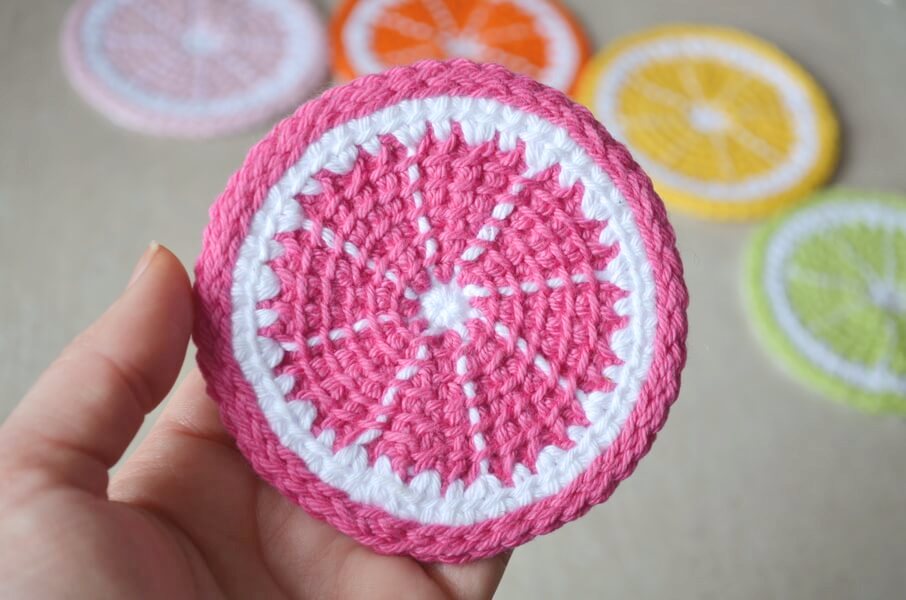
This pattern was inspired by another project that I will share with you soon. The multiple colors spoke to me and told me that they wanted to become coasters. So here we are.
You will find a PDF version of this pattern in my shop, on Etsy or on Ravelry (if Ravelry bothers you, but you want to use it, I came up with a workaround for the current themes that give people migraines).
Citrus slice Tunisian crochet coaster step by step video
You can also follow along with the video tutorial, if you prefer it. Click on the thumbnail to follow along with the tutorial.
Full instructions for the coasters
Follow the instructions below to make your coaster. You should first be familiarized with the making of an easier crochet scrubby before attempting this pattern.
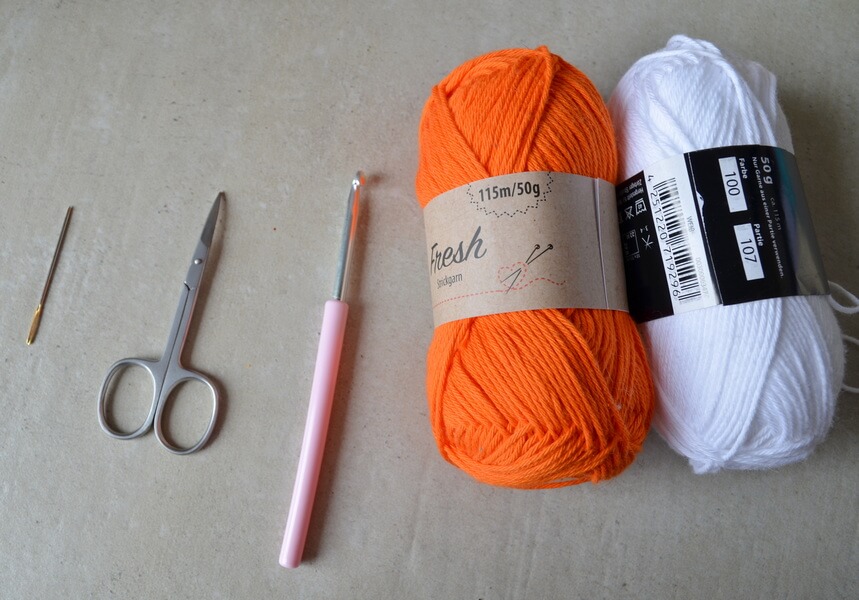
Notions
- Yarn – about 6 grams or 15 meters of 4-ply generic cotton yarn (size 3, at 115 meters per 50 grams) in two colors, about 4 grams or 10 meters of C1 (color 1 – the main color of the coaster) and about 2 grams or 5 meters of C2 (white);
- Hook – 4.5 mm crochet hook or size close to 4.5 mm (4 or 5 mm also works);
- Scissors and tapestry needle for weaving in ends.
Stitches and other abbreviations
- Ch – chain;
- MR – magic ring;
- R – return – used throughout this pattern for all rows where you have a stitch to anchor to: Sl St into the necessary stitch, repeat [YO and pull through 2 stitches on hook] until you are left with only one loop on the hook;
- Sc – single crochet (for UK terms users – double crochet);
- Sl St – slip stitch;
- SRR – short row return – used for short rows: repeat [YO and pull through 2 stitches on hook] until you are left with only one loop on the hook;
- Tss – Tunisian simple stitch – insert hook behind the vertical post of the stitch, YO and pull up a loop.
Observations
- When making a Tss into a stitch that was the last stitch for a short row, you work into the stitch below the short row, not the last stitch of the short row.
- In section 2, you work into the side loops of the first stitch, including the third loop on the back.
- If you only work through the 2 loops on the side, you will have holes at the join between the sections.
- In section 2, all rows are worked into the next stitch in the previous section, unless otherwise specified.
Instructions
Section 1 – working with C2
Foundation row. 8Sc in a magic ring, Sl St to first Sc, picking up C1.
You will work 4 rows into each Sc.
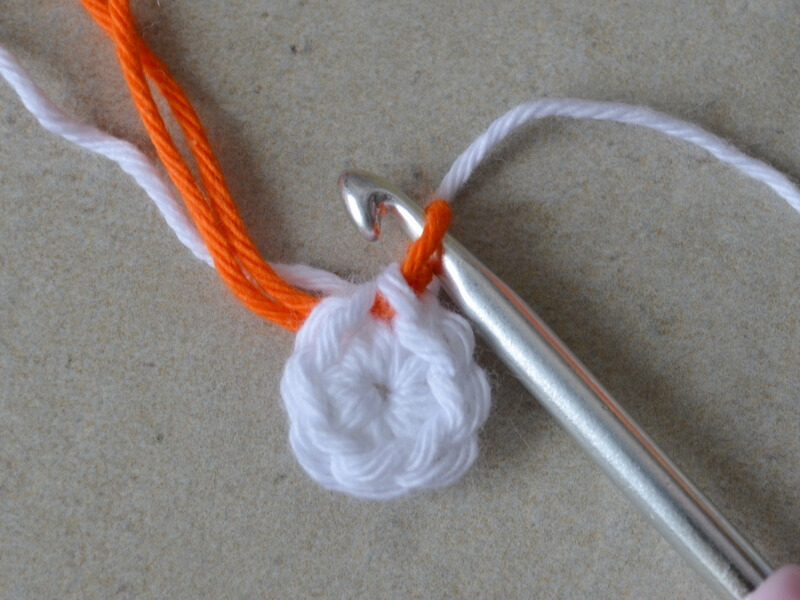
Working with C1
R1. Ch5, 5Tss to first Sc, R
R2. 4Tss, SRR
R3. 5Tss to first Sc, R
R4. 4Tss, SRR
R5. 5Tss to next Sc, R.
R6. 4Tss, SRR
R7. 5Tss to the same Sc, R.
R8. 4Tss, SRR
Repeat rows 5-8 6 more times, each time working into a new Sc from the foundation row. Sl St into the top of R1, picking up C2.
Sew up the gap using the C1 tail, going first under the bottom horizontal bar on the right, then under the one on the left. Continue going up, picking up the horizontal bars, first from one side, then the other.
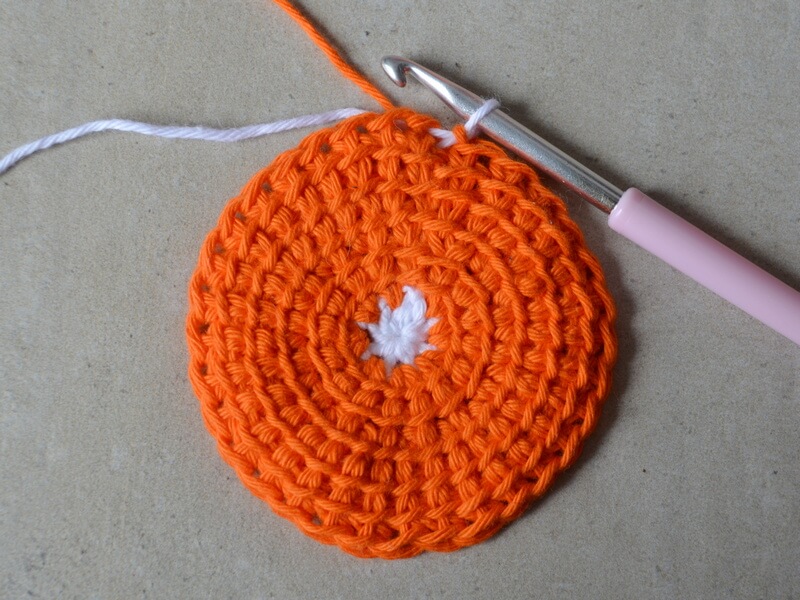
Section 2 – working with C2
R1. Ch1, 1Tss to first St, R
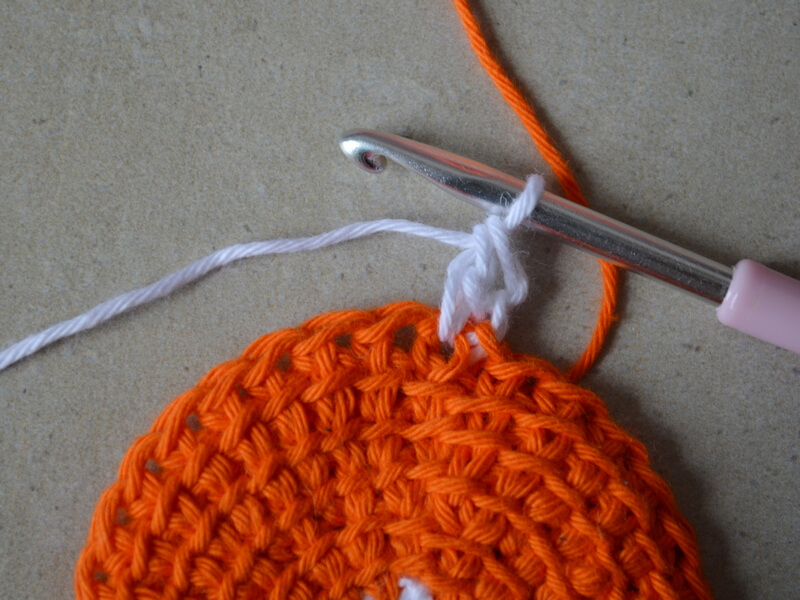
R2. 1Tss to first St, R
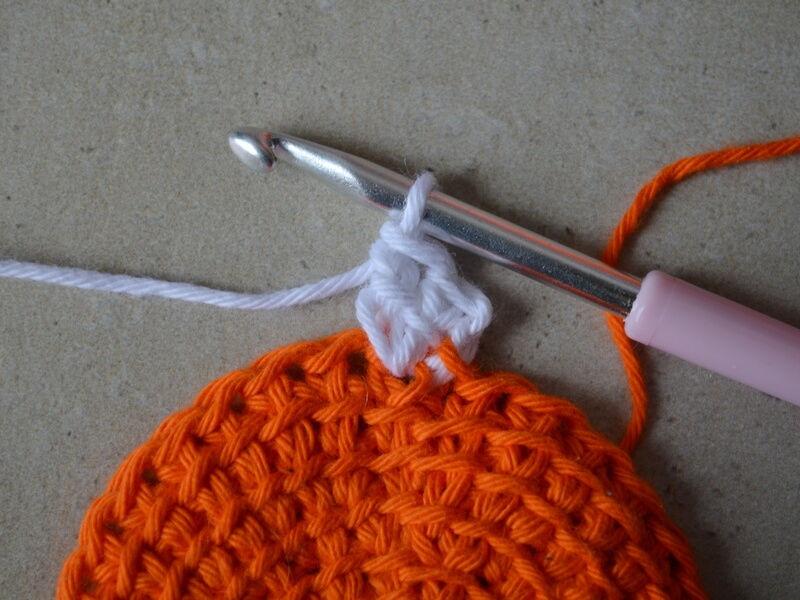
R3. 1Tss to next St, R
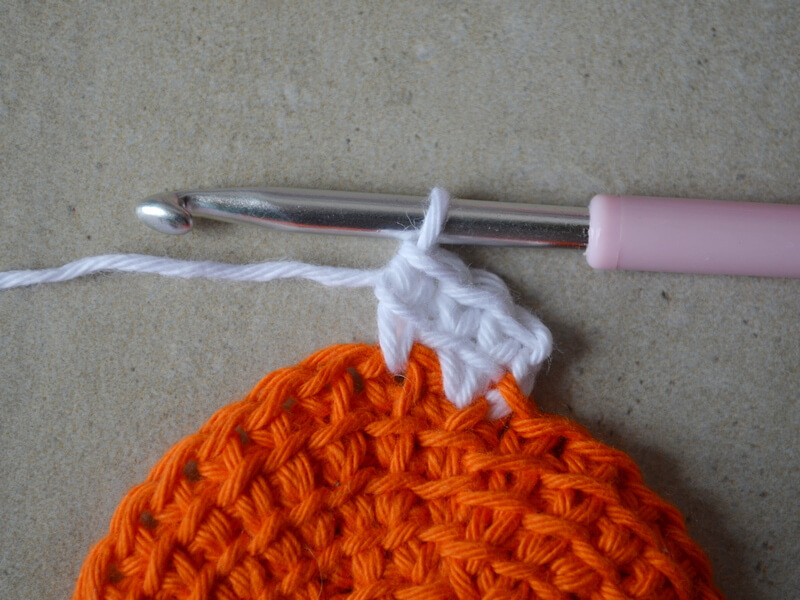
R4. 1Tss to next St, R
R5. 1Tss to same St, R
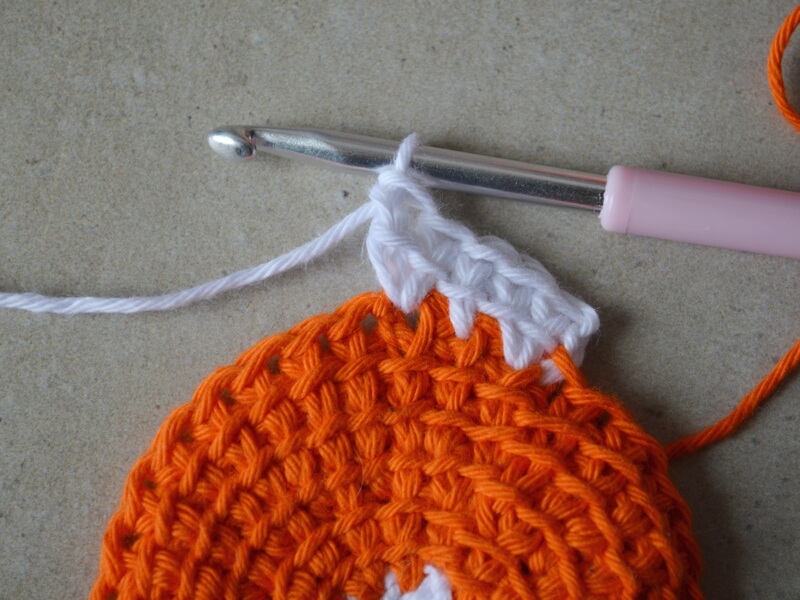
R6. 1Tss to next St, R
Repeat rows 4-6 13 more times.
End with an invisible join.
Sl St into the top of the first row with C1.
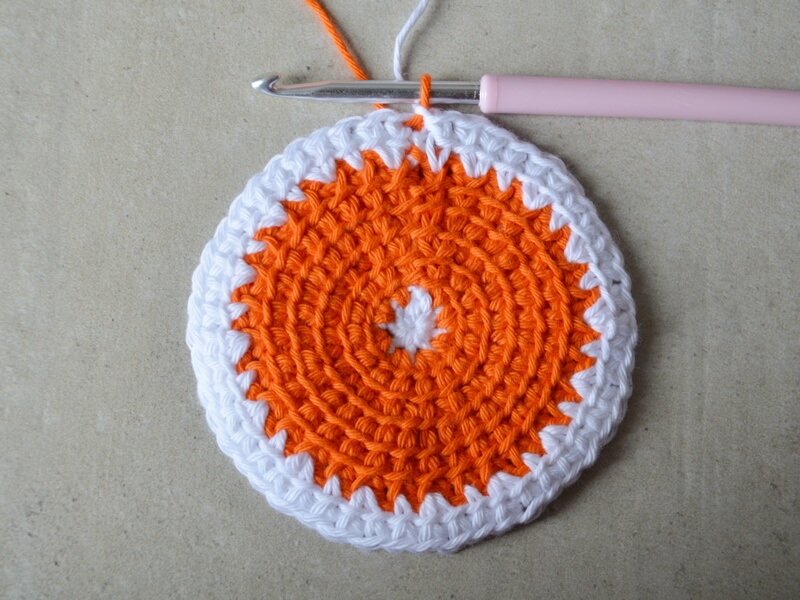
Rind – working with C1
Sl St with C1 all around, keeping the tension loose.
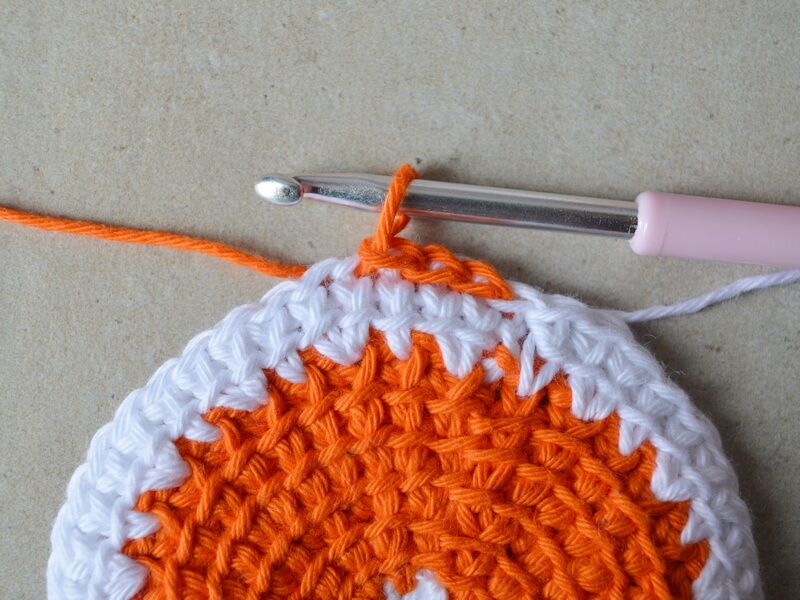
When you finish the round, Sl St again into the same stitches.
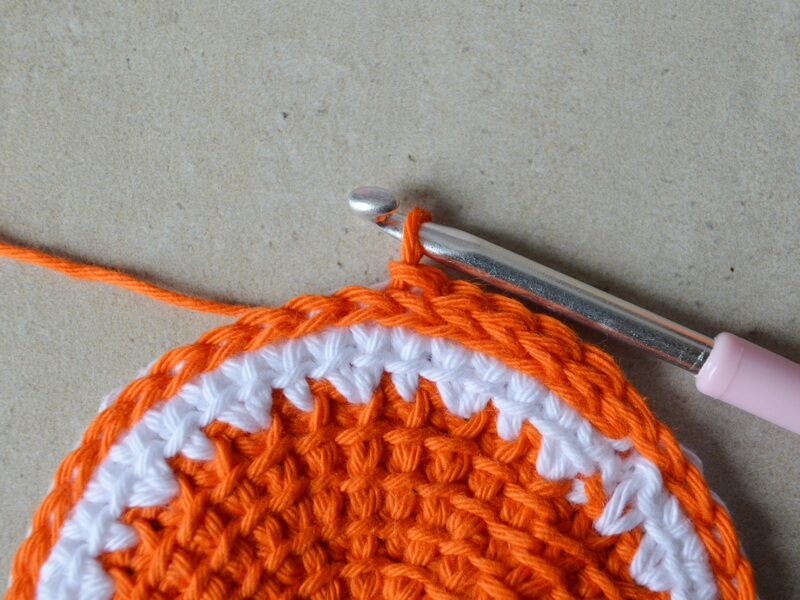
Make an invisible join with C1.
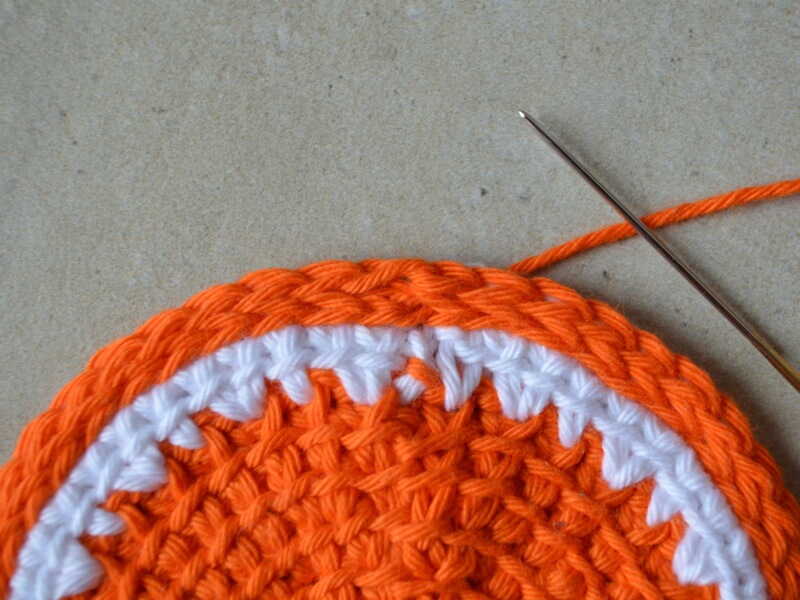
Use the long C2 tail to sew the wedges, by dividing the area into 8 equal wedges.
Go underneath the horizontal lines, towards the center. Then return from the center, at an angle to create the next wedge.
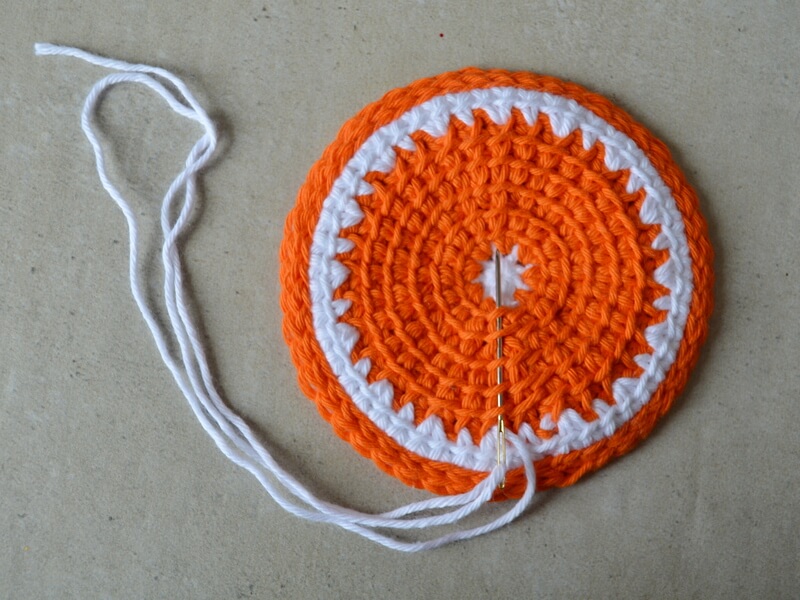
Then repeat this process until you have 8 wedges.
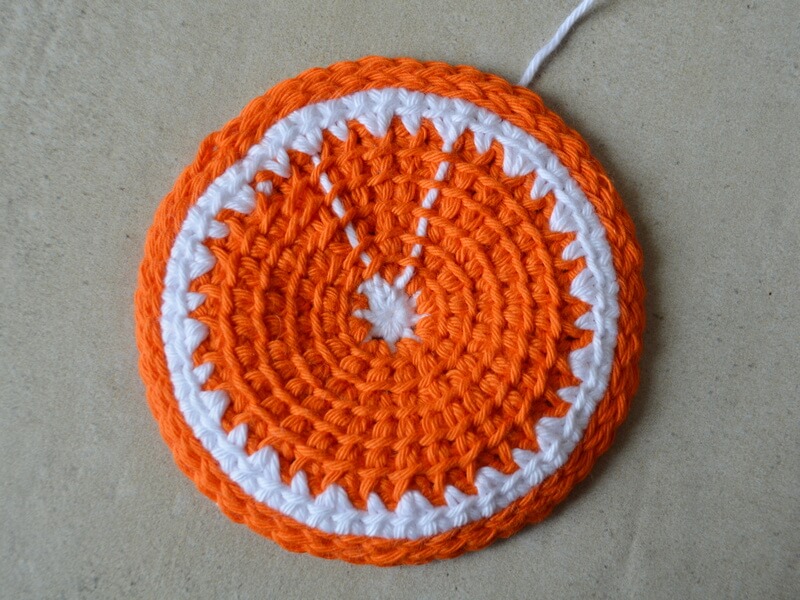
Sew in all the tails and now the coaster is finished.
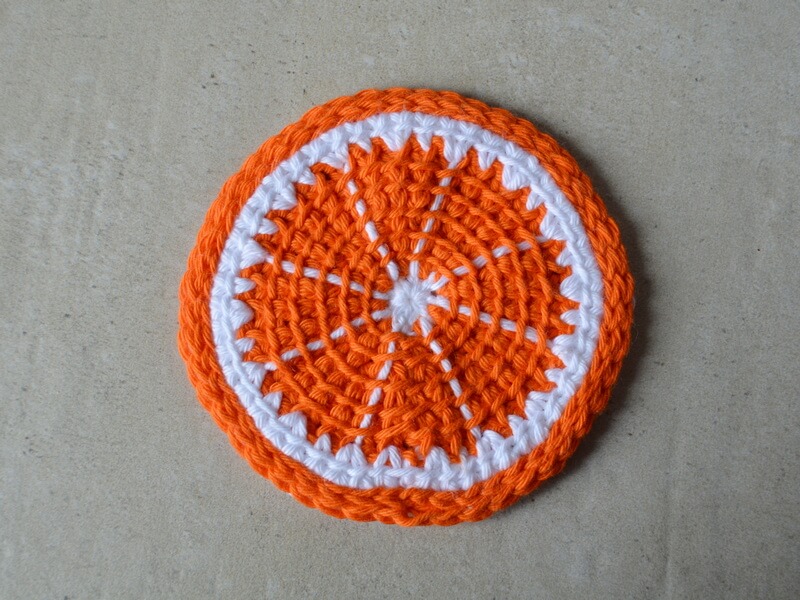
Pick other colors and make a whole set.
Final thoughts
If you like this pattern, please consider buying a PDF copy from the product page (or from Etsy or Ravelry).
If you use Ravelry, you can add it to your project queue or make a project page and link it with the pattern page, so I can see what you make.
Keep close and sign up to my emails if you haven’t already (you’ll get a nice pattern too).
If you want more free patterns, check these out:
I’ll see you soon.
Hugs,
Andrea





2 thoughts on “Free Tunisian crochet coaster pattern – citrus slices”