Make a throw pillow or a huggable pillow with this free Tunisian crochet heart pillow pattern, perfect for Pipsqueak yarn or similar soft, chunky yarns.
Contents
About this Tunisian crochet heart pillow pattern
This pillow is inspired by a very popular holiday. It’s that day when everything is covered in hearts, mostly pink, when people make cupcakes with more frosting than dough, when people make and gift heart-shaped cards to each other.
I’ve made a smaller amigurumi heart pillow pattern before, that was at the beginning of my amigurumi design journey. I think it’s a little small and wanted to make a larger version.
When I saw this yarn, I knew it wanted to be a heart pillow, so I tried amigurumi. Big mistake, as I couldn’t see any stitch to work into, especially with increases…
So I decided I’d use Tunisian crochet stitches instead, as they are so much easier to see and work into, even in such a busy yarn like this. If you’ve never done Tunisian crochet before, this might not be the best first project for you, try out these face scrubbies first, so you get used to working with short rows and making round objects.

Inspiration
Almost ten years ago I was in Hamburg, participating in an international event with people from all over the world. On Valentine’s day, our colleague from the USA brought a few boxes of candy with her and started passing them around.
I was so confused by these little heart candies that tasted like chalk, but had all sorts of funny messages on them. I had never seen them before, although I did use to consume a lot of American media (yes, North, Central and South American media).
I’ll be happy to never taste one ever again in my life, but despite their complete lack of flavor or taste, they are a cute symbol of Valentine’s day and now you can even have them as a pillow on your couch or in your relaxation corner.

Pattern notes or observations
- You can make this pillow by using either a long Tunisian crochet hook or a hook with a cable. The choice is yours, the pattern works with either.
- Find your favorite color in Bernat Pipsqueak or Hobbii Teddy yarn, or any other chunky fleece-style yarn with about 55 meters per 50 grams or the equivalent, to make this pillow.
- You could also use velvet yarn for this pattern, but make sure you adapt the hook size (use a smaller hook) and make sure the yarn you use is not slippery. There are many kinds of velvet yarns, but the ones that work for this project are not the shiny ones.
- Try to test the yarn by making a little swatch. If the threads slip and twist upon themselves, don’t use that yarn. Make an amigurumi heart pillow with that yarn instead.
- You could also use Bernat Blanket yarn, which is super chunky, so make sure you adapt your hook size (try a 10 mm and see if it works). Just be aware that the pillow will come out huge.
- You can add any writing you want on top of the pillow, before assembly. You can embroider or appliqué on top of either side of the pillow and then seam it up.
- You can skip the band on the side of the heart and just seam the two hearts together for a shallower pillow. For a thicker pillow, you can increase the number of stitches on the side.
- Make sure you have enough filling. For my sample, I used almost all the filling of a regular 50 cm by 50 cm or 19.5″ by 19.5″ pillow insert.
Skill level
Experienced beginner or intermediate, due to increases and short rows.
Size
The finished pillow measures about 35 cm by 35 cm in width and height (about 14″ by 14″) and about 14 cm in thickness when stuffed well (about 5.5″). If you use different yarn, you might end up with a larger or smaller pillow.
Gauge swatch
You will need to swatch only if you want to reach the exact dimensions listed here. The swatch consists of 9 rows of 10Tss (including the last stitch). The resulting rectangle should be 10 cm by 10 cm or about 4 by 4 inches.
Notions
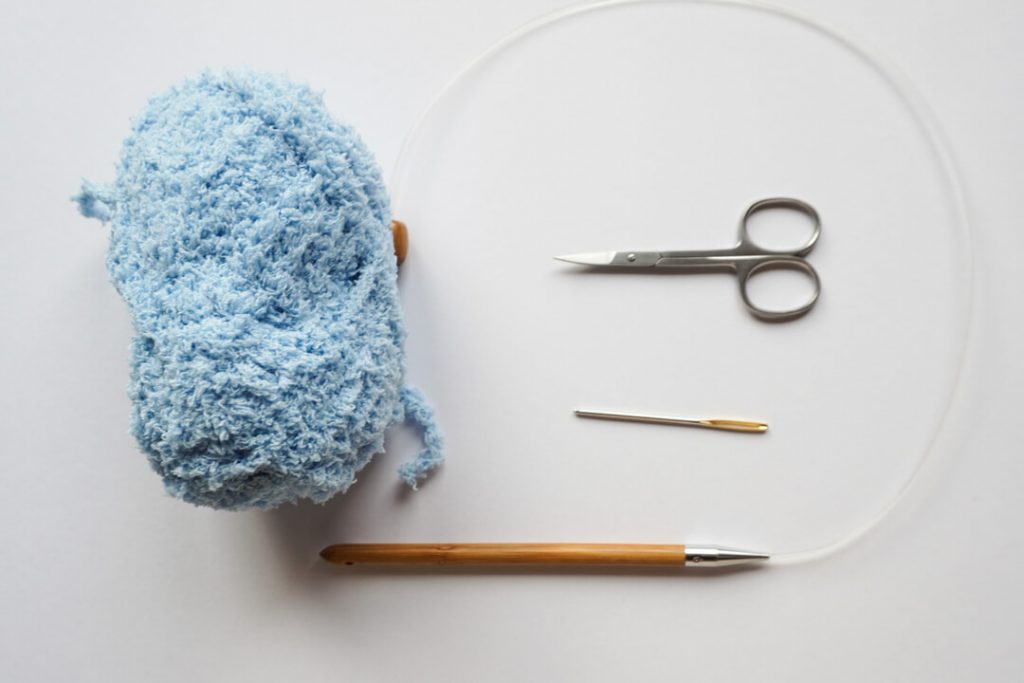
- Yarn: chunky fleece-style yarn at about 55 meters per 50 grams – between 170-200 grams; I used a supermarket yarn that’s identical to Bernat Pipsqueak;
- Hook – 8 mm hook with a long shaft – either a straight long Tunisian crochet hook, or one with a cable (the shortest cable if you have interchangeable hooks);
- Regular hook for seaming – 6 mm;
- Tapestry needle;
- Scissors;
- Filling – pillow stuffing, about the quantity needed for a 50 cm by 50 cm or 19.5″ by 19.5″ pillow insert (get an insert and unravel one side, use the stuffing for the pillow;
- Optional – sewing pins with large heads;
- Optionally, you can sew an inset of the same shape and size out of a non-stretch fabric to put the stuffing in before inserting in the pillow;
- Optionally, you can add crocheted or embroidered words to the pillow – you will need yarn and the hook that goes with the weight of yarn if you choose to crochet letters.
Abbreviations
For left-handed, please mirror the instructions for P and Tss stitches.
- Ch – chain;
- K – Tunisian knit stitch – insert the hook from the front of the work between the two vertical bars of the next stitch, pull up a loop;
- Ls – last stitch – insert the hook behind the 2 vertical loops at the end of the row, pull up a loop;
- MR – magic ring – make a loop, with the tail of the yarn on top, going counter clockwise;
- R – regular Tunisian return – Ch1, repeat [YO and pull through 2 loops] until 1 loop is left on the hook;
- Sk – skip a stitch;
- Sl St – slip stitch;
- SRR – short row return, used here both for short rows and working into the side of the piece – repeat [YO and pull through 2 loops] until 1 loop is left on the hook;
- St – stitch;
- Tfs – Tunisian full stitch – insert the hook in the space before the next stitch, pull up a loop;
- Tss – Tunisian simple stitch – insert the hook from right to left behind the next vertical bar, pull up a loop;
- YO – yarn-over.
Instructions
Base triangle
Row 1. In MR: repeat [pick up a loop, Ch1] 3 times, until you have 3 loops on the hook.
Close the MR by pulling on the tail. Regular return pass.
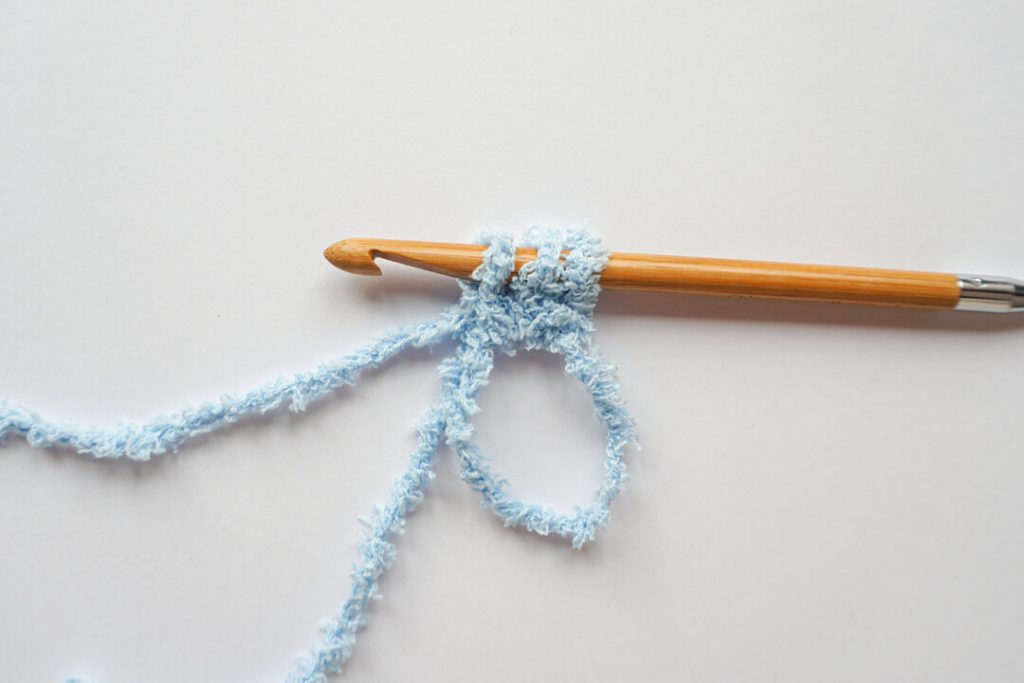
Row 2. 1 Tfs, 1 Tss, 1 Tfs, Ls, R (do not skip any stitches)
Row 3. 1 Tfs, 3 Tss, 1 Tfs, Ls, R
Row 4. 5 Tss, Ls, R
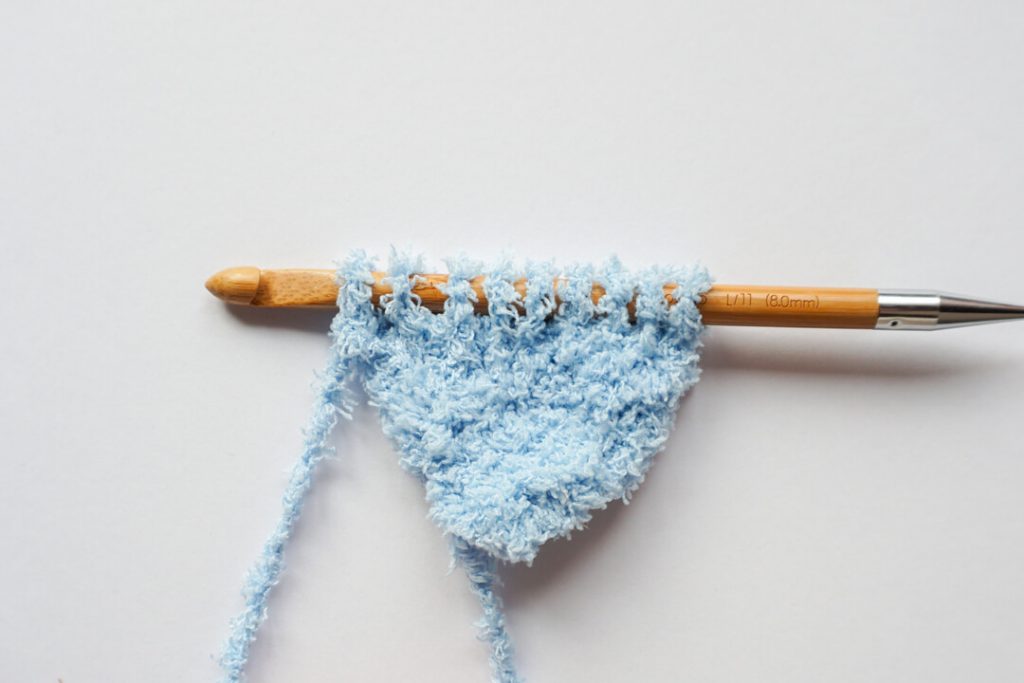
Row 5. Tfs, 5 Tss, Tfs, Ls, R
Row 6. Tfs, 7Tss, Tfs, Ls, R
Row 7. 9 Tss, Ls, R
Row 8. Tfs, 9 Tss, Tfs, Ls, R
Row 9. Tfs, 11 Tss, Tfs, Ls, R
Row 10. 13 Tss, Ls, R
Row 11. Tfs, 13 Tss, Tfs, Ls, R
Row 12. Tfs, 15 Tss, Tfs, Ls, R
Row 13. 17 Tss, Ls, R
Row 14. Tfs, 17 Tss, Tfs, Ls, R
Row 15. Tfs, 19 Tss, Tfs, Ls, R
Row 16. 21 Tss, Ls, R
Row 17. Tfs, 21 Tss, Tfs, Ls, R
Row 18. Tfs, 23 Tss, Tfs, Ls, R
Row 19. 25 Tss, Ls, R
Row 20. Tfs, 25 Tss, Tfs, Ls, R
Row 21. Tfs, 27 Tss, Tfs, Ls, R
Row 22. 29 Tss, Ls, R
Row 23. Tfs, 29 Tss, Tfs, Ls, R
Row 24. Tfs, 31 Tss, Tfs, Ls, R
Row 25. 33 Tss, Ls, R
Row 26. Tfs, 33 Tss, Tfs, Ls, R
Row 27. Tfs, 35 Tss, Tfs, Ls, R
Row 28. 37 Tss, Ls, R
Now the main triangle is complete. You will work the two semicircles on thop of this heart, over 18 stitches each. First you work one semicircle, then the second one.
There will be two gaps left at the end of each semicircle. They will be closed before seaming the pillow.
Semicircle
Row 1. 10 Tss, SRR
Row 2. 7 Tss, SRR
Row 3. 4 Tss, SRR
Repeat rows 1-3 8 times in total. During the last repeat, K in the last St of the 10Tss row to prevent the stitch into which you have been working from gaping.
Count 9 Sts from the middle of the semicircle and Sl st into it.
Repeat the semicircle pattern, Sl St to last St on the last row of the triangle or use the tapestry needle to make an invisible seam.
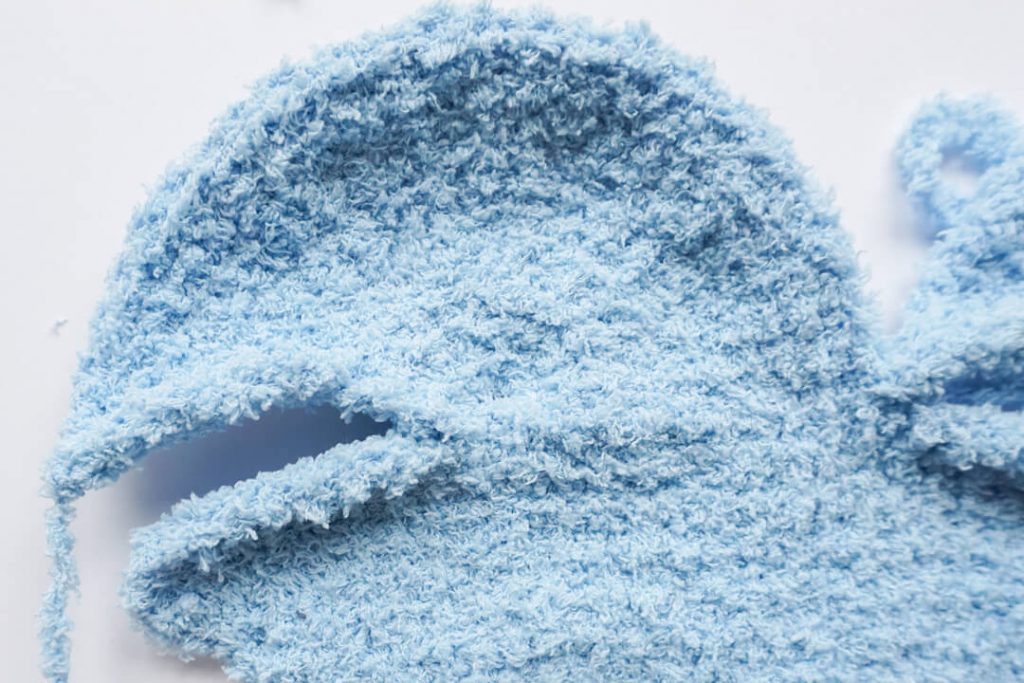
Leave a long tail (about as long as the heart is wide) for seaming up the gaps.
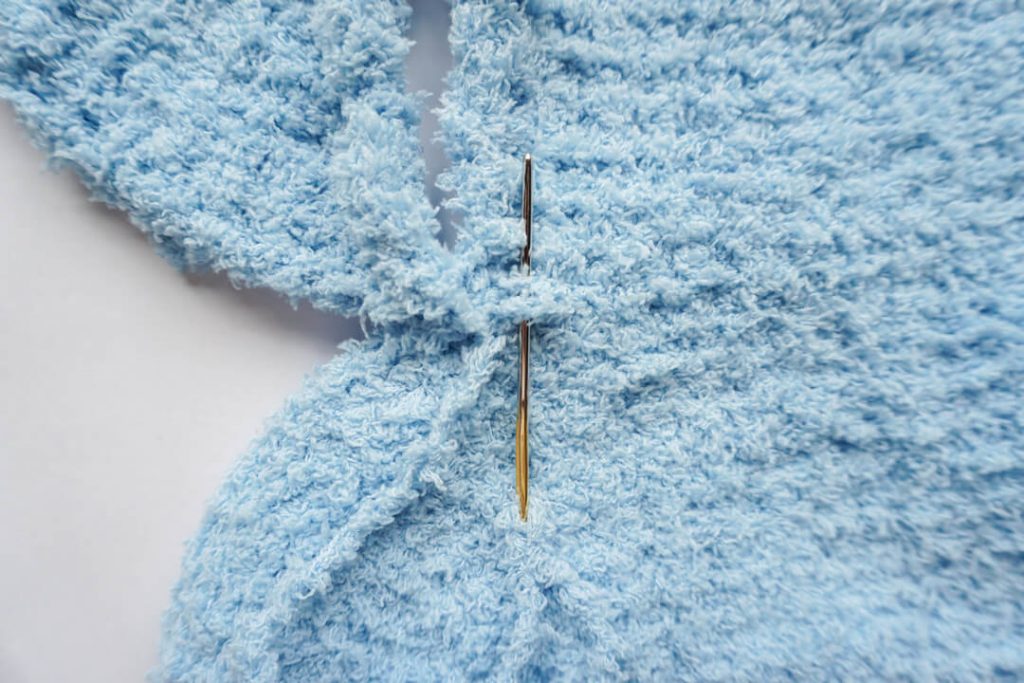
Seam up the gaps by going with the needle into one stitch on one side and then the opposite stitch on the other side of the gap. Keep working towards the middle of the heart.
When you are done with the first gap, travel with the needle along the back of the work until you reach the middle point, then repeat the process to close the second gap. Weave in the end.
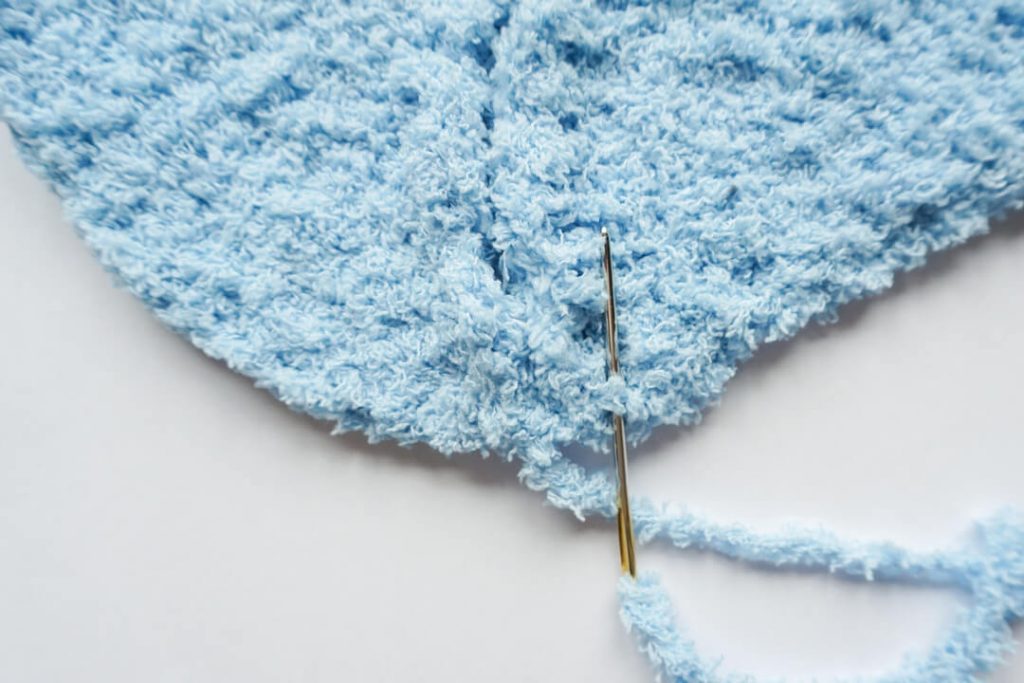
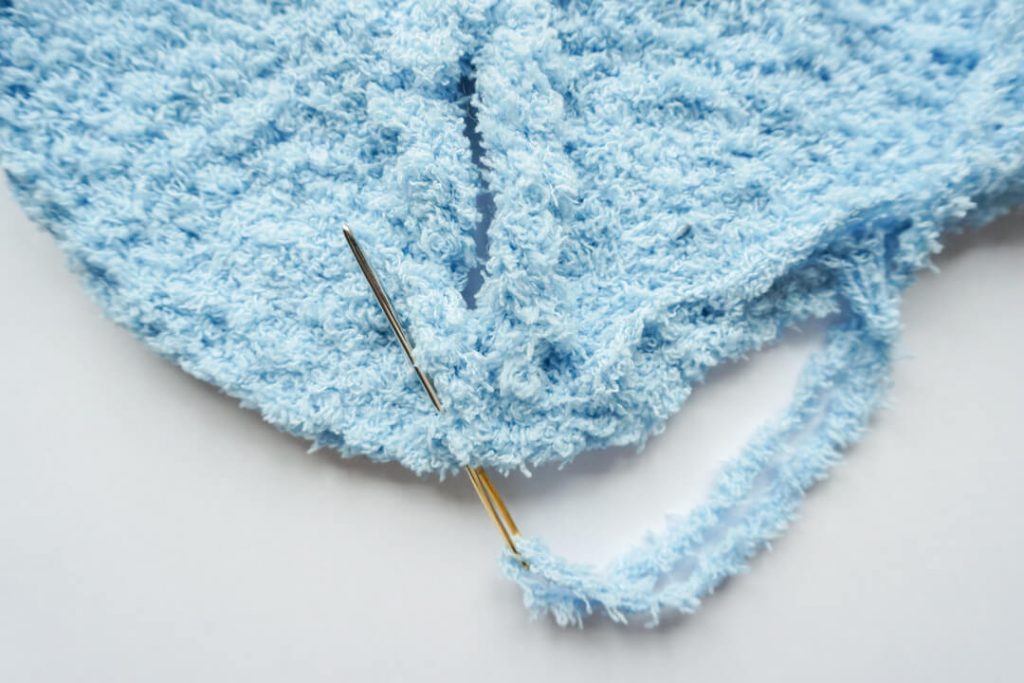
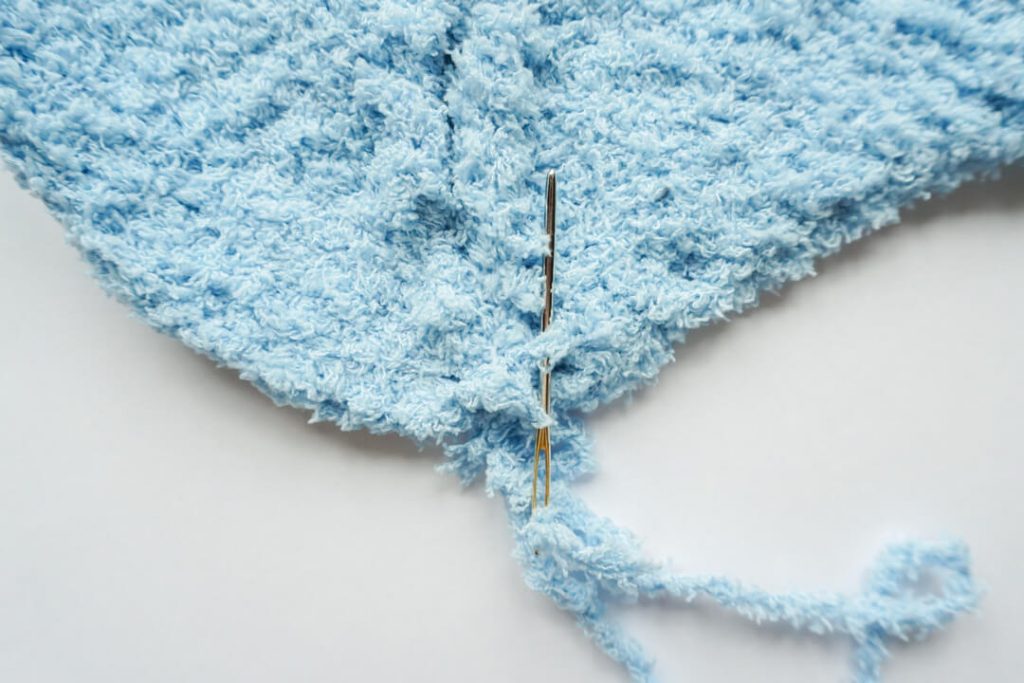
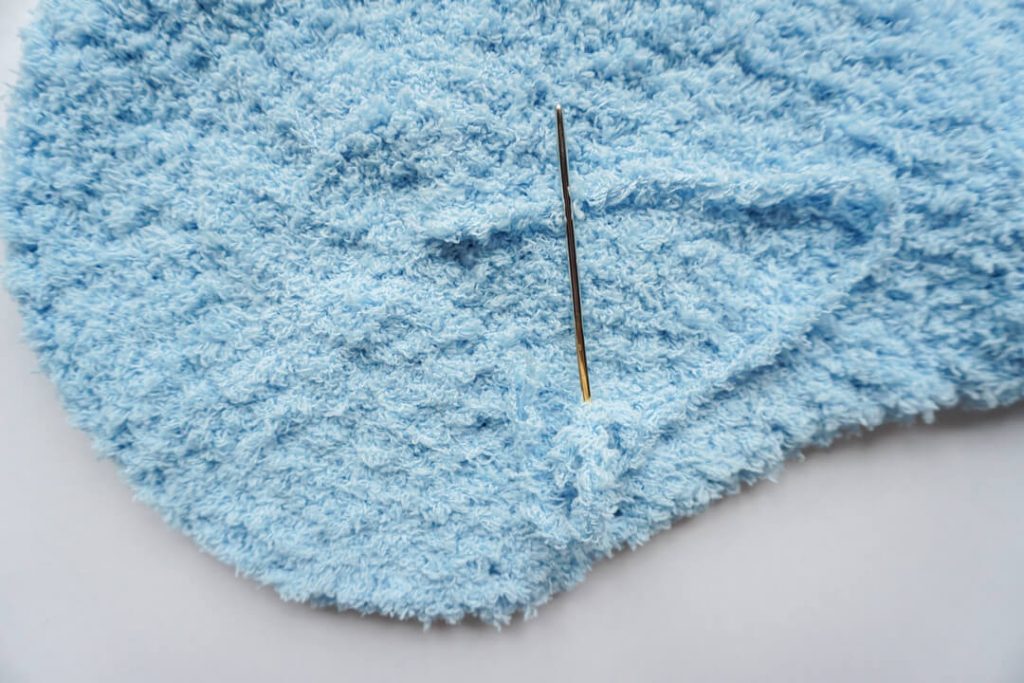
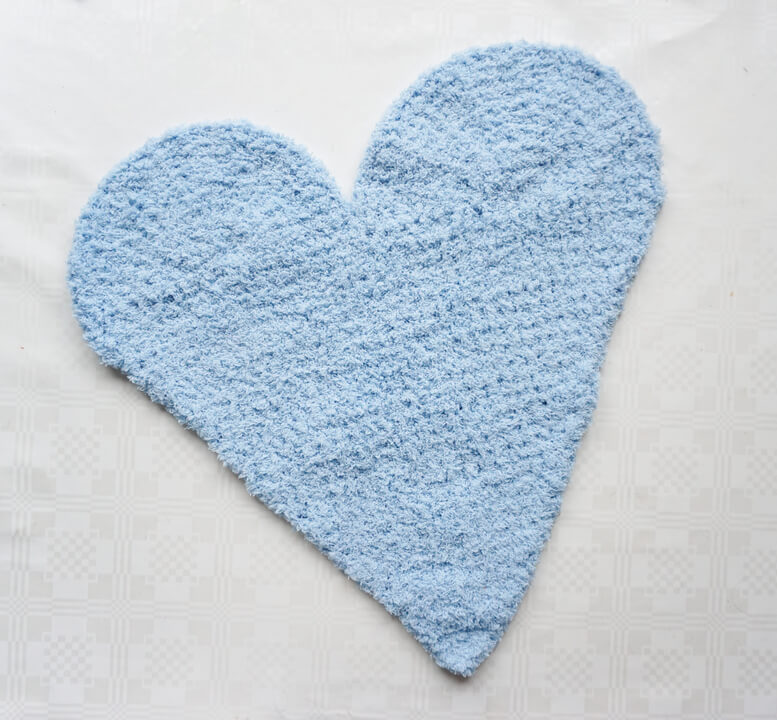
When you are finished with seaming, you should have a shape that looks like a heart.
You could also stop here and use it as an appliqué in other projects, like a square pillowcase or a sweater or anything else you can think of.
Second heart
Make a second heart, but stop when you are finished with the second semicircle.
Next you will work a side wall for the pillow. If you prefer the pillow to be narrow, stop here, close the gaps and use another thread to sew up the two sides. Otherwise continue with the side wall.
Row 1. Ch 4, 4Tss, pick up a loop in the side of the heart, SRR
Row 2. 4Tss, pick up a loop in the next stitch on the side of the heart, SRR
Repeat R2 along the edge, going towards the tip of the heart (the first row of the triangle).
At the tip, make 1 row of purl stitches (4P) and anchor the end to the 1st row on the other side of the triangle, R.
Work along the second side and around the first semicircle, by repeating R2.
When you reach the dip between the semicircles, make a row of purls (4P) and anchor its end to the first row of the second semicircle.
When you reach back to the beginning of the side wall, cut off the yarn, leaving a long tail (about as long as the heart is wide, but not shorter!).
Use it to close up the gap on the side, then the two gaps in the main heart, following the same instructions as for the first heart, going first on one side and then the other.

Seaming and stuffing the pillow
When you have finished the two sides of the pillow, add any embroidery or decorations you have in mind to the two pieces. It is much easier to embroider on the fabric now than when the pillow is seamed and stuffed.
Once you are done decorating, overlap the two sides with the back sides facing each other. Use sewing pins with large heads to keep the pieces together while you seam.
Put pins in critical points, such as the tips of the triangles, the spot between the semicircles. Count them and make sure they are visible so you don’t forget to take them out!
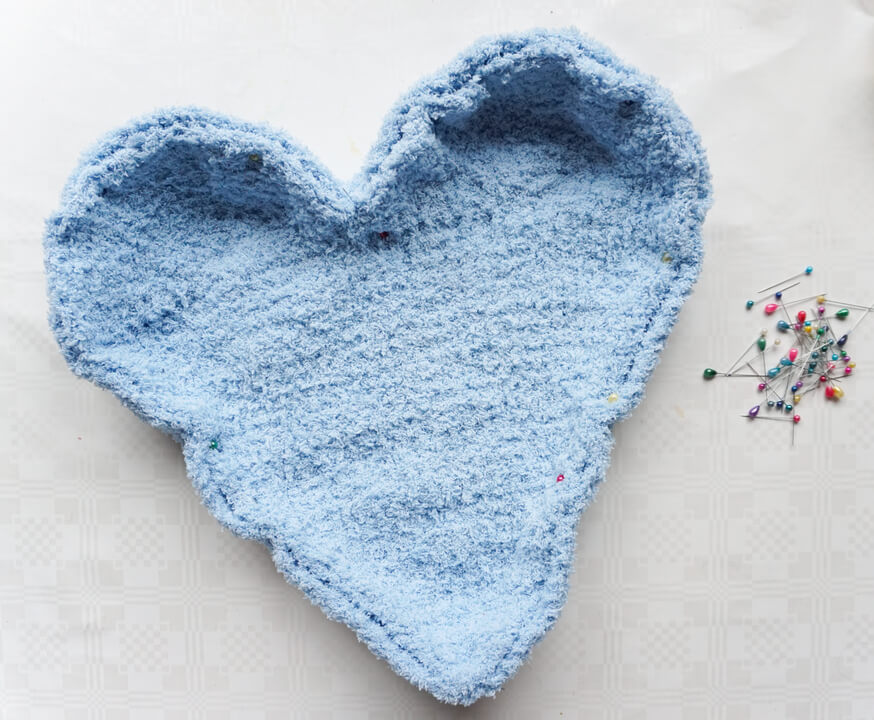
Use the regular crochet hook to make slip stitches around the hearts, going through both layers at a time – the edge of the first heart and the second side of the side wall of the second side.
Use relaxed tension to make the slip stitches, but don’t make them loose. You want just a little tug on the edge. This will create a defined “pill” or “candy” edge for your pillow.
Remove pins as you encounter them and double-check once you are done. Count your pins again to make sure you removed them all.
When you reach close to the beginning of the seam, stop with about 10 cm or 4″ left unseamed. Do not cut the yarn!
Use this gap (your hand should fit through comfortably) to insert the stuffing.
Fluff up the stuffing and try to layer it uniformly inside the pillow, to prevent lumping. Add the stuffing in a layer of uniform thickness. Add more to specific spots if you notice gaps or holes.
Add stuffing in the tip of the heart as well.
When you are satisfied with the stuffing, continue making slip stitches to close the remaining gap.
When you reach back to where you began seaming, cut off the yarn and use the tapestry needle to create an invisible stitch, then weave in the ends.
On the other side of the heart, repeat the process of creating an edge by making slip stitches in all the stitches where you attached the side wall.
Repeat the join with the invisible stitch and weave in the ends.
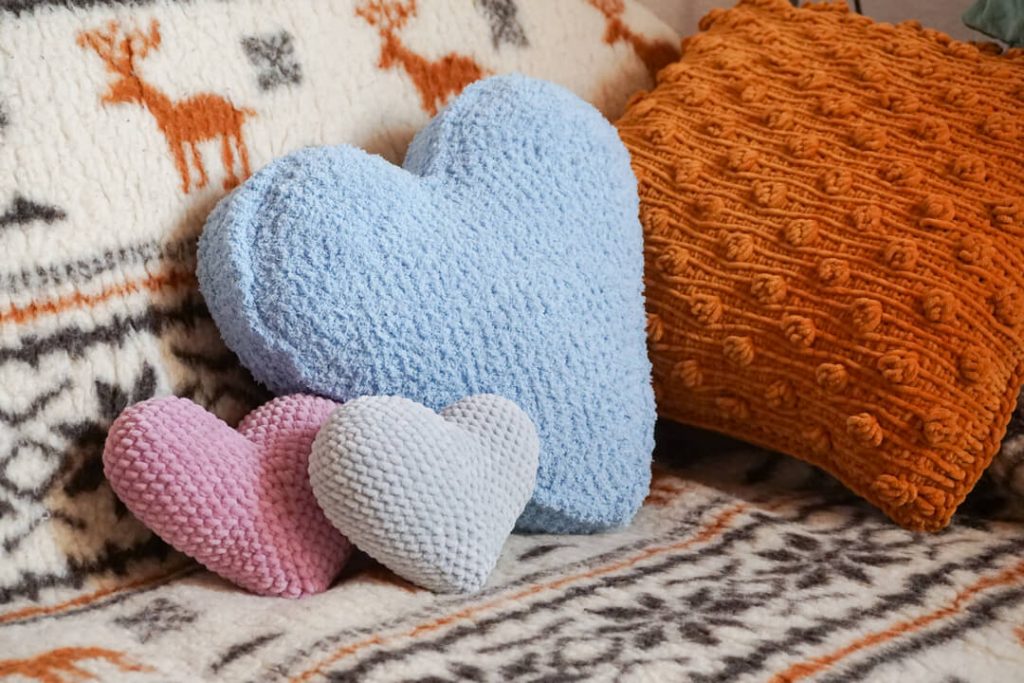
The Tunisian crochet heart pillow is finished and ready to gift or to be a nice decoration in your house!

PDF version + low vision
If you’d rather have a PDF of this pattern, with all the instructions in one place, here are some links to the different places where you can get the PDF version, plus a low vision version of this pattern.
Here are some more free patterns from my blog.
If you want to know when I publish more patterns or when I launch testing calls, when you can get a pattern for free in events or when I publish a new blog post about crochet design, sign up below to my email updates and get a free pattern as well.
I hope you enjoyed this pattern and that you will enjoy your Tunisian crochet heart pillow. I’m snuggling it right now.
Hugs,
Andrea





3 thoughts on “Free Tunisian crochet heart pillow pattern”