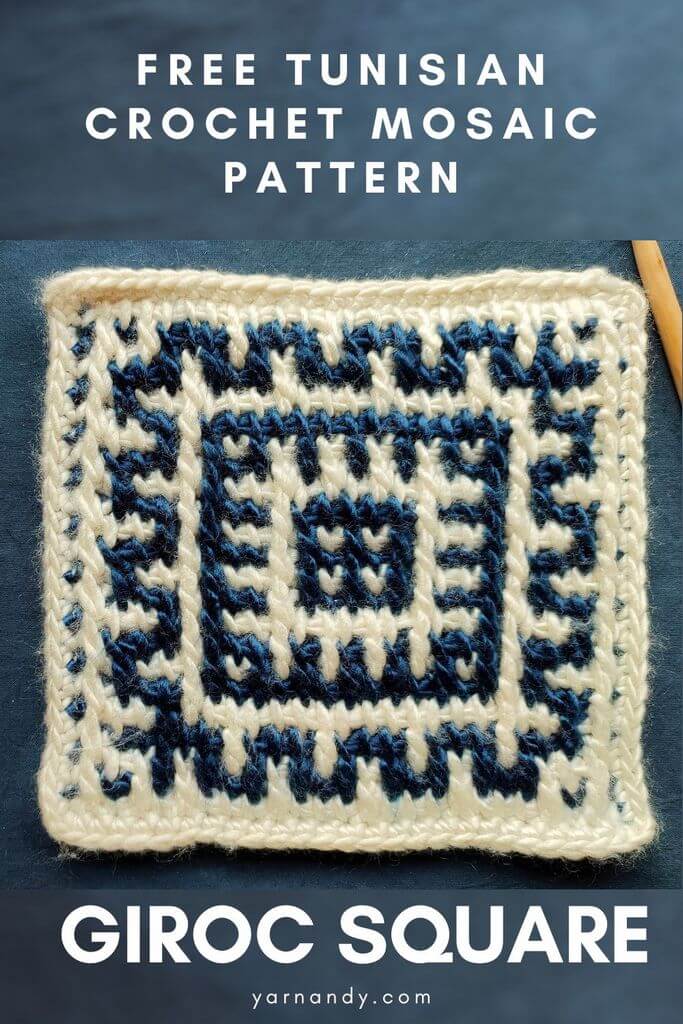
Use this beautiful Tunisian crochet mosaic pattern to create a block for a blanket, or use the pattern as an overall pattern for any project you can imagine.
About this free mosaic Tunisian crochet pattern
This is an intermediate Tunisian crochet mosaic pattern inspired by motifs in Romanian embroidery from the Banat region. Giroc is a commune in this region with amazing artisans.
The original motif is embroidered with flat stitches or woven in the fabric used to make traditional chemises.
The pattern can be multiplied over larger areas or made in individual squares that are seamed with different squares of the same size.
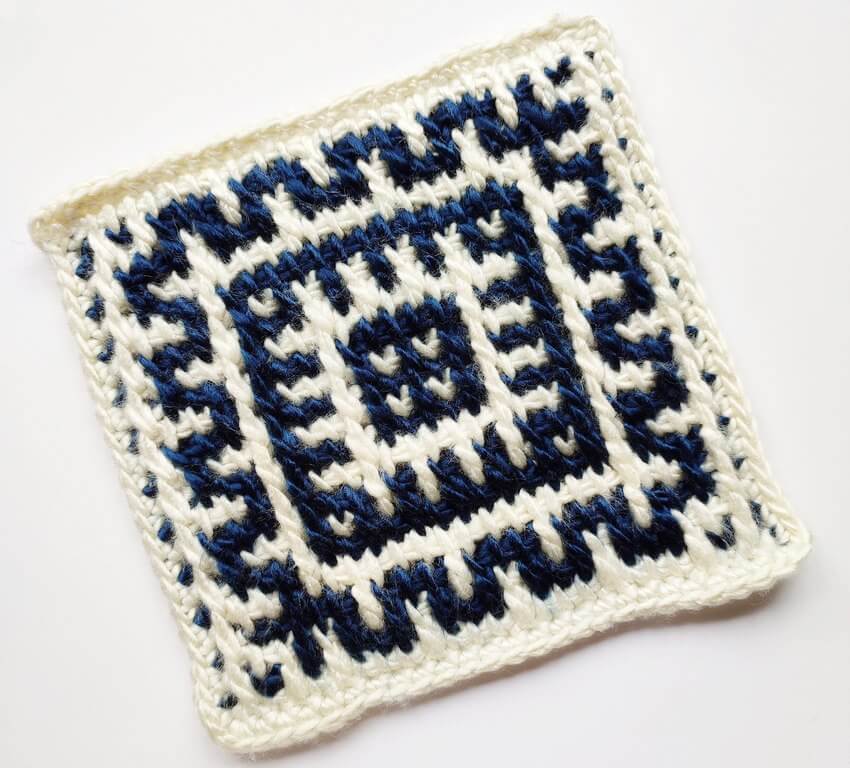
This pattern has been tested and is available for free here on the blog and in a print-friendly version as a PDF.
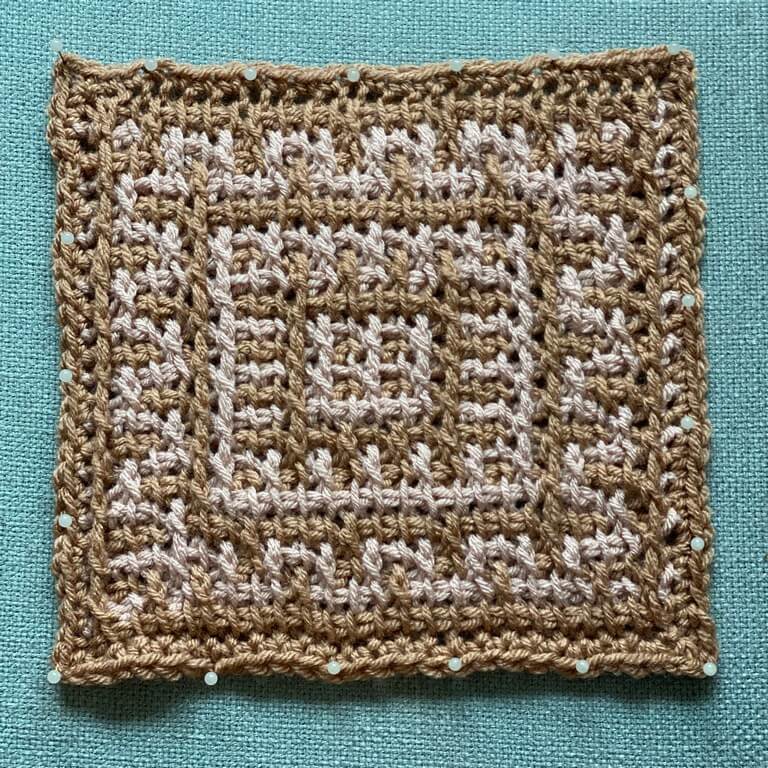
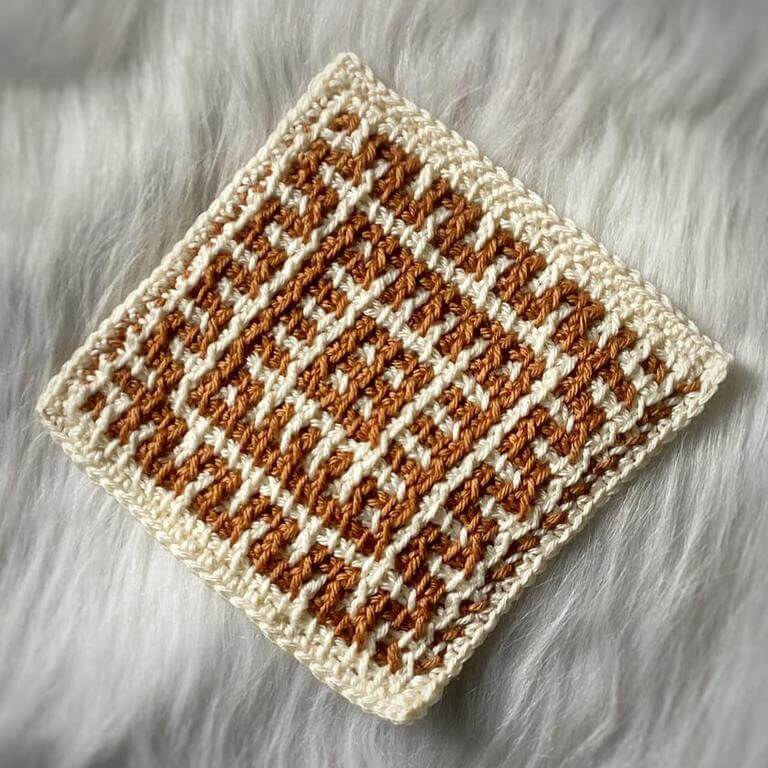
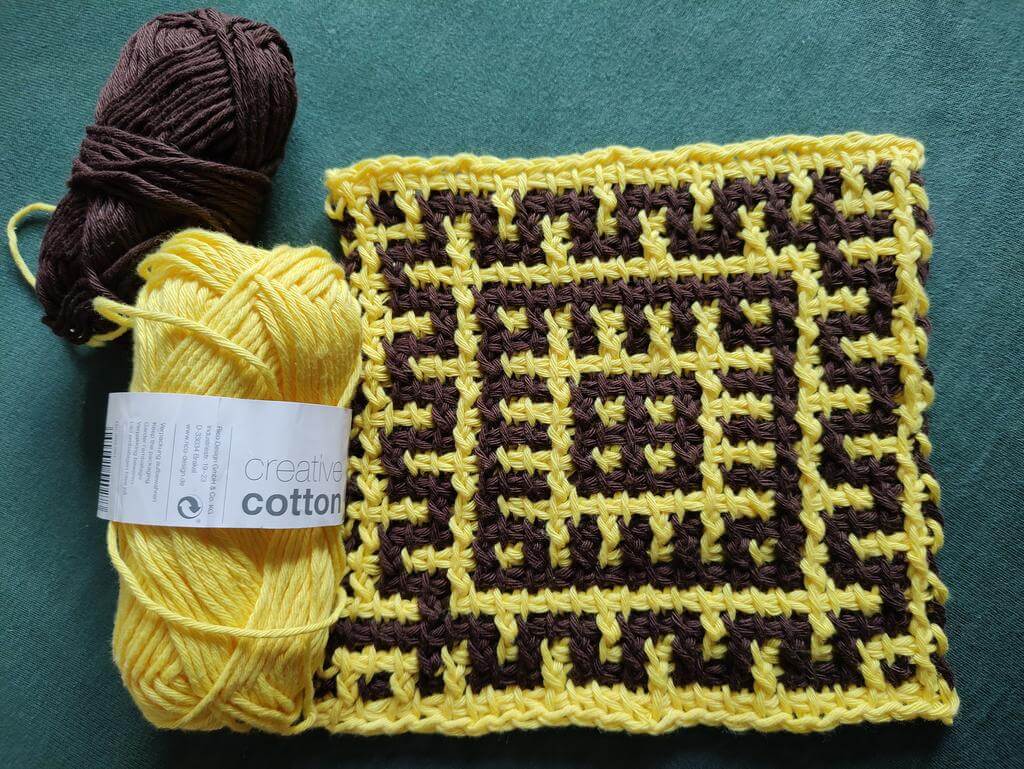
See below for links to a charity event or different shops where you can get the PDF pattern.
Skill level
Intermediate, due to front post extended stitches.
Notions
- Yarn: one color (or multiple for a multicolored garland) in DK or size 2-3 weight at approximately 220-260 meters per 100 grams, 6-7 grams or 12-16 meters per leaf;
- Hook – 4, 4.5 or 5 mm hook or hook that gets you gauge – regular crochet hook or Tunisian crochet hook;
- Other notions: tapestry needle, scissors, blocking pins and mats.
Sizes and measurements
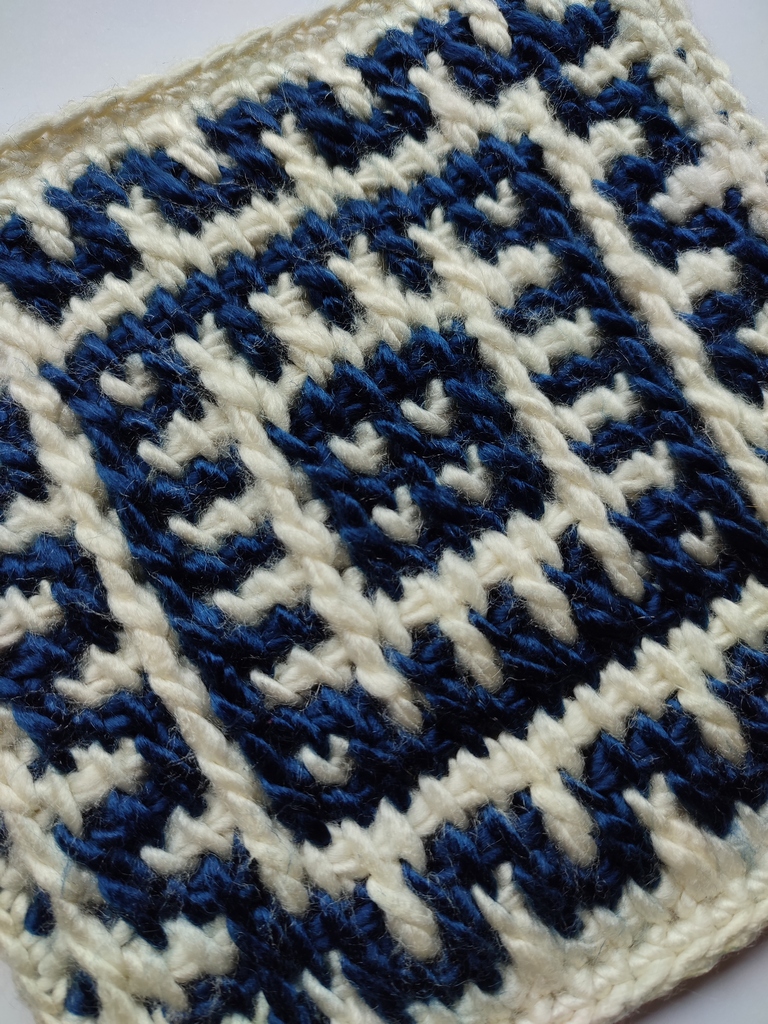
The finished square should measure 20 by 20 cm or 8 by 8 inches after blocking.
If you want to, you can add more rows of Sc all around to increase the size of the square if it comes out too small, or increase the hook size by increments of 0.5 mm.
Observations
- This pattern includes instructions for a square 23 by 23 pixels wide.
- You will work with two rows in the Tunisian crochet mosaic technique that uses front post extended stitches.
- Each row is made with one of two colors (C1 or C2). The colors alternate at the end of each row (see instructions for the return pass – R).
- In the (round brackets) you have the number of loops on the hook for each row, including the first loop.
- In [square brackets] you have repeats.
- In {curly brackets} you will find stitches that are worked in the same stitch.
PDF versions of this mosaic Tunisian crochet pattern
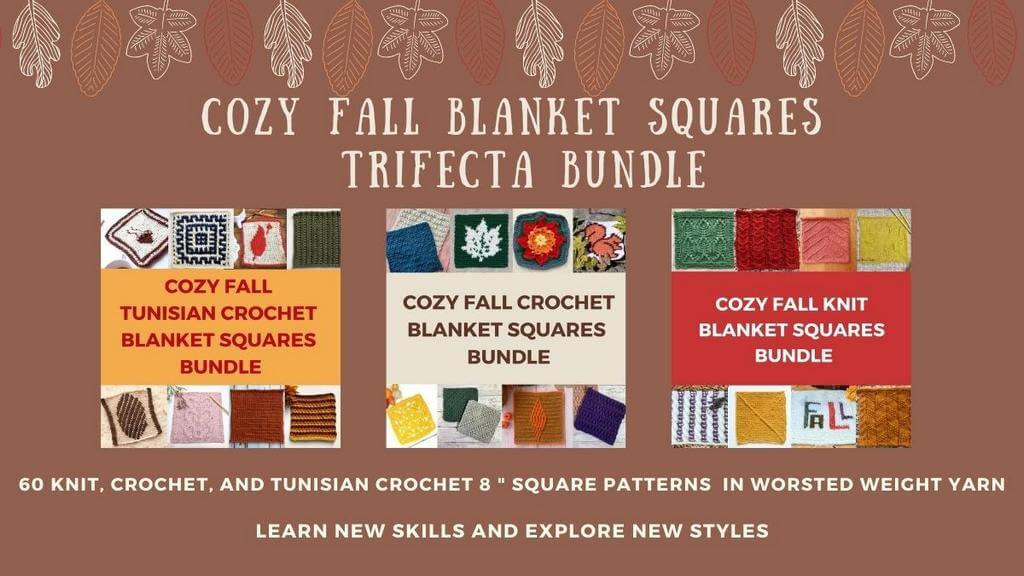
This pattern has been released in a PDF form as part of a charity event, the Cozy Fall Charity MAL (Make-along). You can buy a PDF bundle with all the patterns included in this event and 30% of your purchase price will go to Cure Childhood Cancer.
There are more than Tunisian crochet patterns involved, as you also have the option to buy a regular crochet bundle of patterns for squares and a knitting bundle.
The idea behind this event is to support the fight against childhood cancer and you may donate a blanket you make from the patterns in the blog hop to a charity.
There are more details about the whole event on the Tunisian crochet blog hop hub here.
There are two more pages, one for regular crochet patterns here and one for knitting patterns here. The main event info is the same, but you get links to the blanket squares for the other two crafts.
If you want to buy a bundle of patterns, find the presentation page for each of them by clicking on the buttons below.
These links below are all affiliate links and I will get a commission if you buy a bundle from them, but first 30% goes to the charity.
There is also a large bundle with all the patterns, if you are a person who likes to crochet, Tunisian crochet and knit. If you’d rather get all the patterns, here’s the presentation page for all of them.
If you want to buy a PDF for this pattern only, it is also available as a PDF in my shops, with full instructions, two charts for the whole pattern.
You can find the single PDF pattern here:
Abbreviations
- Ch – chain;
- FpTEs – front post Tunisian extended stitch: insert the hook behind the 2 vertical bars of the stitch in the same color two rows below, pull up a loop, Ch1;
- Ls – last stitch: insert hook behind the 2 vertical bars at the end of the row, pull up a loop;
- R – special Tunisian return: Ch1, Rep [YO and pull through 2 loops] until 2 loops are left on the hook, switch to the other color, YO and pull through 2 loops with the new color;
- Rep – repeat;
- Sc – single crochet (US terms) or double crochet (UK terms);
- Sl St – slip stitch;
- St – stitch;
- Tss – Tunisian simple stitch – insert hook from right to left behind the next vertical bar, YO and pull up a loop;
- YO – yarn-over.
Gauge swatch for this Tunisian crochet mosaic square
Make a swatch to ensure that the square will come out the proper size.
The swatch consists of 6 rows of 7 Tss (including the last stitch).
The resulting rectangle should be 5 cm by 5 cm or about 2 by 2 inches.
Videos for this Tunisian mosaic pattern
If you don’t know how to make Tunisian crochet mosaic or how to make the extended stitches, I have videos for both.
First here’s how to make extended stitches, which you will use for making the square.
Now here’s how to read a chart such as the one I provided below and actually make this Tunisian crochet mosaic project.
Sorry that there is no left handed version for this video, but I filmed this a long time ago and would have had to film the whole process again with a separate pattern in order to make a left handed version. I hope you understand the process, though.
Instructions for the Giroc square Tunisian crochet mosaic pattern
Start with C1 and a slip knot on your hook. You will change color at the end of each return pass (see instructions for R).
Row 1: Ch24, pick up 24 loops on the hook in the back bumps, R (25 loops)
Row 2: 23 Tss, Ls, R (25 loops)
Row 3: Rep [FpTEs, Tss] 2 times, Rep [2 Tss, FpTEs, Tss] 4 times, FpTEs, Tss, FpTEs, Ls, R (25 loops)
Row 4: 2 Tss, Rep [Tss, FpTEs] 9 times, 3 Tss, Ls, R (25 loops)
Row 5: Rep [FpTEs, 3 Tss] 5 times, 2 Tss, FpTEs, Ls, R (25 loops)
Row 6: Tss, FpTEs, 17 Tss, FpTEs, 3 Tss, Ls, R (25 loops)
Row 7: Rep [FpTEs, 3 Tss] 2 times, 10 Tss, FpTEs, 3 Tss, FpTEs, Ls, R (25 loops)
Row 8: 2 Tss, Rep [Tss, FpTEs] 8 times, 3 Tss, FpTEs, Tss, Ls, R (25 loops)
Row 9: Rep [FpTEs, 3 Tss] 2 times, Rep [FpTEs, Tss] 4 times, 2 Tss, FpTEs, 3 Tss, FpTEs, Ls, R (25 loops)
Row 10: Rep [Tss, FpTEs, 2 Tss] 2 times, 8 Tss, Rep [Tss, FpTEs] 2 times, 3 Tss, Ls, R (25 loops)
Row 11: Rep [FpTEs, 3 Tss] 3 times, Rep [2 Tss, FpTEs, Tss] 2 times, 2 Tss, FpTEs, Ls, R (25 loops)
Row 12: Rep [3 Tss, FpTEs, Tss, FpTEs] 2 times, Rep [Tss, FpTEs, 2 Tss] 2 times, Tss, FpTEs, Tss, Ls, R (25 loops)
Row 13: Rep [FpTEs, 3 Tss] 3 times, Rep [2 Tss, FpTEs, Tss] 2 times, 2 Tss, FpTEs, Ls, R (25 loops)
Row 14: Rep [Tss, FpTEs, 2 Tss] 2 times, Rep [Tss, FpTEs] 3 times, 2 Tss, Rep [Tss, FpTEs] 2 times, 3 Tss, Ls, R (25 loops)
Row 15: Rep [FpTEs, 3 Tss] 3 times, Rep [2 Tss, FpTEs, Tss] 2 times, 2 Tss, FpTEs, Ls, R (25 loops)
Row 16: 2 Tss, Rep [Tss, FpTEs] 2 times, 11 Tss, FpTEs, 3 Tss, FpTEs, Tss, Ls, R (25 loops)
Row 17: Rep [FpTEs, 3 Tss] 2 times, Rep [FpTEs, Tss] 4 times, 2 Tss, FpTEs, 3 Tss, FpTEs, Ls, R (25 loops)
Row 18: Tss, FpTEs, 2 Tss, Rep [Tss, FpTEs] 8 times, 3 Tss, Ls, R (25 loops)
Row 19: Rep [FpTEs, 3 Tss] 2 times, 10 Tss, FpTEs, 3 Tss, FpTEs, Ls, R (25 loops)
Row 20: 3 Tss, FpTEs, 17 Tss, FpTEs, Tss, Ls, R (25 loops)
Row 21: FpTEs, 4 Tss, Rep [Tss, FpTEs, 2 Tss] 4 times, Tss, FpTEs, Ls, R (25 loops)
Row 22: 2 Tss, Rep [Tss, FpTEs] 9 times, 3 Tss, Ls, R (25 loops)
Row 23: Rep [FpTEs, Tss] 3 times, Rep [2 Tss, FpTEs, Tss] 4 times, FpTEs, Ls, R (25 loops)
Continuing with C1, bind off with a Sl St in each St.
Row 24: Using the smaller hook, make 1 Sc in each St, with {1Sc, Ch2, 1Sc} in each corner, going all around the square. Cut off the yarn and create an invisible join after making the last corner. Weave in the ends on the back of the work.
Chart for this mosaic Tunisian crochet pattern
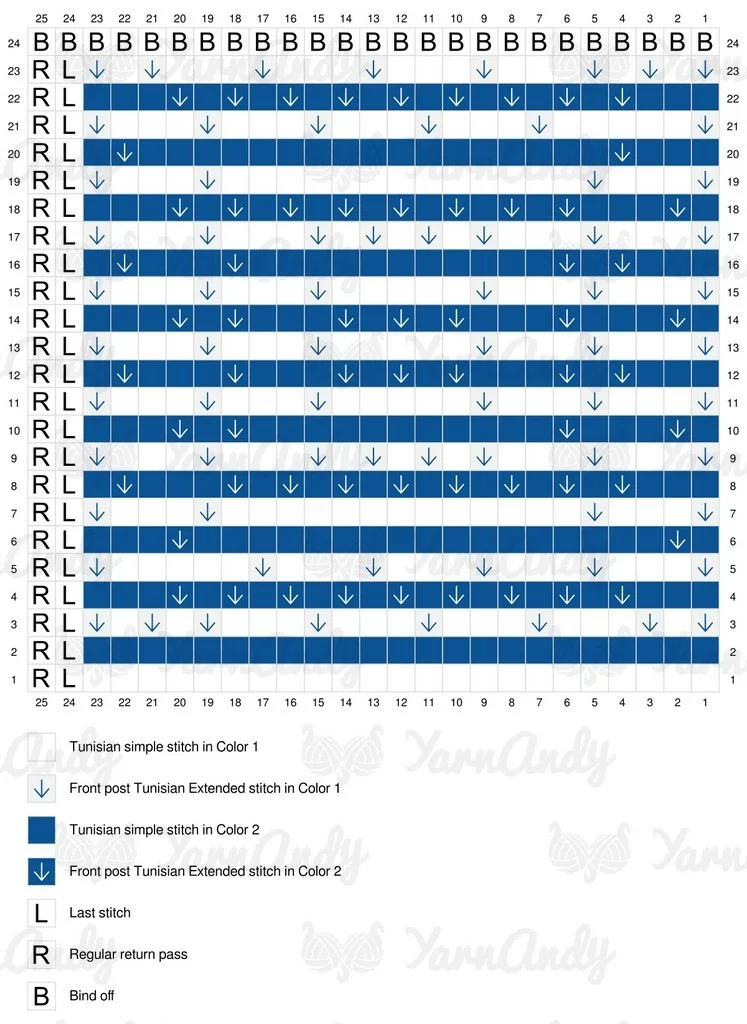
If reading a chart is more comfortable for you, here is a chart for this pattern. It has a watermark on it, but should be quite easy to follow.
If you don’t know how to read this kind of chart, check out the video I linked above, in which I show you how to read a Tunisian crochet mosaic chart.
Start from the bottom of the chart (Row 1) with a foundation row and then continue reading the rows from right to left. Each row includes a forward and a return pass (the R is not a stitch, but denotes a return pass).
If you are left handed, you still read the chart from right to left, but the square will come out mirrored. Since it’s a symmetrical pattern, that should not be a problem.
Add a row of Sc all around to finish off and weave in the ends.
How to weave in the ends in Tunisian crochet
If you don’t know how to weave in the ends in your project, here’s a video in which I demonstrate different ways of doing this.
Since this project has no shaping, you can just go perpendicularly to the rows, which is the first method demonstrated in the video.
Final remarks
If you want to share your project with me, I’m always glad to see it and give it a share at @yarnandy on Instagram. You can also tag me Andrea Crețu in groups, if you share the project in a group I’m in.
Also make sure to use #CozyFallMAL if you want folks to see your beautiful square and if you want to participate in the Giveaway and Raffle that are part of the event (more info here).
Here are some more Tunisian crochet patterns for you to try out and make sure you subscribe to my emails if you want to know when I publish new patterns, videos, testing calls and so on. Email subscribers also get exclusive coupons.
Feather and fan Tunisian crochet pattern for a washcloth
Tunisian crochet asymmetrical rounded triangle shawl tutorial
How to start a Tunisian crochet project in a magic ring
How to make different shawl shapes in Tunisian crochet
How to sew Tunisian knit stitch row to row
How to make a Tunisian crochet mosaic bee potholder
Free pattern for leaf lace Tunisian crochet bandana
Tunisian crochet houndstooth pattern for fingerless mittens
Tunisian crochet in the round tutorial with free pattern
Free Tunisian crochet fingerless mittens pattern
Hugs,
Andrea





2 thoughts on “Free Tunisian crochet mosaic pattern – Giroc square”