Decorate your home with beautiful fall leaves by using this free Tunisian crochet pattern to create garlands of autumn leaves.
About this fall leaf free Tunisian crochet pattern
This is an intermediate Tunisian crochet leaf garland pattern inspired by the beautiful autumn colors of falling leaves. This shape is typical of plane or sycamore leaves.
The basic, in the round construction is easy to memorize. The leaf is worked in short rows, with increases and stitches cast off to create the shape.
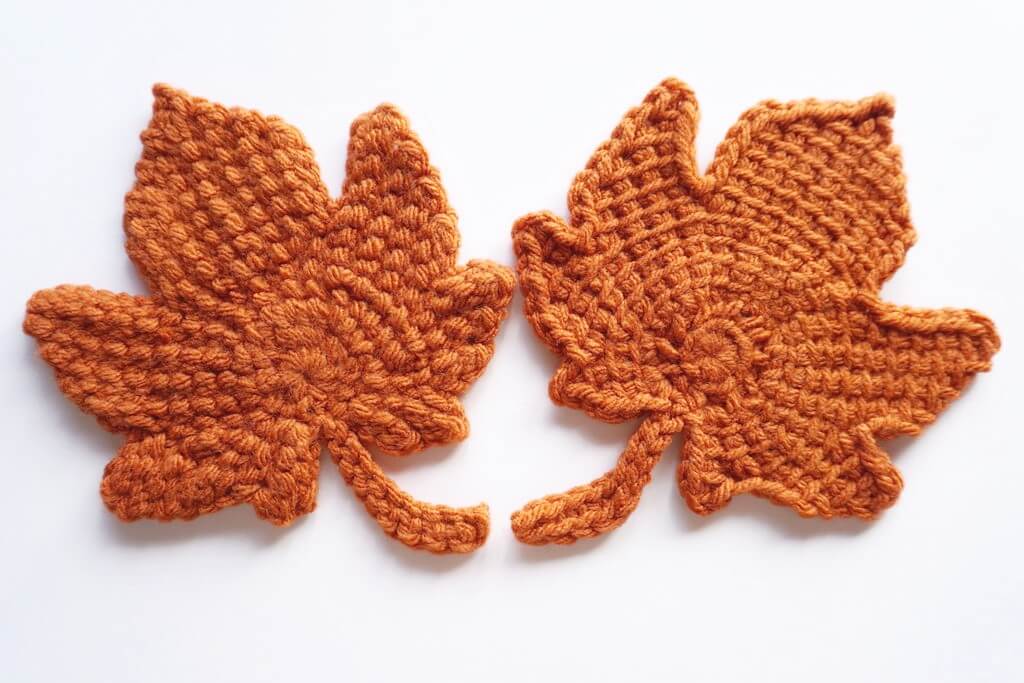
The leaf itself is customizable, as you can change stitch types to add more texture, such as purl stitches along the “veins” of the leaves. You can also add picots along the leaf edges to create a more rugged edge, to add some variety and suggest different types of trees.
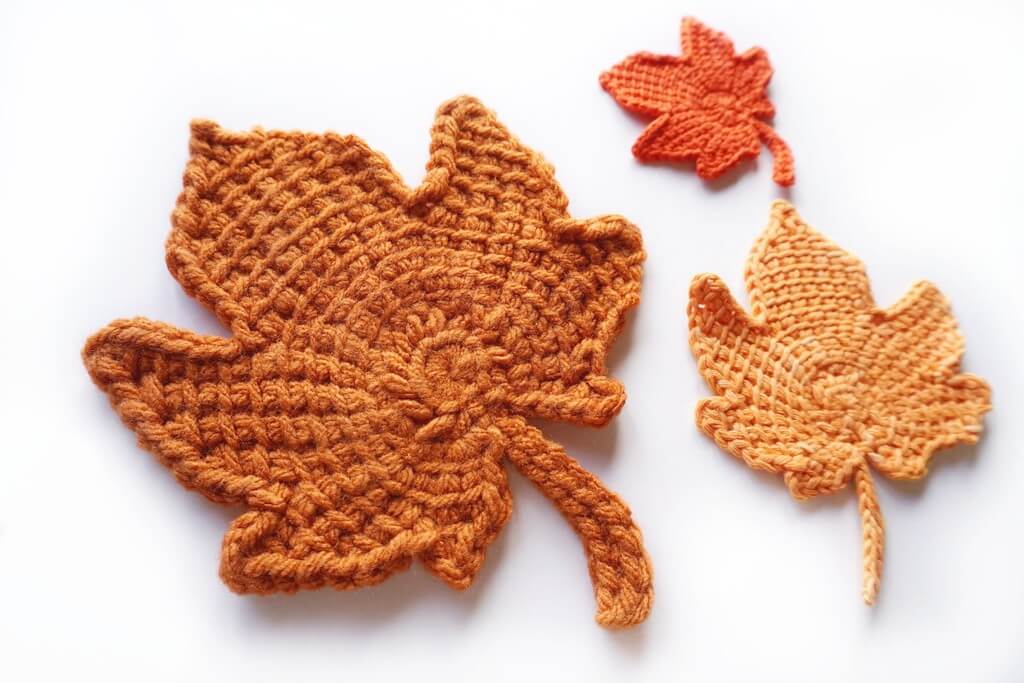
This pattern has been tested and is available for free here on the blog and in a print-friendly version as a PDF.
See below for links to different shops where you can get the PDF pattern.
You can also follow along video tutorials to make this leaf.
Skill level
Intermediate, due to increases and cast off decreases, short rows, working in sections.
Notions
- Yarn: one color (or multiple for a multicolored garland) in DK or size 2-3 weight at approximately 220-260 meters per 100 grams, 6-7 grams or 12-16 meters per leaf;
- Hook – 4, 4.5 or 5 mm hook or hook that gets you gauge – regular crochet hook or Tunisian crochet hook;
- Other notions: tapestry needle, scissors, blocking pins and mats.
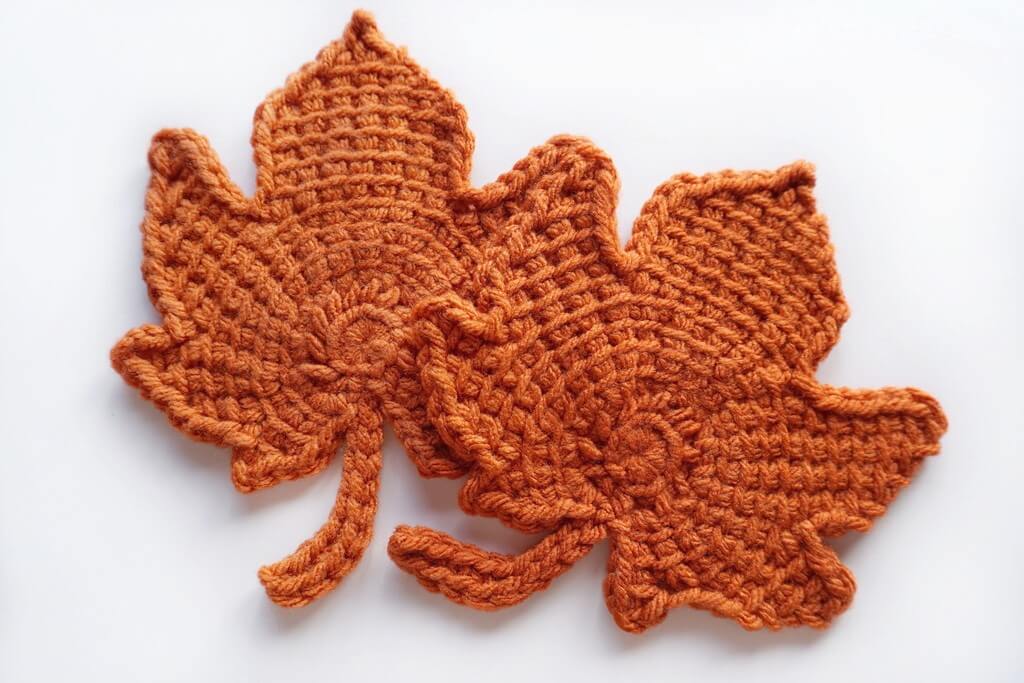
Sizes and measurements
The finished leaf measures about 9 by 9 cm, without the stem.
You can make it smaller by using a smaller hook or larger by using thicker yarn and a larger hook that is suitable for Tunisian crochet.
Observations
- You will work in two concentric sections, first the base worked into the magic ring, then the shaping rows.
- You will work short rows and regular rows. All rows are ended with a short row return, but not all of them are attached to the first section.
- In the (round brackets) you have the number of loops on the hook for each row, including the first loop
- In the instructions, “CO St” refers to the last St you cast off on the previous row and from which you start chaining.
Abbreviations
- Ch – chain;
- CO – cast off: insert hook into next St as if to make a Tss, pull up a loop, slip it through the loop on the hook;
- M1 – increase at the beginning of the row: Ch1, pick up 1 loop in first St (the St you don’t usually work into);
- MR – magic ring;
- SRR – short row return: Rep [YO and pull through 2 loops] until 1 loop is left on the hook;
- Rep – repeat;
- Sc – single crochet (US terms) or double crochet (UK terms);
- Sl St – slip stitch;
- St(s) – stitch(es);
- Tss – Tunisian simple stitch – insert hook from right to left behind the next vertical bar, YO and pull up a loop;
- YO – yarn-over.
Gauge swatch for this Tunisian crochet leaf
Make a swatch to pick the right hook for this project.
The swatch consists of 9 rows of 11 Tss (including the last stitch).
The resulting rectangle should be 5 cm by 5 cm or about 2 by 2 inches. If it comes out smaller, that is not a problem, but the leaf will tend to curl.
Videos for the Tunisian crochet fall leaf
There are two videos available for this pattern, one for right handed crocheters and one for left handed crocheters.
Right handed video tutorial
Here is the right handed video for this free Tunisian crochet pattern for an autumn leaf.
Left handed video tutorial
The left handed video tutorial is also available and you can watch it below.
Instructions for the Tunisian crochet fall leaf
Part 1
Make 12 linked Dc in MR
OR
In MR, Ch1, pick up 1 loop in back bump of Ch, pick up 1 loop in MR, SRR. Rep [1 Tss, pick up 1 loop in MR, SRR] 11 times.
Pull on the tail to close the MR, Sl St into top of first St.
All Sts from the part 1 will be counted from the first St as St 1 through St 12.
You will pick up loops in these, including the 3rd loop (look on the back of the work to find this loop).
Part 2
Row 1. Ch3, pick up 3 loops in back bumps, pick up 1 loop in St 1, SRR (5)
CO 1 St.
Row 2. 2 Tss, pick up 1 loop in St 1, SRR (4)
Row 3. Ch2, pick up 2 loops in back bumps, 2 Tss, pick up 1 loop in St 2, SRR (6)
Row 4. M1, 4 Tss, SRR (6)
Row 5. M1, 5 Tss, pick up 1 loop in St 2, SRR (8)
CO 3 Sts.
Row 6. Ch2, pick up 2 loops in back bumps, pick up 1 loop in CO St, 3 Tss, pick up 1 loop in St 3, SRR (8)
Row 7. M1, 6 Tss, pick up 1 loop in St 3, SRR (9)
Row 8. M1, 7 Tss, pick up 1 loop in St 4, SRR (10)
Row 9. M1, 8 Tss, pick up 1 loop in St 4, SRR (11)
CO 6 Sts.
Row 10. Ch3, pick up 3 loops in back bumps, pick up 1 loop in CO St, 3 Tss, pick up 1 loop in St 5, SRR (9)
Row 11. M1, 6 Tss, SRR (8)
Row 12. M1, 8 Tss, pick up 1 loop in St 6, SRR (11)
Row 13. M1, 7 Tss, SRR (9)
Row 14. Ch3, Sl St in 3rd Ch from hook, 10 Tss, pick up 1 loop in St 7, SRR (12)
CO 1 St.
Row 15. 7 Tss, SRR (8)
CO 1 St.
Row 16. 8 Tss, pick up 1 loop in St 8, SRR (10)
CO 5 Sts.
Row 17. Ch5, pick up 5 loops in back bumps, pick up 1 loop in CO St, 3 Tss, pick up 1 loop in St 9, SRR (11)
CO 1 St.
Row 18. 8 Tss, pick up 1 loop in St 9, SRR (10)
CO 1 St.
Row 19. 7 Tss, pick up 1 loop in St 10, SRR (9)
CO 1 St.
Row 20. 6 Tss, pick up 1 loop in St 10, SRR (8)
CO 3 Sts.
Row 21. Ch2, pick up 2 loops in back bumps, pick up 1 loop in CO St, 3 Tss, pick up 1 loop in St 11, SRR (8)
CO 1 St.
Row 22. 5 Tss, SRR (6)
CO 1 St.
Row 23. 4 Tss, pick up 1 loop in St 11, SRR (6)
CO 3 Sts.
Row 24. Ch1, pick up 1 loop in back bump, pick up 1 loop in CO St, Tss, pick up 1 loop in St 12, SRR (5)
CO 1 St.
Row 25. 2 Tss, pick up 1 loop in St 12, SRR (4)
CO 2 Sts. Sl St in St 12.
Leaf stem
Ch10, start making Sts in the back bumps of the chains, starting with the 2nd Ch.
5 Sc, 4 Sl St, Sl St back into St 12 from Part 1.
Cut the yarn, pull the end through the last St, then weave in the ends on the back of the work.
Making the garland
After you have created enough leaves for your garland, you will connect them with a long chain.
First, weave in all the ends and block all the leaves to make them flat.
Start with a slip knot on your hook.
Ch10, Sl St into the first Ch to create a loop for hanging.
Ch10, Sl St into the end of the steam of one leaf.
Rep [Ch20, Sl St into the end of the stem of another leaf] until you use up all the leaves.
After the last leaf, Ch 20 and Sl St into the 11th Ch from the hook to create the second loop at the other end. Weave in the ends and hang the garland from the two loops on the ends of the chain.
Final remarks
If you want to share your project with me, I’m always glad to see it and give it a share at @yarnandy on Instagram. You can also tag me Andrea Crețu in groups, if you share the project in a group I’m in.
Here are some more Tunisian crochet patterns for you to try out and make sure you subscribe to my emails if you want to know when I publish new patterns, videos, testing calls and so on. Email subscribers also get exclusive coupons.
Tunisian crochet asymmetrical rounded triangle shawl tutorial
How to start a Tunisian crochet project in a magic ring
How to make different shawl shapes in Tunisian crochet
How to sew Tunisian knit stitch row to row
How to make a Tunisian crochet mosaic bee potholder
Free pattern for leaf lace Tunisian crochet bandana
Tunisian crochet houndstooth pattern for fingerless mittens
Tunisian crochet in the round tutorial with free pattern
Free Tunisian crochet fingerless mittens pattern
Free pattern for sideways Tunisian crochet beanie with elastic brim
Hugs,
Andrea





2 thoughts on “Free Tunisian crochet pattern – Fall leaf garland”