If you want to make a cozy Tunisian crochet pocket shawl for the upcoming holidays or to use during the winter, here’s a free pattern for you that works up fast and has lovely textured pockets.
About this Tunisian crochet pocket shawl pattern
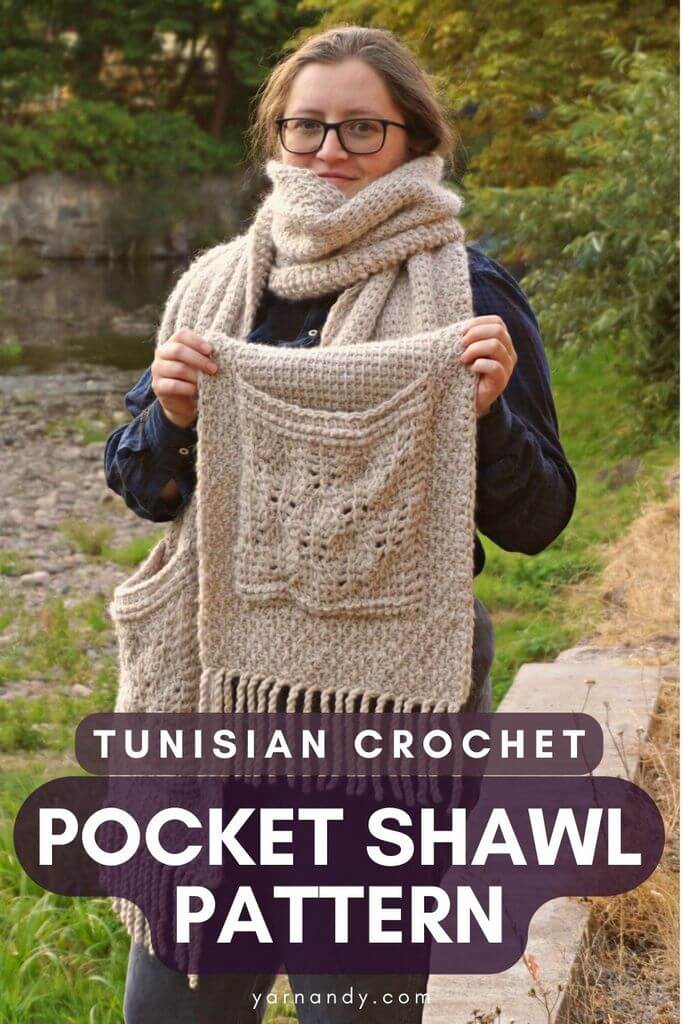
This is a Tunisian crochet pocket shawl pattern that you can also use as a scarf if you skip the pockets.
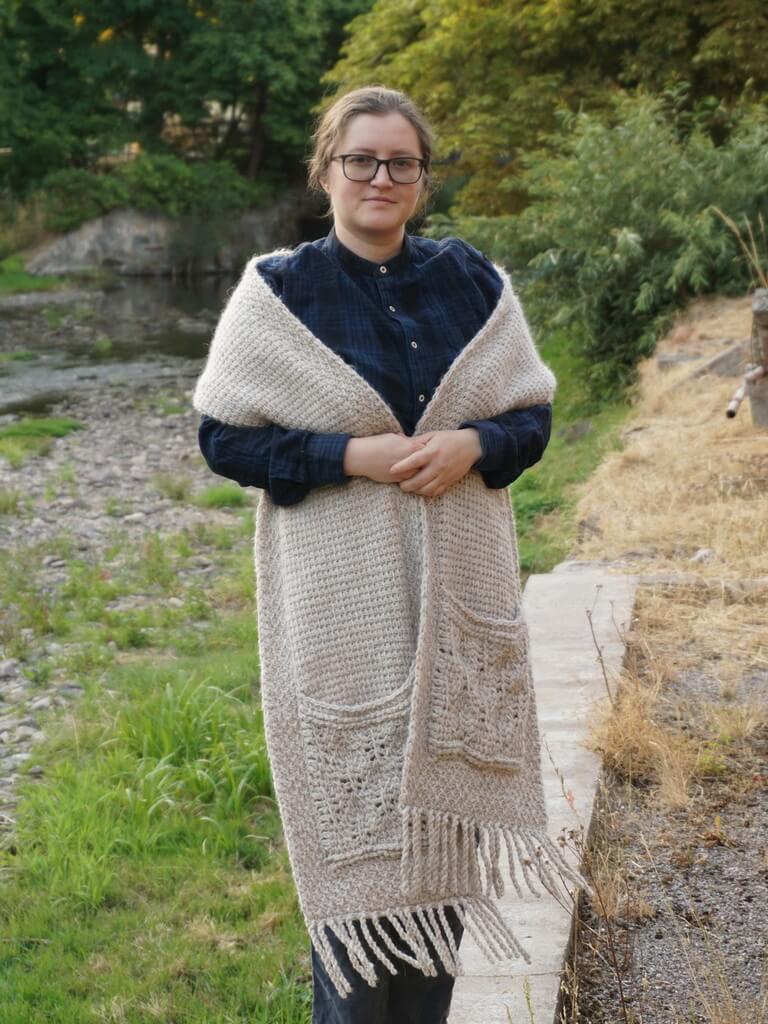
The shawl includes a non-curling border that goes all around it, textured pockets, and crochet fringe on the ends. The length is adjustable.
You can make the whole shawl and pocket in Tunisian simple stitch, if you prefer it to be simple. In that case, you will need to replace all the lace stitches with simple stitches.
The lace pattern on the pockets creates an illusion of open pinecones, ready to spill their seeds on a warm autumn evening.
This pattern has been tested and it includes:
- full written instructions;
- a chart for making the pockets;
- video tutorials for making the pockets and the fringe;
- easy read version with large font and black text.
Skip the next section if you’re not curious about what led me down the path of creating this pattern.
Story and inspiration for the pattern
I’m not a big fan of pocket shawls ever since the big phase of them started and I’d see these rectangles with pockets everywhere.
As you may know me by now, I was never a fan of things that are popular (I’ll blame that on being autistic), and so was the case here too.
The idea to create this design didn’t come from me, it was a request/suggestion from a viewer of my YouTube channel, if I remember correctly. It was over a year ago, so that’s how long it took me to design this pattern.
I do love humoring people and making things that they would like to make, so I started working on this. I decided that the body of the shawl would be simple and the pockets would steal the show.
I started researching potential patterns for the pockets and settled on a classic flame pattern from knitting that I translated into Tunisian crochet.
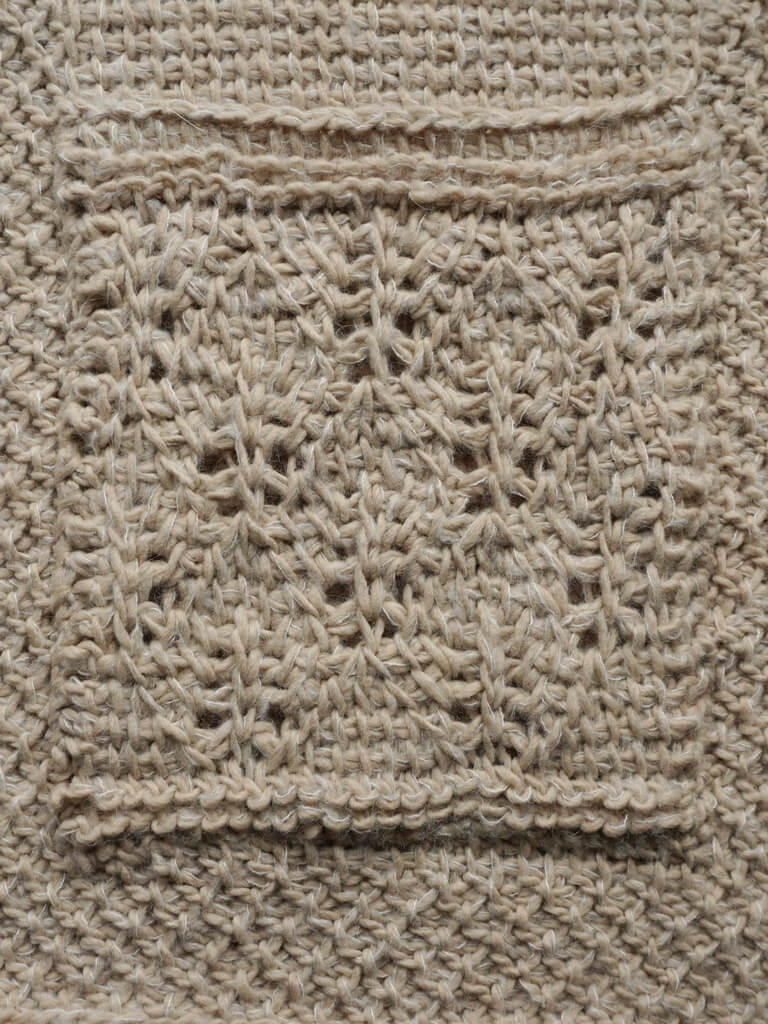
I made two pockets and then created a separate pattern for a lace-weight shawl using the same stitch combination, which you can read more about here.
Initially I wanted the shawl to have a different shape, to have a rounded shape at the back, like the back of a cape, but I ran out of yarn while working on the sample…
I still have the notes and might still create that pattern. The shape was created using short rows and I’d figured them all out after frogging multiple times, but in the end settled for a rectangle because that I could just work on until I ran out of yarn.
I set aside some yarn for the fringe (see below how to calculate how much yarn you need for the fringe) and then made the rectangle as long as I could with the yarn I had (too long…).
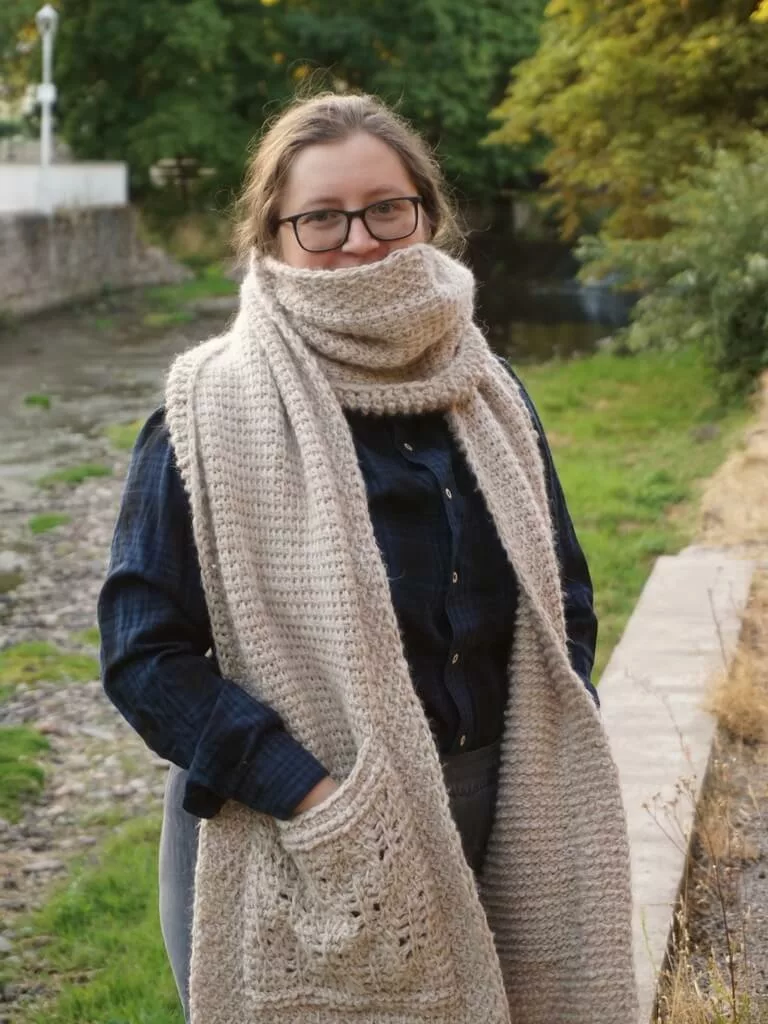
This was some yarn I’d bought as a cone at the beginning of my crochet adventure and had never found a pattern that works well with it, as it’s roving style yarn and chunky.
But pair it up with a mohair-type yarn (I used Hobbii Diablo from my stash) and Tunisian crochet and poof! You’ve got a pretty project.
Skill level
Intermediate in Tunisian crochet, due to lace that requires decreases, eyelets, knit stitches, reverse stitches.
This pattern uses Tunisian crochet terminology. All abbreviations are explained below.
There is no difference between US and UK terminology in this case.
Materials and tools to make this Tunisian crochet pocket shawl
- Yarn: chunky weight or size 5 yarn, with 110-120 meters per 100 grams or about 120-131 yards per 3.5 ounces; between 450 and 550 grams (or more, if you intend on making your shawl wider or longer);
- Hook – 8 mm Tunisian crochet hook with cable or long straight hook; 6 mm regular hook;
- Tapestry needle;
- Scissors;
- Optional: blocking mats and pins.
Sizes and measurements
For a pocket shawl, the project should measure between 170-190 cm or 67-75″ in length, depending on your height and the length of your arms.
Measure your arm span from fingertip to fingertip and add about 20 cm or 8″ for a good size. For a scarf, add an extra 60 cm or 24″.
The sample width is 35 cm, but you can add more stitches to the foundation row to make the shawl wider. The pockets measure 22 cm by 24 cm (8.5″ by 9.5″). They are generous pockets and you can make them shorter by making fewer pattern repeats.
Gauge
11 Tss and 9 rows for a 10 cm by 10 cm square (4″ by 4″).
Tester projects
This pattern has been tested in a variety of soft and beautiful yarns that show off the texture of the Tunisian crochet stitches.
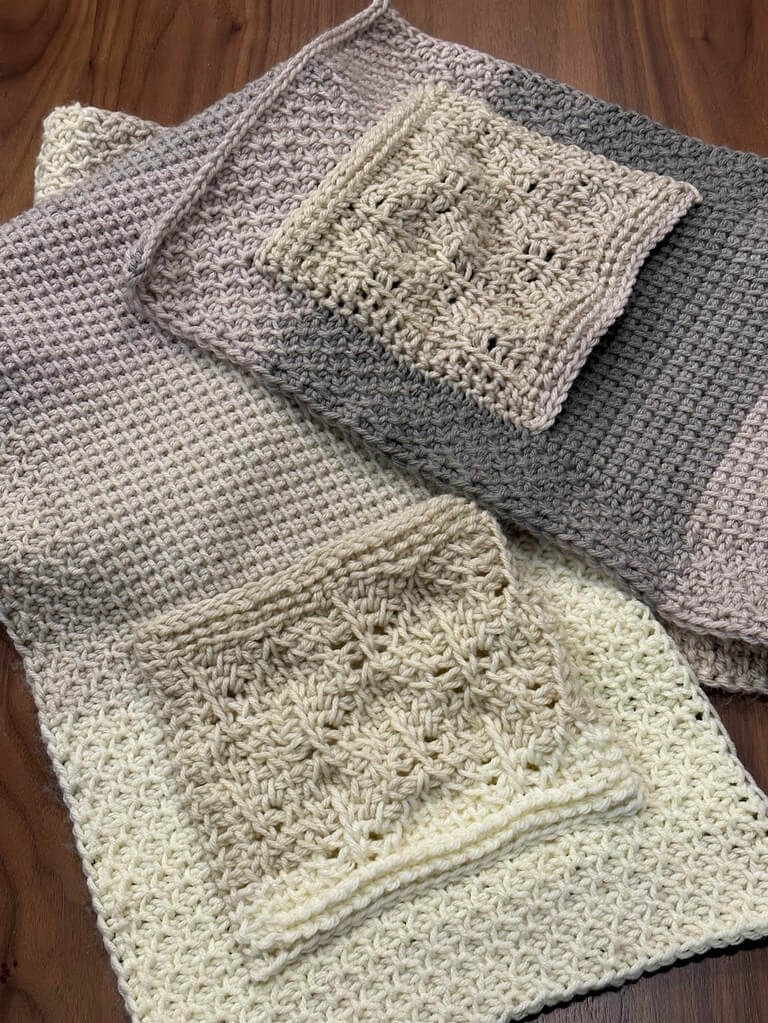
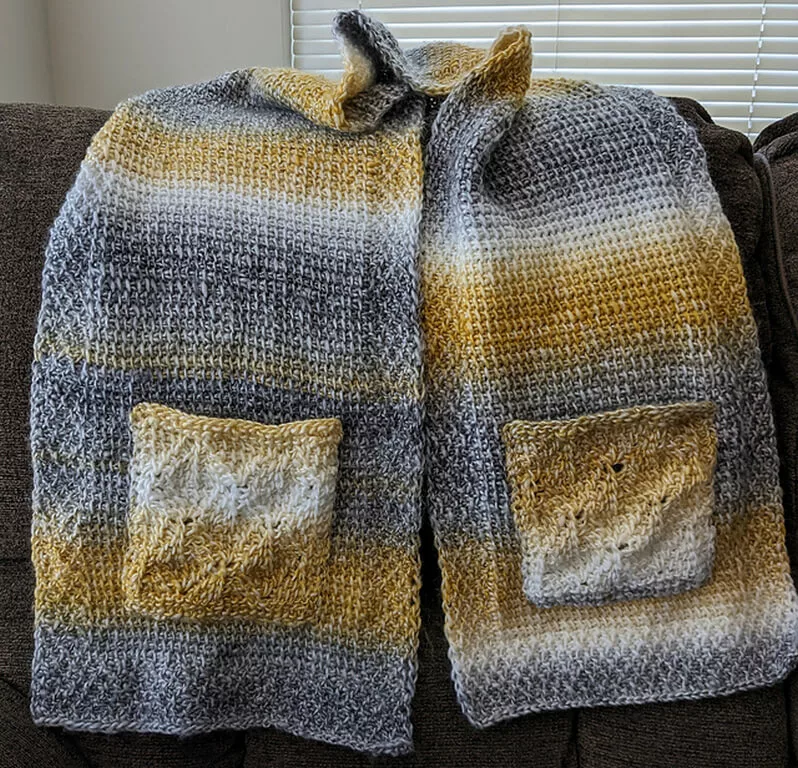
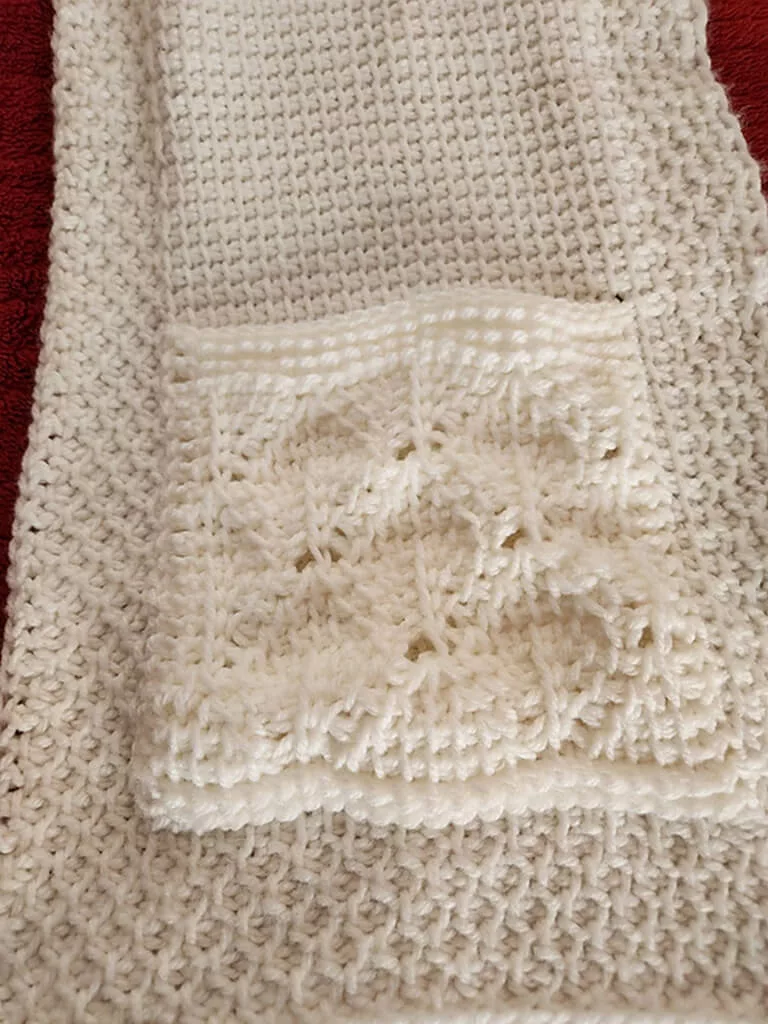
I’d like to thank the testers for going through this pattern and for sharing their beautiful projects!
You can see more photos of these projects on the Ravelry page of this pattern.
Abbreviations for this pattern
- Ch – chain;
- Ls – Tunisian last stitch – put hook behind the 2 vertical loops at the end of the row, YO and pull up a loop;
- R – regular Tunisian crochet return: Ch1, Rep [YO and pull through 2 stitches on hook] until you are left with only one stitch;
- Rep – repeat;
- Sl St – slip stitch;
- St(s) – stitch(es);
- TKs – Tunisian knit stitch – insert hook between the 2 vertical bars of the next St and pull up a loop;
- TPs – Tunisian purl stitch – bring yarn to the front of the hook, insert hook behind the next vertical bar, YO and pull up a loop;
- TRs – Tunisian reverse stitch – insert hook in the back vertical loop of the next St, pushing the horizontal part of the St to the front of the work, YO and pull up a loop;
- Tss – Tunisian simple stitch – insert hook from right to left behind the next vertical bar, YO and pull up a loop;
- – decrease: insert hook behind the vertical bars of the next 2 Sts, YO and pull up a loop
- Tss3Tog – decrease 2 stitches: insert hook behind the vertical bars of the next 2 Sts, YO and pull up a loop;
- YO – yarn over.
Video tutorials for the Tunisian crochet pocket pattern
The pattern includes full instructions on mkaing the pockets, but you can also follow along with the video tutorial to learn how to read the instructions and where to insert the hook for picking up each stitch.
Right-handed video tutorial for Tunisian crochet lace pattern for the pockets. Add two TRs stitches on the sides (one at the beginning of the row and one at the end). See written instructions for more details.
The same video, but for left handed crocheters.
Below is a video tutorial that shows you how to add twisted crochet fringe to your project. I actually demonstrated on one end of this pocket shawl.
Full instructions for a Tunisian crochet pocket shawl
Pockets
Make two pockets before you make the main shawl.
Foundation row. Ch 24, pick up 24 loops in back bumps of chains for a total of 25 loops on the hook, R (25)
Rows 1-2. 1 TRs in each St, Ls, R
Row 3. TRs, Rep [3 Tss, Tss2Tog, YO, TKs, YO, Tss2Tog, 2 Tss] 2 times, Tss, TRs, Ls, R
Row 4. TRs, Rep [2 Tss, Tss2Tog, Tss, YO, TKs, YO, Tss, Tss2Tog, Tss] 2 times, Tss, TRs, Ls, R
Row 5. TRs, Rep [TKs, Tss2Tog, 2 Tss, YO, TKs, YO, 2 Tss, Tss2Tog] 2 times, TKs, TRs, Ls, R
Row 6. TRs, Tss2Tog, 3 Tss, YO, TKs, YO, 3 Tss, Tss3Tog, 3 Tss, YO, TKs, YO, 3 Tss, Tss2Tog, TRs, Ls, R
Row 7. TRs, Rep [TKs, YO, Tss2Tog, 5 Tss, Tss2Tog, YO] 2 times, TKs, TRs, Ls, R
Row 8. TRs, Rep [TKs, YO, Tss, Tss2Tog, 3 Tss, Tss2Tog, Tss, YO] 2 times, TKs, TRs, Ls, R
Row 9. TRs, Rep [TKs, YO, 2 Tss, Tss2Tog, TKs, Tss2Tog, 2 Tss, YO] 2 times, TKs, TRs, Ls, R
Row 10. TRs, Rep [TKs, YO, 3 Tss, Tss3Tog, 3 Tss, YO] 2 times, TKs, TRs, Ls, R
Rows 11-18. Repeat rows 3-10 one more time.
Rows 19-20. 1 TRs in each St, Ls, R
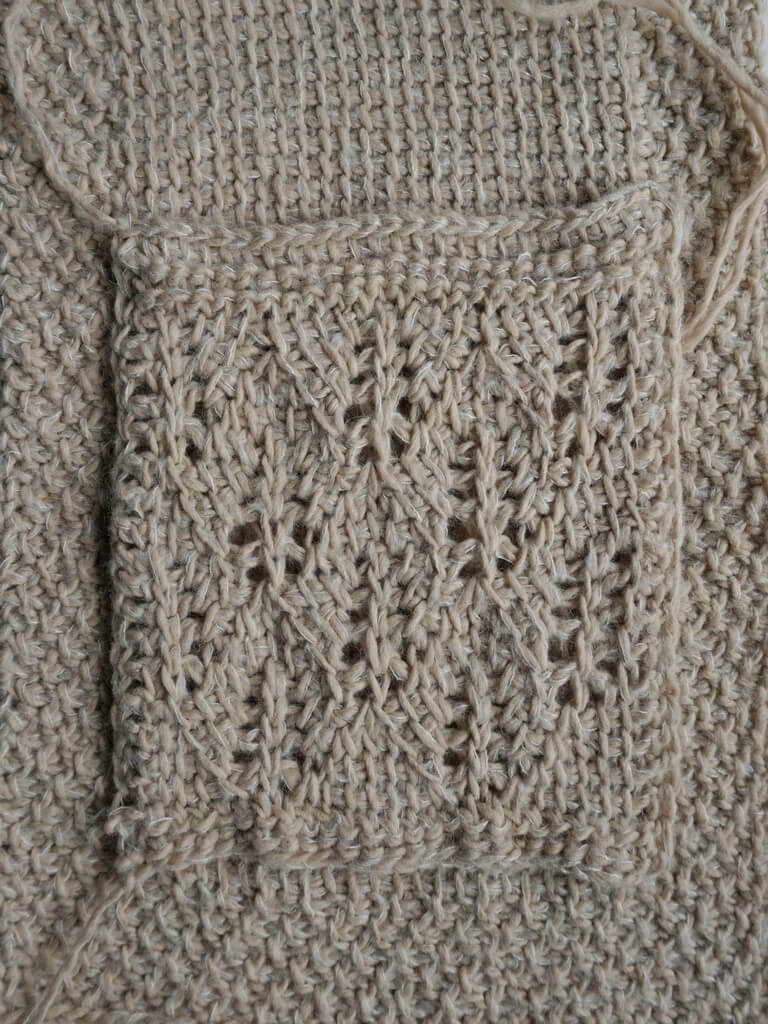
Bind off the stitches with the smaller hook by making Sl St in each St. You can bind off in pattern by inserting the hook as if to make a TRs, drawing up a loop and slipping it through the loop on the hook.
At the end of the row, cut off yarn, leaving a long tail that you can use later for seaming one side of the pocket.
Weave in other ends that you can’t use for seaming, making sure they don’t show on the front of the work.
Main shawl
Bottom edge
Start with a Sl St on your hook, leaving a tail.
Row 1. Ch 37 (these count as: 6 for edging, 24 for main pattern, 6 for edging, 1 for Ls), pick up 37 loops in back bumps of chains, R (38)
Row 2. Rep [1Tss, TPs] to last St, Ls, R
Row 3. Rep [ TPs, 1Tss] to last St, Ls, R
Rows 4-7. Rep Rows 2-3 another 2 times.
Shawl body
Row 8. Rep [1Tss, TPs] 3 times, Tss until 6 Sts left, Rep [1Tss, TPs] 3 times, Ls, R
Row 9. Rep [TPs, Tss] 3 times, Tss until 6 Sts left, Rep [TPs, Tss] 3 times, Ls, R
Repeat Rows 8-9 until you reach 160-180 cm or 63-71″.
Top edge
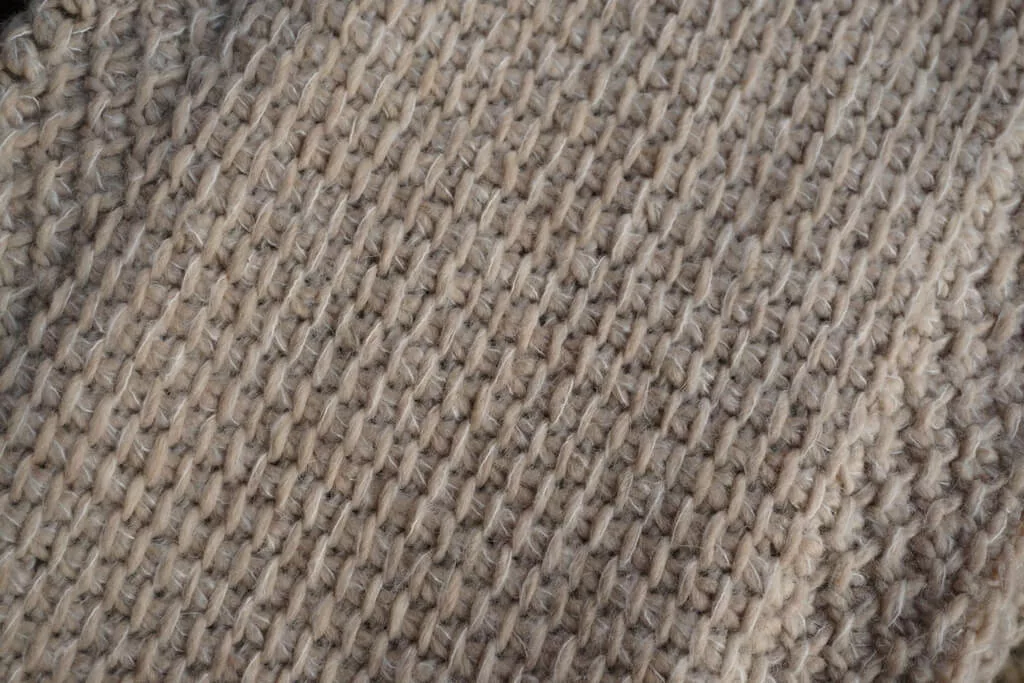
After you are finished with the shawl body, you want to mirror the bottom honeycomb edging.
Row 1. Rep [1Tss, TPs] to last St, Ls, R
Row 2. Rep [ TPs, 1Tss] to last St, Ls, R
Rows 3-6. Repeat rows 2 and 3 two more times.
If you want to add fringe, go to the next section. Otherwise, bind off in pattern, by making one Sl St in each St.
Bring the yarn towards the front when binding off purl stitches.
Fringe
You may want to add crochet fringe to the edges. If so, don’t cut the yarn and don’t bind off, but instead of just binding off the stitches, make the crochet fringe along the last row.
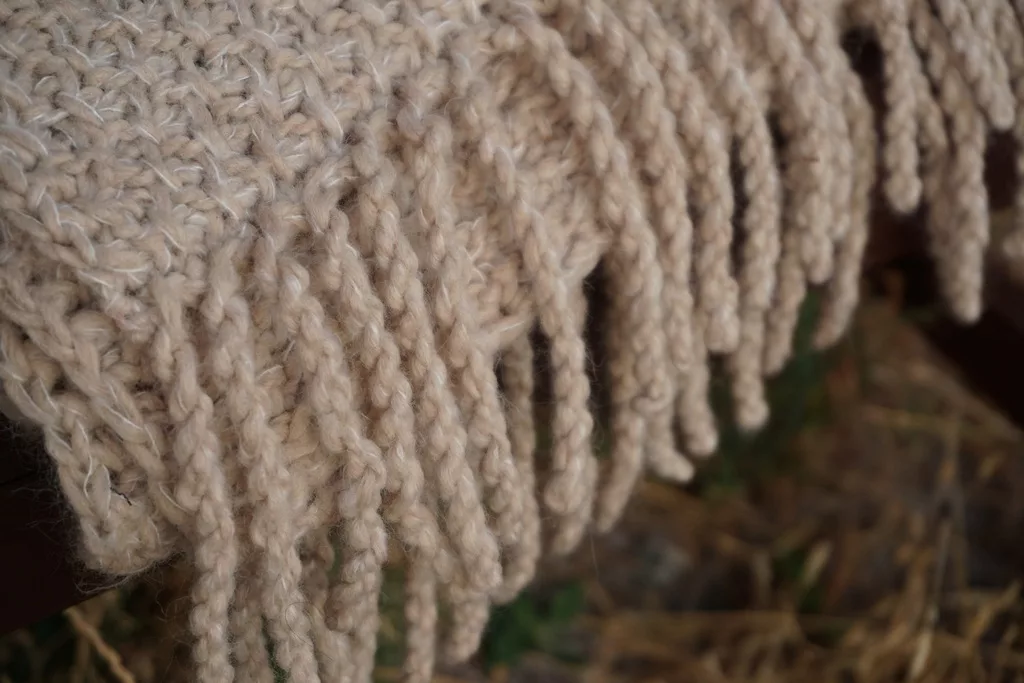
Here’s a video demonstration for this kind of fringe.
For the bottom edge, you will attach the yarn and work into the foundation chains.
To crochet fringe, you begin with a Sl St into the first stitch, as if to bind off. Draw up a tall loop; about 40 cm or 16″ for 12 cm or 5″ long fringe in the recommended yarn.
catch the bottom of the loop with the fingers of the hand not holding the hook, hold on to the hook and rotate the hook together with the yarn (clockwise or counterclockwise, make note of this) about 36 to 40 times.
Bring the hook to the Sl St you just made and Sl St again in the same St.
Sl St 2 times to skip 1 St and repeat the process to make a new strand of twisted fringe.
To organize the fringe, open each loop and distribute the twist evenly along the whole length, then pinch the middle and allow the strand to twist into shape, in the opposite direction from the original twist.
At the end of the row, Sl St, cut the yarn and pull on the tail to secure the end, then weave in the end.
After you finished all components, place the pockets at either end of the shawl at a comfortable level for your arm length. Sew them using the tails and any extra yarn you may need. Use a whip stitch to go around the edge of the pocket and the fabric of the shawl.
Final remarks
I hope you enjoyed this pattern and you will give it a try. It looks great in many kinds of chunky weight yarns, so I’d love to see yours if you choose to make one.
If you want to share your project with me, I’m always glad to see it and give it a share at @yarnandy on Instagram. You can also tag me Andrea Crețu in Facebook groups, if you share the project in a group I’m in.
Here are some more Tunisian crochet patterns for you to try out and make sure you subscribe to my emails if you want to know when I publish new patterns, videos, testing calls and so on. Email subscribers also get exclusive coupons.
Corner to corner Tunisian crochet scarf pattern
Nordic star Tunisian crochet baby blanket pattern
Tunisian crochet cat ear beanie free pattern
Free wavy mosaic Tunisian crochet pattern
Feather and fan Tunisian crochet pattern for a washcloth
Tunisian crochet asymmetrical rounded triangle shawl tutorial
How to start a Tunisian crochet project in a magic ring
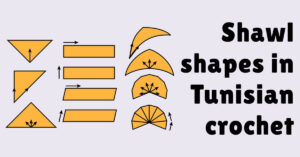
How to make different shawl shapes in Tunisian crochet
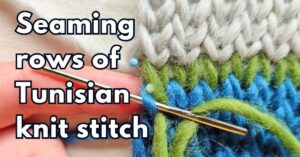
How to sew Tunisian knit stitch row to row
How to make a Tunisian crochet mosaic bee potholder
Hugs,
Andrea





Love the look of this, not sure my tunisian skills are up to it but I think I have got to try. Thank you for publishing this. Have a lovely Christmastime and all good wishes for 2023
Thank you and happy holidays!