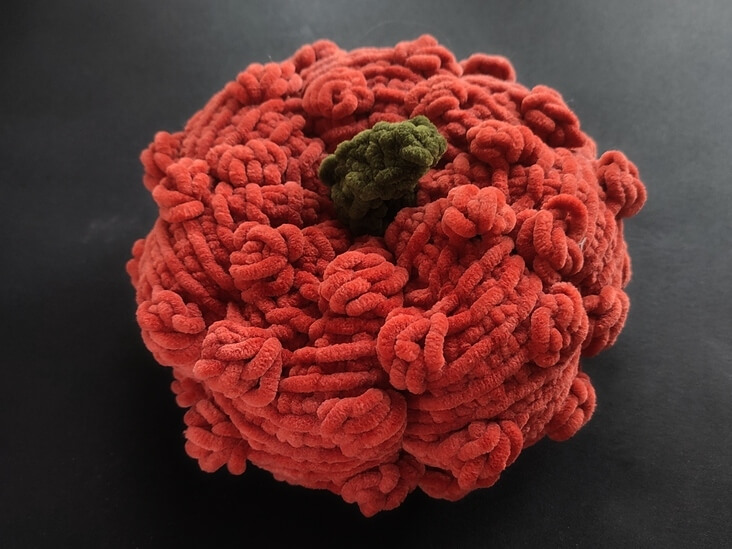
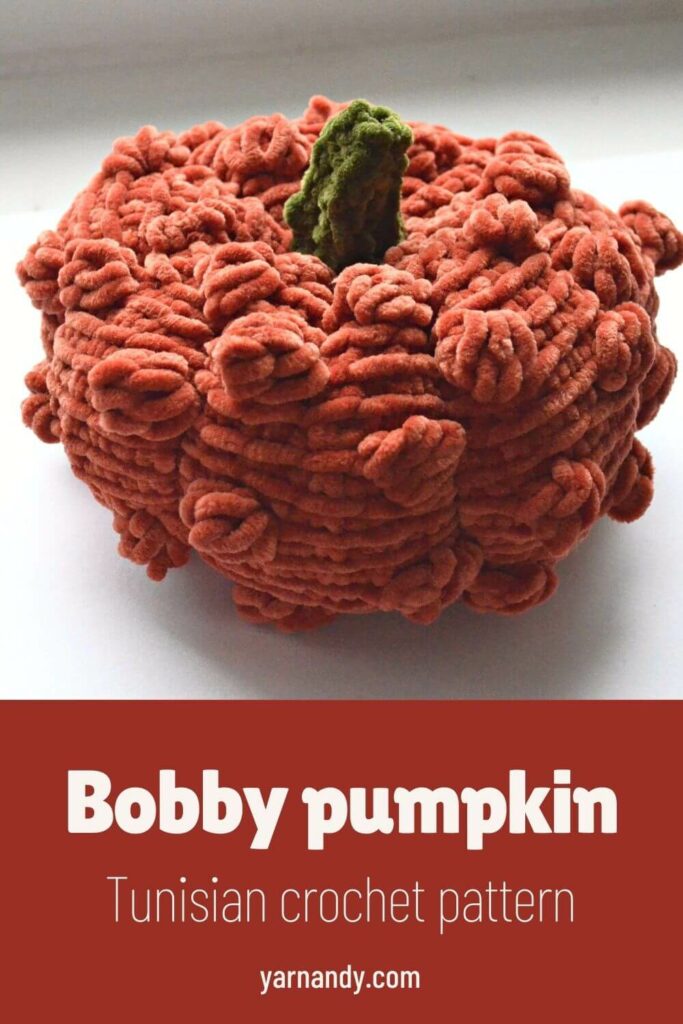
Use this free Tunisian crochet pumpkin pattern to make a perfectly fluffy fall decoration that you can keep on the windowsill or hold in your arms while watching a movie.
You can even make a few as presents for people in your life who can’t get enough of Halloween and would like the autumn spirit to stick around all year.
The pattern works up quickly and the Tunisian crochet pumpkin is very easy to make, as it is really just a rectangle with textured stitches on it.
I made it after designing a set of simple pumpkins and a regular crochet pumpkin, but wanted to use the bobble stitches that make the Oak apples pillow so comfy.
The chenille yarn is actually easier to work with if you have tight tension, but you can substitute the yarn for any chunky yarn, ideally a roving-style yarn.
Contents
How much velvety texture do you need in your life?
If you’re like me, then the answer is “All of it.” and you would not even regret it.
This pillow brings together the velvety softness of baby chenille yarn the textures of bobbles and simple Tunisian crochet stitches.
It’s a delight to touch and hug and pet, so it’s the perfect throw pillow case for your armchair or couch. It’s especially good for sensory seekers who need to touch soft things and yet have a bit of a three-dimensional texture.
Why make a textured pumpkin?
The better question is “why not?”. You get to diversify your pumpkin décor, learn new stitches (that you might apply in other projects, like this scrumptious pillow cover) and have fun petting the pumpkin once it’s done.
What’s not to love about a pumpkin that you can have around the house year-long and that you can make from the softest man-made yarn there is?
Size
The finished pumpkin measures 19 cm in diameter (7 ½ inches) and about 9-10 cm in height (about 4 inches).
Skill level
Experienced beginner or intermediate, due to popcorn stitches.
Notions
- Yarn: chenille yarn such as Himalaya Dolphin Baby or an alternative (find yarn substitutes here: https://yarnsub.com/yarns/himalaya_yarn/dolphin_baby); the yarn weight is 6 or super bulky/super chunky, at 120 meters per 100 grams; the recommended hook on the label is 4.5 mm;
- pumpkin: 83 grams or 100 meters/110 yards;
- stem: 4 grams or 4.8 meters/5.2 yards;
- optional: thinner yarn scraps for tying up the pumpkins, such as DK weight acrylic – about 2 meters/2 yards per pumpkin;
- Hook – 7 mm hook with a long shaft – either a regular hook without a handle or a Tunisian crochet hook; 4.5 mm hook for the stem, which is worked in regular crochet;
- Filling – toy stuffing – about 30-50 grams;
- Tapestry needle;
- Scissors.
Gauge
You will need to swatch only if you want to reach the exact dimensions listed here. The swatch consists of 6 rows of 9Tss (including the last stitch). The resulting rectangle should be 10 cm by 8 cm or about 4 by 3 inches.
Stitches and other abbreviations
Tunisian crochet stitches
- Ch – chain;
- Ls – last stitch – put the hook through the 2 vertical loops at the end of the row, YO and pull up a loop;
- Pop – Tunisian popcorn stitch – work 4 extended simple stitches or 4 double stitches in the same stitch; YO and pull through 4 loops on the hook or wait until the return pass, where you YO and pull through 5 loops on the hook when you reach the popcorn stitch;
- R – regular Tunisian return: Ch1, repeat [YO and pull through 2 loops] until 1 loop left on hook;
- Sl St – slip stitch;
- Tss – Tunisian simple stitch – insert hook from right to left behind the next vertical bar, YO and pull up a loop;
- YO – yarn-over.
Regular crochet stitches
| US term | UK term | instructions |
| Sc – single crochet | Dc – double crochet | YO, pull up a loop, [YO and pull through 2 loops on hook] 2 times |
| HDc – half double crochet | HTr – half treble crochet | YO, pull up a loop, YO and pull through 3 loops on hook |
Observations
- The pillow is worked in one piece and seamed all around with regular crochet stitches.
- The regular crochet instructions are written both in UK and US terms.
- There are photo instructions for assembly on the last pages of the pattern.
- The abbreviations list includes links to specific Tunisian crochet stitches that you may be unfamiliar with.
Instructions
See below for video, or get the PDF version for step-by-step photo instructions for all sections.
Start with a Sl St on your hook, leaving a 15-20 cm tail (6-8″).
Ch 20 as foundation.
R1. 19Tss, Ls
R2. 2Tss, repeat [1Pop, 3Tss] 4 times, 1Tss, Ls
R3. 19Tss, Ls, R
R4. 19Tss, Ls, R
R5. 4Tss, repeat [1Pop, 3Tss] 3 times, 1Pop, 2Tss, Ls
R6. 19Tss, Ls, R
R7. 19Tss, Ls, R
Repeat Rows 2-7 5 more times. Repeat Rows 2-6 one more time.
Sl St along the last row to bind off the Tunisian crochet.
Finishing the pumpkin
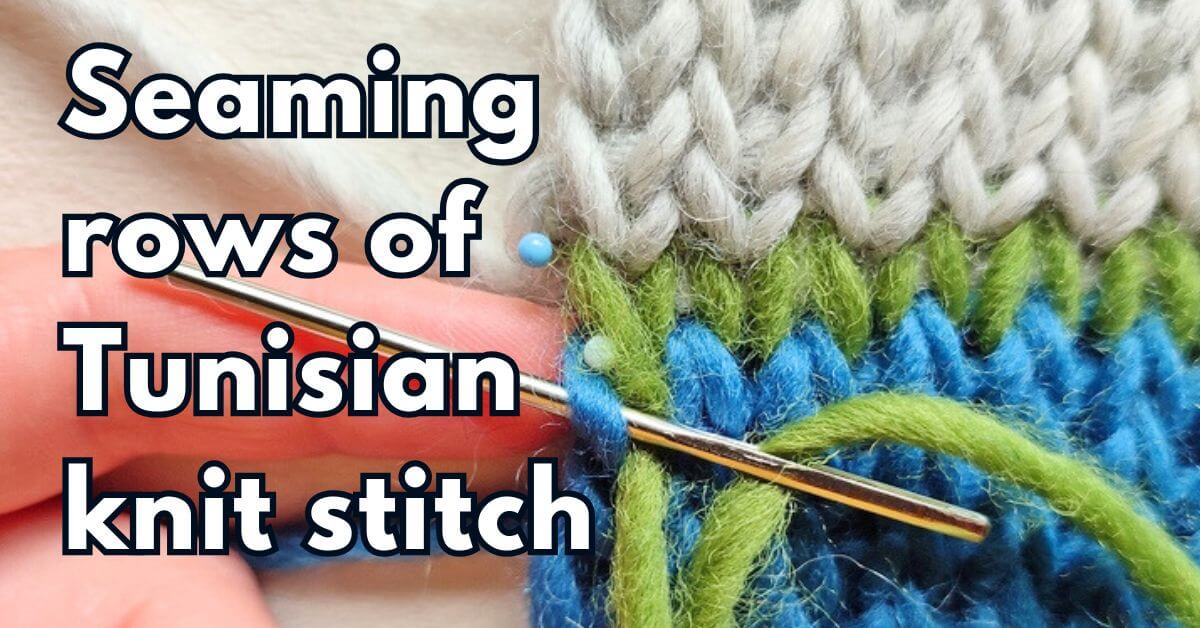
Fold the piece on itself, with the two ends aligned and facing you. Using the tapestry needle, weave the two ends together, picking up loops on either side, creating an invisible seam.
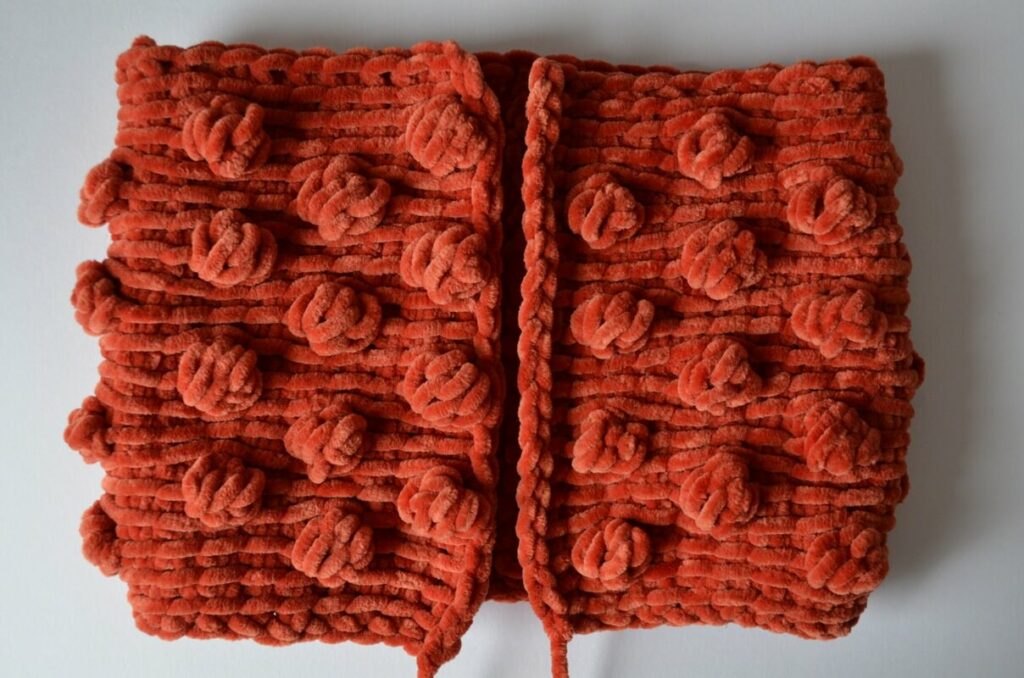
First insert the needle under the first horizontal loop on one side, then under the corresponding loop on the other side. Move to the next pair of horizontal loops, always working on the same side first. Pull gently on the yarn as you close the gap.
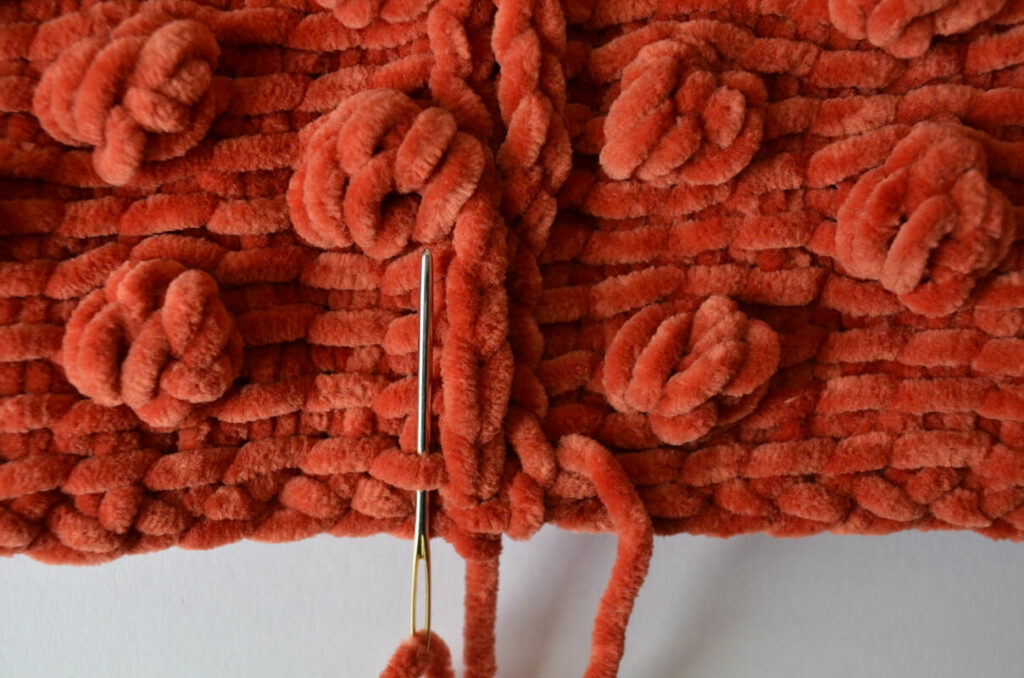
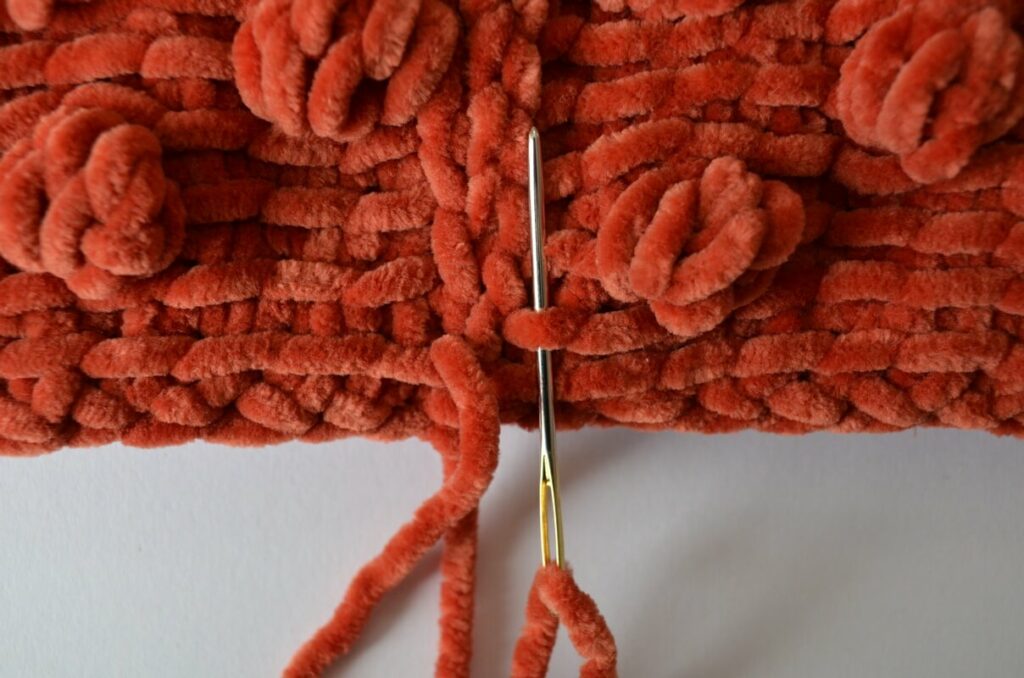
When you reach the end, leave a tail of about 20 cm and cut the yarn. Using a tapestry needle, pick up one tail and weave it through one end loop from each row, going in a spiral around the loops on one of the open sides of the tube, pulling as you go. Make a few stitches to secure the closure and weave in the end.
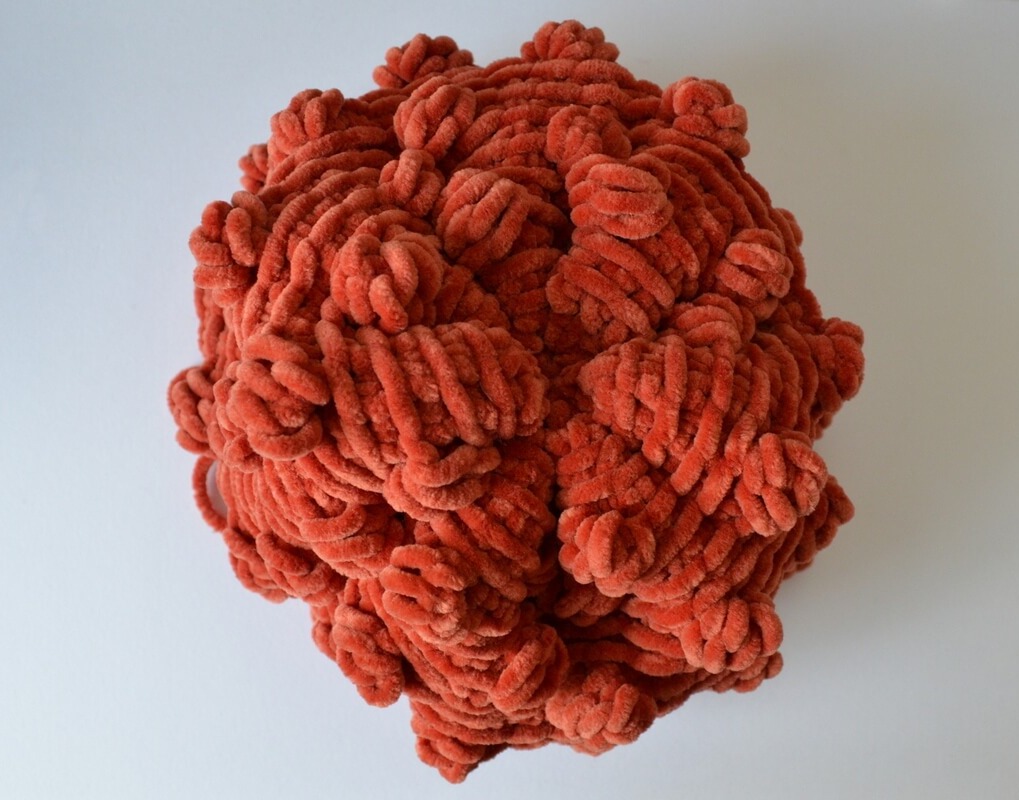
Stuff the pumpkin with fiberfill or other filling, making sure that there is a uniform layer of fiber stuffing all around the inside of the pumpkin, to prevent any of the other stuffing (fabric scraps, seeds or beads) to get out through the stitches.
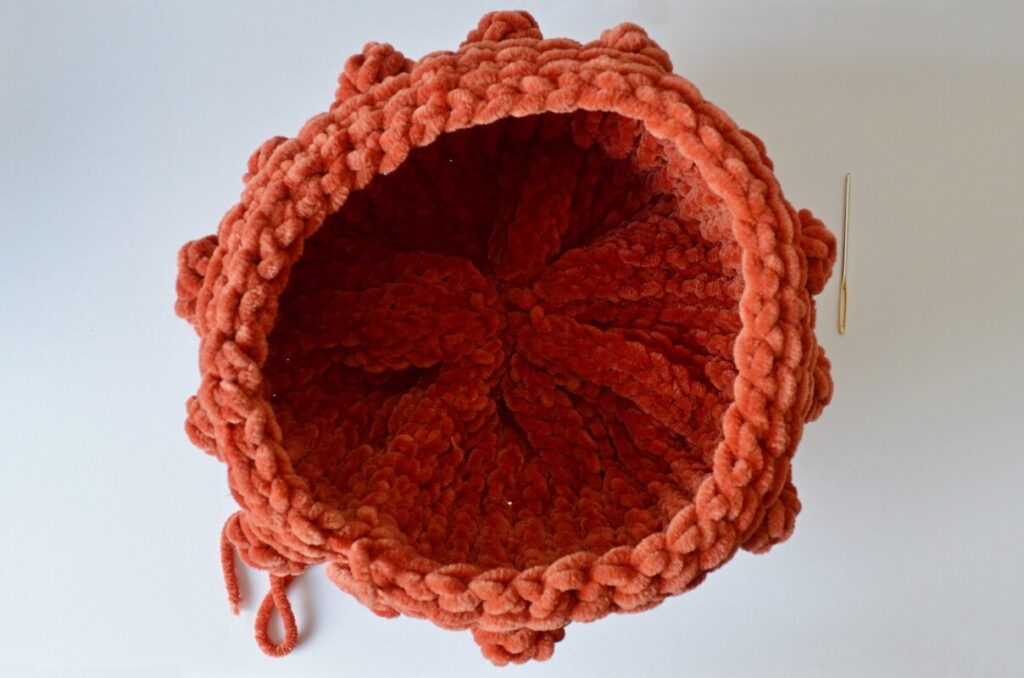
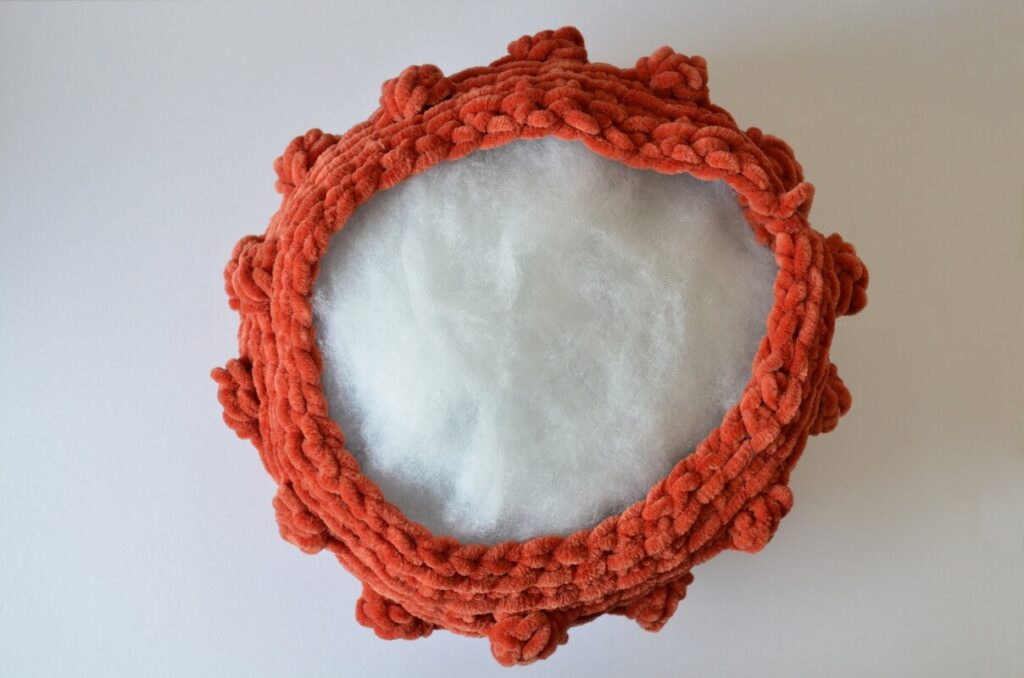
Pass the second tail through the tapestry needle and gather up the opening, going in a spiral around one loop from each row. Pull on the tail to close the opening, make a few stitches to secure the closure and weave in the end.
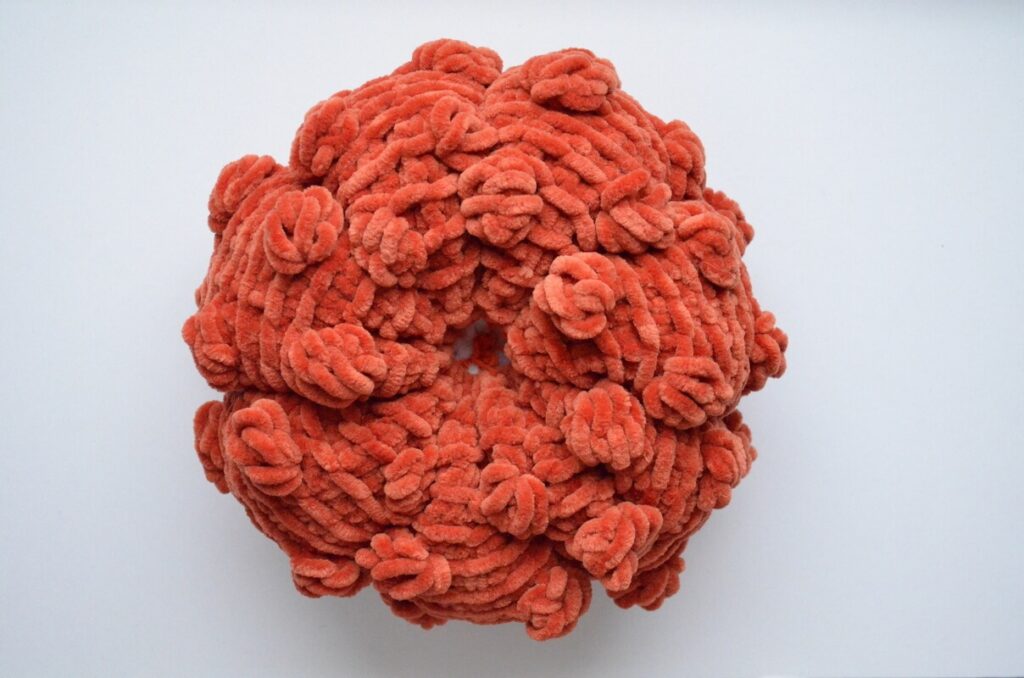
You could use the same yarn for creating the shape of the pumpkin, but a sturdier yarn will do better in this case. Secure a long tail of the secondary yarn through either the top or bottom of the pumpkin.
Follow one of the ridges to the other side of the pumpkin, then pass the needle through the middle of the pumpkin to return. Repeat this on all the ridges. Pull on the yarn as you work to create the preferred shape. Secure the yarn end and cut off the excess.
Stem
Use the 4.5 mm hook.
Start with a Sl St on the hook, leaving a 15-20 cm tail (6-8″).
Ch6. Work into the back bumps of the chains.
| US terms | UK terms |
| R1. 2Sl St, 2Sc, 2HDc, turn. R2. Ch1, 2HDc, 2Sc, 2Sl St, turn. | R1. 2Sl St, 2Dc, 2HTr, turn. R2. Ch1, 2HTr, 2Dc, 2Sl St, turn. |
Repeat rows 1-2 2 more times.
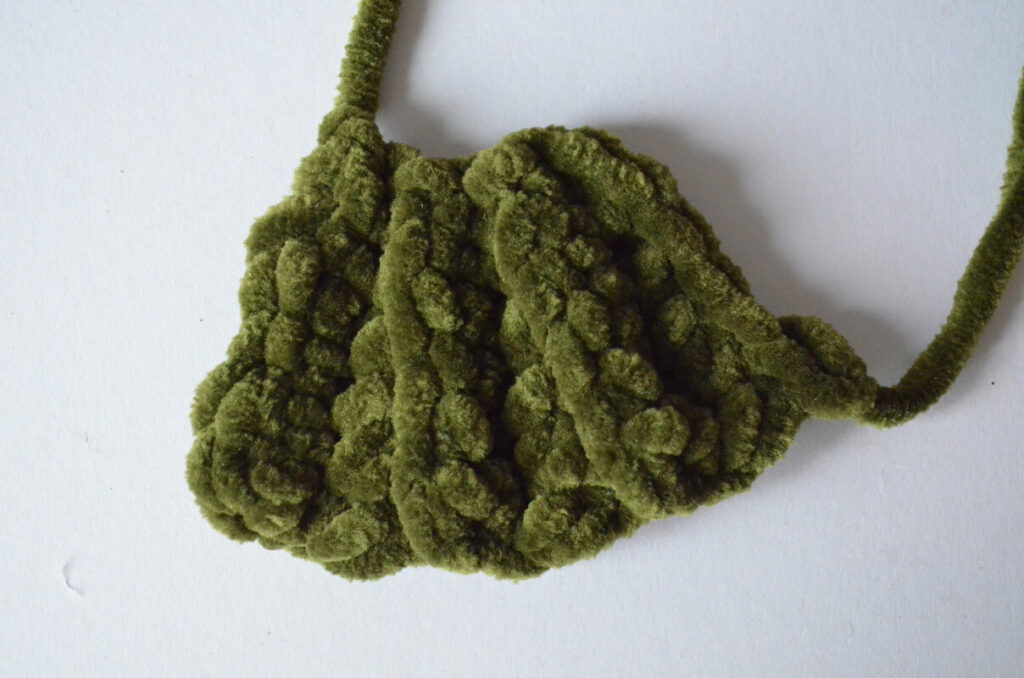
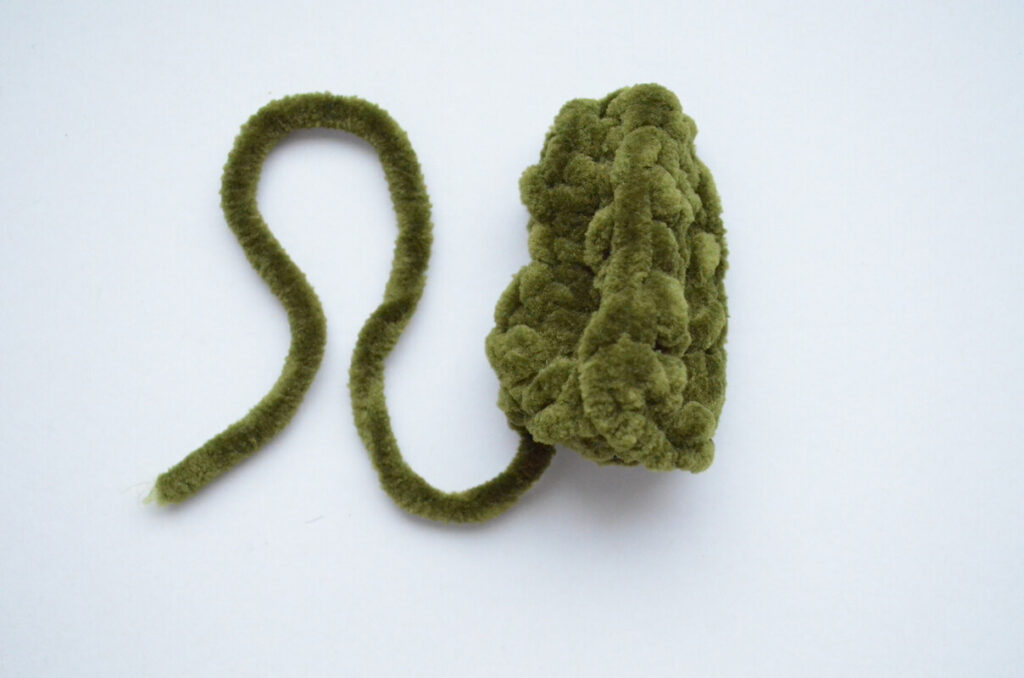
Cut the yarn, leaving a tail. Using the tapestry needle and the tail, sew the piece into a tube that’s wider at the base, by going in a spiral through both loops on each side.
Sew the stem to the pumpkin body using the second tail, then secure it and cut the excess.
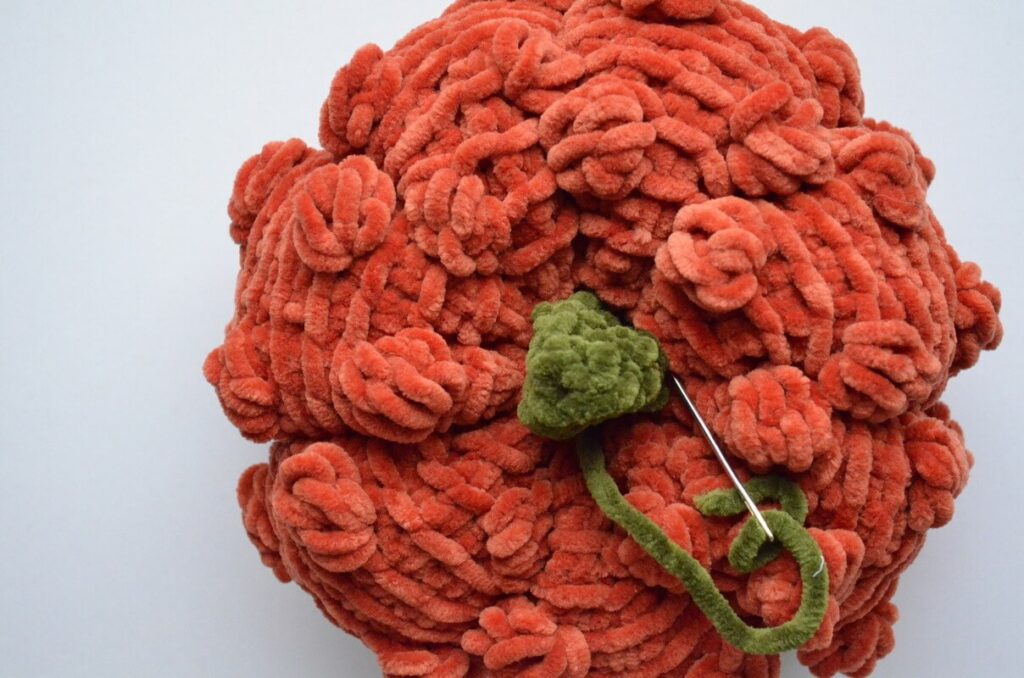
Now the pumpkin should be completed and you can enjoy your new handmade fall or Halloween decoration.
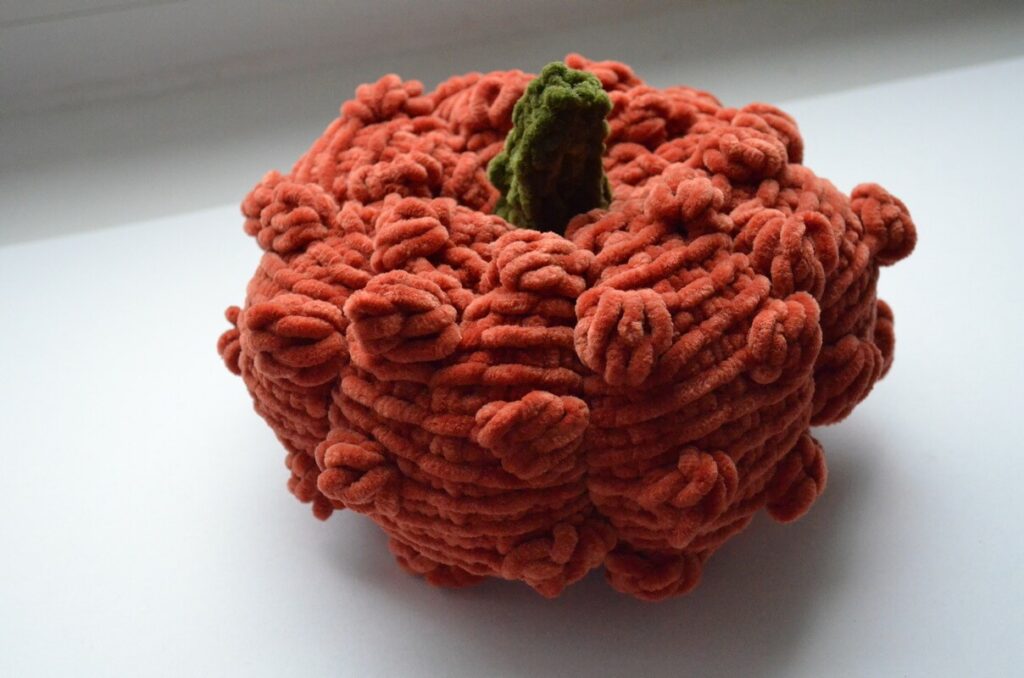
If you’re looking for extra fun, you could stop before stuffing the pumpkin and wear it as a hat. Anything goes when you’re brave enough!

Video for the Tunisian crochet bobble stitches
If you want to learn how to make the bobble stitches, I’ve prepared a video tutorial.
Click on the thumbnail to follow along with the tutorial.
Final thoughts
If you like this pattern for a Tunisian crochet pumpkin for fall decoration and would like to support me in creating more patterns, please consider buying a PDF copy from the product page (or from Payhip, Etsy or Ravelry).
If you use Ravelry, you can add it to your project queue or make a project page and link it with the pattern page, so I can see what you make.
Keep close and sign up to my emails if you haven’t already (you’ll get a nice pattern too).
If you want more Tunisian crochet patterns, check these out:
I’ll see you soon.
Hugs,
Andrea




4 thoughts on “Free Tunisian crochet pumpkin pattern”