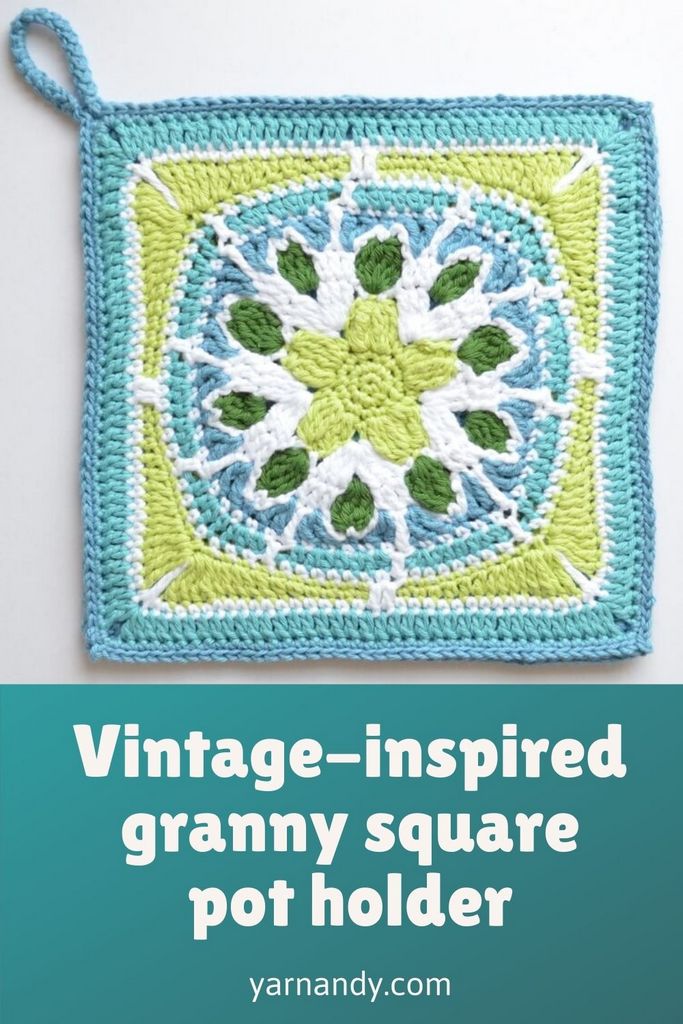
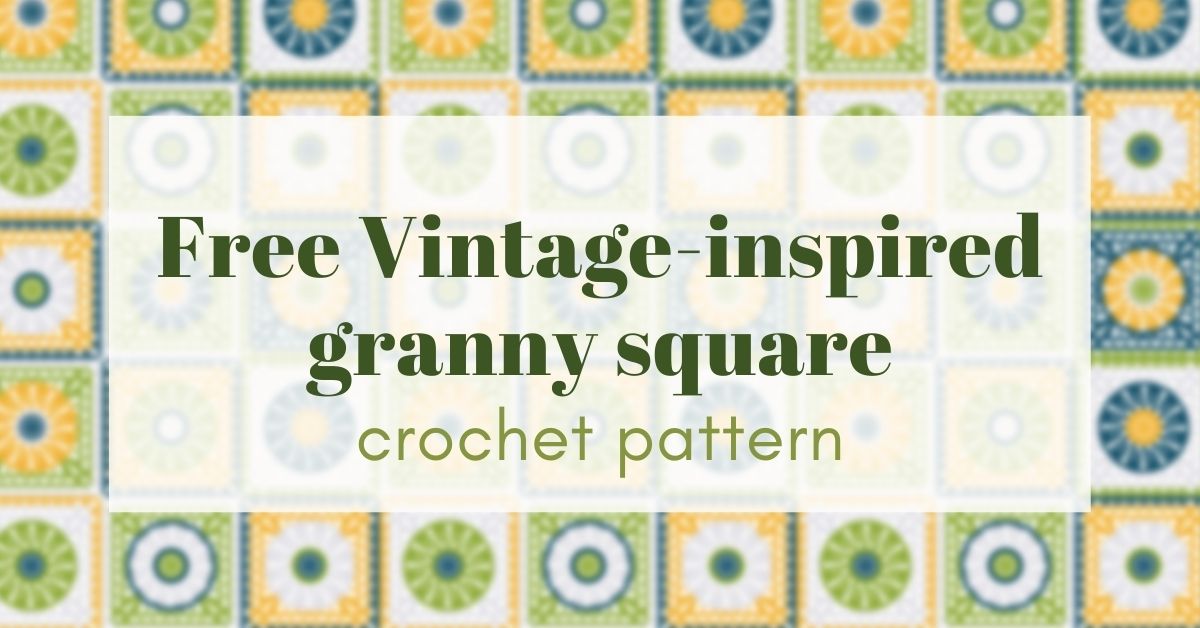
Use this granny square pattern to recreate a classic look in modern colors. Pick your favorite mix of cottons or wools and make a family heirloom, using these instructions. Add a second, basic granny square to the back to turn this project into a beautiful pot holder.
This post contains affiliate links that may earn me a small commission if you buy yarn or other supplies through them (buying through an affiliate link doesn’t affect you or the prices you see/pay).
On granny square day 2021 we celebrate all things granny square. There are so many fabulous designs for granny squares out there, that you’ll have a hard time not finding something you love.
Today I want to celebrate by sharing a pattern I wrote based on photos of a very old blanket and a pillowcase.
I don’t know the name of the original pattern that was used to make the blanket, but if you recognize the design, please let me know, so I can link it up or at least mention it, if there’s no online source for it.
I am planning on creating a different pattern with fewer rows and more modern stitches (front post stitches and so on), but I don’t currently have time to develop that pattern (there’s a CAL going on, if you know what I mean).
In the future, I’ll be posting the new pattern as well.
Since this is my interpretation of a photo, I want to share this pattern here on the blog, but there won’t be a PDF version. There will, however, be a PDF version of the modified pattern, once I get to it.
About this flower granny square pattern
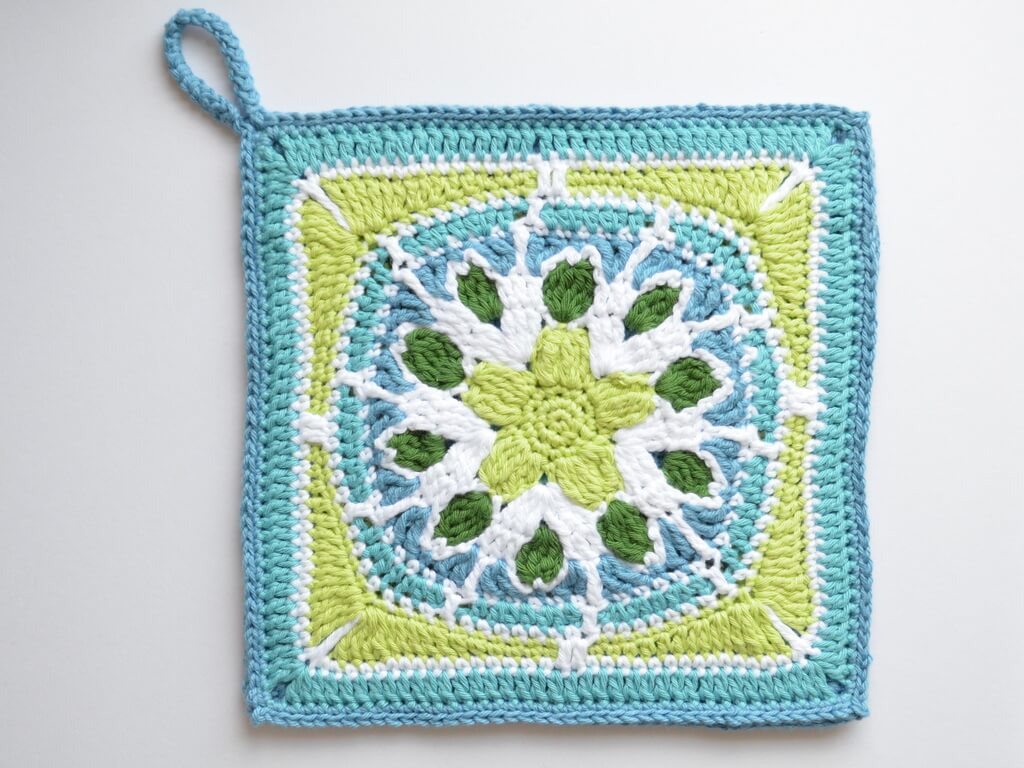
Ever since I saw the first photo, I loved the construction of this square.
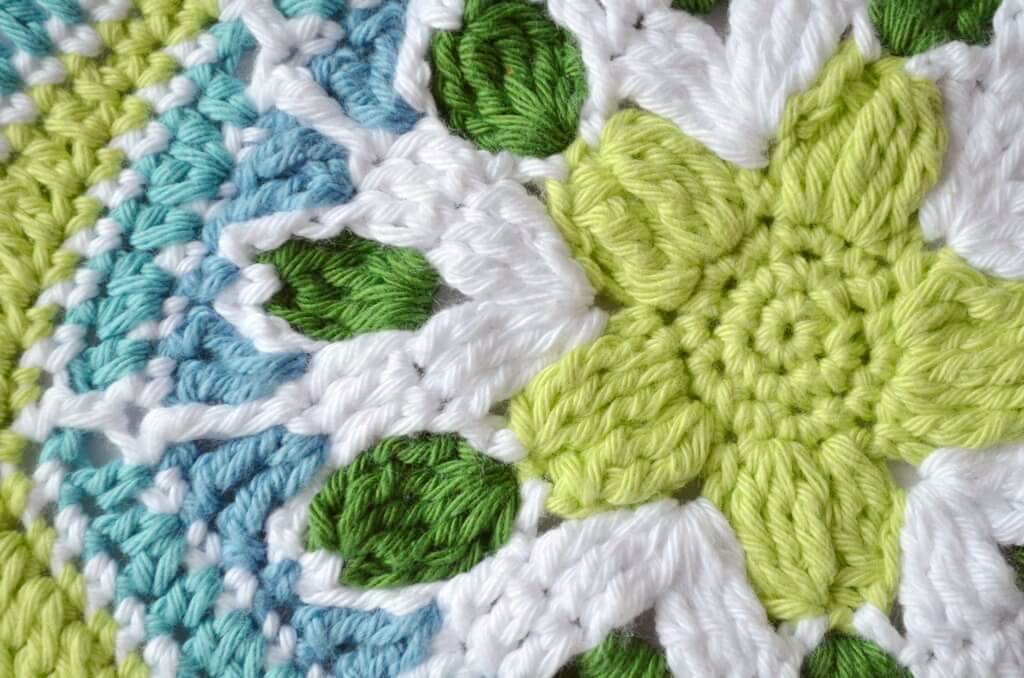
It starts out with a five-pointed flower, then it is turned into a circle, then it’s squared up, something I haven’t seen before in granny square patterns.
The original colors included a lot of brown and black, oranges and a pale yellow, which sounds like a great 70’s palette, but not something I’d like to have around the house (even though I love earth tones, these were not to my liking).
It would be interesting to try different color combinations and see what they look like. The middle flower might look better with a warm color, as opposed to the green that I used.
A mix of colors would create a very whimsical blanket.
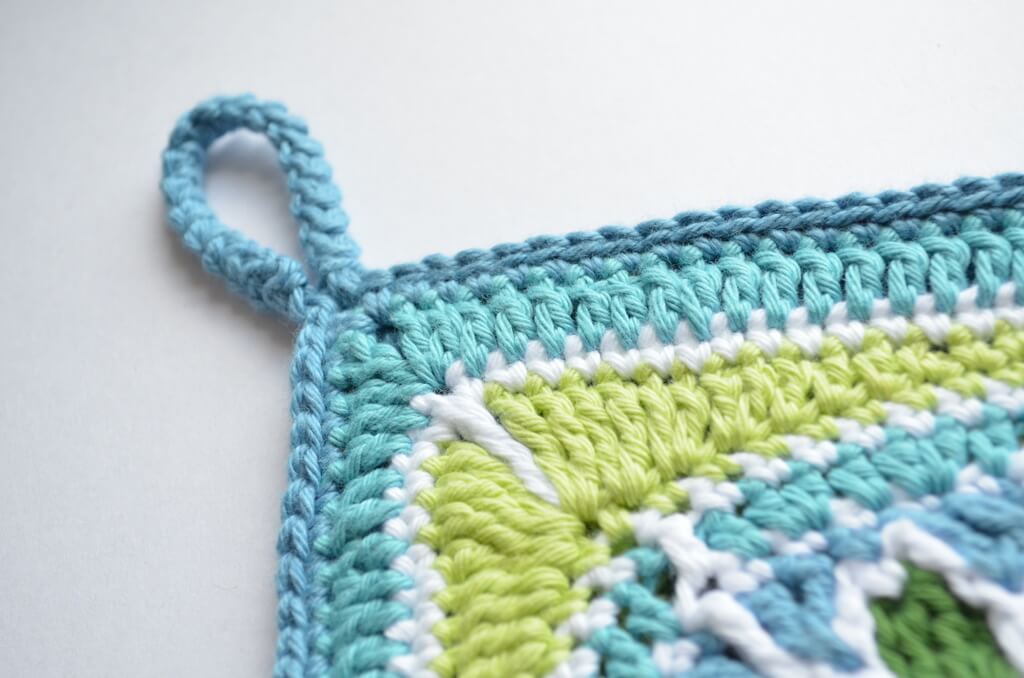
With my sample, I intend to make a potholder, as there are 16 rows in this granny square pattern and almost as many color changes.
I made up a simple square in the same colors as the square to attach to the back. See below for the second pattern.
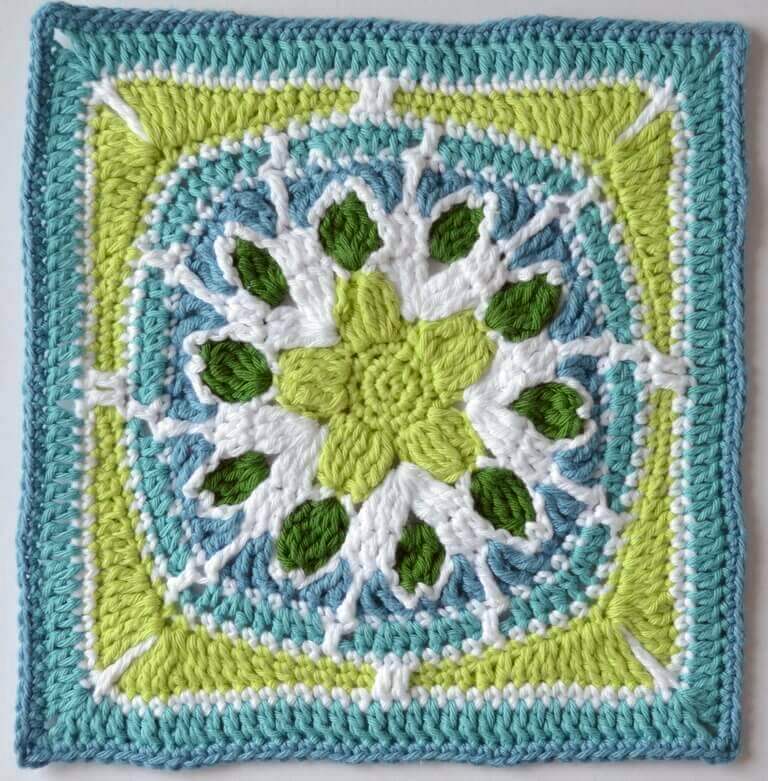
Please keep in mind that this is my interpretation from a photo. I don’t know whether this is how the original was made, it’s just me guessing and filling in blanks.
The pattern is written in US terms. For UK terms, you will need to do a bit of translating.
Finished measurements
The square measures about 20 cm or 7.8 inches across both sides. Using thicker yarn and a bigger hook will give you a larger square.
Skill level
Intermediate – you need to know how to begin standing rows with various colors, how to change colors between rows, how to make a variety of stitches (see below).
Abbreviations
- Ch – chain;
- Dc – double crochet;
- HDc – half double crochet;
- MR – magic ring or magic loop;
- Sc – single crochet;
- Sl St – slip stitch;
- Sp – space;
- St – stitch;
- Tr – treble crochet.
Observations
- There are many color changes, so please be aware of them.
- You can weave in the ends as you go by working over them. Leave them at least 8 cm or 3” long if you plan to sew them in.
- To begin a row with a short stitch (Ch, Sc, HDc), insert the hook into the space, pull up a loop, Ch1, pull on the tail to secure this, then work the short stitch or continue chaining. Don’t work in the chain when returning, only the top of the next stitch.
- To begin a row with a tall stitch (Dc, Tr), put a slip knot on the hook and yarn over as many times as you need to make the stitch regularly (once or twice), while holding the slip knot with your finger, so it doesn’t rotate. Insert the hook into the space, pull up a loop and finish the stitch as usual. This makes an invisible first stitch.
- Instructions in [square brackets] are repeated.
- Instructions in {curly brackets} are worked in the same stitch or space.
- Once you get to a circle, the project might pucker a bit while you are working on it, so make sure you use loose tension and that you block the square once you are done. This issue will be fixed in the upcoming updated version of this pattern.
- Work continuously, without turning, unless otherwise specified in text.
Notions
Your yarn of choice, hook required for your yarn, scissors, tapestry needle.
Colors used in sample in photo, ordered as the colors in the original square.
- C1 – light green;
- C2 – white;
- C3 – dark green;
- C4 – dark blue;
- C5 – light blue;
- C6 – light green;
- C7 – light blue;
- C8 – dark blue.
The amounts you will use will vary depending on which color you use for each row.
In total I used 65 grams of DK weight cotton yarn for both sides of the pot holder, which means about 6-7 grams per color for the main pattern (slightly more for C2, as it is used on several rows).
This makes this pattern a great use for scraps of yarn from various other projects.
Instructions
Start with C1.
R1. 5 Sc in MR, Sl St to top of first St
R2. Ch1, repeat [2Sc in the same St] 5 times, Sl St to first St
R3. Ch1, repeat [2Sc in the same St, 1Sc in next St] 5 times, Sl St to first St
R4. Ch1, repeat [1Sc, 3Tr cluster in next St, Ch1, 3Tr cluster in next St, Ch3], Sl St to first St
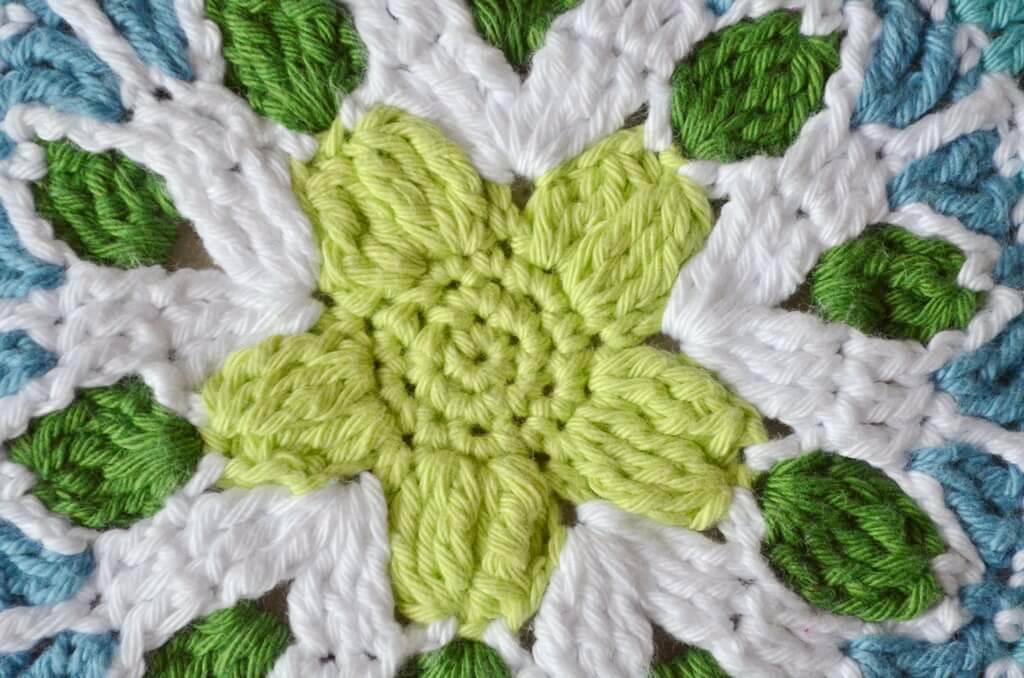
Cut off yarn. Continue with C2.
R5. 3Tr in a Sc, repeat [Ch1, Sc in top of the next cluster] 2 times, Ch1, 3Tr in next Sc, Ch1, repeat [3Tr in the same Sc, repeat [Ch1, Sc in top of the next cluster] 2 times, Ch1, 3Tr in next Sc, Ch1], Sl St to top of first St
Cut off yarn. Continue with C3.
R6. repeat [Ch4, 3Tr cluster in Ch1 Sp between the 3Tr groups, Ch4, 1Sc in the same Sp, Ch3, Sc in next Ch1 Sp between Sc stitches,Ch4, 3Tr cluster in same Sp, Ch4, 1Sc in the same Sp, Ch3, Sc in next Ch1 Sp between 3Tr groups ] 5 times, Sl St to first Ch1 Sp
Cut off yarn. Continue with C2. Work in front of the Ch3 spaces, pushing the chains to the back.
R7. Starting to the left of a cluster, repeat [3Dc in the 3 Tr stitches, Ch3, 1Sc in the top of the next cluster, Ch3] 10 times, Sl St to first St.
Cut off yarn. Continue with C4.
R8. repeat [2Tr in 3rd Dc from a group of 3Dc, 1Sc in Sc on top of cluster, 2Tr in next Dc from a group of 3Dc, Ch1] 10 times, Sl St to first St
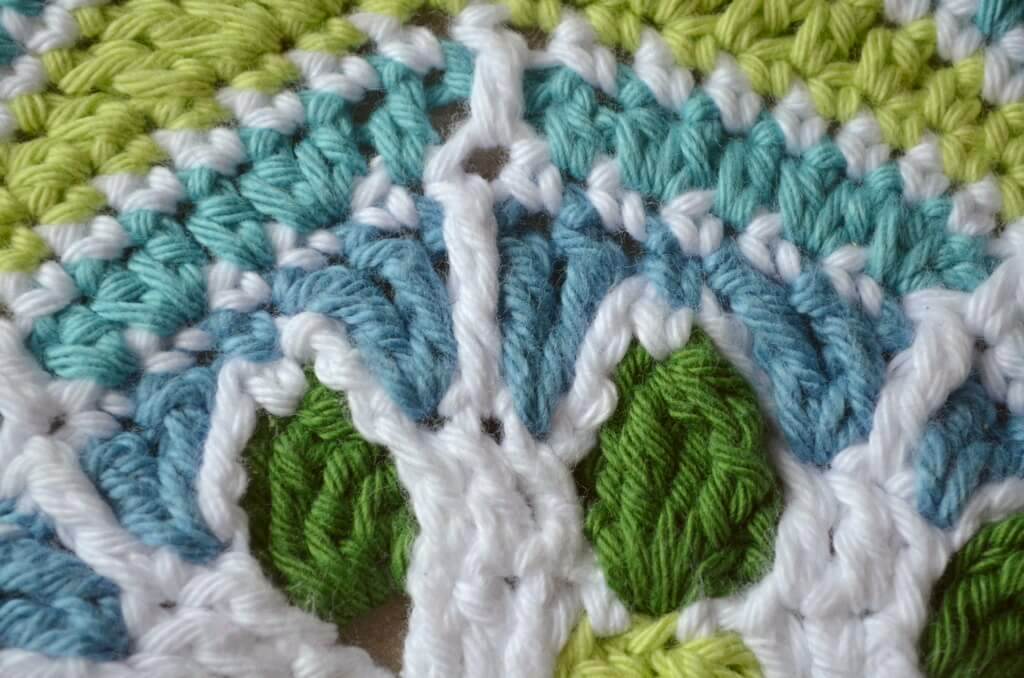
Cut off yarn. Continue with C2. Work in front of the Ch1 spaces, pushing the chains to the back.
R9. 1Sc in 2nd Tr to the left of a cluster, repeat [1Tr in middle Dc on R7, 5Sc] 4 times, 1Tr in middle Dc on R7, 4Sc, Sl St to first St
Cut off yarn. Continue with C5.
R10. Start in a St next to the Tr on the left side. Repeat [1HDc, 2HDc in next St, 1HDc, 2HDc in next St, 1HDc, Ch2, Sk1] 5 times, Sl St to first St
Cut off yarn. Continue with C2. Work in front of the Ch1 spaces, pushing the chains to the back.
R11. Repeat [1Dc in Tr on R9, 7Sc] 10 times, Sl St to first St
Cut off yarn. Continue with C6.
R12. Start anywhere. Repeat [8Sc, {1Sc, Ch2, 1Sc} in next St, 9Sc, Ch2, Sk2] 4 times, Sl St to first St
R13. Ch1, repeat [3Sc, 2HDc, 1Dc, 2Dc in next St, 2Dc in next St, 2Tr in next St, {2Tr, Ch2, 2Tr} in next Ch2 Sp, 2Tr in next St, 2Dc in next St, 2Dc in next St, 1Dc, 2HDc, 4Sc, Ch2, Sk2] 4 times, Sl St to first St
Cut off yarn. Continue with C2.
R14. Start in the Sc after a Ch2 Sp.
Ch1, repeat [1Sc in each St to corner Ch2 Sp, {1Sc, 1Tr into Ch2 Sp on R12, 1Sc} in Ch2 Sp, 1Sc in each St to Ch2 Sp, 2Dc in the 2 unworked Sts on R11] 4 times, Sl St to first St
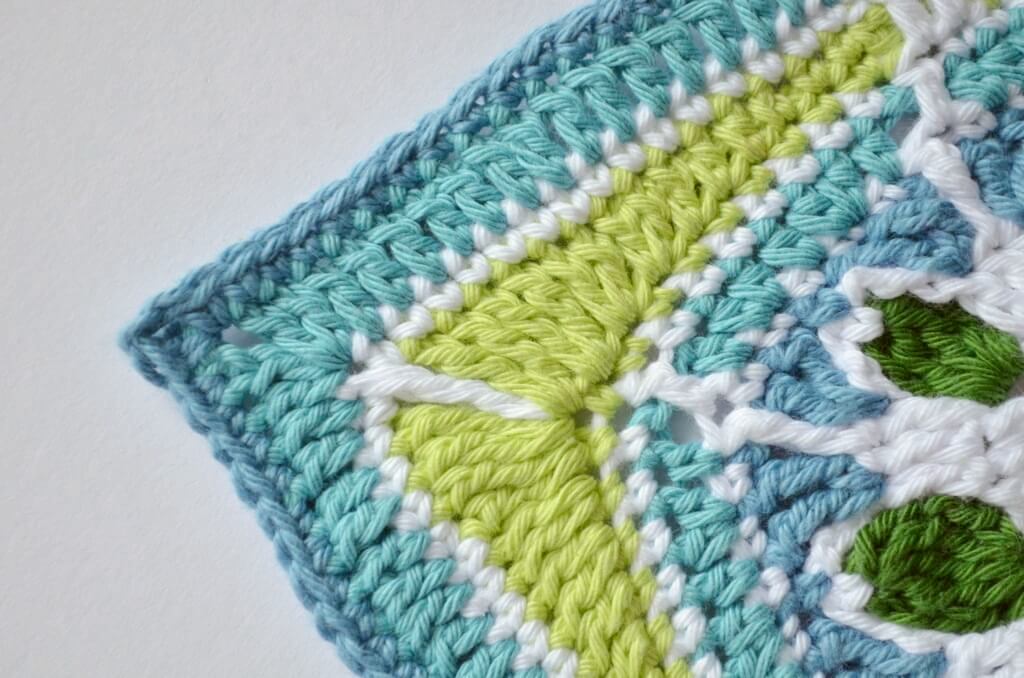
Cut off yarn. Continue with C7.
R15. 1Dc in each St across, making {2Dc, Ch2, 2Dc} in each corner Tr, Sl St to first St
Cut off yarn. Continue with C8.
R16. 1Sc in each St across, making {1Sc, Ch2, 1Sc} in each corner Ch2 Sp, Sl St to first St
Cut off yarn, weave in all ends, block into a square shape.
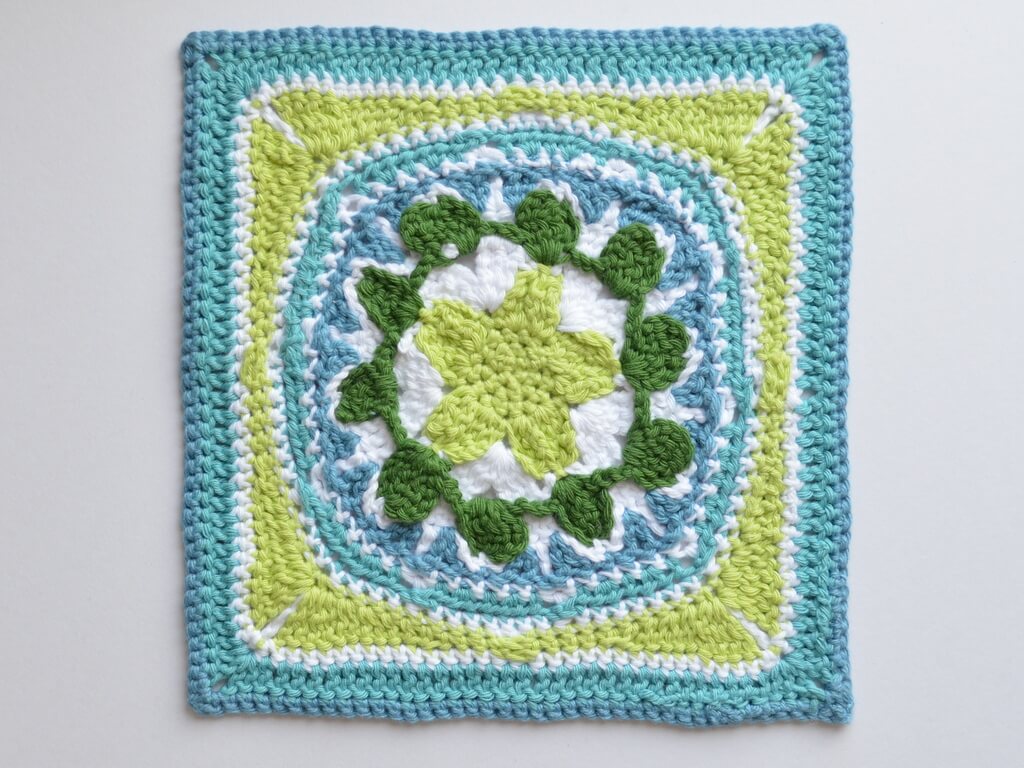
If you want to use the square for a blanket, it is now finished and you can make as many more as you need. If you want to turn it into a pot holder, read on and make a companion square for it.
Instructions for a very basic granny square
To turn this square into a pot holder, you’ll need a backing. Using the same yarn and hook, you can quickly whip up a plain square that will go on the back of this colorful square.
This square will use about the same amount of yarn as its counterpart.
You can turn at the end of every row or work in rounds, without turning. Just keep in mind that a square that is made without turning will have a slight twist in it.
Change colors as you like. I changed them after 3 short rows or after 1 short row and a tall row.
R1. Repeat [1Sc, Ch2] 4 times in MR, Sl St into first St (turn if you like)
R2. Repeat [1Sc in each Sc across, {1Sc, Ch2, 1Sc} in corner Ch2 Sp] 4 times, Sl St into first St (turn if you like)
R3. Repeat [1Sc in each St across, {1Sc, Ch2, 1Sc} in corner Ch2 Sp] 4 times, Sl St into first St (turn if you like)
Change color. Work over the ends, to help with weaving them in later.
R4. Repeat [1Sc in each St across, {1Sc, Ch2, 1Sc} in corner Ch2 Sp] 4 times, Sl St into first St (turn if you like)
R5. Repeat [1Dc in each St across, {2Dc, Ch2, 2Dc} in corner Ch2 Sp] 4 times, Sl St into first St (turn if you like)
Change color. Continue repeating rows 4 and 5 until the square is large enough. I worked 5 more repeats to reach the size of the vintage-inspired granny square.
Weave in all the ends, without cutting the last color.
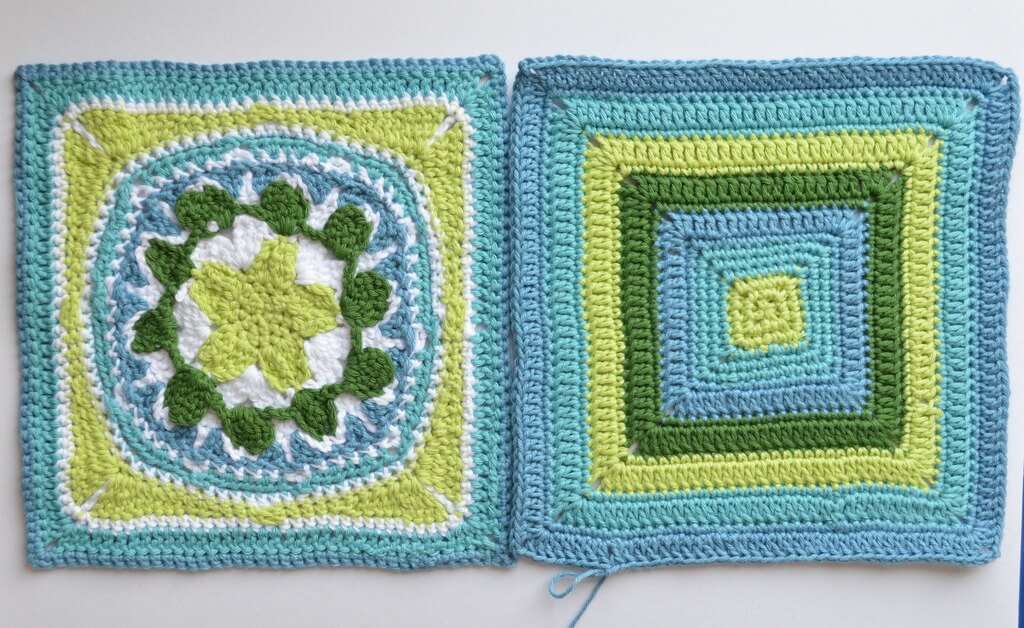
Using the last color slip stitch all around the two squares, working the chains on the front of the pot holder.
At one corner, make a loop either by chaining 15 and making 25 Sc around the chains, or by making a narrow Romanian cord (tutorial for that coming soon).
When you are done, make an invisible seam, here’s a basic video tutorial on how to make an invisible seam.
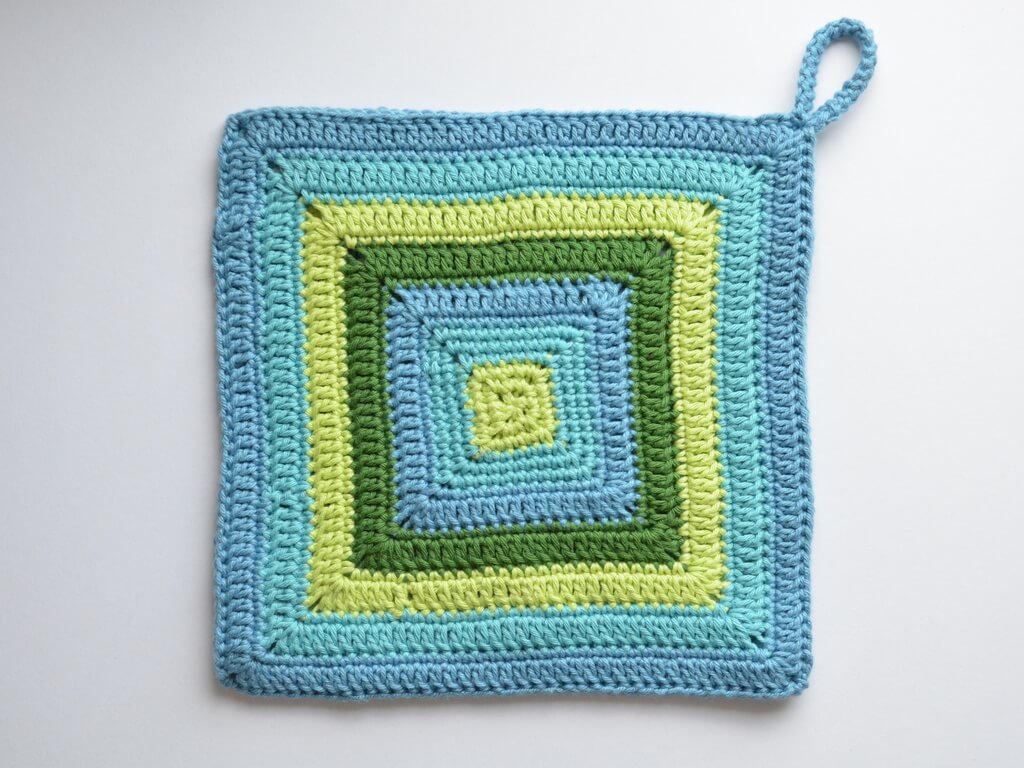
Now the pot holder is finished and ready to hold a steaming pot of soup. Yum.
If you want more free crochet patterns for blankets, check these out:
I hope you enjoyed this pattern and that you’ll share your projects with me.
Hugs,
Andrea



4 thoughts on “Free vintage-inspired granny square pattern”