I’m a bit late in starting a project diary for this pattern, but the past few weeks have been quite a marathon, so there hasn’t actually been much time for writing anything other than bits of pattern.
This pattern idea came up very recently, after the Sempervivum shawl was completed.
The kind folks at SparWolle wanted a new design in their gradient yarn and I’m nothing if not excited to make things happen for folks (to my own detriment at times, but I’m learning to set limits), so I came up with an idea for a Tunisian crochet garment design that mixes the armhole and neckline shaping I’ve been perfecting over the past few months with a simple flaring bottom piece.
The design started out as sketches for a top and then a dress, with the same pattern continued to make a flared dress. I colored them using some custom gradients I picked out just like before, using the colors that are available to them.
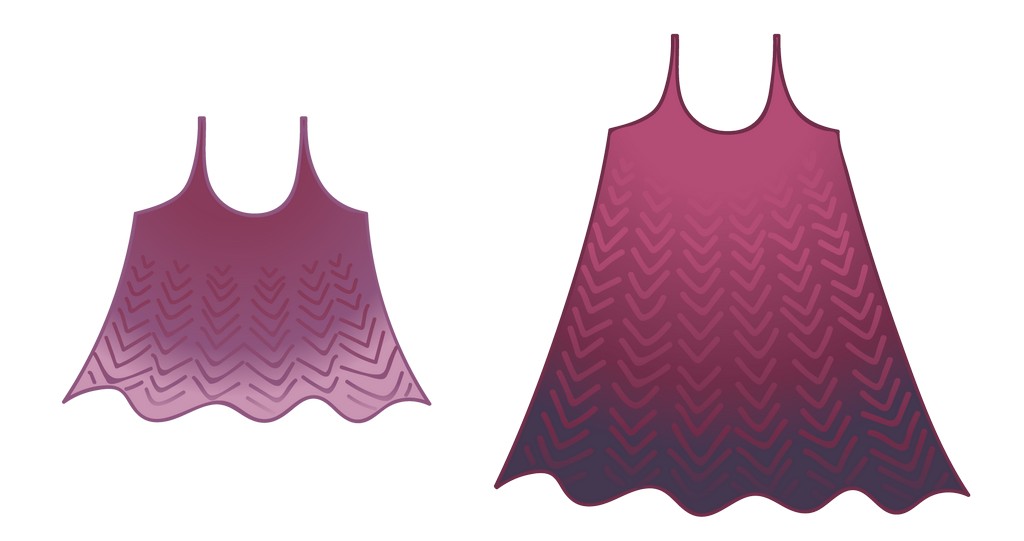
I sent them the sketches and they sent me yarn so I can start on sample making.
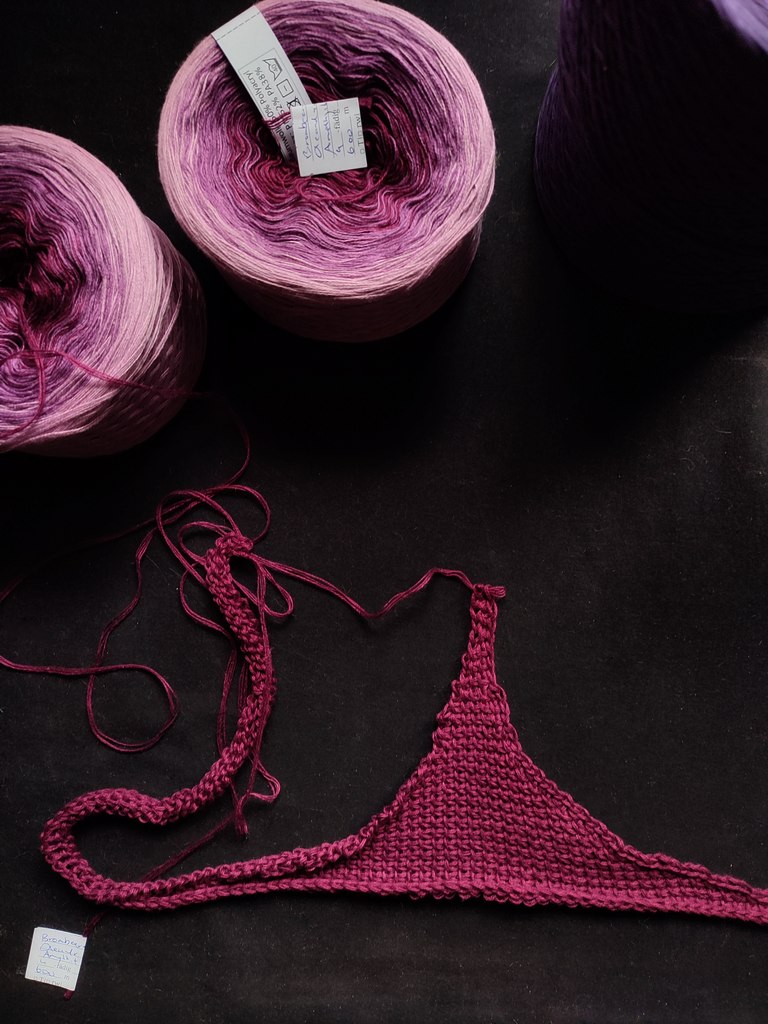
The first step was finding the right hook size to work with this yarn, so I made a few swatches.
I wanted to match the 18 stitch by 18 row gauge that I used for the other summer top designs, so I had to go down in hook size to a 4 mm hook.
That was unexpected, but it also meant that I could use a relaxed tension while working, which made things go so much smoother.
Like before, I used size 4 that matches my measurements, and I started with the top version.
For this design, I wanted to showcase the entire gradient, by working top-down, but also to make the straps bottom-up, so I came up with a compromise, where the straps are made at the beginning, bottom-up, then the rest of the fabric is added from there, going down.
I hope that picking up a new foundation row won’t be too much of a hassle for the people who’ll use this pattern, but I do think it’s a much better alternative to having to cast on stitches on both ends of the row if we were to work top-down entirely.
Casting on stitches for a couple of rows might be acceptable for something with much wider straps, but here it would have been way too annoying.
I think it looks good, even if I started the body from the second color change, since I had to leave the rest of the yarn from the first color for finishing details.
After a small section of shaping in preparation for the lace, the fun starts.
Using my experience in designing capelets and shawls, I made a stitch pattern that grows gradually and invisibly into a rounded shape.
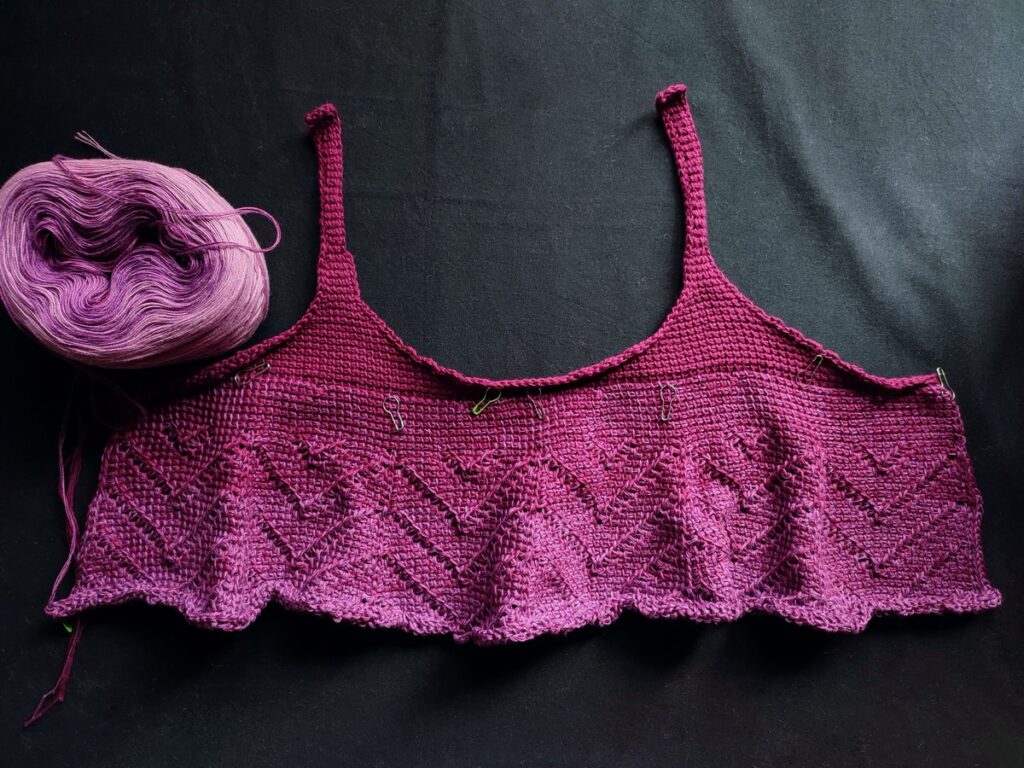
The stitch pattern is repeated 6 times across the body, for all sizes, which I accomplished by starting the repeat at different rows for different sizes.
This way, the pattern is very simple when it comes to written instructions, for all sizes. The instructions are complex enough by themselves, without adding extra notes for the different sizes in the mix.
I wrote up 164 rows of instructions, so everyone can have a chance to make the dress as long as they desire (mid-thigh to knee-length), but the thing with this very simple lace pattern is that it looks complicated, but is very easy to extend to any length, as long as the increases are kept in place.
Of course there’s also charts and I hope people use the charts, as written instructions can get tedious after a while.
Still, seeing that the instructions aren’t as beginner friendly as I’d hoped (at least not to a complete newbie), I decided to also add a plain fabric option to the pattern, so now there are multiple options for people.
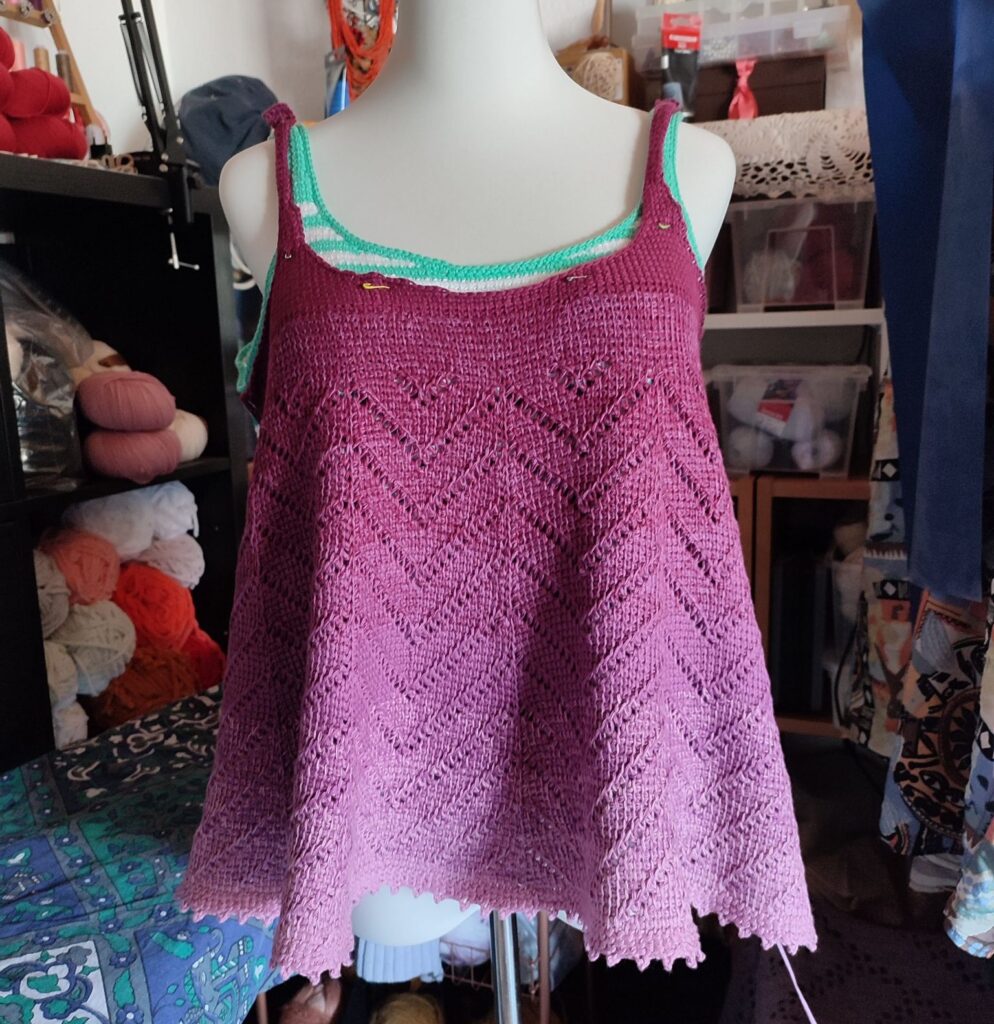
I finished the front and launched a testing call so we can get to it, as I want to launch the pattern around the end of May-beginning of June.
That way, it will hopefully have some folks making it this summer.
Since launching the testing call, I’ve also finished the back in the plain fabric and am now seaming up the sides.
I’ll add photos of that once I get them off my camera. I’m still in the middle of the process.
What is left to do in the next 7 weeks before the launch, for me:
- design some gradients for SparWolle – they will have these for purchase on their website, with custom lengths depending on the maker’s measurements and desired length;
- make the dress version – I have yarn for this one as well and I will keep this one, while the top goes to “live” in the SparWolle shop;
- film a tutorial for the short row technique for making the straps smooth and pretty;
Testers have their hands full at the moment with swatching and making the straps, so I’ll share a few WIP photos in the next update.
Now it’s time to go back to seaming and trying on the top.
28.05 Update
A lot of things have happened since I wrote the first part of this blog post.
I’ve been busy finishing up the top and starting on the dress, making videos, writing blog posts about short rows and finishing testing for another summer top pattern that is now available on the blog.
I’ll take you through the developments and will also share some tester projects.
We left things off with the back finished and needing the seaming to happen.
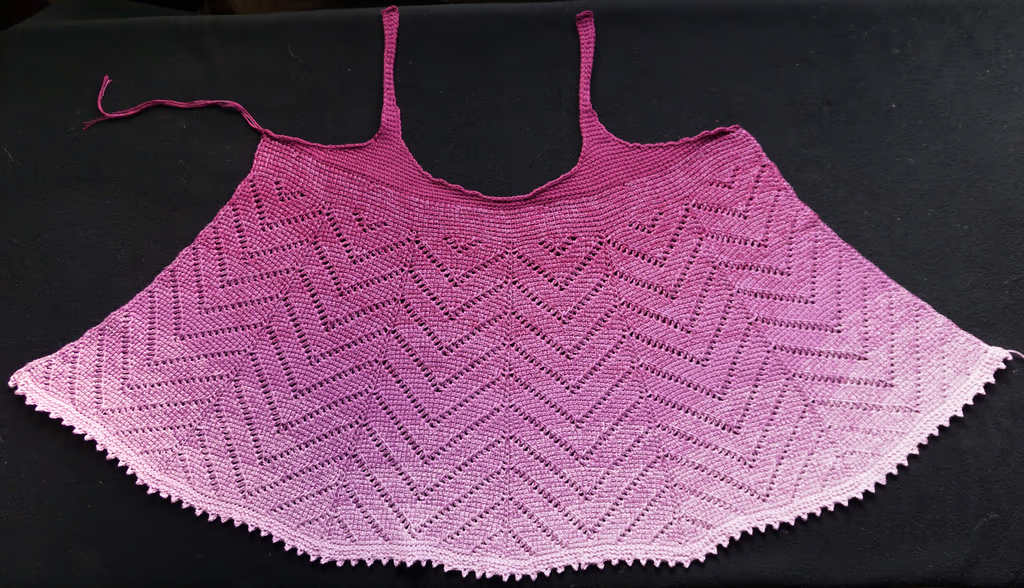
I blocked both pieces prior to seaming, to make things easy.
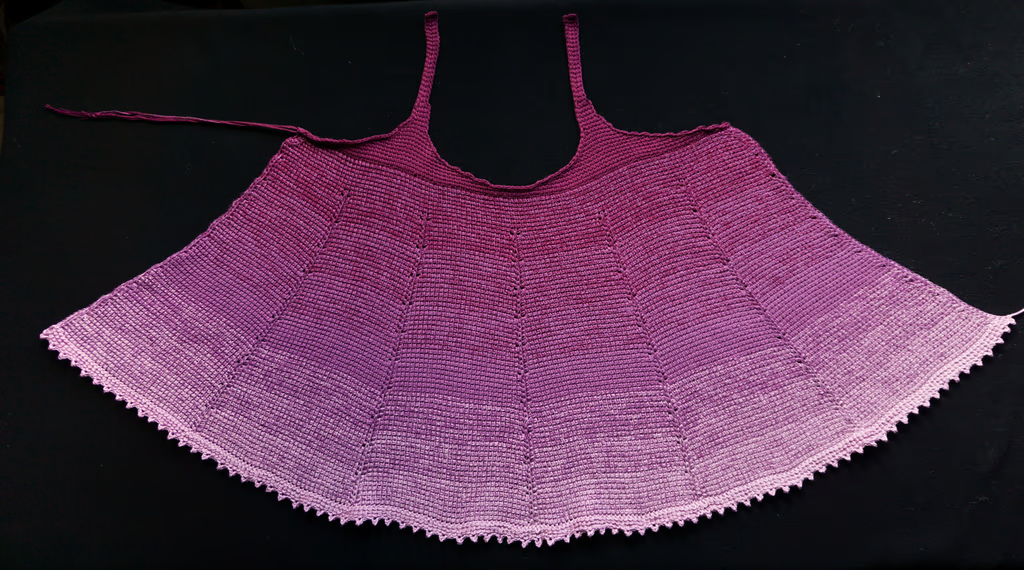
I then seamed them on the front, using a mattress stitch and the thread from the bottom of the top, which is the light pink.
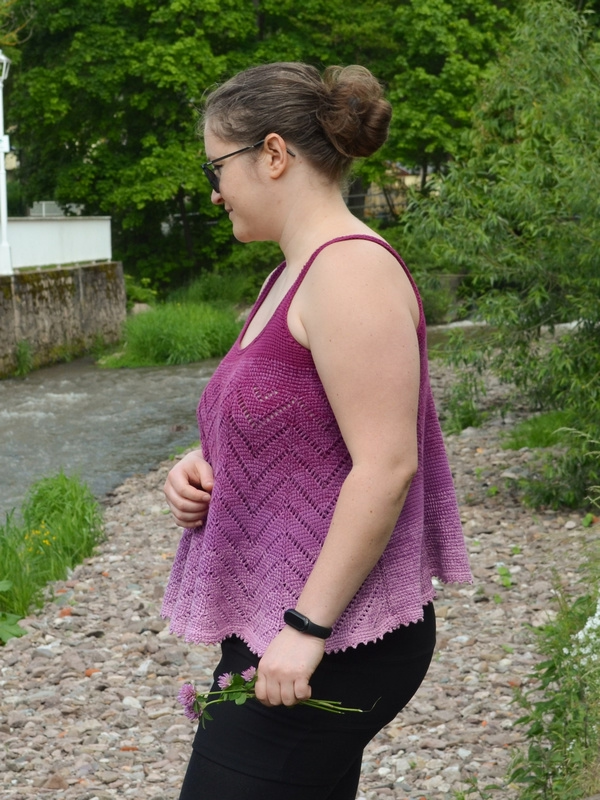
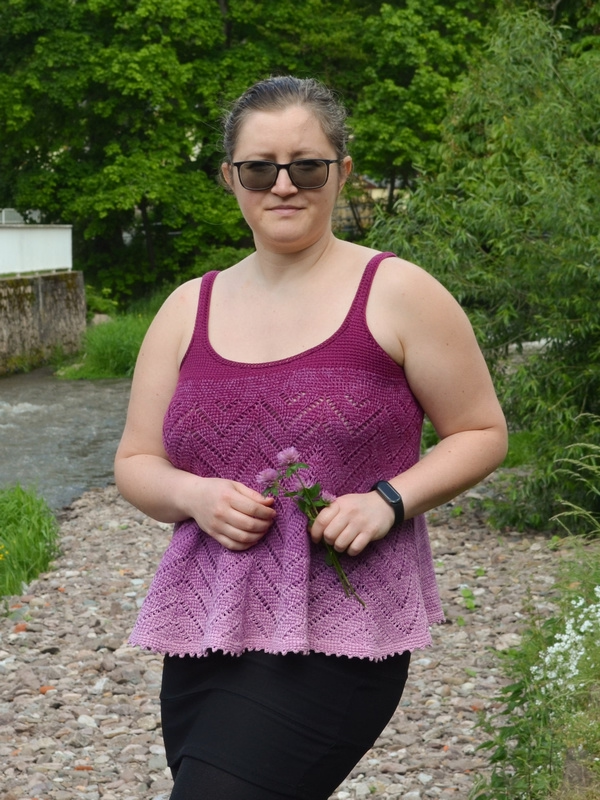
The front of the top seems to be a little longer than the back, due to the open lace on the front that can grow a little.
Then I started on the second project, as I had received yarn for a dress as well.
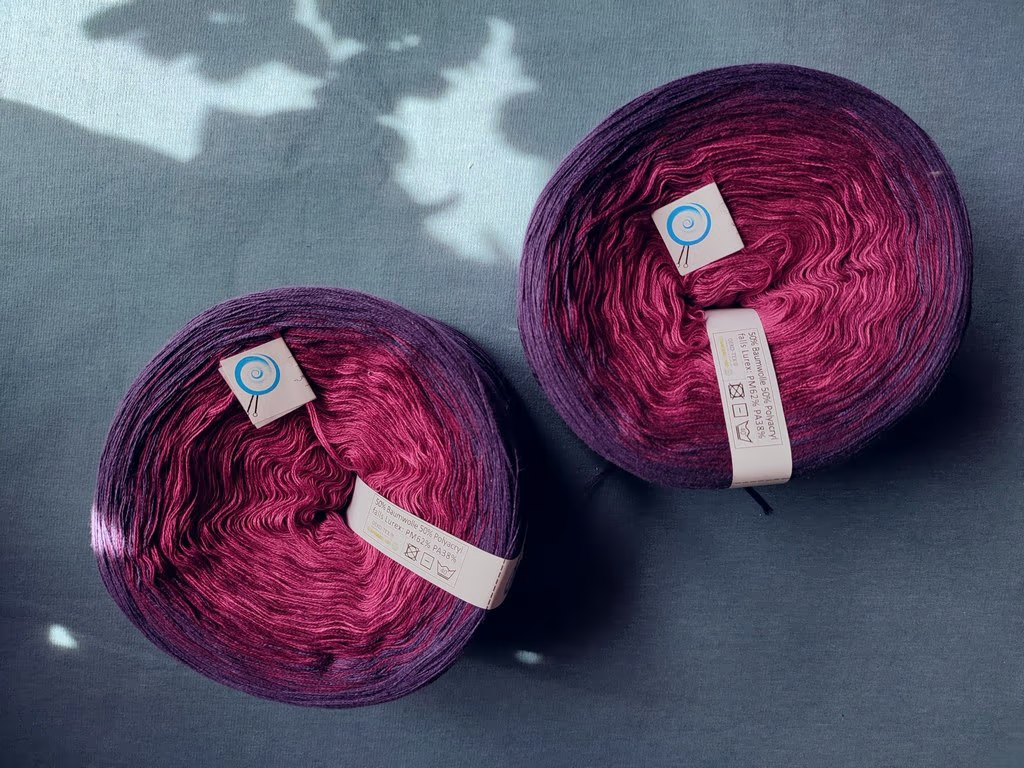
Given that the yarn for the top was 1200 meters in total and I had 2400 for a dress, and also the fact that the fabric becomes very wide very quickly, I decided on two things.
First, that I’d make size 3 from the pattern, which fits me well, with no ease.
Second, that I’d make the top part of the dress (the torso area) plain and straight, then I’d begin the lace at the waist.
Oh, and I also decided to make the straps a little wider, so they are better able to support the weight of the finished dress.
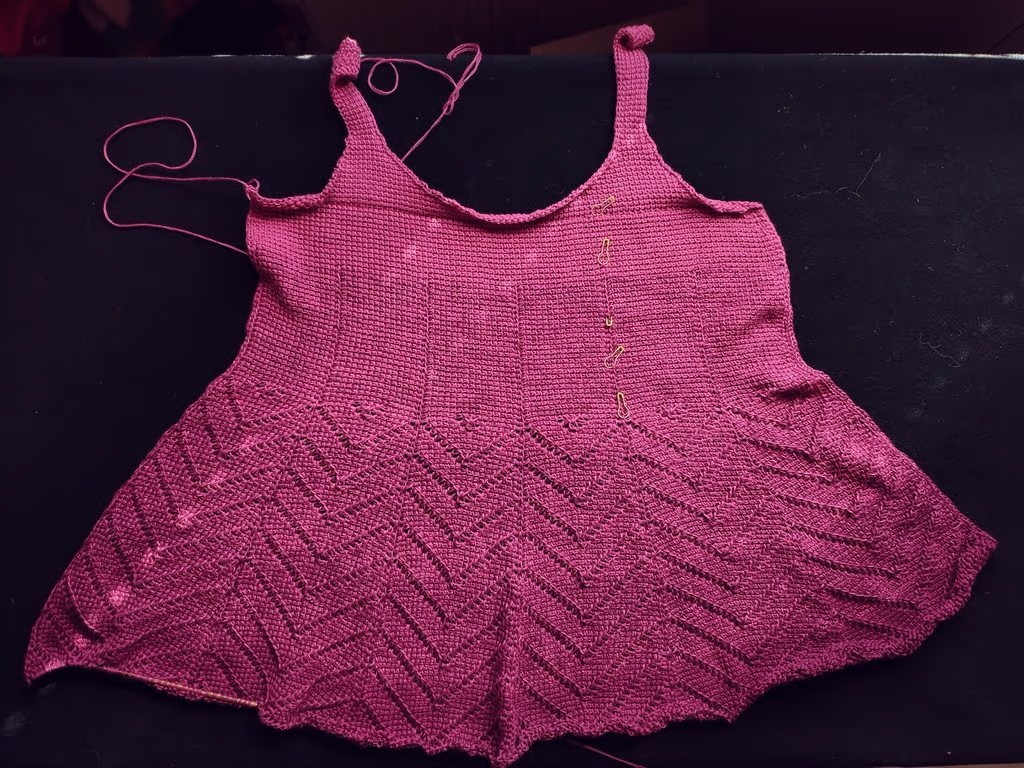
This worked well, as I was able to save yarn for the skirt part of the dress, and I ended up with a very comfortable dress.
As I was working on the second side of the dress, I filmed a tutorial about working the short rows, which is linked in the pattern.
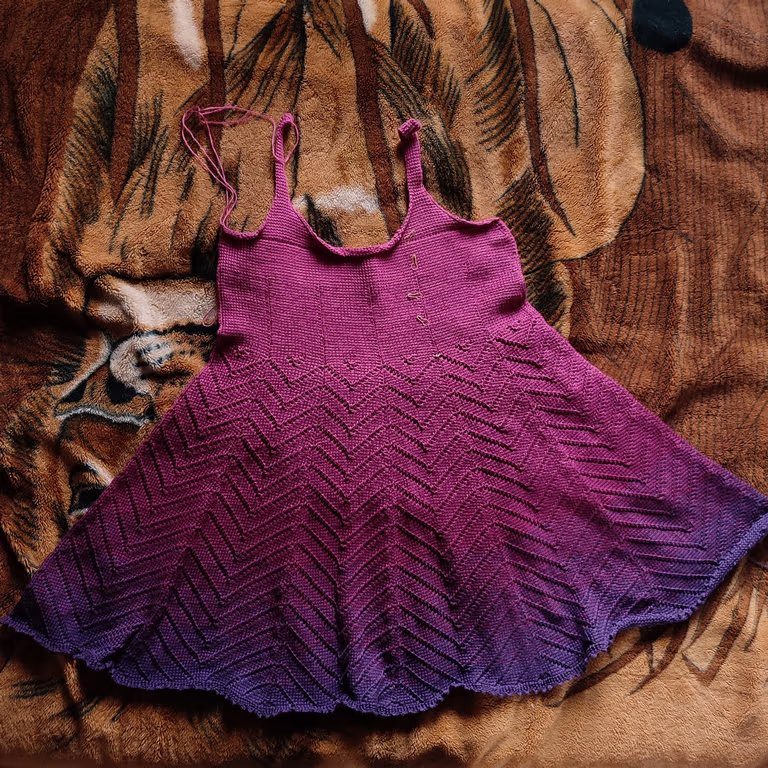
I was so happy about the first half of the dress being finished!
After the second side was done as well, I filmed three different types of seaming, which will become a video tutorial soon.
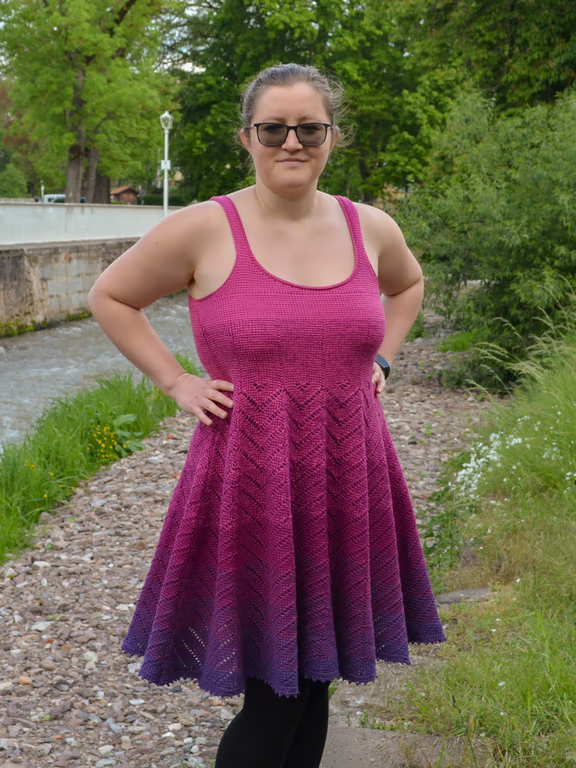
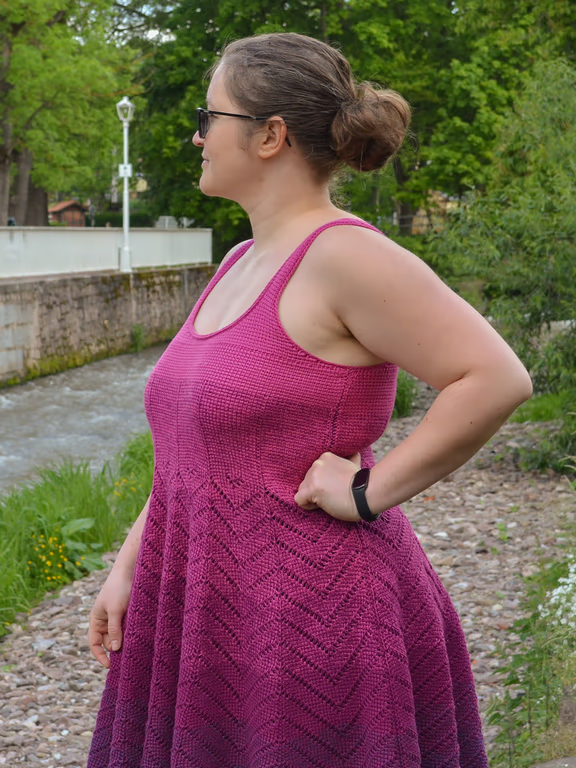
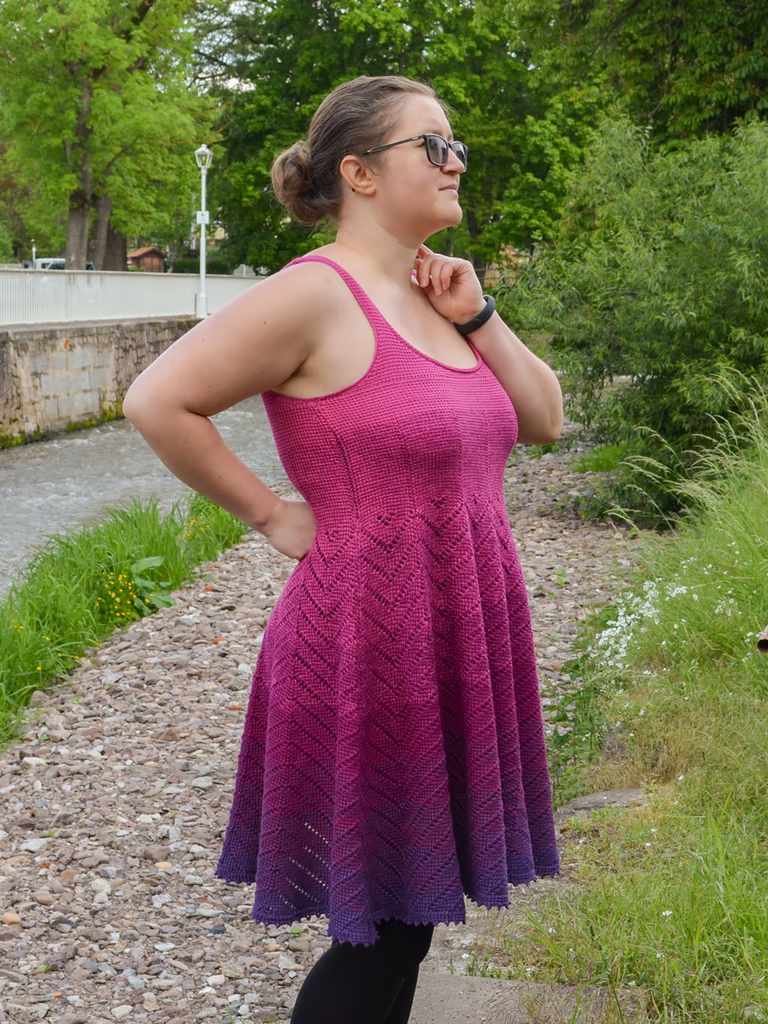
We got some nice photos of the dress. Look how well it fits. I’m going to wear it this summer, as is or with a dainty little crochet lace cardigan with short sleeves.
Now for the tester photos, here are some finished projects. I’ll add more as they are sent to me.
In order of appearance: Prachi @contemporarycrochetprachi, Anita @anitareinehr, Audrey Smith, Jenny @Jenny_liu_wi, @Passiontiger.
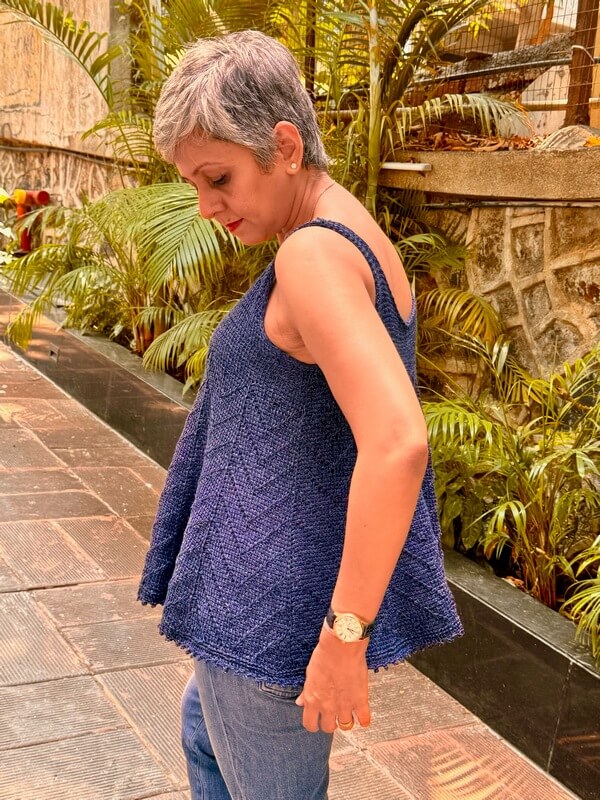
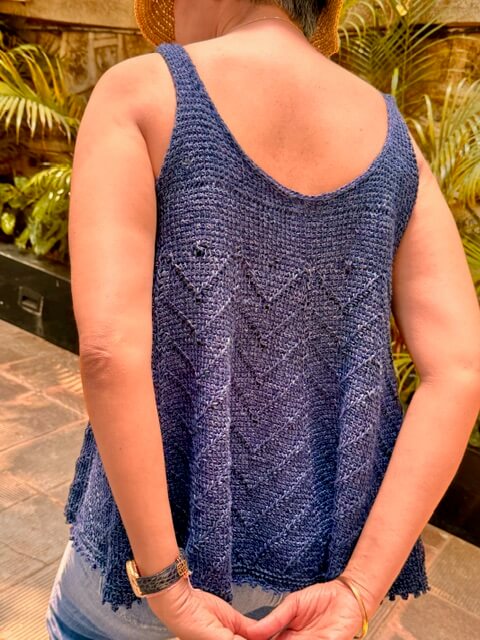
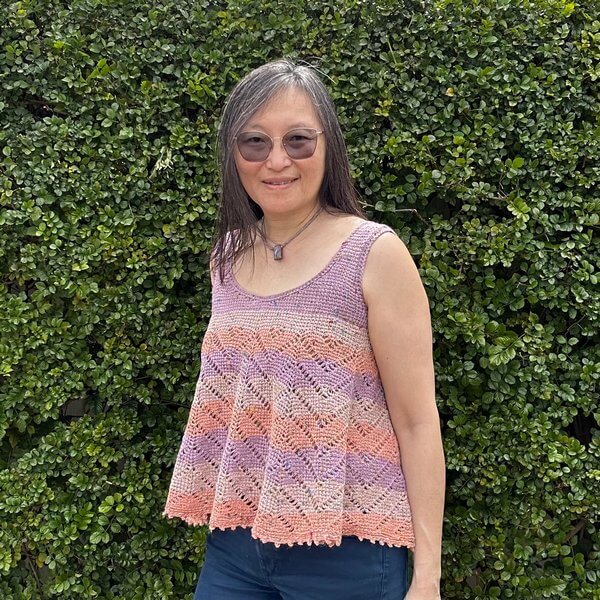
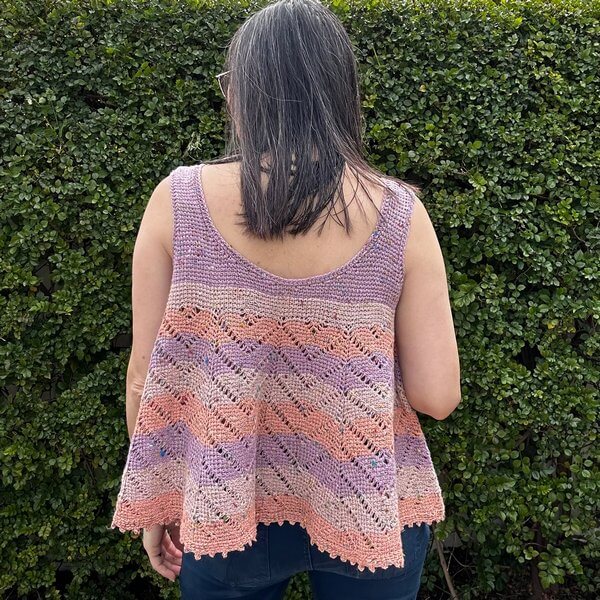
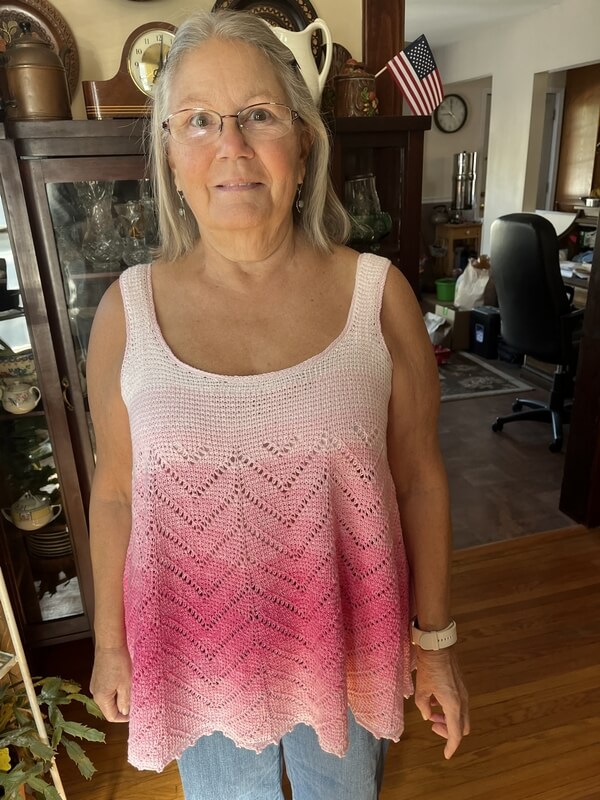
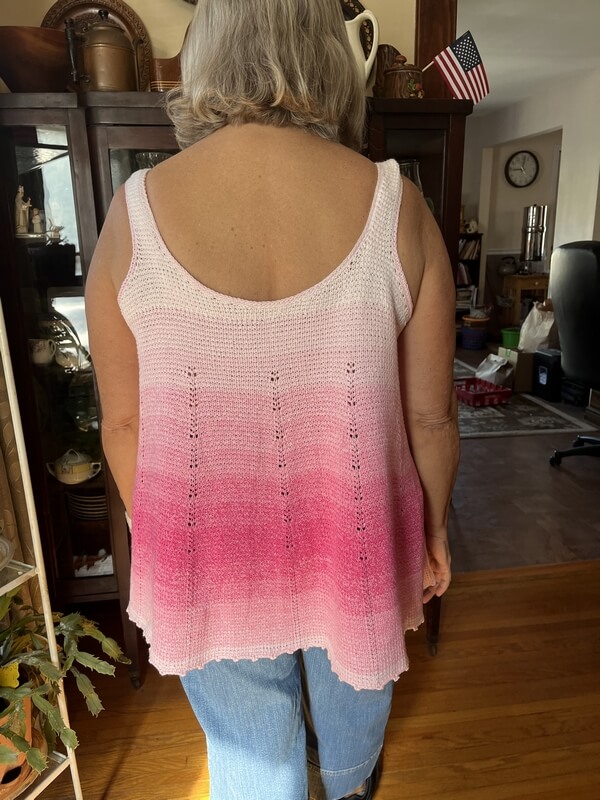

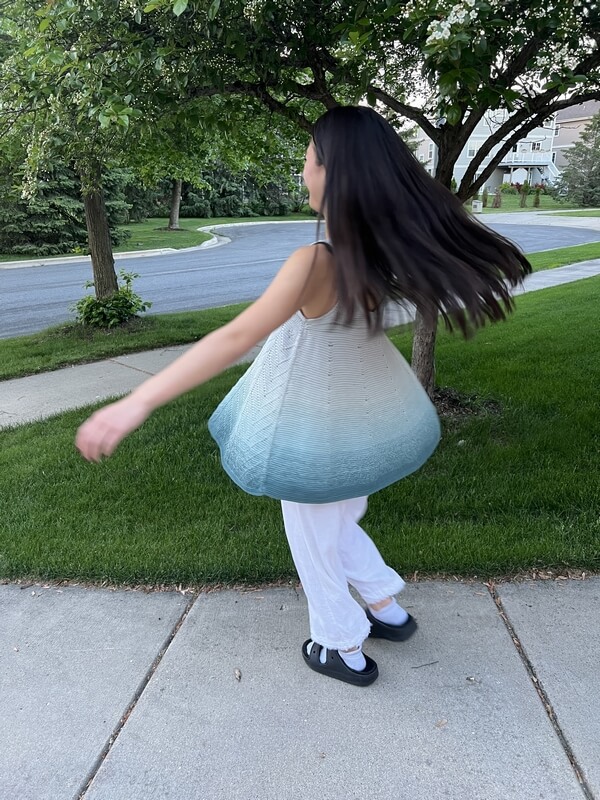
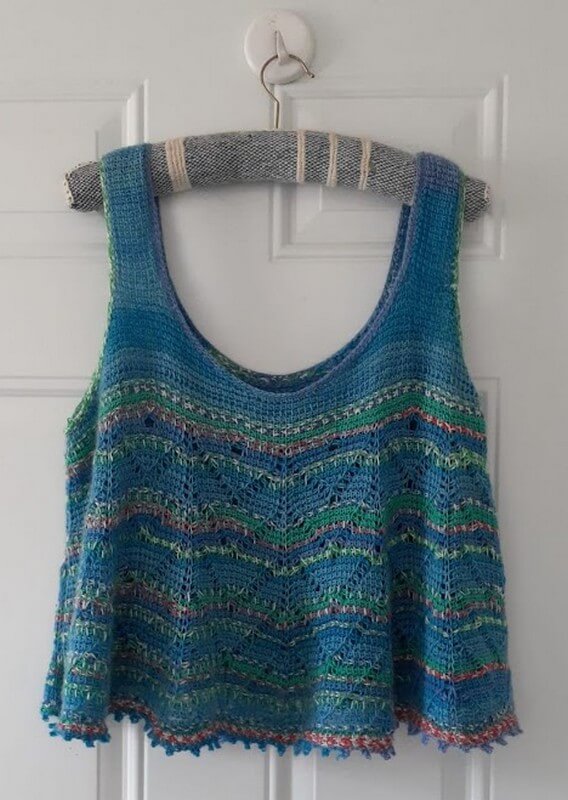
I love the fit of all of these projects, but I especially love the gradients, there’s something about them that makes my heart happy.
Let me know in the comments which one’s your favorite.
I’ll make another update when the pattern launches, with links and anything else that is relevant.
The pattern is set to be officially published this Friday, the 31st, including the yarn kits.
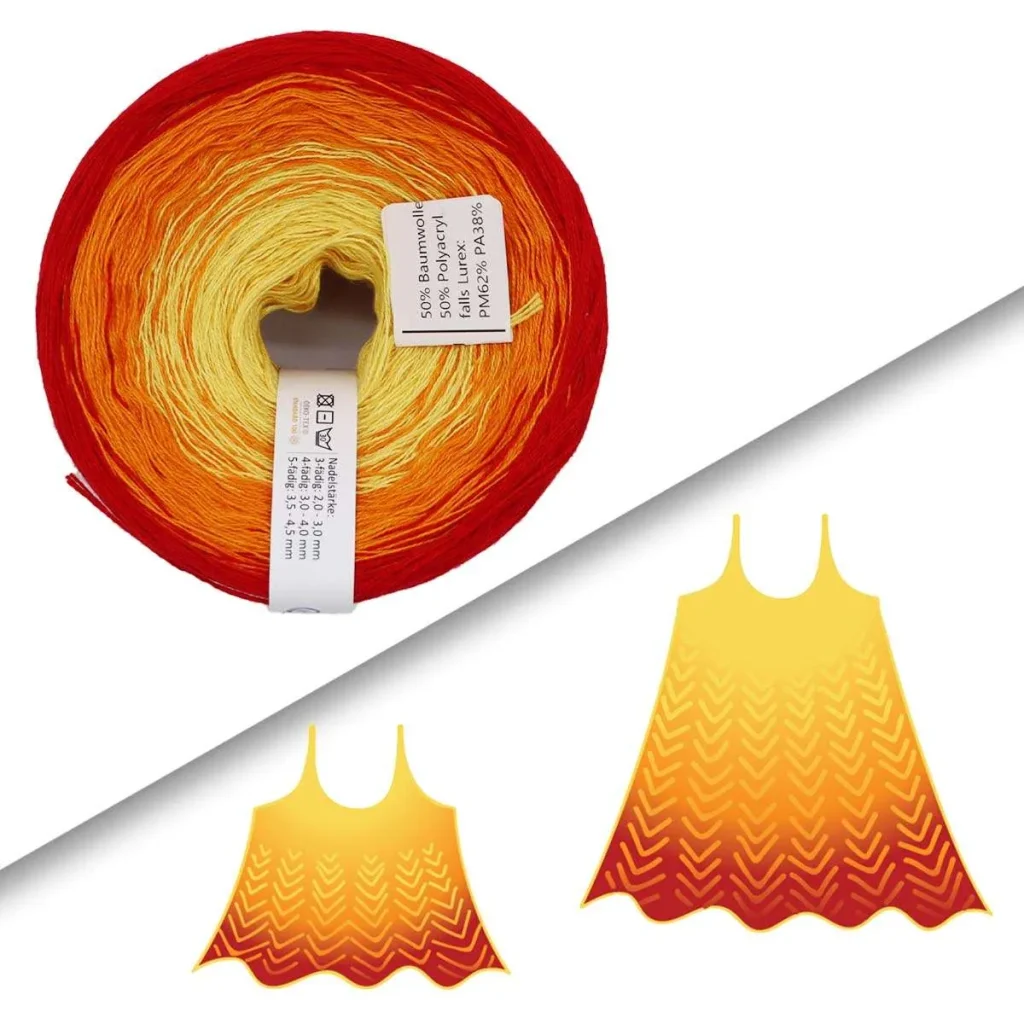
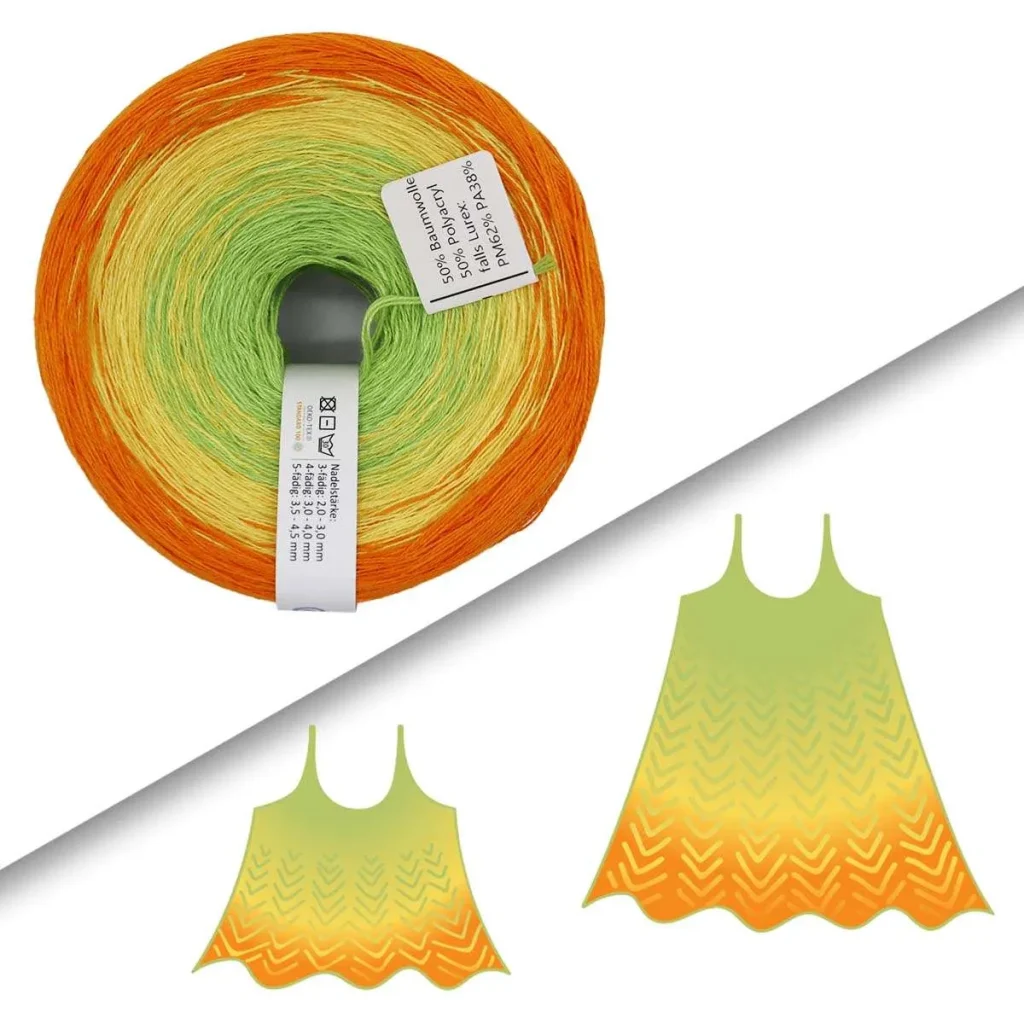
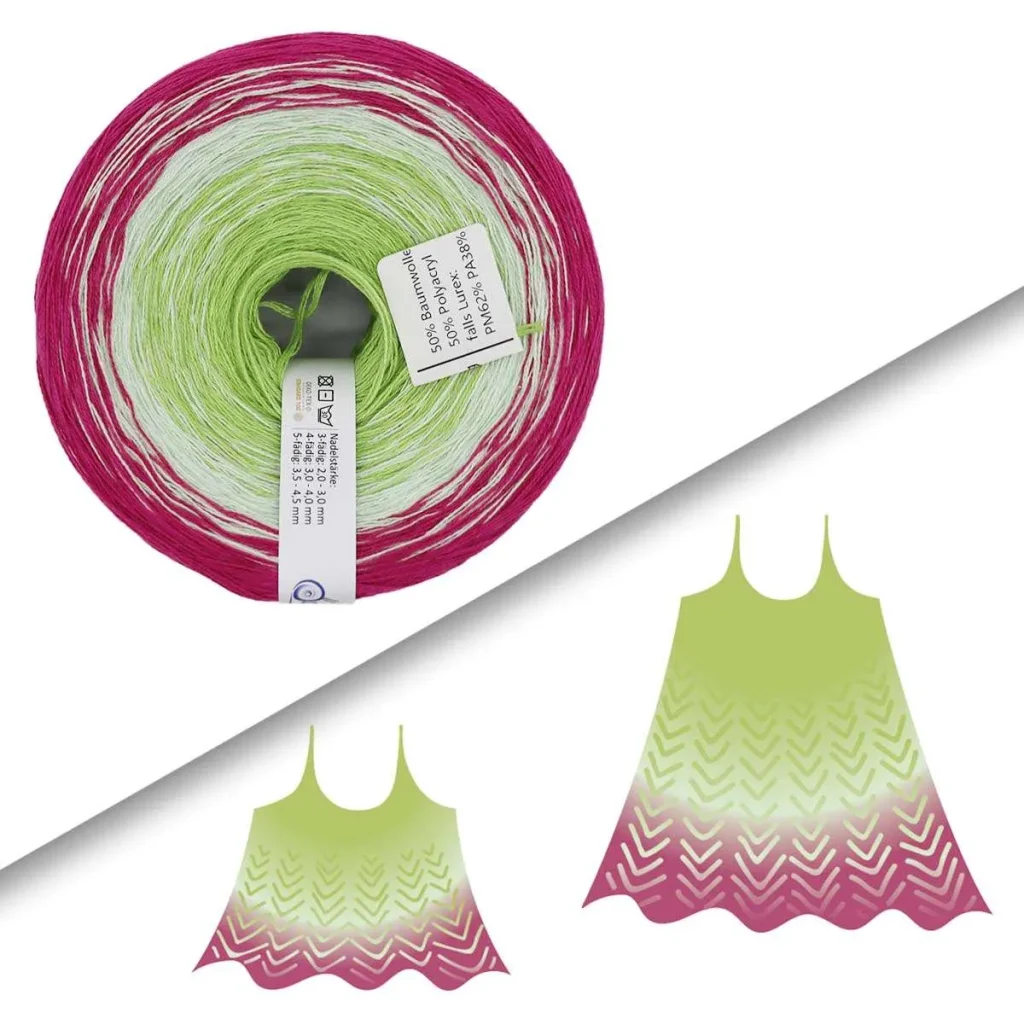
The kind folks at SparWolle have also created yarn kits that you can buy if you are in Europe, to make your own gradient dress.
The kits are made based on my estimates and the color combinations that I came up with for this pattern.
If these are not what you were looking for, you can use the yarn lengths that the page gives you for your size and pick another gradient (2 cakes of the same length) or even make a custom one.
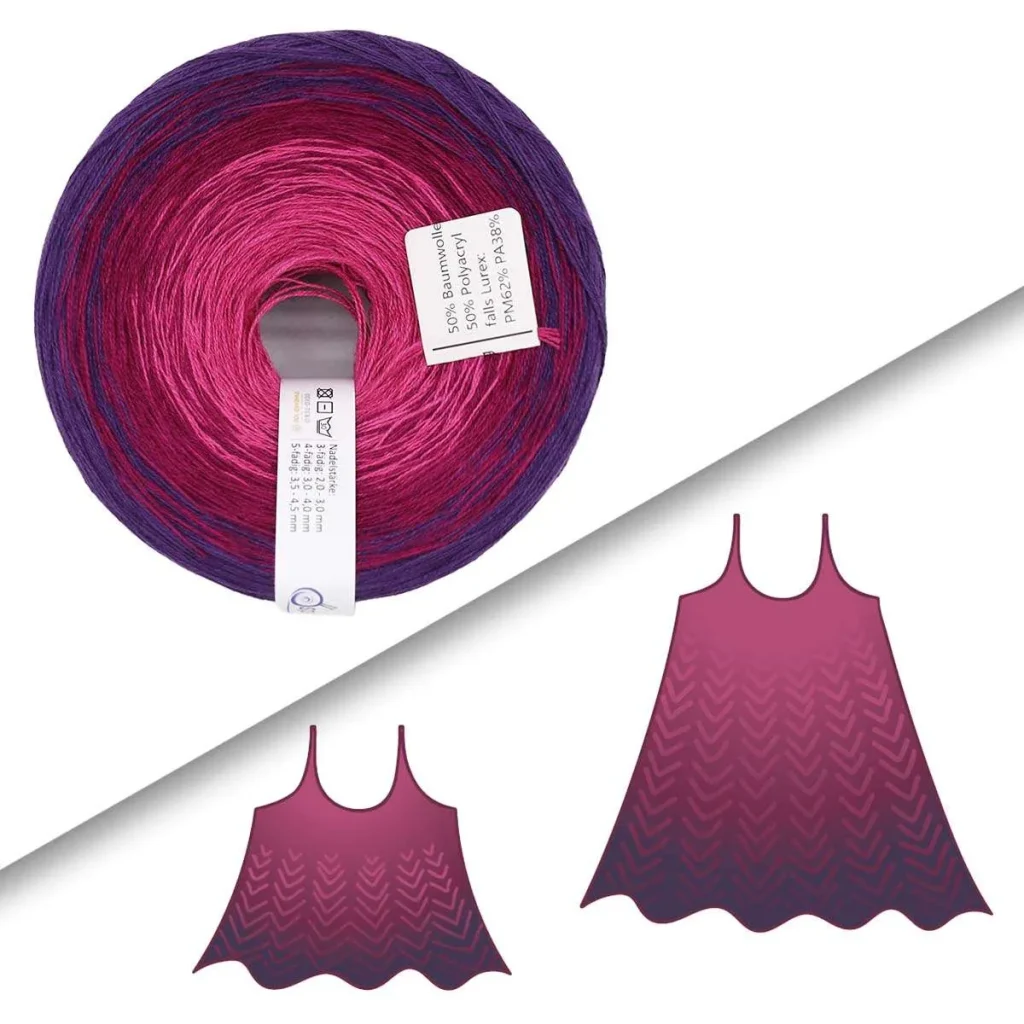
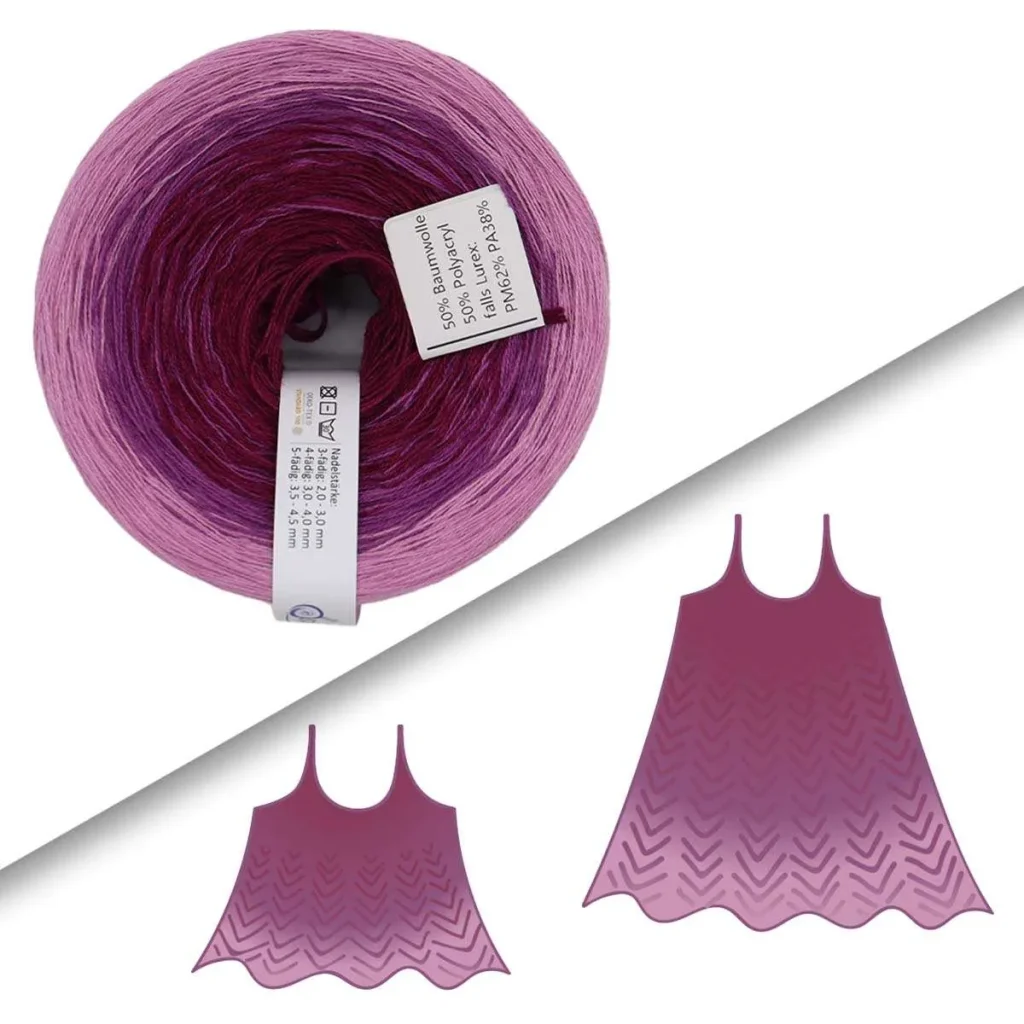
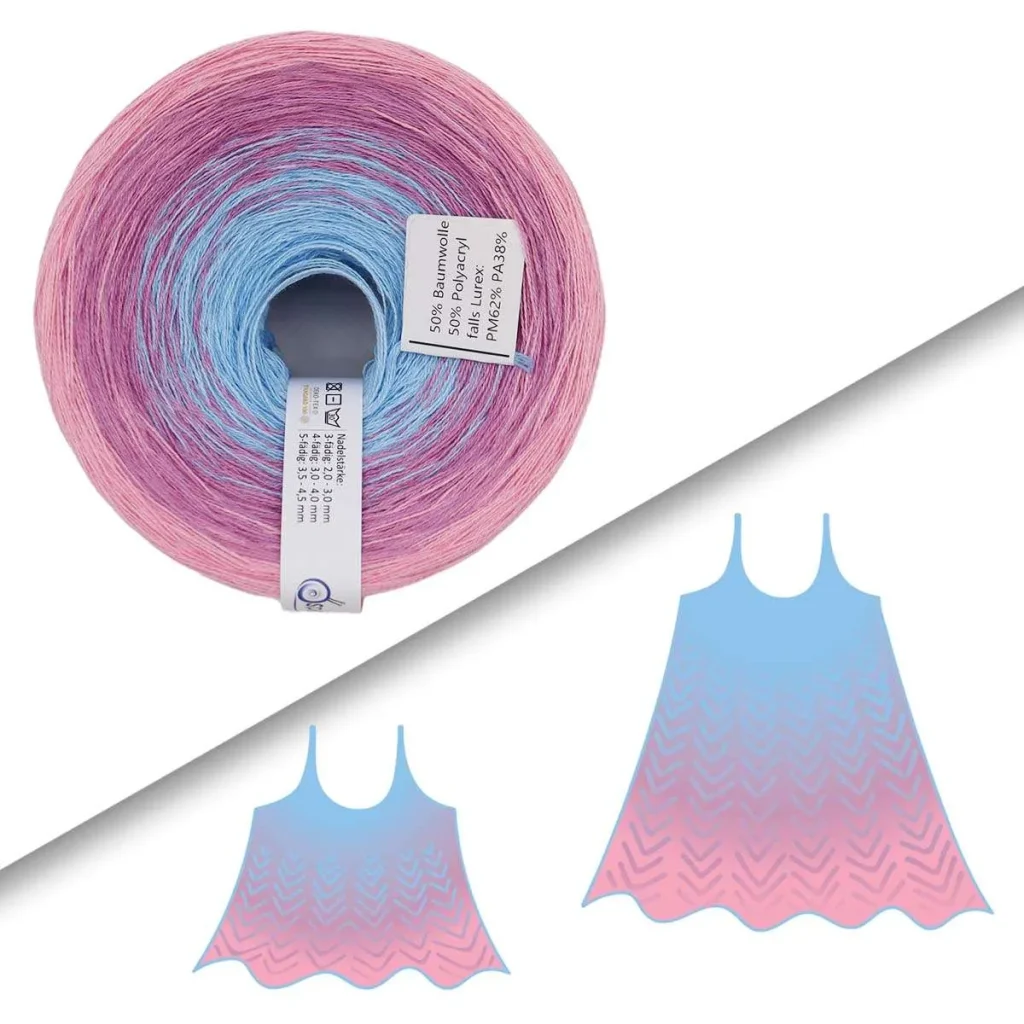
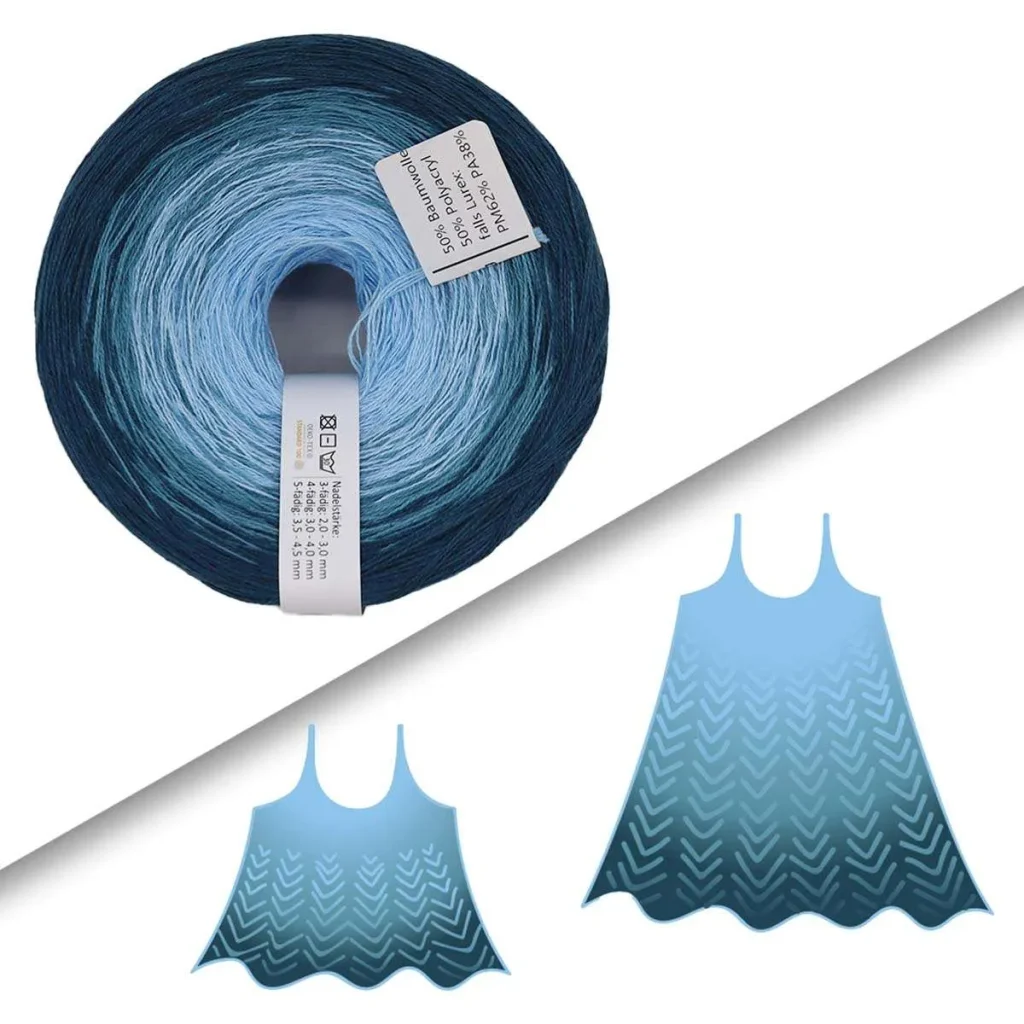
I am excited to try another color combination in another pattern soon.
I hope you tune in for future updates, which I’ll announce in the weekly emails. Or if you’re curious about other project diaries, there’s a whole segment of the blog dedicated to them that is growing as we speak.
Slate etching Tunisian crochet sweater – project diary
Sempervivum shawl – project diary
Macaw wings shawl design process
Hugs,
Andrea

