In this article, I will show you how to add backing to crochet blankets. You can also follow along with the video. I used this method to add a fleece backing to the Dear Peony baby blanket.
If you’ve made a crochet blanket with many color changes on the back, or something with holes that you want to use in winter, you might want to add fleece backing to it. Especially if it’s made of acrylic or wool yarn.
There is the option of sewing a lining on, but that method is best suited for cotton projects, where you want to add a woven lining.
When working with elastic yarns, it’s best to add a knit fabric as backing (such as fleece or a thicker jersey), and it’s also easiest to crochet it on. No sewing skills needed!
Contents
Should you add a backing to your crochet blankets?
The answers to this question depend a lot on the blanket and your preference, what fabric is available to you and what you are going for.
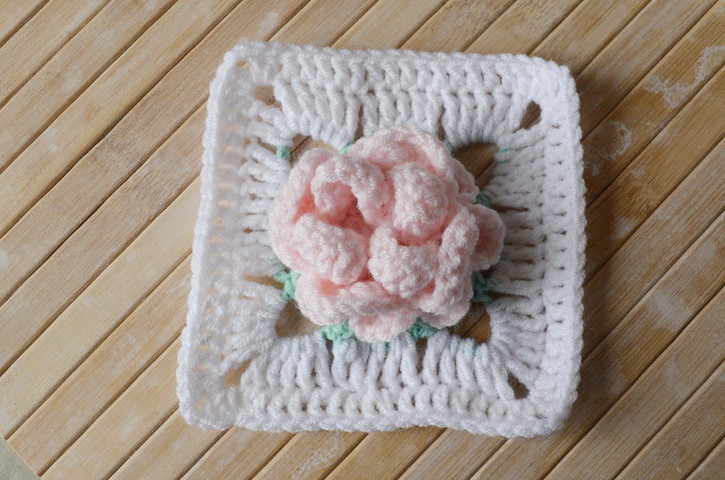
If, for example, you have made a lacy blanket with lots of holes, like the Dear Peony blanket, which you intend to use as an actual blanket, not just a decorative bed spread, then you should definitely line it.
Besides preventing fingers and toes poking through the blanket, as well as providing warmth, in this case, the backing stabilizes the whole blanket and you should definitely tack it down to the lining at various spots to prevent warping and separation.
The blanket with a lining goes from pretty, but also mostly useless and fragile, to warm, secure, useful and pretty.
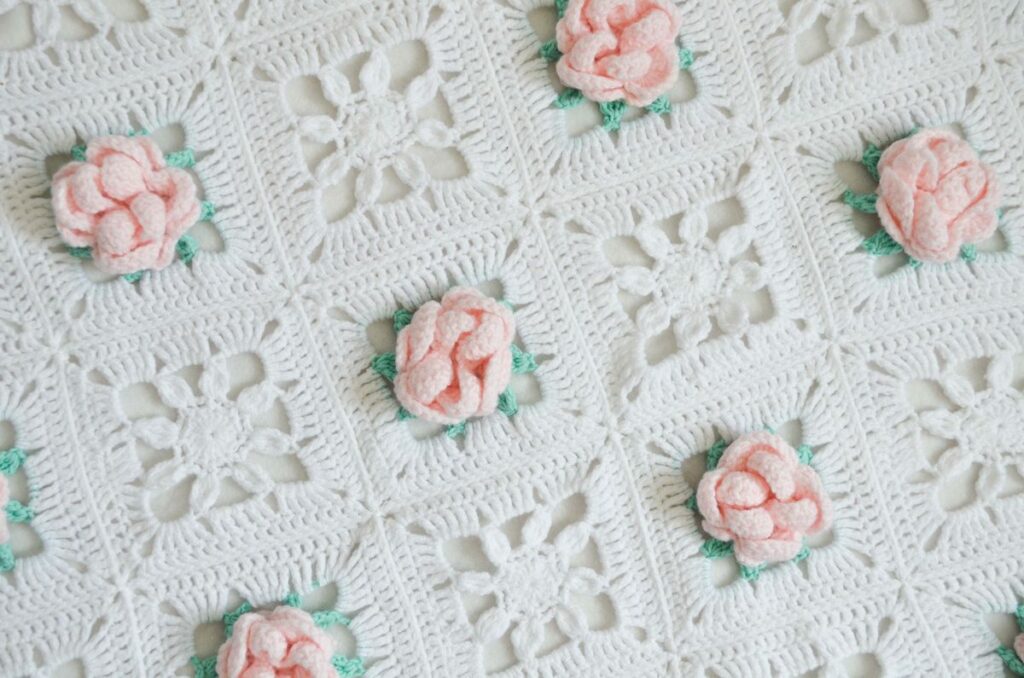
Oh, and let’s not forget about hiding ugly backs. Some patterns just give you the most wonderful front of the work and the ugliest back of the work you’ve ever seen. Slap a lining on to that blanket and bam! instant pretty back.
If the blanket doesn’t have any holes in it, you could add a super colorful and patterned backing to make a perfect “bed tent” cover which the kids can explore with flashlights.
You may even want to go an extra step and add two linings and batting in between to make a quilted blanket perfect for winter.
As you can see, lining a crochet blanket has lots of advantages.
When you shouldn’t line a crochet blanket
There are pros and cons to anything. Let’s now explore the cons.
Since lining adds an extra layer of warmth, you wouldn’t want to add one if you live in a warm climate (but you might want to make the blanket from cool yarns like cotton and linen).
You might also have a really dense fabric that’s strong enough to hold its own weight.
Just make sure that when you hold up and stretch out your blanket it doesn’t just sag sadly in the middle. If it does, it’s telling you that it needs a sturdy woven lining to hold its shape.
If your blanket has pretty stitch patterns on both sides or if it’s reversible (like a double-knit blanket, that would be extra warm), you don’t want to add a lining, but show off both sides.
If you’re making a bed cover for use during the day, just to hold down and protect anything that’s on the bed (linens and such), you also don’t need a lining, just make sure that the cover is large enough to drape over the whole bed.
Choosing a lining fabric
First off, what fiber is your blanket made of? Cotton? Acrylic? Wool? Depending on that, I’d choose a lining fabric.
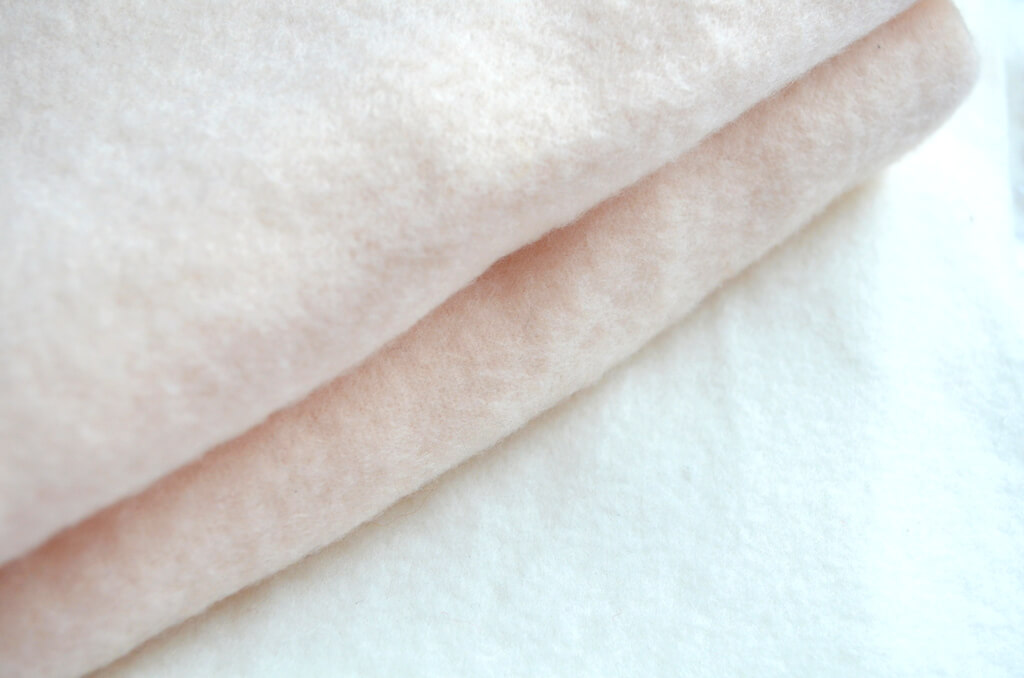
For a winter blanket made with wool or acrylic, I’d go with fleece (which is a knit fabric).
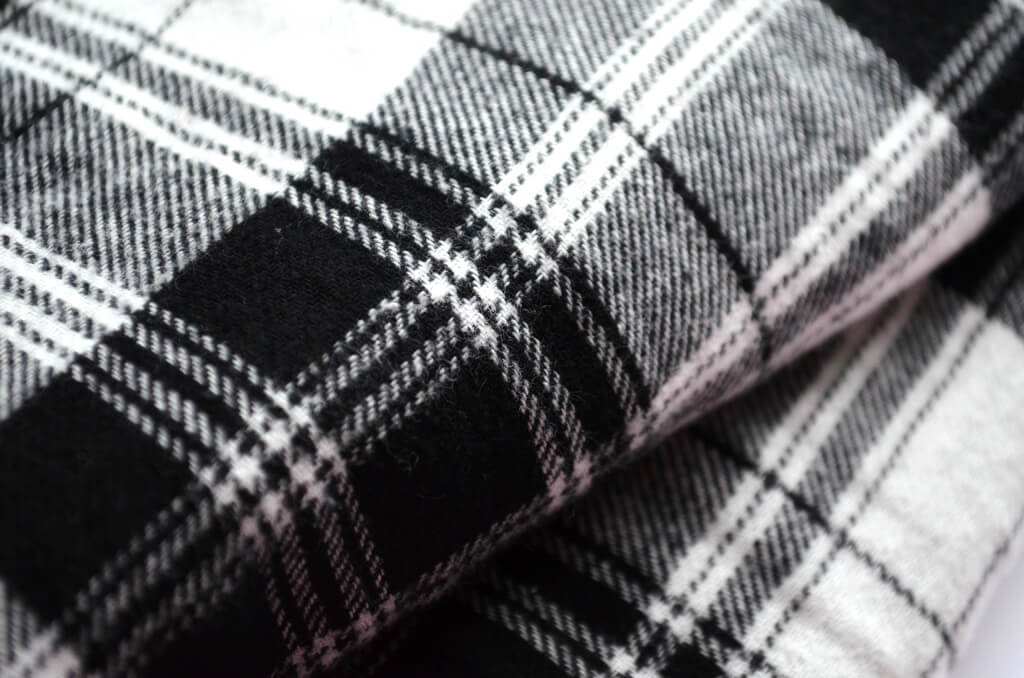
For a summer/made with cotton blanket I’d go with a cotton backing.
A cotton flannel for a bit of fluffiness or a plain cotton (both are woven).
If you go the woven route, you’ll need to hem the backing before attaching, to prevent fraying. To do the actual backing, you cut out a rectangle 1 inch or 2 cm wider on both sides than your blanket.
If the backing is knit, you just fold over the edge at 0.5 inch or 1 cm and start working a blanket stitch around it using either a needle or a thin hook (poke holes with an awl if you have it) and the same yarn you used for the blanket.
If the lining is woven, you can do a rolled hem (by hand or machine) and then work the blanket stitches around the hem. Make the stitches loose.
What you need to add backing to crochet blankets
In the following sections you’ll find step by step instructions for one method of adding backing. There are several, but this is the one I prefer.
Notions
- Backing fabric – fleece or a woven fabric – 1 inch or 2 cm wider on both sides than the blanket for knit fabric, 2 inches or 4 cm wider on both sides than the blanket for knit fabric (divide that in half for seam allowance on each side);
- Yarn – same type of yarn that you used for your project – same color or contrasting color.
- Hook: one small hook, one hook that works for your yarn.
- Optional: awl;
- Optional: fabric marker (thin point) and transparent ruler;
- Sewing pins;
- Tapestry needle.
- Scissors.
Stitches and other abbreviations
- Ch – chain;
- Sl St – slip stitch;
- St – stitch;
- YO – yarn-over.
Instructions for backing a crochet blanket
Hemming the backing
Working with the thinner hook, start with a slip knot on the hook.
Find a corner of the fabric and fold the edge over for 1/2″ or 1 cm (use pins to secure this edge while you work). If you are working with woven fabric, make a 1/2″ or 1 cm rolled hem around the backing.
Using the awl or the hook, make a hole in the fabric at about 1 cm from the corner, through only 1 layer of fabric. Make sure that you are only making an opening in the fabric, not tearing it!
The hem will be encased in the stitches.
Insert the hook, pick up a loop, bring it up, YO and pull through 2 loops on the hook, leaving all the loops loose, so that the edge of the fabric doesn’t pucker.
Move to the left (right if you’re a lefty) by about 1 cm and make another hole.
Insert the hook, pick up a loop, bring it up, YO and pull through 2 loops on the hook, leaving all the loops loose.
Repeat these instructions to the corner. At the corner, Ch2 and work another stitch in the same hole in the fabric, then continue on the next side.
To make picking up stitches easier and more uniform, use the ruler and fabric marker and draw evenly spaced points at your chosen distance from the edge. Then use these points for pushing the awl through the fabric.
You can work either on the front or on the back of the fabric.
If you work on the back (the side you are working on will face the inside of the blanket), you will end up with the VVV pattern you can notice in the image below.
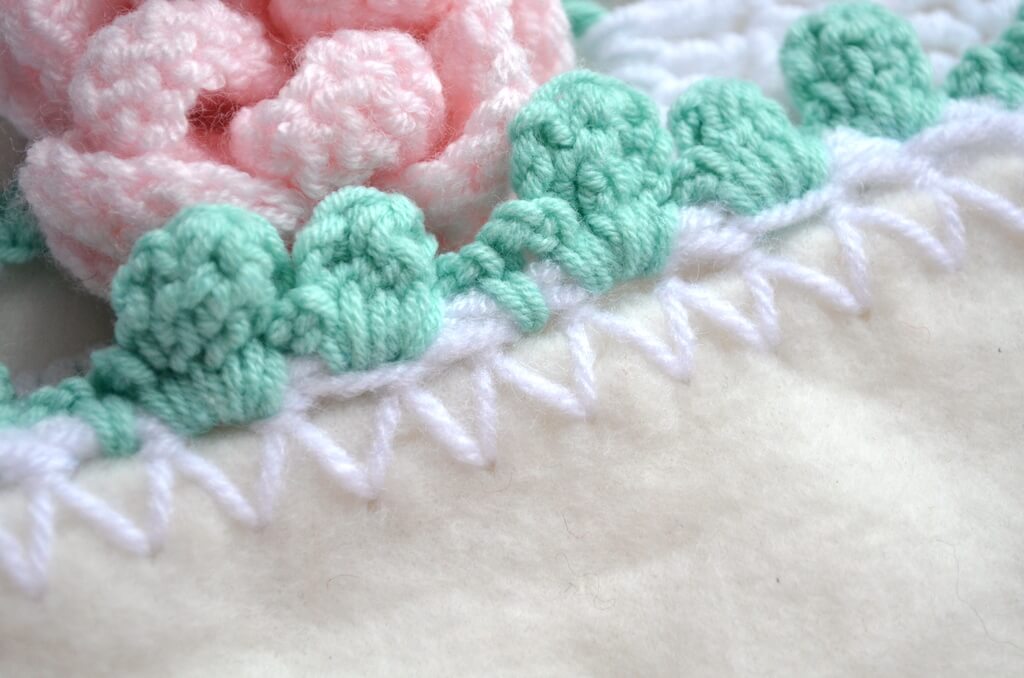
This method allows you to work continuously, without breaking the yarn and weaving in lots of ends, which is what you’d need to do if you want to use a sewn on blanket stitch on the edge.
You also have the option of cutting out your fabric to the same size as the blanket and making these stitches around the edges without folding the edges down.
I don’t trust that method because it leaves raw edges exposed, which may not be a problem in the short term, but it will become a problem after a few years of use and washing.
Attaching the blanket
When you’re done with the backing, you slip stitch into the top of the first stitch and prepare to attach the blanket to the backing, using the same yarn (so you only have 2 ends to weave in, yay).
Now switch back to the regular hook that goes with your yarn.
You take your blanket and you align the two so that the corners match up.
Use the pins to secure different spots of the edge, so you don’t end up accidentally adding more stitches on ones side of the blanket.
Now you will crochet slip stitches both into the edge of the blanket and the edge of the lining (with the hem towards the inside), essentially crocheting them together.
First, find the corresponding stitch on the blanket edge, which goes with the spot on the edge of the backing that you are working on.
Chances are that you need to skip the chain in the corner and the first stitch.
Put the hook into the second stitch and slip stitch, catching both the edge of the blanket and the slip stitch behind, which is part of the facing now.
Then put the hook into the next stitch and slip stitch into the stitch behind, and so on.
Keep going like this around the blanket.
When you reach the corner chain space, you make a Sl St, Ch1 and Sl St into the space, catching both the blanket and the Ch2 space on the corner of the blanket.
When you reach back to the beginning, you stop, cut the yarn, then create an invisible seam. Check out the video below to see how to do that.
And now your blanket is done! Yay!

There’s one more thing that you can do. You can add a funky border to your blanket.
I will soon publish a pattern for a simple leaf border for any blanket you want to make.
If you want to get it now, though, it’s available in the Dear Peony blanket pattern, including a chart and a video on how to make it. Here are some places where you can get the pattern:
Video on how to add backing to crochet blankets
If you prefer video instructions, I prepared a video that will show you the entire process I detailed above.
Click on the thumbnail to go to YouTube and follow along with the tutorial.
If you need captions, click on the CC button. I’ve edited and uploaded them.
Final thoughts
Please check out the other parts of this series of blog posts if you want to know how to make the squares (see below).
If you use Ravelry, you can add it to your project queue or make a project page and link it with the pattern page, so I can see what you make.
Keep close and sign up to my emails if you haven’t already (you’ll get a nice pattern too).
If you want more free patterns, check these out:
If you have crafty friends who’d like to know how to add backing to crochet blankets (hey, even to knit blankets, why not), please send them a link to this tutorial, they will surely appreciate it.
Take care and I’ll see you soon.
Hugs,
Andrea


Does this method work with non square blankets? I’m making a star blanket and am wanting to add a backing to it.
Yes, why not. Just make sure the backing has the same shape as the blanket and to clip your inner corners, so you can fold them towards the back.
This tutorial is awesome! Thank you so much.
Glad you like it!