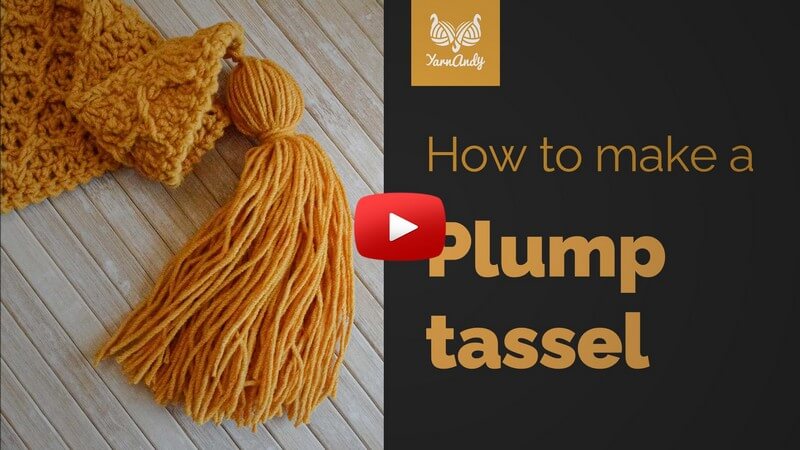
Every single time that I make a shawl with tassels on the end I tell you to make them, but I haven’t ever shown you how I make mine. Here’s how to make a plump tassel, step by step.
There are certainly many tutorials out there on how to make all sorts of tassels, but I’ve never used any of them because I couldn’t be bothered.
This method is something I came up with by trial and error, like most things in life. There are many small lessons embedded in there and I hope you’ll enjoy this tutorial with me.
Video
This tutorial comes with a video, which should explain everything with regards to making the tassel as nice as possible.
Click on the thumbnail below or click here to watch the video (and subscribe to the channel, while you’re at it, to know when I publish more videos).
Notions
You’ll need some yarn for your tassels.
Usually you either make them at the beginning or at the end of the project, so divide the yarn you have into equal weights for the number of tassels you want.
Use a decent amount of yarn for a plump and fluffy tassel, as you don’t want it to be too scrawny. I used about 100 strings for the tassel in the pictures.
The number of strings will vary with the thickness of your yarn and the length of the tassels you want to make.
Leave a longer piece of yarn for each tassel, about 60-80 cm or 25-30 inches.
Cut the yarn for the tassel in equal lengths of about 20-30 cm, depending on the length you are going for in the final tassel.
Keep in mind that you’ll be trimming some yarn off, so the final length will not be 10-15 cm, but rather 8-13 cm.
You can wrap the yarn around a piece of cardboard or another flat object, then cut it at the ends or at one end to get the strings for the tassel.
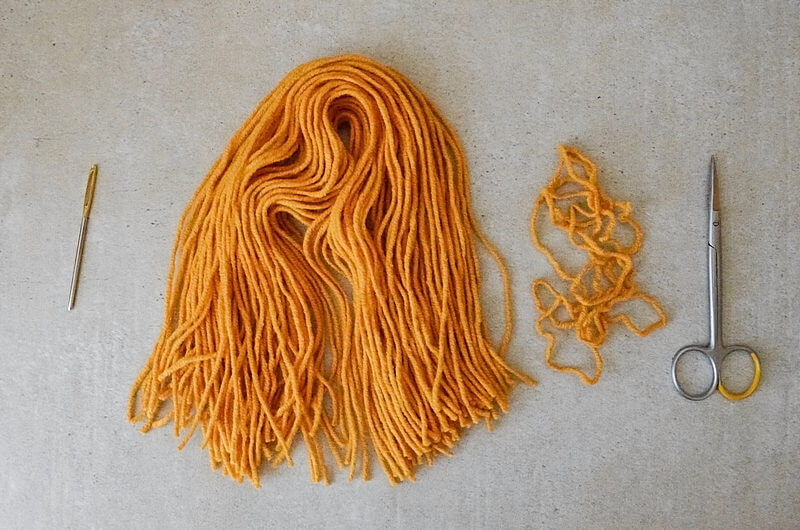
You will also need a pair of scissors and a tapestry needle suitable for the yarn weight that you have.
How to make a plump tassel
First align your strings along one side, next to each other, in a neat pile, a few strings high.
This is the most important step and will save some length. This is also the step that takes the longest, but it’s worth it.
Step 1 – preparation
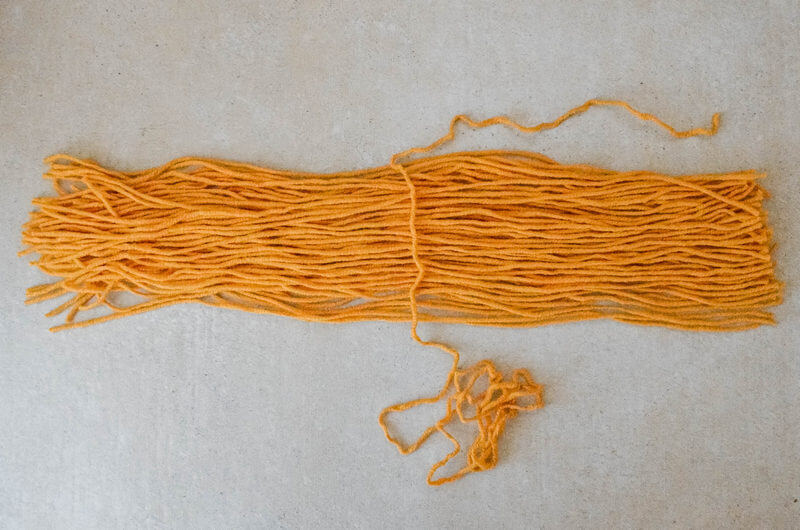
Lay the longer piece of yarn over the middle of the yarn, leaving a shorter end (about 20 cm or 8″) for sewing the tassel, and a longer end for tying the tassel.
Step 2 – tying
Fold the yarn in two, bringing all the ends together on one side, and make a double knot on the long piece of yarn, pulling all the yarn into this loop.
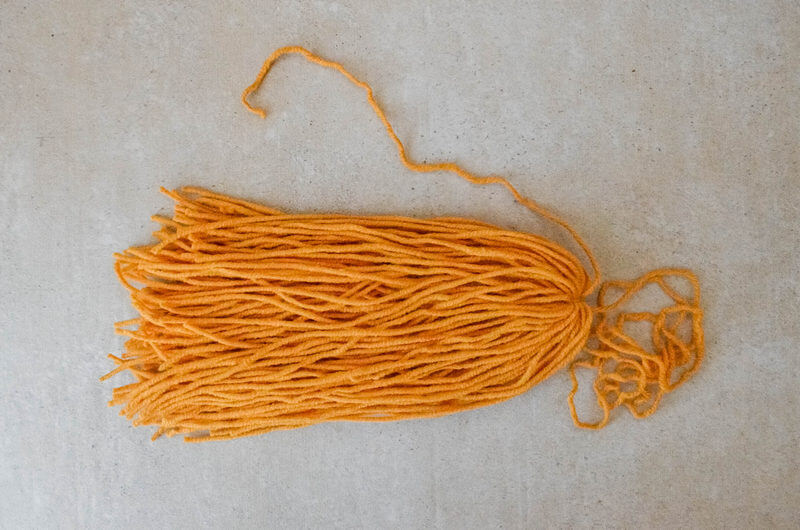
Keep the short end to the side and don’t lose it, you will need it later.
Step 3 – making the head
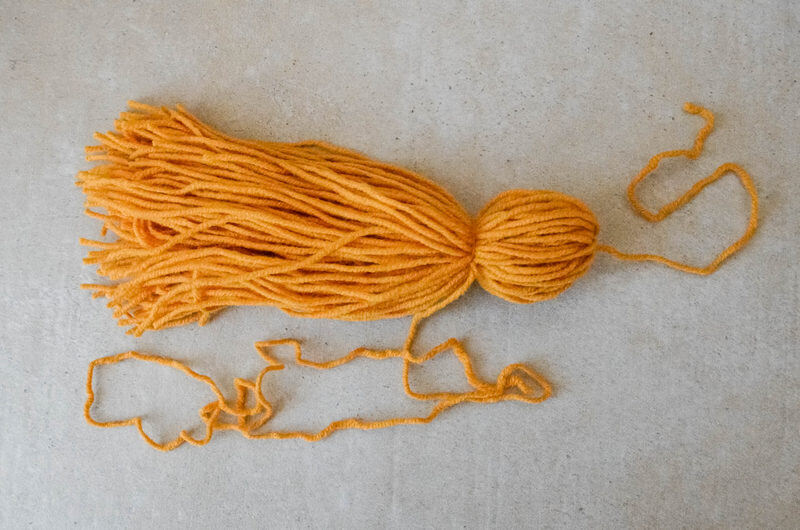
Next use the longer end to make a double knot around the whole tassel (except the short end).
Don’t pull tightly on the yarn that comes from the top of the tassel.
You want it to have the same shape and tension like the rest of the strings in the head of the tassel.
Step 4 – making the neck
Use the long end to cover the knot, by wrapping the long end around the tassel, going downwards with each wrap.
Pull on the string as you wrap, to create the neck of the tassel.
End with a simple knot around the base of this neck.
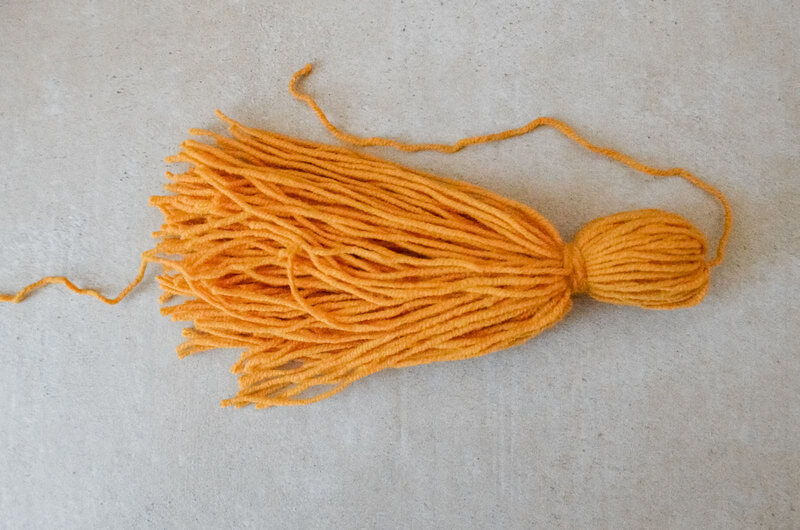
Step 5 – hiding the ends
Then put the long end through the eye of the tapestry needle and push the needle through the base of the neck, to the other side of the tassel and into the head of the tassel.
Go back and forth through the head twice, making sure you are not picking any strings on the outside, then finish by passing the end through the neck of the tassel and exiting in the middle of the body.
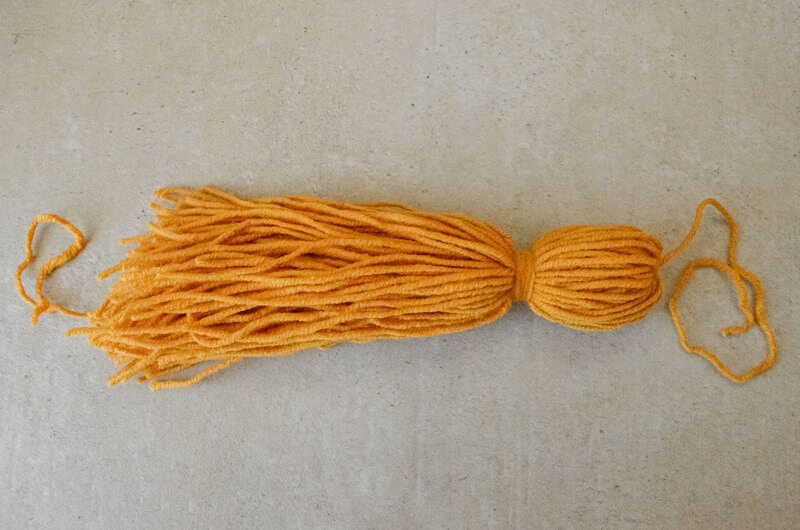
Step 6 – trimming the excess
Now comb the strings to make them align with each other and get them to sit as straight as possible.
Then trim away the unruly ends, making most of the strings equal in length with each other.
They don’t all have to be perfectly equal in length because there’s no such thing as perfection and their length will vary depending on how you arrange them anyway, since the tassel is a three dimensional object.
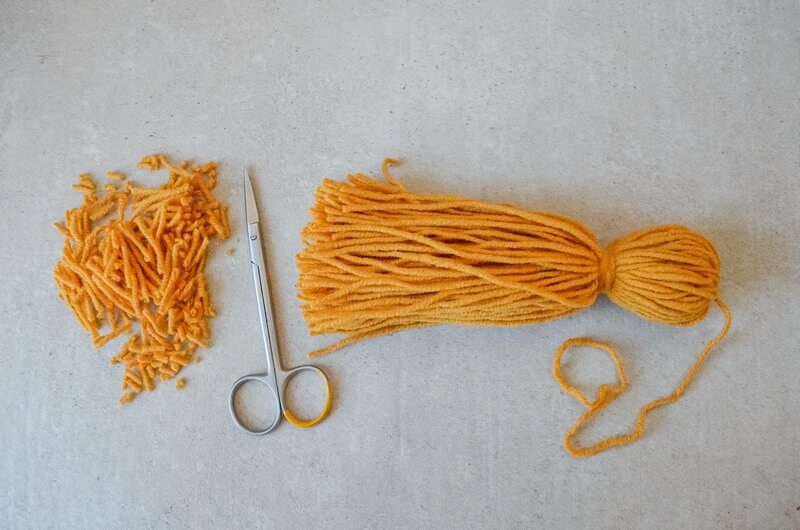
Don’t trim too much, just enough to get a small difference between the strings. If you end up with a relatively uniform mass, it’s all good.
Now give it another good combing, some shaking, to release any possible outliers, then trim the off too, if they appear, then get to the last step.
Use the string that you set aside (the short end) to sew your tassel to the project that needs a tassel.
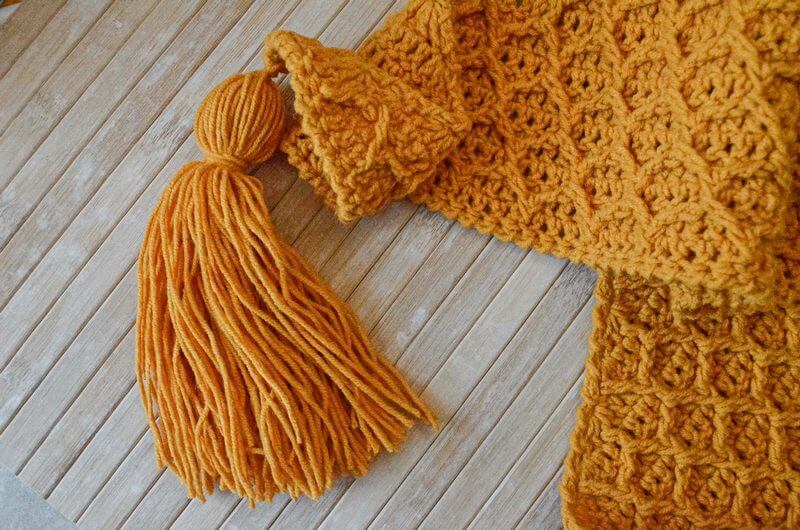
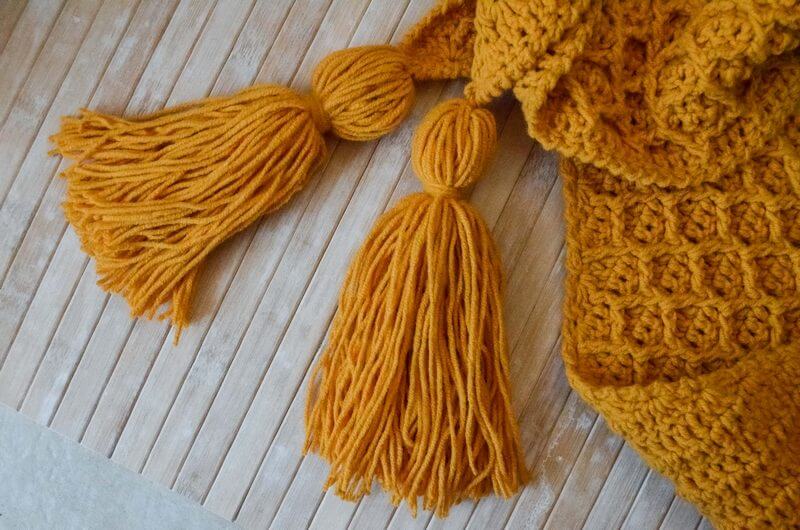
And that’s it, you’ve got your perfectly plump and fluffy tassel.
I hope this tutorial has been useful to you and you’ll be able to make your own tassels from now on using this super simple technique.
On the blog and in the shop you’ll find some of my patterns that use tassels and some that don’t, but you could add tassels to them yourself.
Check them out below, along with other free patterns.
Sign up below if you want to know when I publish the pattern for the shawl in the photo above.
I’ll see you soon with more patterns and tips and tricks.
Hugs,
Andrea
