Shawls are a fun and easy to make type of project that you can make as simple or as complicated as you like. There is a whole variety of shawl shapes and sizes and they all have their advantages and disadvantages.
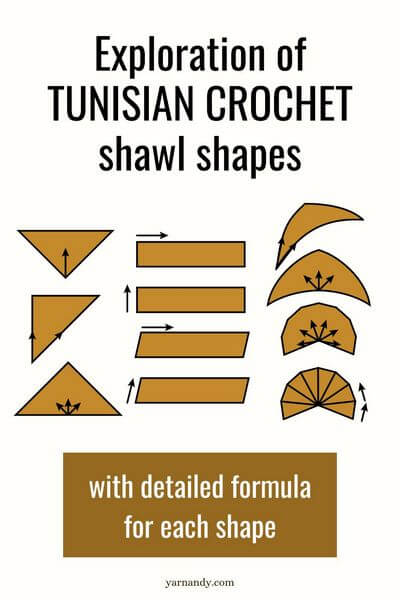
If you want to make your own Tunisian crochet shawl using regular stitches (not tall or extended stitches), I have prepared below a list of different types of construction and the very simple rate of increases and decreases needed for each of them.
See below how to achieve a different shape in Tunisian crochet shawls made in any stitch pattern that has its stitches close to a square proportion (for each stitch the height is almost equal to width).
Each construction type has a schematic and, where applicable, a photo or several of the finished shawls. These are made in a variety of stitches. You might find other examples for each construction from other designers.
Some of the types of construction that I share already have patterns designed, which I will link in the corresponding section, some don’t yet have a pattern.
In no particular order, I give you Tunisian crochet shawl shapes.
Contents
Rectangle shawl shape
The easiest shape for a shawl, the rectangle has a simple construction.
You just work straight from the cast on edge, with no increases or decreases.
You can work along the short edge or along the long edge. Depending on your chosen stitch pattern, it might look nicer along one direction or the other.
You can easily use repeating stitch patterns for rectangle shawls. You repeat the stitch patterns horizontally and then vertically.
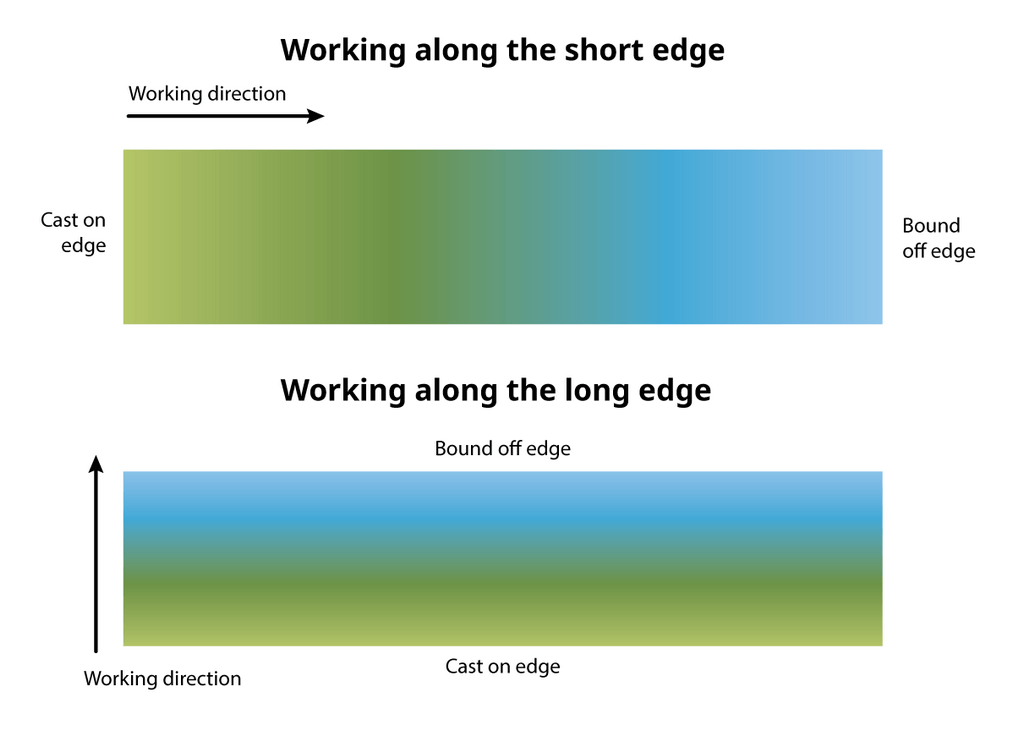
You can incorporate a non-curling border into the pattern, or work it around the project.
Examples of rectangle shawl patterns:

Wheat fields shawl
Made along the short edge with repeating square motifs.
The border is added later.

Rainbow love wrap
Made along the long edge in an elegant lace pattern, with a special return pass.
Parallelogram shawl shape
Parallelograms are also a simple shape. They are the easiest with an offset stitch pattern, such as a full stitch or an arrow lace.
To make a parallelogram, you start with enough stitches to make either the short edge or the long edge. On the second and every subsequent row, you increase one stitch at one end and decrease one stitch at the other end.
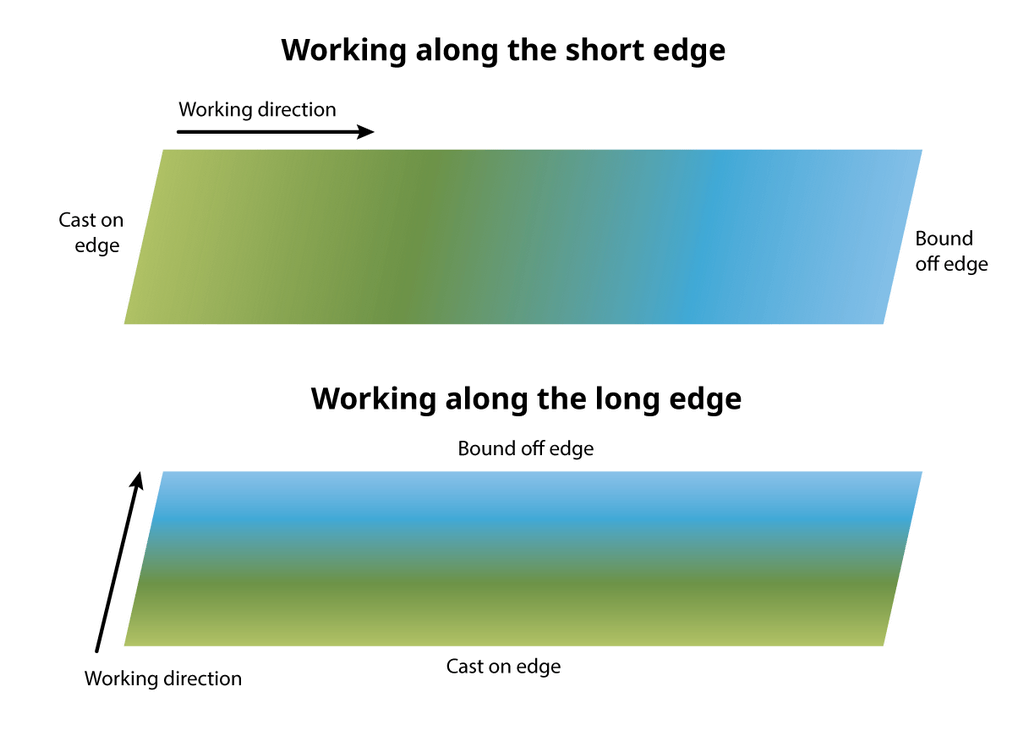
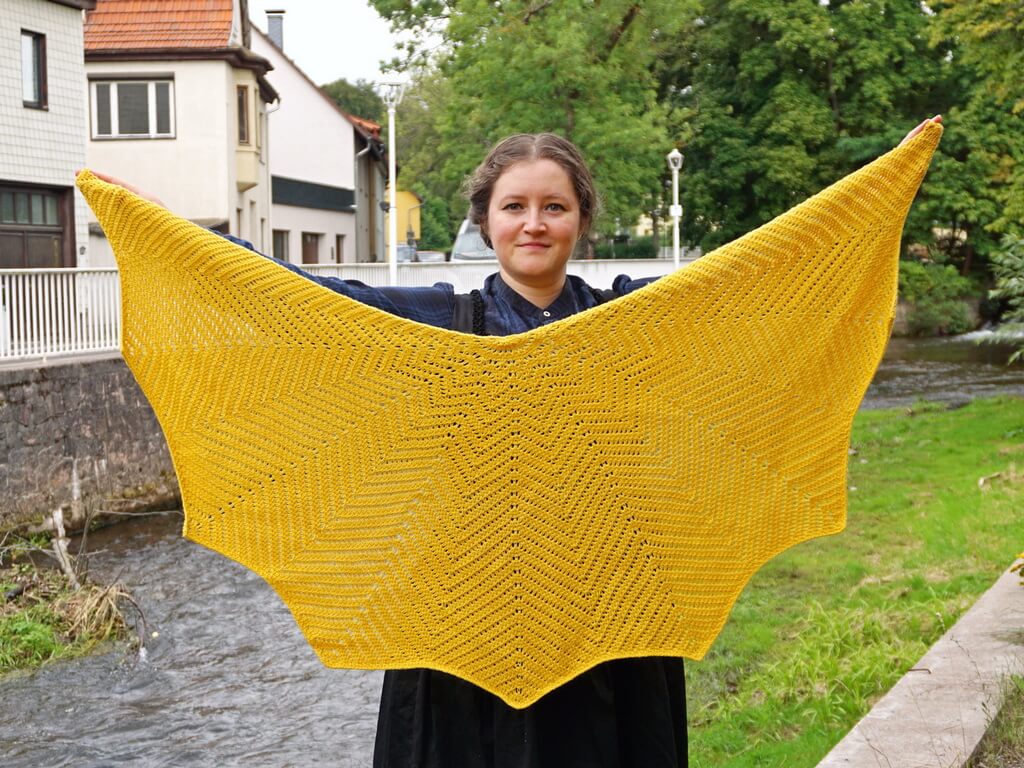
Some stitch patterns create parallelograms naturally, like the lacy stitch in the pattern below.
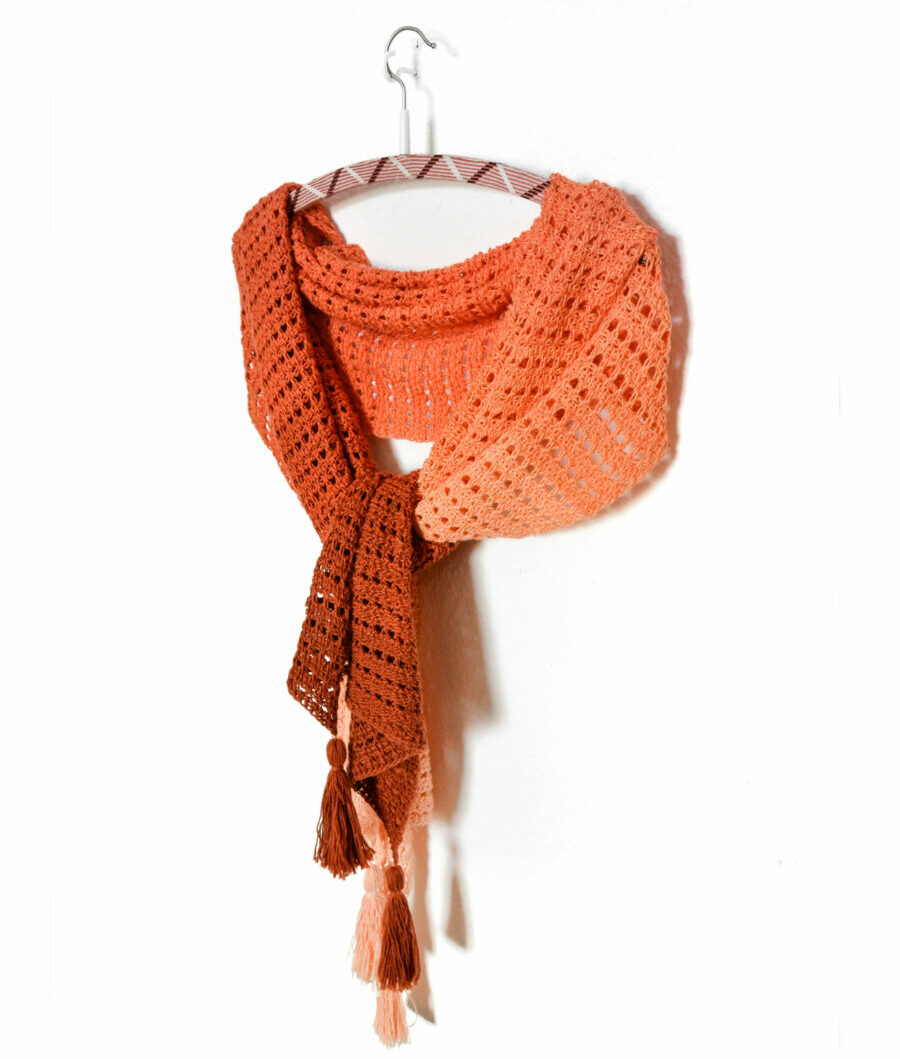
Imperial topaz wrap
Parallelogram wrap made along the short edge in a simple lace pattern.
Symmetrical bottom up triangle shawl shape
This is a simple construction for a basic shawl that has a lot of height and not a lot of width.
The shawl starts with 3 stitches in a magic ring or in a foundation row. On the second row, you increase by 2 stitches, one after the first stitch and one before the last stitch.
This creates straight edges and prevents warping.
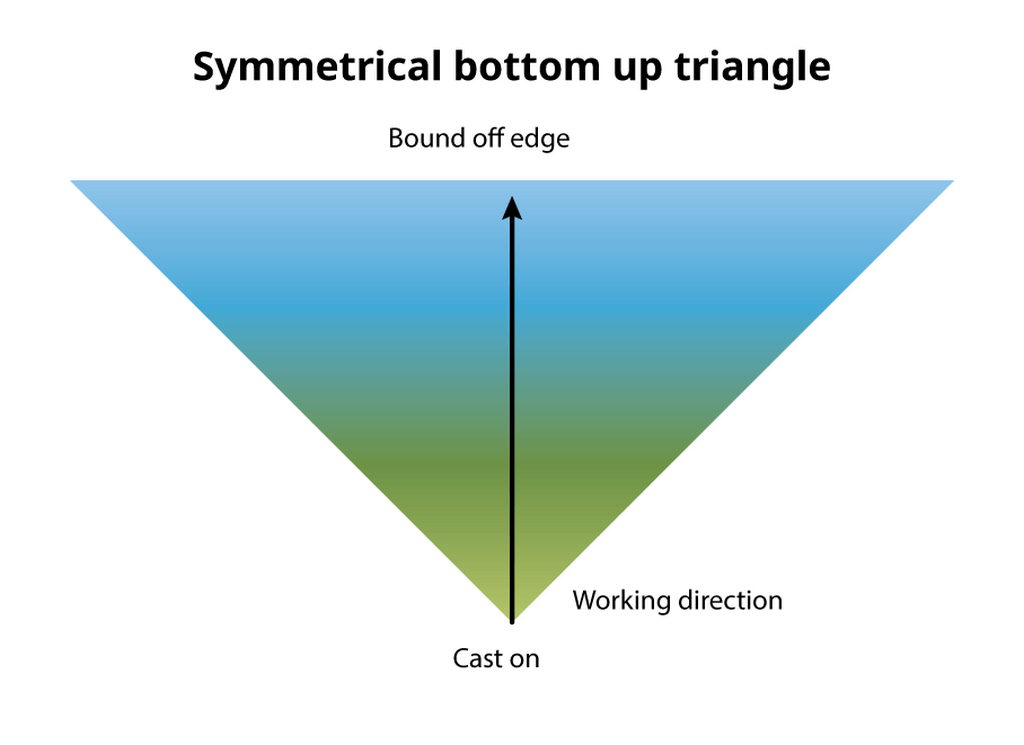
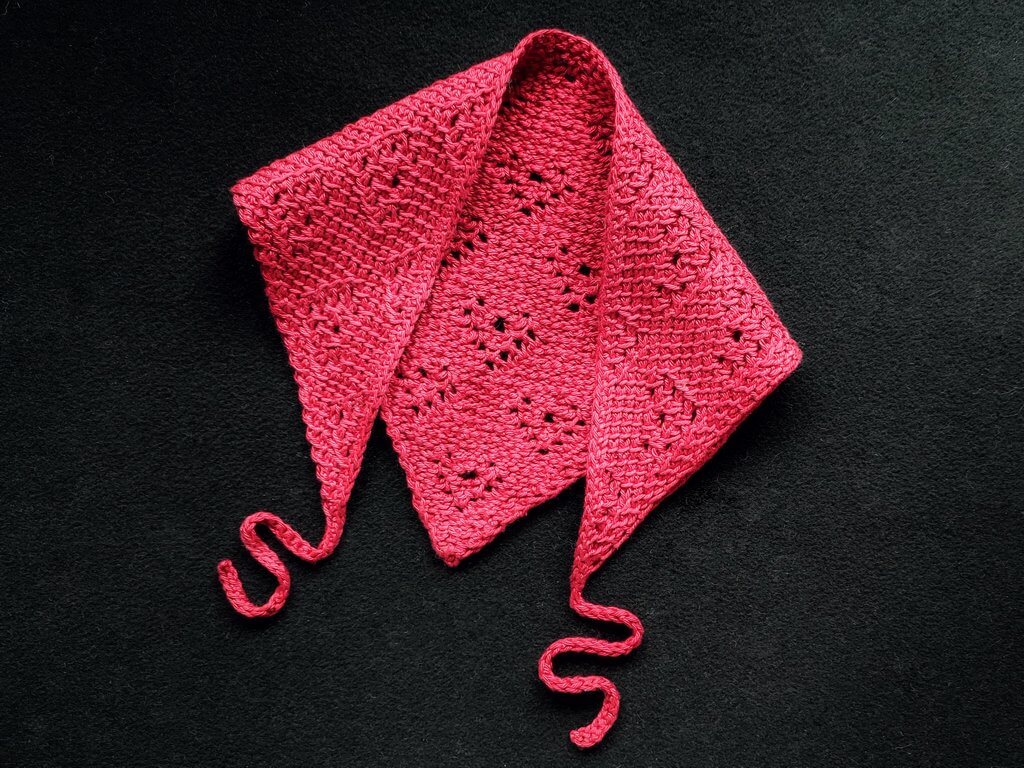
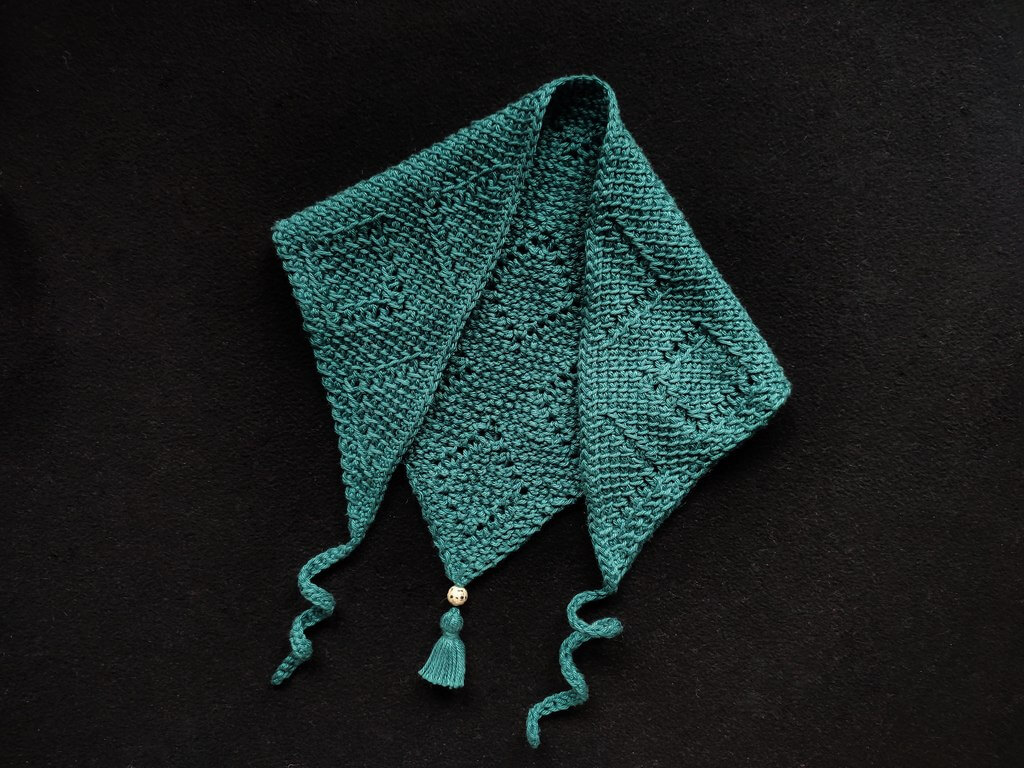
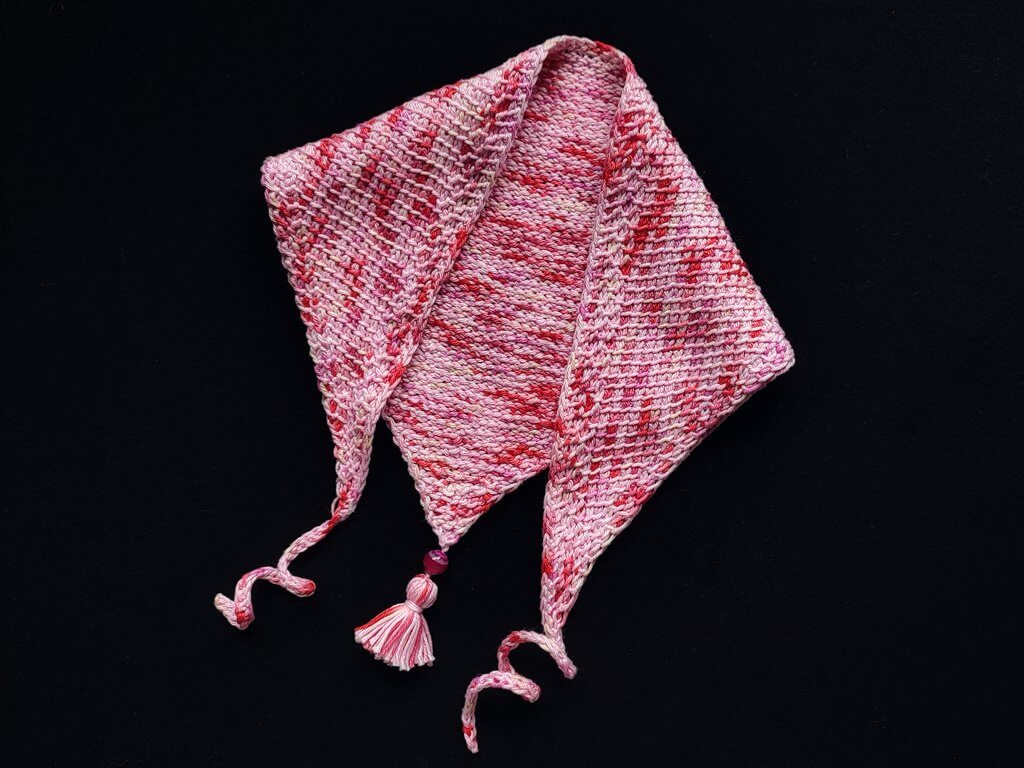
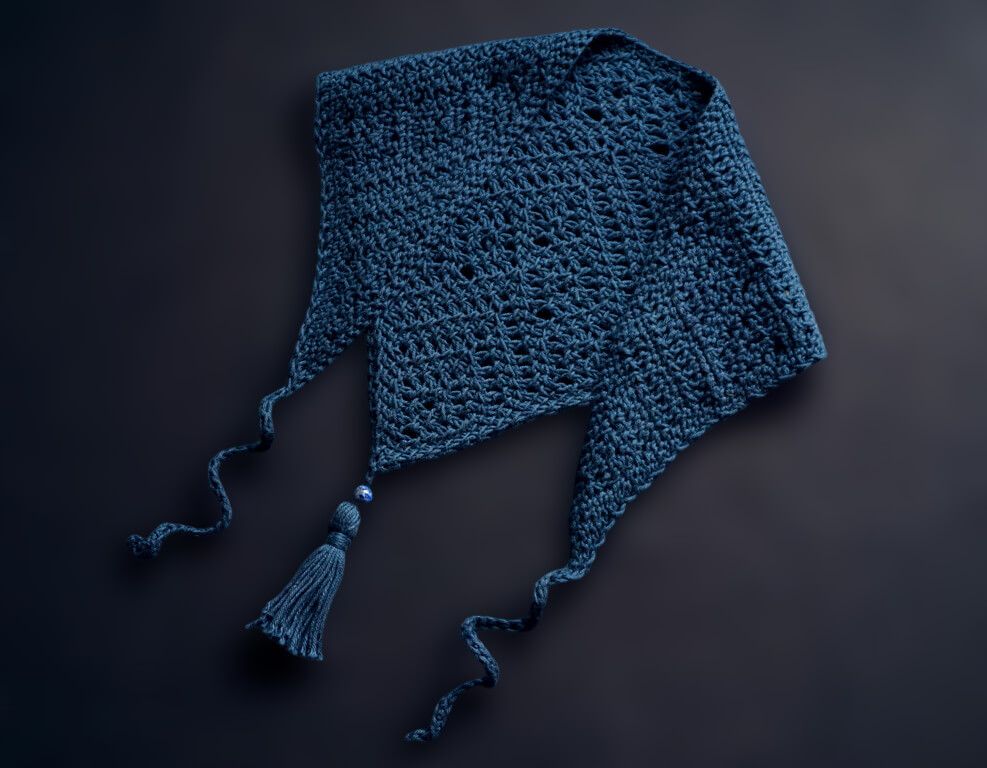
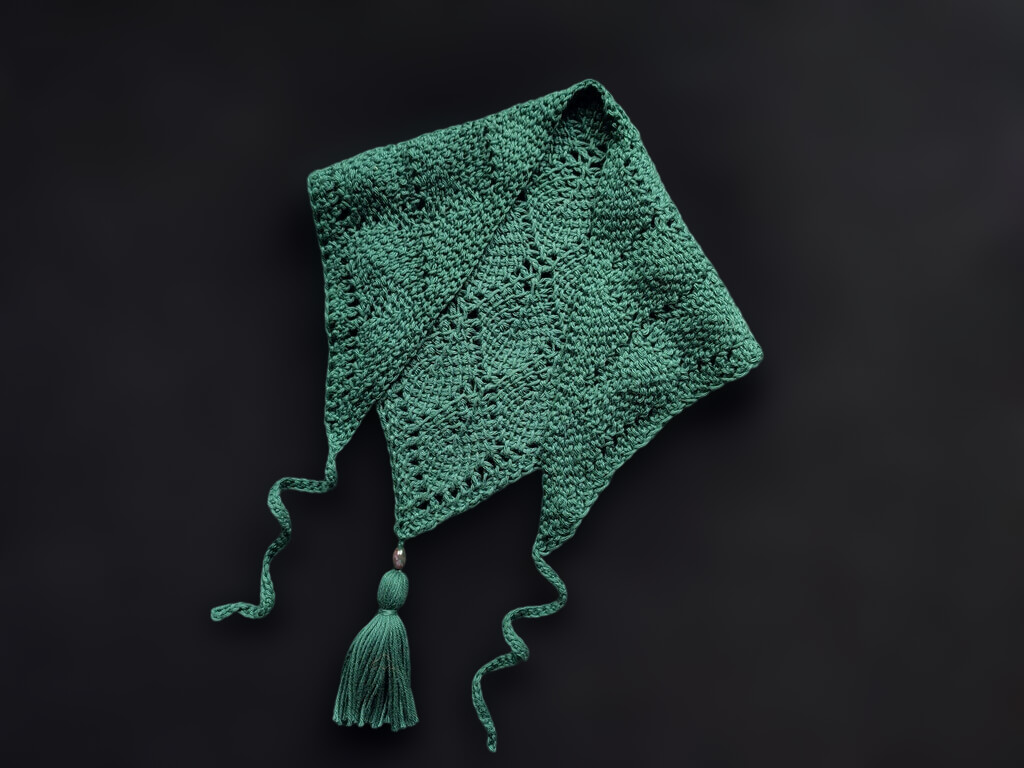
I only use this method to create triangle bandanas, but you can use the same patterns in a thicker yarn with a bigger hook to make shawls.
Some examples of triangle bandanas from the blog.
Symmetrical top down triangle shawl shape
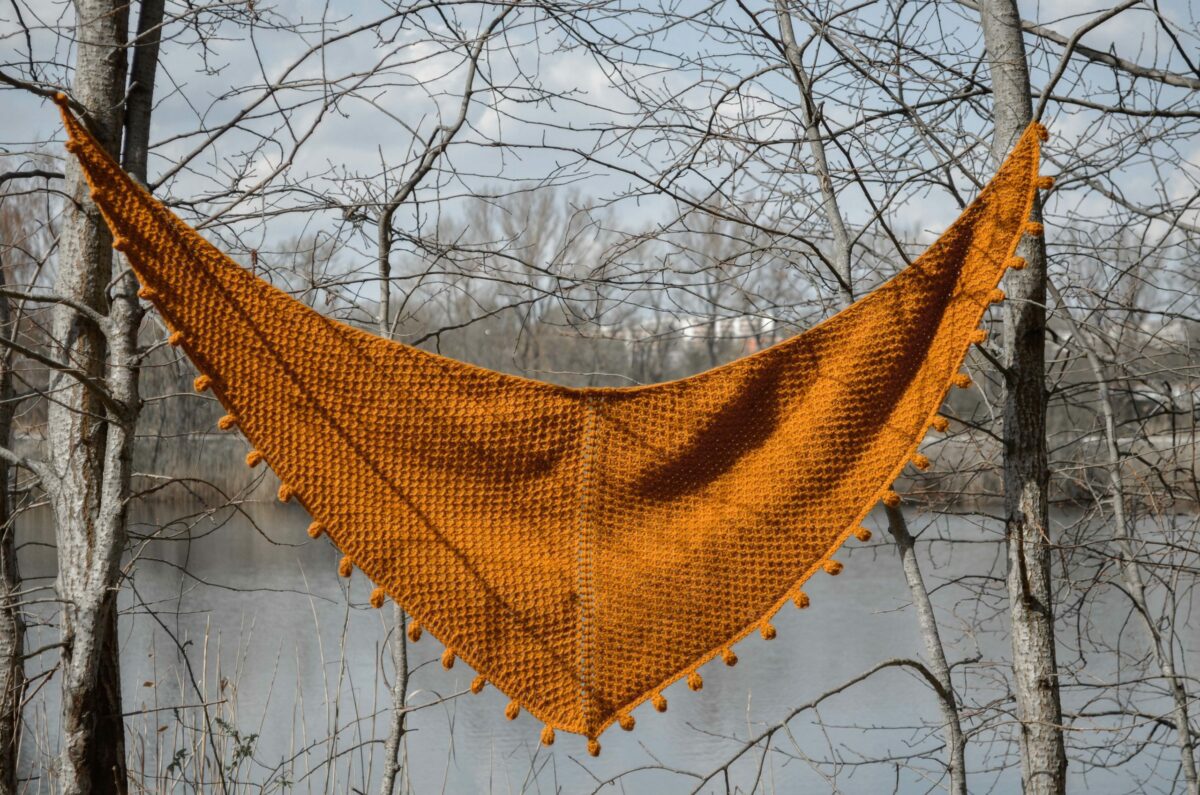
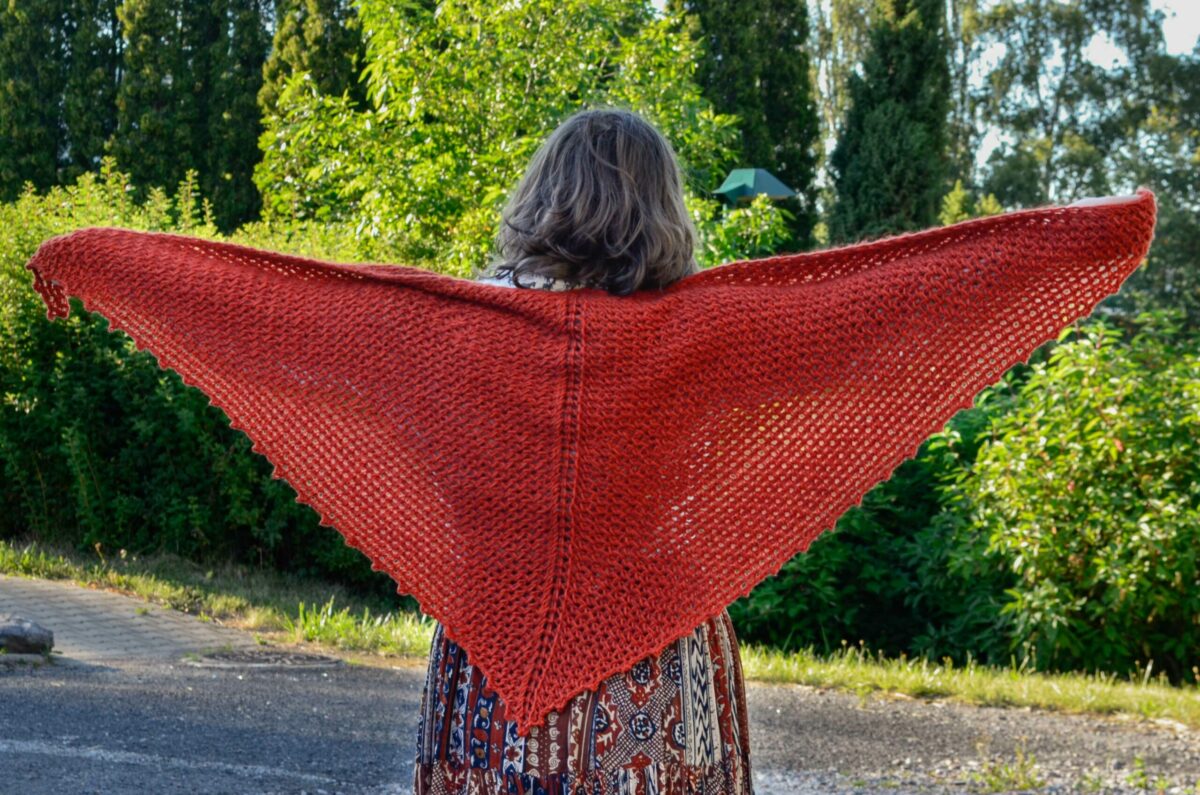
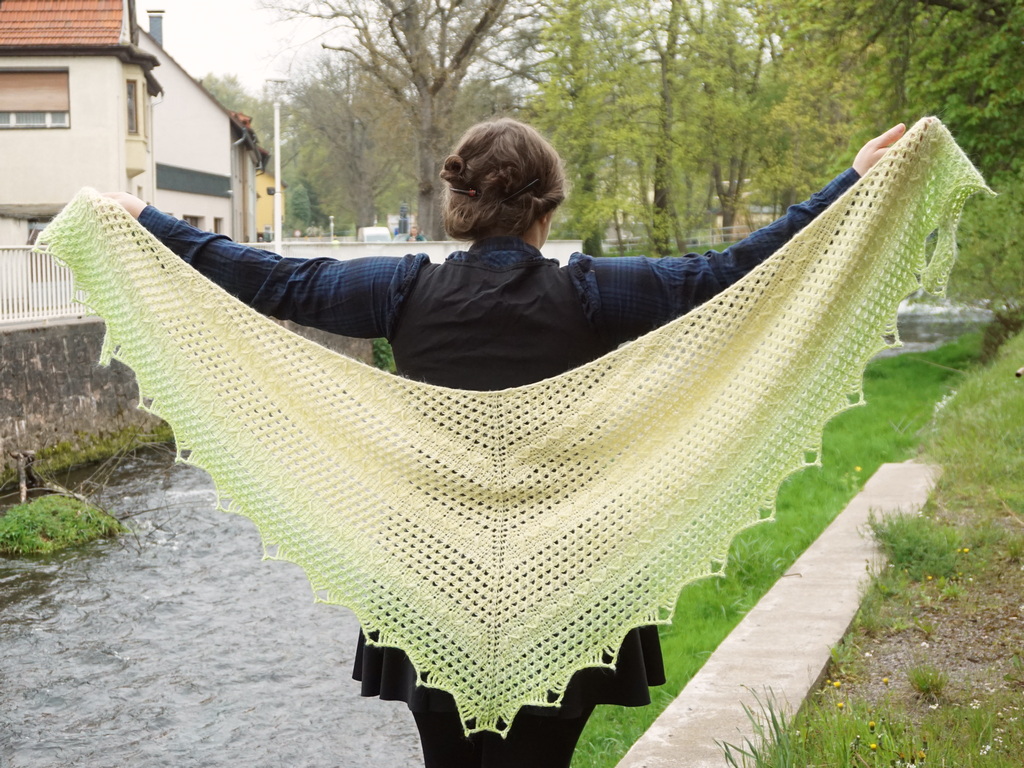
This is a simple construction that starts from a small number of stitches and grows quickly into a symmetrical triangle with narrower points to the side and a 90 degree angle point.
The bottom edge as you work becomes the top edge of the shawl when worn. The two halves can be conceptualized as two bottom up triangles joined along one of the short sides.
The shawl starts with 5 stitches in a magic ring. You then increase one stitch at each end and two stitches in the middle, one on each side of the middle stitch.
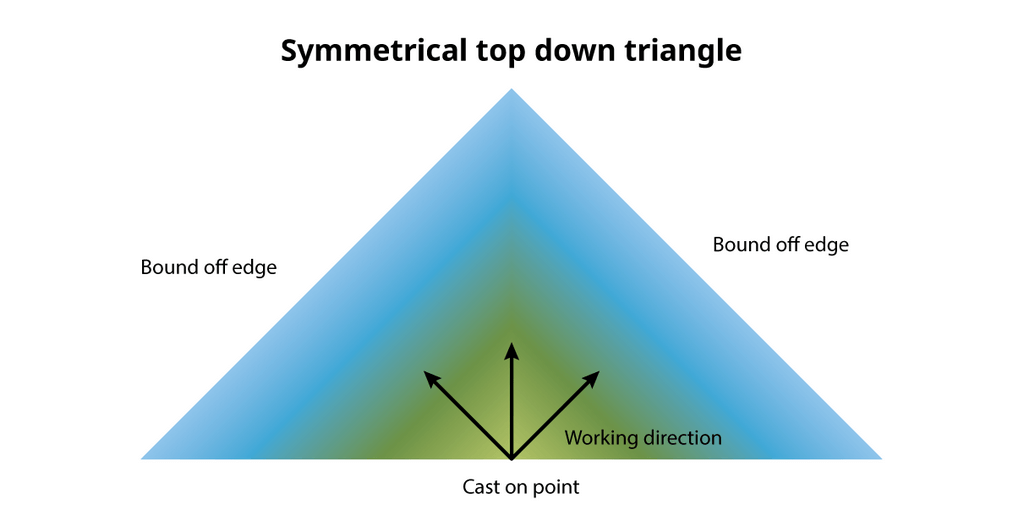
Two examples of this construction are below. You will notice that one of them is more crescent shaped than the other. That’s because the honeycomb stitch is wider than tall.
Symmetrical rounded triangle shawl shape
This is a variation of the symmetrical triangle shawl, but with more increases on the edges.
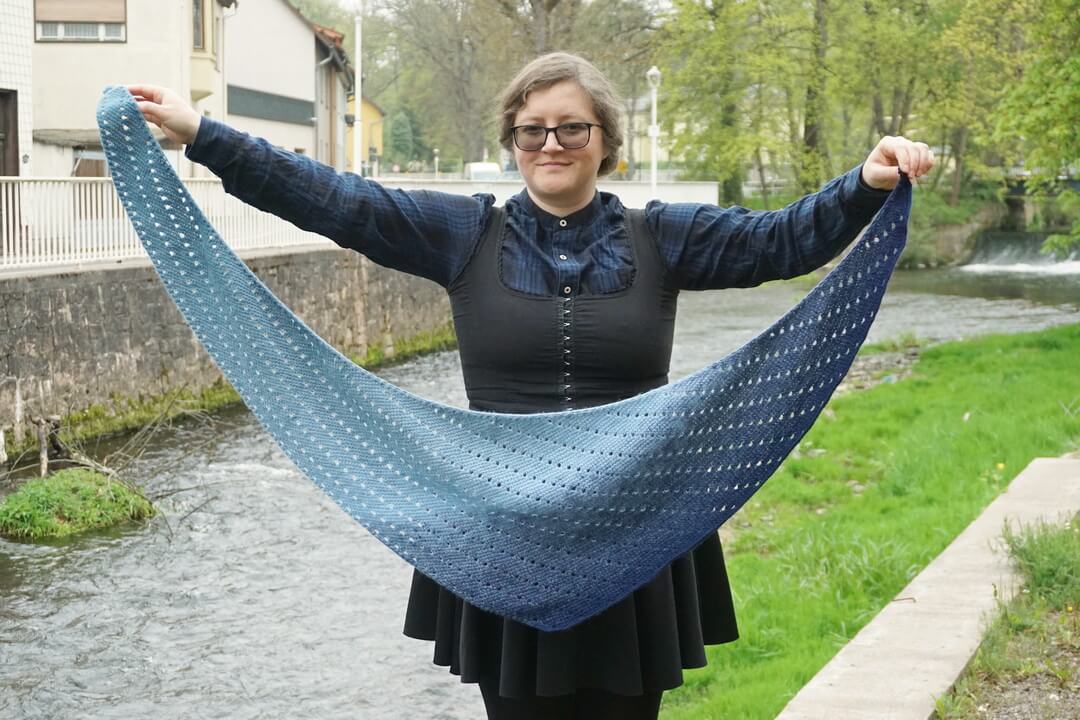
The increases create a rounded top edge that tends to fit better over shoulders and makes the shawl shallower than it is wide.
For symmetrical rounded triangles you start with 7 loops (of which 1 is first stitch and one is last stitch) either in a foundation row or in a magic ring. For every subsequent row, you increase by 2 stitches at each end and 2 stitches in the middle one on each side of the middle stitch, for a total of 6 increases per row.

When worn, this shape creates pretty curls along the narrow ends and can also be worn tied around the waist.
Here are some examples of patterns I’ve created using this construction.
Asymmetrical triangle shawl shape
Similar to symmetrical triangle shawls, but instead of growing from one point in the middle of the longest side, this shape grows from one of the narrow points.
The long side ends up either to the right or to the left of the starting point, depending on where you make your increases.
No decreases means that this shape has straight sides.
For straight triangles you start with at least two loops in the first row. You increase 1 at one end (either after the Fs or before the Ls) on every row and that’s it.
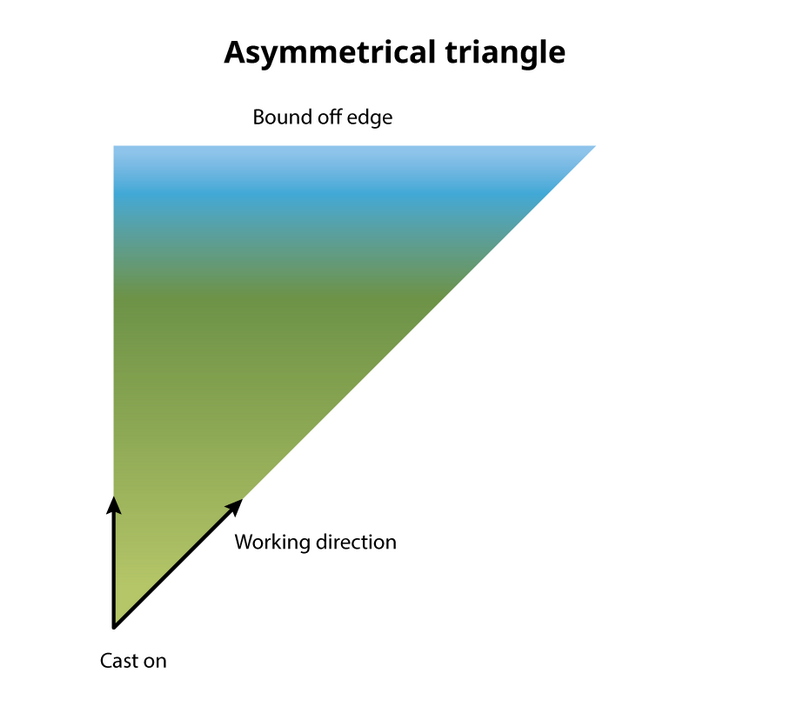
I don’t use this construction, so I don’t have examples from my own work, but you will find some from other designers in the shawl section of my roundup of beginner Tunisian crochet patterns.
Asymmetrical rounded triangle shawl shape
This shape is also built from a point, but in this case you have both increases and decreases.
A higher rate of increase on one edge than the rate of decrease on the other edge creates these rounded sides to the shawl and that allows it to be worn much more comfortably than a simple triangle.
This shape starts from a point and grows to a long row. The longest side is to the right or left of the working direction.
You need to start with at least 4 loops (2 of which are Fs and Ls) and then increase 2 stitches at one end and decrease 1 stitch at the other end on every row.
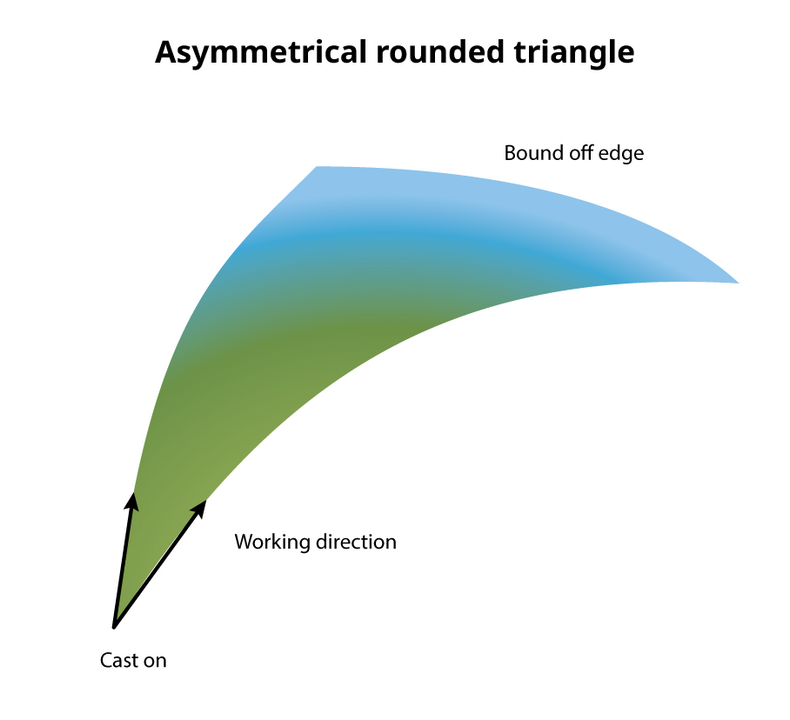
This will increase the stitch count by 1 every row, while creating the rounded edges.
For now I don’t have any patterns written up and published with this construction, but I’ve started or made a few projects in this shape.
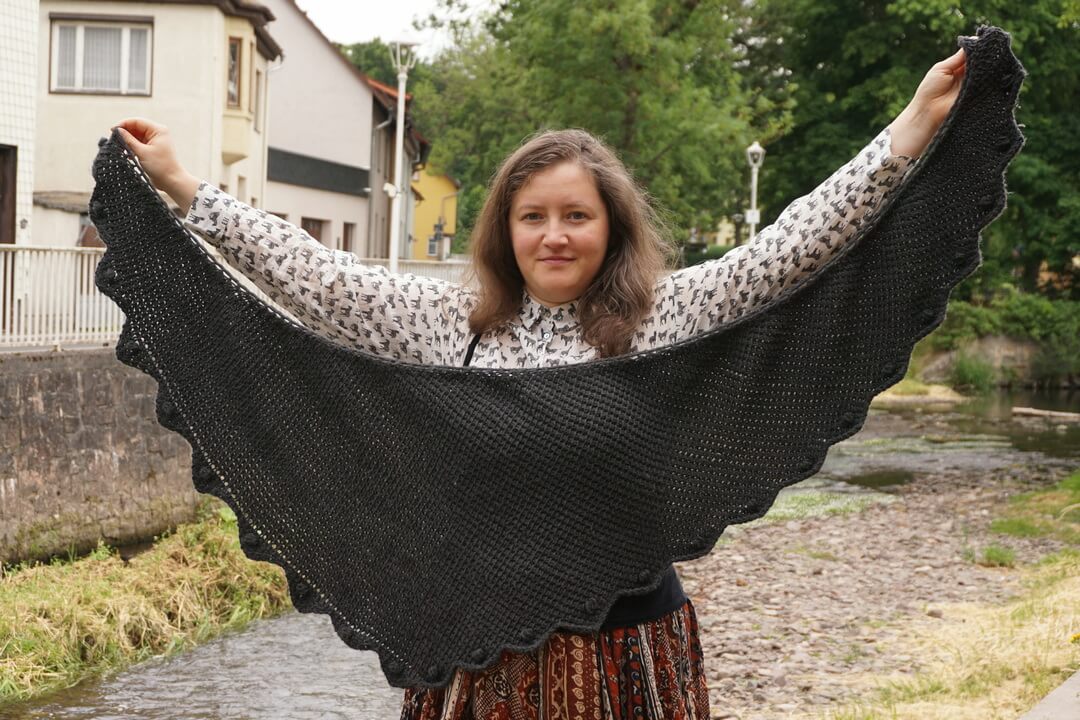
A dark gray shawl.
Top down half circle shawl shape
There are probably many ways in which you can arrive to a half circle shape from the top down.
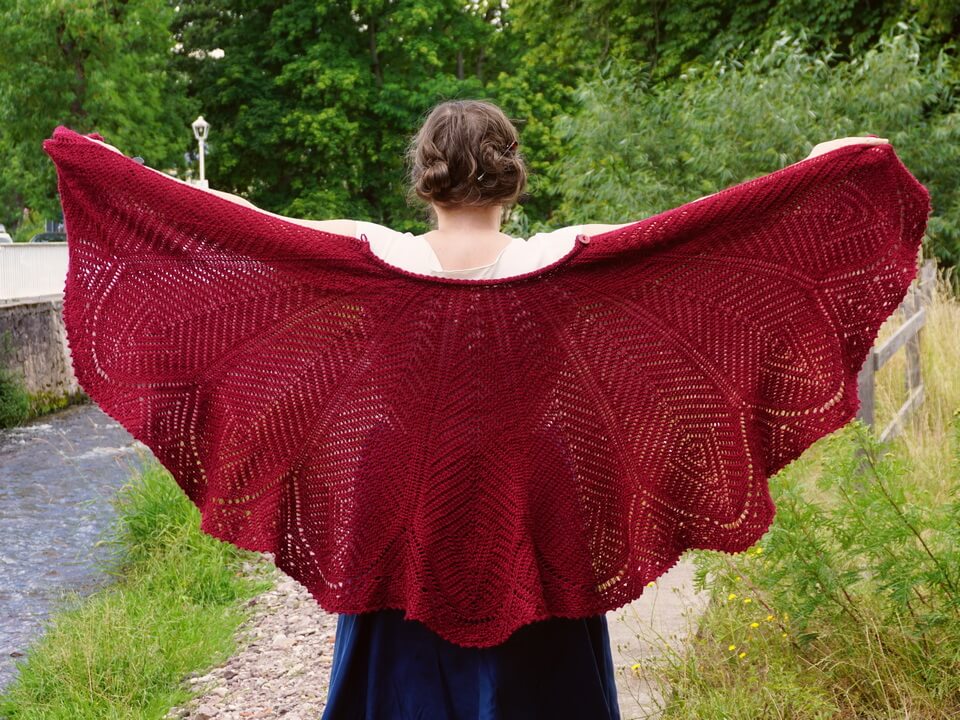
The one I use most commonly for my designs is made up of wedges.
You start in a magic ring and a increase 2 stitches per wedge every third row. You need 6 wedges for half a circle, or more if you want a crescent.
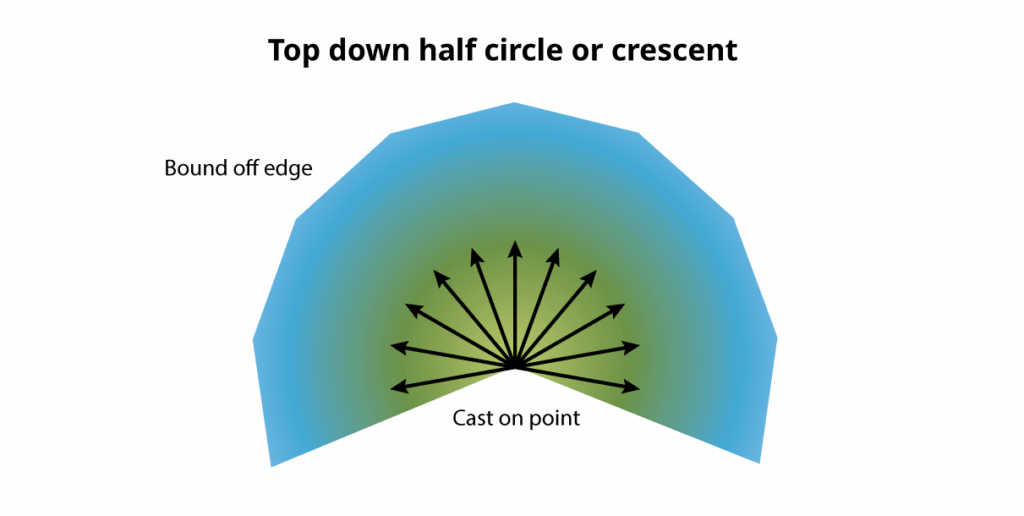
This construction requires a little math to get started, and I like to add intricate lace details to my designs using this construction.
Here’s two examples: one with a very simple lace and one with a more complex lace.
If you skip the first few rows of this construction, you end up with a capelet. I honestly prefer wearing the capelet version more, but offer both options in my patterns.
Sideways half circle shawl shape
This shape is achieved with short rows. Every shape is unique and based on gauge.
I cannot give you a simple formula to calculate the short rows needed to achieve this shape, but I will detail it in a separate article about circles built sideways with short rows in Tunisian crochet.
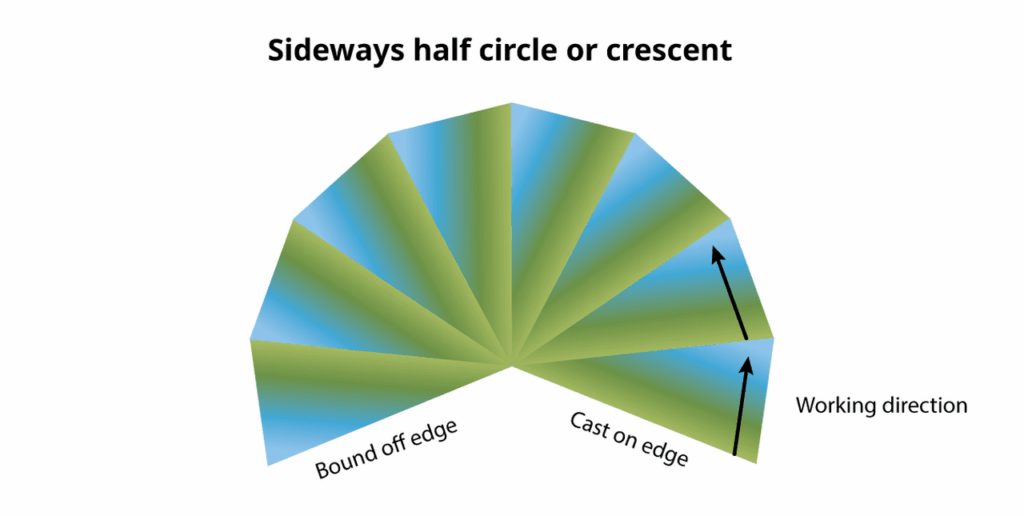
This is the same type of construction that is used to make face scrubbies or citrus coasters or sunny coasters in Tunisian crochet, just on a larger scale.
I haven’t played much with this shawl shape yet, except in feathered projects, like the Plumaria capelet and the Macaw wings shawl, but in neither case do the feathers narrow down to a point.

Final thoughts about shawl shapes
There are more shapes of shawls in Tunisian crochet and I will add to this article as I explore them more.
Let me know in a comment which shape is your favorite or which shape you’d like me to cover in the future.
Here are some more Tunisian crochet shawl patterns that I haven’t linked above:
- Free video tutorial for Tunisian crochet capelet
- Free Tunisian crochet pocket shawl pattern with lace motifs
- Macaw wings shawl TCAL – free Tunisian crochet pattern
You will find more resources about Tunisian crochet here.
If you like these informative articles, make sure you subscribe to my email updates to find out when the next one is coming out.
