Add charm to your blanket with this playful leaf border pattern that fits perfectly on each edge of the peony squares or the simple squares. To get all the other parts of the Dear Peony blanket pattern, please buy a PDF copy of this pattern or visit the rest of the blog posts
This article includes affiliate links to some recommended yarns. They may make me a small commission if you buy yarn using the links, without changing anything for you.
Pin this pattern for later.
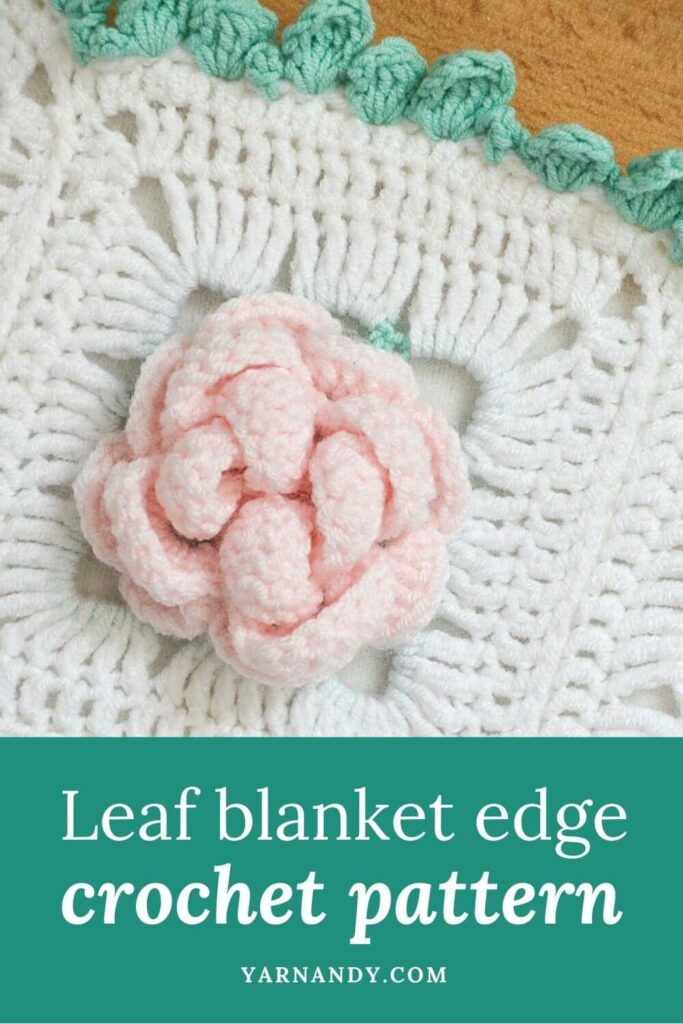
In this blog post, you’ll find full instructions for crocheting a leaf border or leaf edge that goes perfectly around the Peony square that I showed you how to make previously.
This is the last step in the creation of the Dear Peony baby blanket and it brings everything together, after making and sewing up all the squares, plus attaching a backing.
You can use this border to edge any other crochet blanket as well. I think it would look a lot of fun in a variegated yarn, around a simple baby blanket.
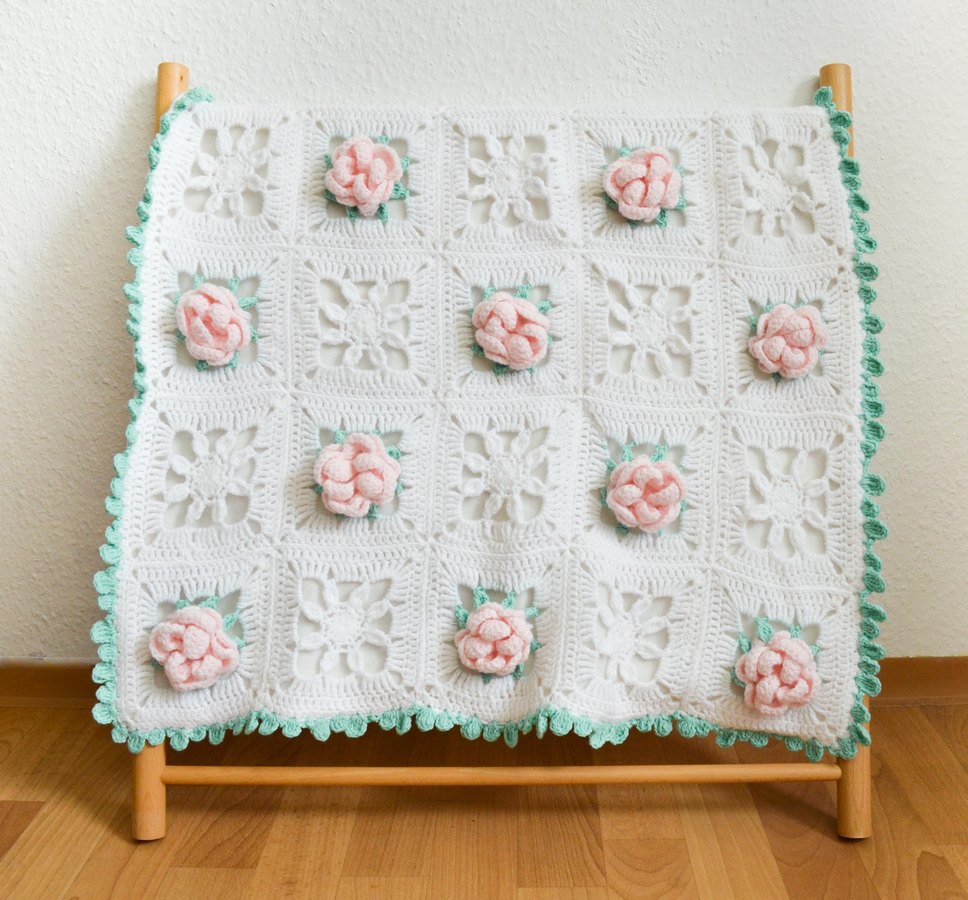
If you want instructions for the whole blanket, including the border, you can now get a PDF copy of this pattern from my shop.
You will find a PDF version of this pattern in my shop, on Ravelry (if Ravelry bothers you, but you want to use it, I came up with a workaround for the current themes that give people migraines), on Etsy, on Payhip and on Lovecrafts.
Notions
- Yarn: DK weight or same weight as yarn used for the blanket; length will vary depending on the size of the blanket;
- Hook: 4 mm hook or hook that works for your yarn.
- Tapestry needle.
- Scissors.

Stitches and other abbreviations
- Ch – chain;
- Dc – double crochet;
- Sc – single crochet;
- Sk – skip stitch;
- Sl St – slip stitch;
- St – stitch;
- Tr – treble crochet – YO, pull up a loop, repeat [YO and pull through 2 loops on hook] 3 times;
- YO – yarn-over
Difficulty
Intermediate. This border pattern is relatively easy if you know how to make clusters. Check out the video for step by step instructions if you are not sure about specific
Observations
- This pattern uses US Terms (including the video). For UK terms, please buy a PDF copy of the pattern.
- Instructions in [square brackets] will be repeated along each side of the blanket as many times as needed, depending on the size of your blanket.
- For example, for a blanket that is 5 by 6 squares, you will repeat the instructions 22 times in total.
Leaf border instructions
Using contrasting yarn or the same color as the background.
Start with a slip knot on the hook and from one corner of the blanket, skipping the corner chain space.
Repeat [Sc in first St. Ch3, Sk1, Sc, 3Tr cluster, Ch3, Sl St into the base of the cluster, Ch3, Sk1, Sc, Ch2, 3Dc cluster, Ch2, Sl St, Ch3, Sk1, Sc, Ch3, Sk1, Sc, 3Tr cluster, Ch3, Sl St, Ch3, Sk1, Sc, Ch2, 3Dc cluster, Ch2, Sl St, Ch3, Sk1, Sc, Ch3, Sk1, Sc, 3Tr cluster, Ch3, Sl St, Ch3, Sk1, Sc, Ch3, Sk1, Sc, 3Dc cluster, Ch2, Sl St, Ch3, Sk1, Sc, 3Tr cluster, Ch3, Sl St, Ch3, Sk1, Sc] all around the blanket, making a 3Dc cluster in each corner.
Each repeat fits along the side of each square, which is a great way to keep track of the pattern.
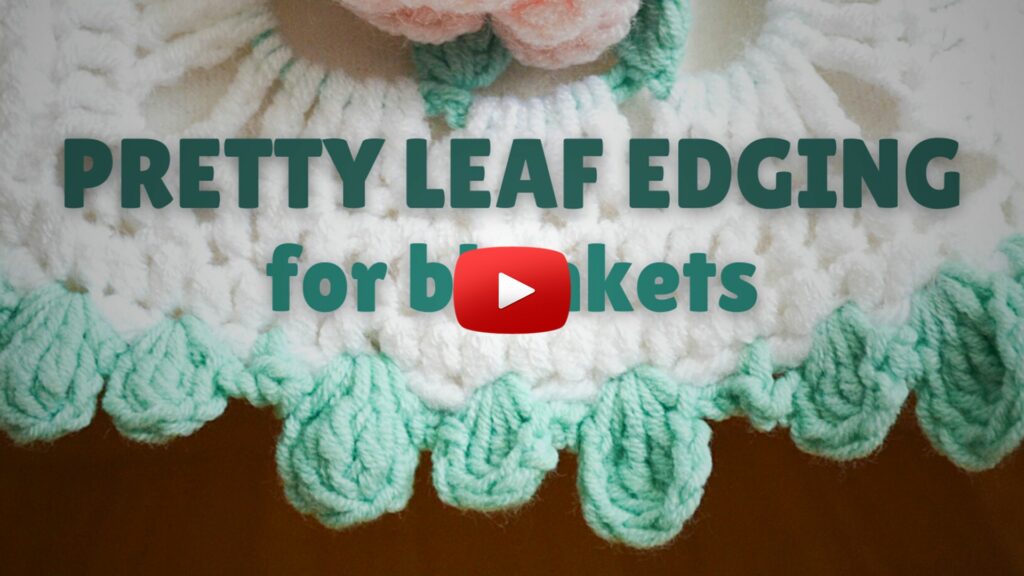
Video of the leaf border pattern
Click on the thumbnail to follow along with the instructions or go to YouTube and follow along with the tutorial.
If you want to add a backing to your blanket before attaching the edge, I have published a separate blog post about backing blankets with fleece.
Keep close and sign up to my emails if you haven’t already (you’ll get a nice pattern too).
If you want more free patterns, check these out:
I’ll see you soon.
Be safe and healthy!
Hugs,
Andrea

