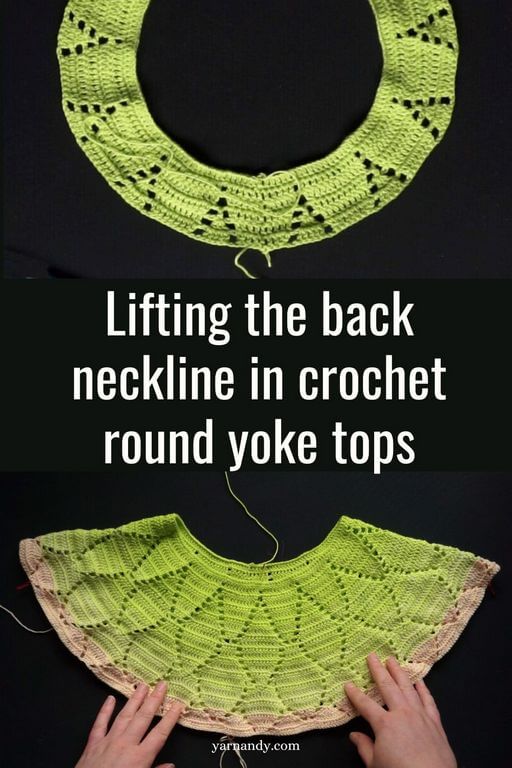
If you want a better fit for round yoke sweaters and tops in regular crochet, you can’t do what knitters do and add a wedge of short rows at the back neckline.
Maybe you can, but it doesn’t look nice and breaks the pattern, especially if you’re working with tall stitches. I will explore that possibility in a future tutorial.
As someone who’s been making garments for many years now, and exploring the various shapes you can use for building them, I’ve come up with a way of increasing the comfort when wearing crochet circular yoke garments.
My solution for intricate lace patterns with tall stitches is to make taller stitches in the same wedge shape, which will bring up the back neckline for a more comfortable fit.
We’ll explore this method in this tutorial, in both written format and a video tutorial.
Contents
Why should I lift the back neckline in garments?
To understand why we need to lift the back neckline, we must first understand how round yoke sweaters and tops are constructed.
In the simplest construction, you have a cone that is connected at the base to a wide cylinder, leaving space on either side for two smaller cylinders, which will form the sleeves.
When trying to fit a cone around the torso of a human, the shape is distorted slightly because we are not symmetrical front to back.
In this case, the back of the yoke will fall at about the same height as the front of the yoke, if you continue and add the fabric for the body of the garment.
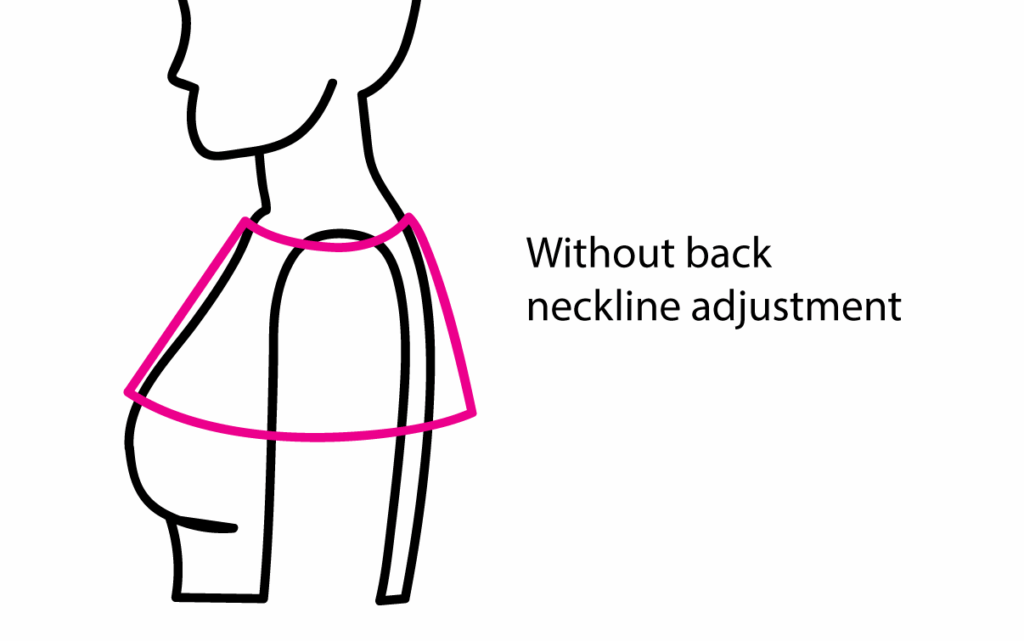
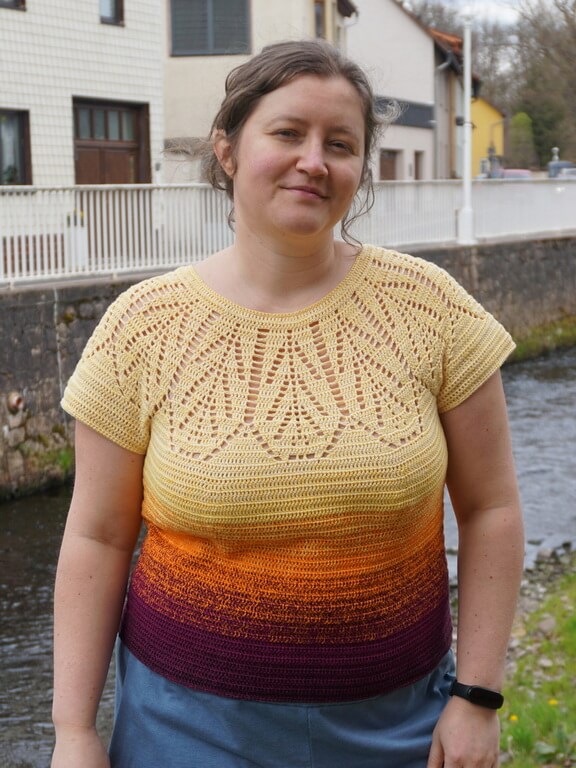
For some folks and some patterns, this might not be a big issue. For summer garments especially, having the back neckline this low is not a real problem, as ventilation is welcome.
You can see that in the top I’m wearing in these photos, where the front and the back are equally low.
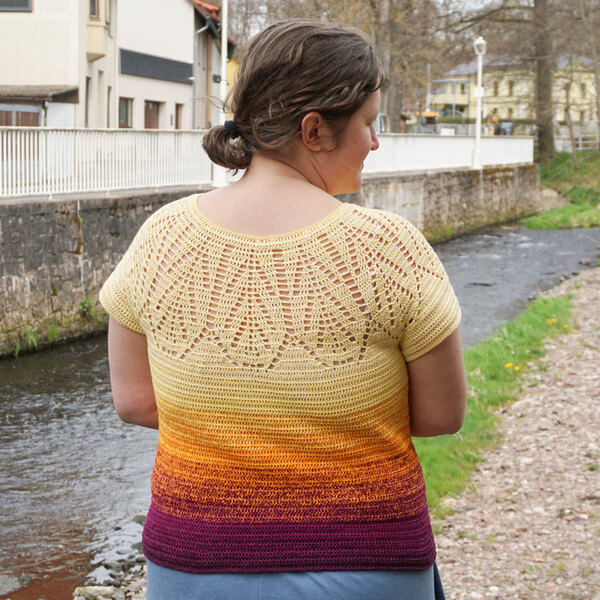
However, for cold weather garments, that dip in the back can pose a real problem, especially if you wear a shirt or something similar underneath.
What you want to do is lift the back of the neckline to make it start at the base of your neck.
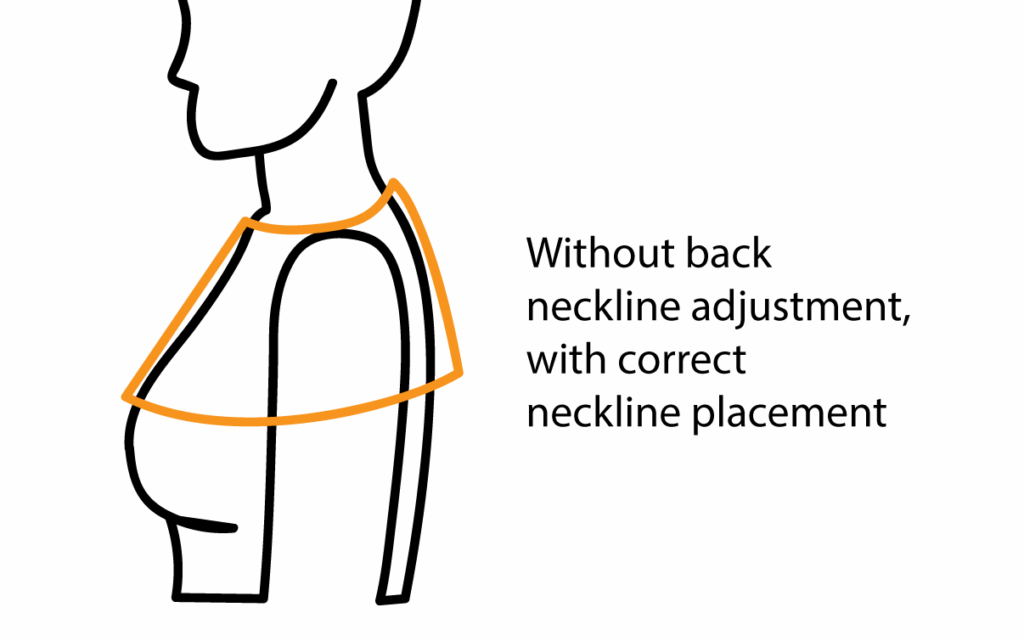
This will make the garment look like it was intended to be worn by a person and it will keep the top of your back warm. It also just feels better when wearing.
Different ways to lift the back neckline of round yokes
Lifting the back neckline by itself poses another problem, namely that bringing up that area also lifts the entire back.
To counteract this, we can make up the difference by inserting a wedge of fabric in various places.
One possible adjustment is the addition of short rows at the top of the yoke, before most of the fabric is made.
It is recommended that you do this after the first round of increases, so you don’t have to deal with the fabric staying the same width for the entire length of your short rows.
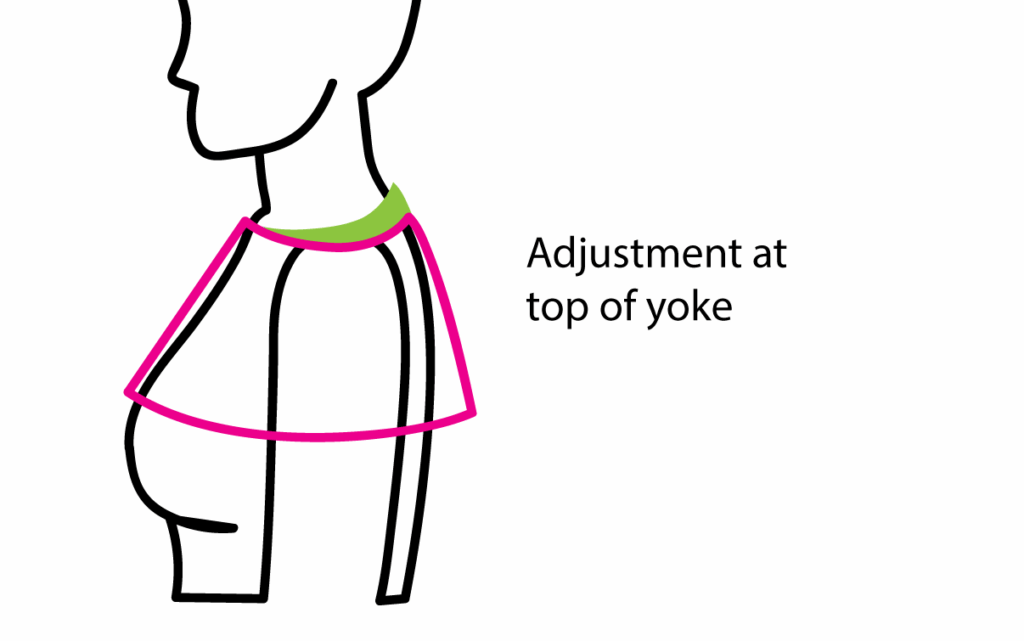
This method is commonly used in knitting and uses short rows, just like those used for bust shaping.
It can also be used in Tunisian crochet by making middle or center short rows.
To make this adjustment, it is recommended that you work the shortest short rows towards the neckline and the longest ones towards the hem of the garment. This creates a crescent shape that wraps around the body.
The other common option is to add a wedge at the end of the yoke, after all the shaping has been done.
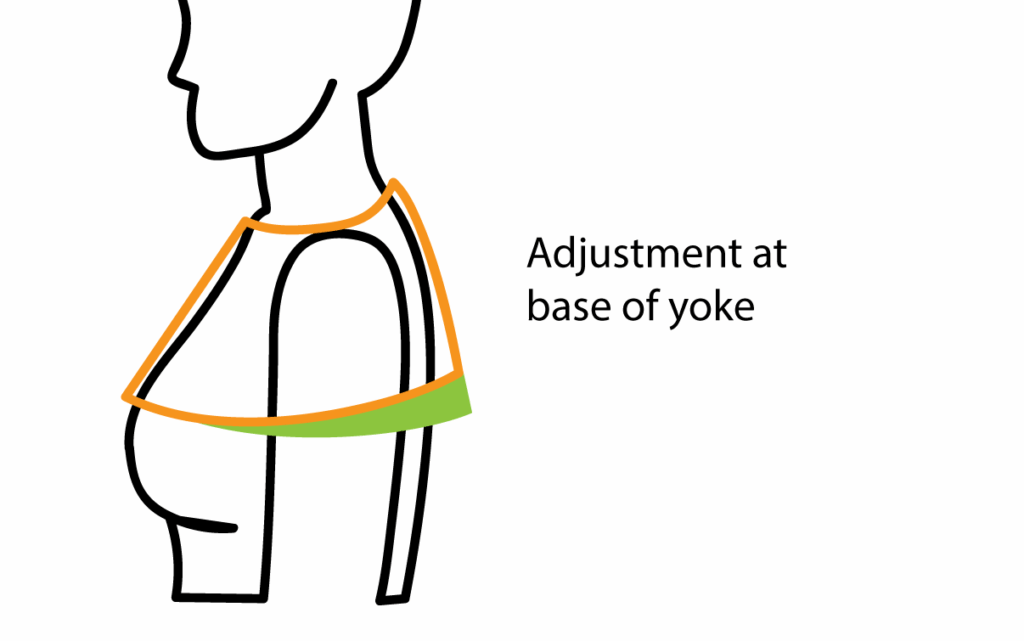
For this method you can use the same type of short rows as above, they’re just longer. The same progression of short rows will work best (shortest at the top of the garment, longest at the bottom).
These two options are possible in regular crochet as well, but they are not as invisible or easy to implement (here is a pattern that uses such short rows in regular crochet).
This is why I recommend a third option, an adjustment within the yoke, where a section of every row is slightly taller.
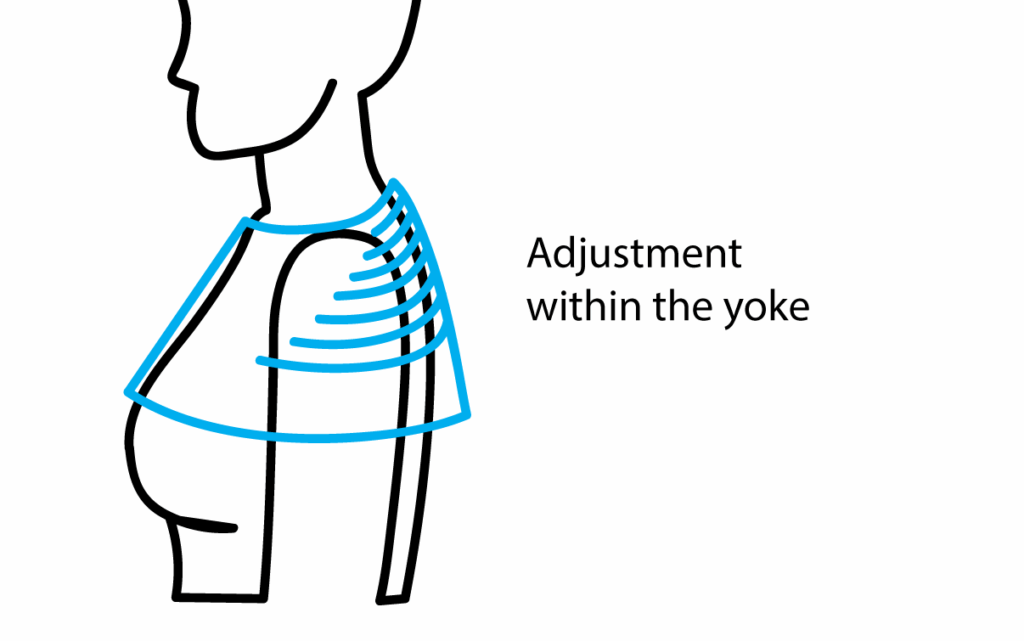
Instead of separate rows that create an identifiable piece of fabric, the extra fabric is created by adding very small differences in the height of specific stitches on each row of the yoke.
You can of course use this method for knitting and Tunisian crochet as well, by spacing out the short rows, instead of making a solid wedge, or even by making taller stitches in Tunisian crochet if using tall stitches to begin with.
How to lift the back neckline of round yokes in crochet
The process to lift the back neckline in regular crochet round yokes is very simple.
You work a row or a few in your pattern.
Then you plan out how long the longest section with tall stitches will be. I recommend 1/3 of the way from the back.
In the example below, I made 6 rows with double crochet stitches and then started to plan the rows with tall stitches.
I estimated the 1/3 distance from the middle of the back and placed stitch markers. These get left behind and are there only to inform us how far to go with the tall stitches.
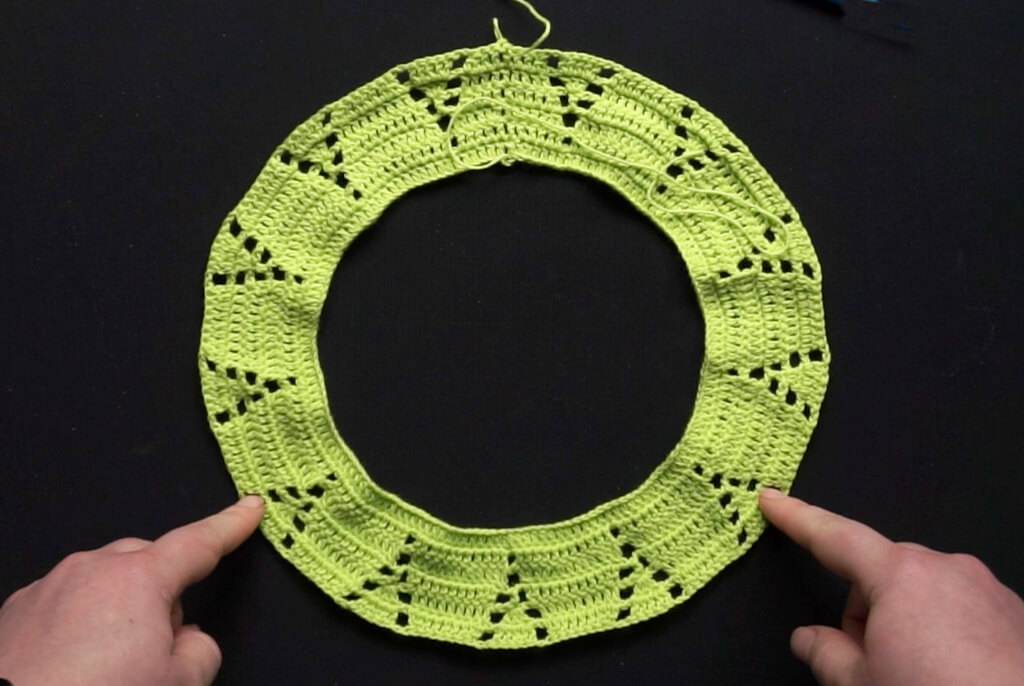
Next we make a short section of the following row using tall stitches. You can make extended double crochet stitches where you have double crochet stitches in the pattern.
When you have single crochet, make extended single crochet. When you have half double crochet, make extended half double crochet.
To make an extended stitch, after you pick up a loop in the row below, you chain 1, then continue the stitch as usual.
Place markers symmetrically both sides of the central back stitch.
You make tall stitches until you reach the first stitch marker, then continue in the regular stitches until you reach the second marker, then make tall stitches until you get back to the first stitch.

Move out the stitch markers for the next row, by a few stitches on either side.
In time, the section of each row that has the tall stitches gets longer and longer, as you progress through the pattern.
Once you reach the point that’s 1/3 away from the back seam, stop.
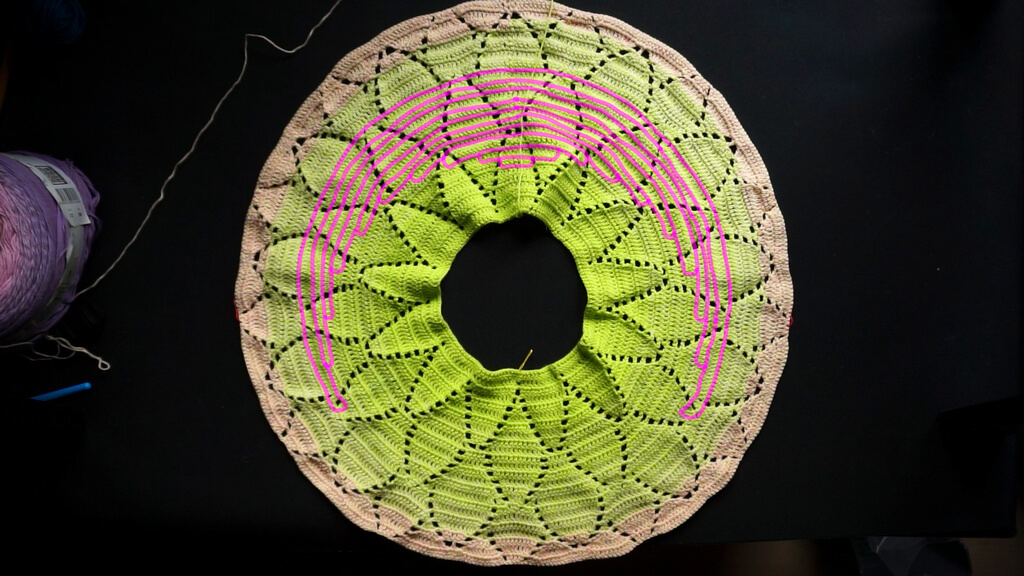
You can continue adding rows with tall stitches, but you need to restart with the very short sections.
After you reach the desired difference between front neckline and back neckline, you can stop working the tall stitches and continue in pattern.
In the example below, I have a difference of 2.5 cm or 1″, so I stopped.
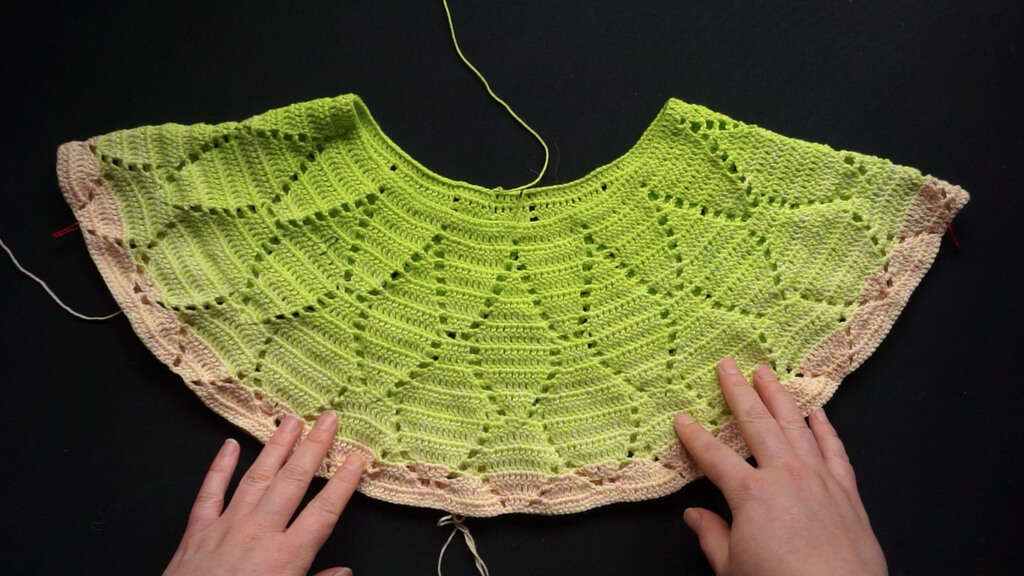
That’s it. From now on, I can add the body and the top will sit nicely at the back.
If you want to add bust shaping, you can also use these tall stitches, but in a different shape, similar to the one used in knitting and Tunisian crochet when adding short row bust shaping.
Alternatively, if the pattern permits, you can add vertical shaping, by increasing and decreasing along the princess seams, which you can calculate yourself or receive already calculated in the pattern.
Video tutorial about lifting the back neckline
This tutorial works the same for right handed and left handed makers. It shows in video everything I explained above with text and photos.
All the sections with tall stitches will be symmetrical, which means that it doesn’t matter in which direction you work, since you will get the same result.
Patterns where you can use the method for lifting the back neckline
Here are some pattern recommendations of crochet round yoke sweaters.
I can’t promise compatibility with this method, but most of my future round yoke garment patterns will be compatible with this method, since it’s so easy to use.
If you want to know when those get published, including other articles about practical tips for improving the fit of your crochet garments, make sure to subscribe to my email updates here.
Check out more articles on the topic of garment design and fitting:
- Size inclusive body measurements for crochet garment design
- How to measure yourself for fitting handmade garments – 19 points
- Body measurements for garment design – survey results April 2023
Thanks for checking in and I’ll see you soon with more tutorials.
Andrea
