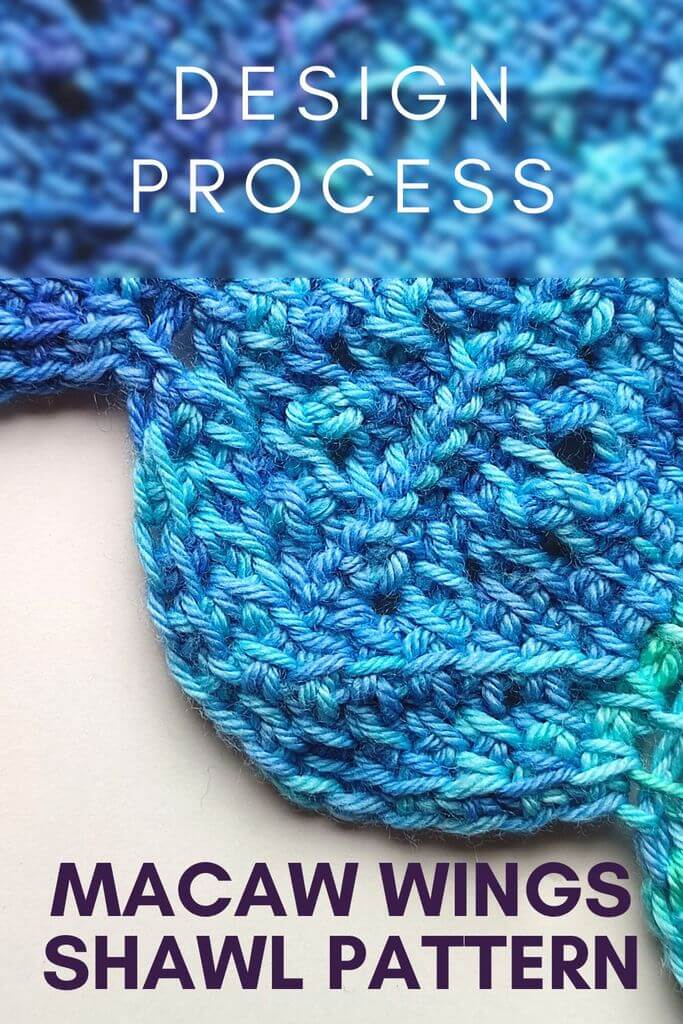
If you’re curious where the Macaw wings shawl pattern came from, how it grew from idea to finished pattern, here’s the whole story. It’s long, but I hope you’ll enjoy this sneak peek into the design process for such a complex and unique pattern.
About the Macaw wings shawl pattern
This is a unique Tunisian crochet pattern worked sideways with short rows, eyelets and shaping that create the illusion of feathers in a pair of wings when completed.
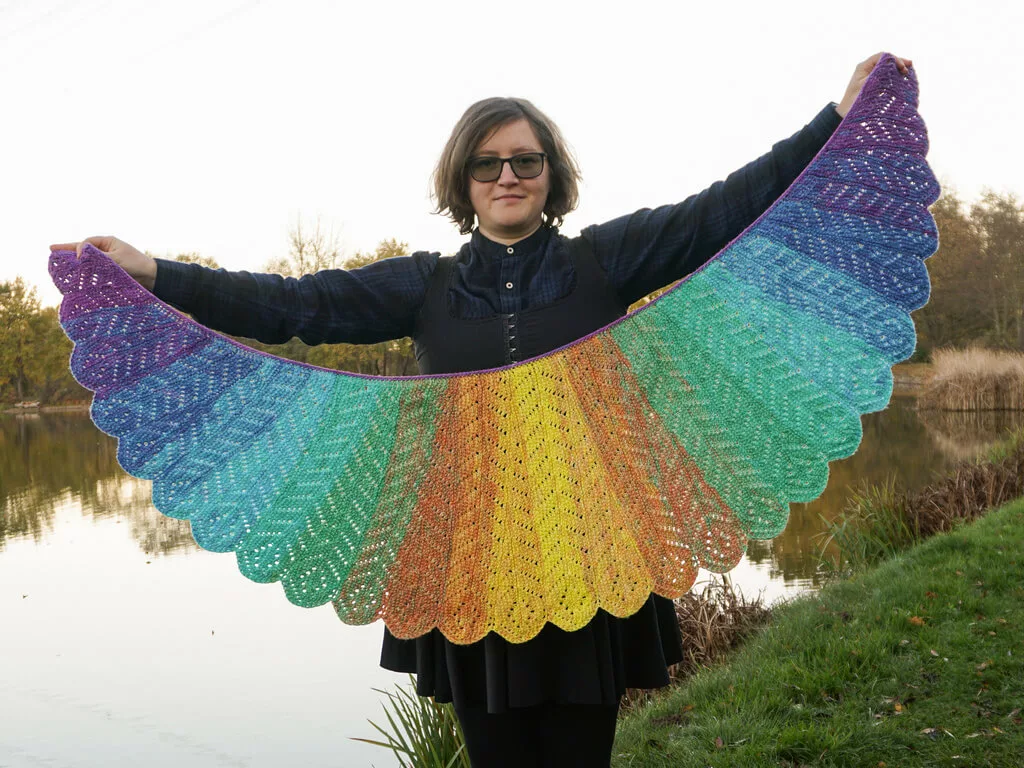
Every row is different from the others and the instructions for all the rows are written out.
If you want to try out the pattern itself, there are links below to the PDF versions and a TCAL (Tunisian crochet along) I’m hosting in 2023, where you will get the pattern in separate blog posts.
Check out the TCAL here for more info about the pattern itself and about the event.
The development of the Macaw wings shawl pattern
This is the story of how this pattern came to be, from idea to PDF files full of instructions.
When I found out that Rachel from Pook Yarns was searching for designers to create patterns for her 2022 Advent packs, I jumped at the opportunity.
We had collaborated before on the Honey Drip shawl pattern and I loved how beautifully she dyes the yarn (I talked about that yarn at length on the blog here), so I had no doubt this would be another great collaboration.
Rachel accepted and I set to work on a sketch that I painted with my rarely used gouache paints. The idea was to create a wing-shaped shawl with rows of eyelets made in short rows.
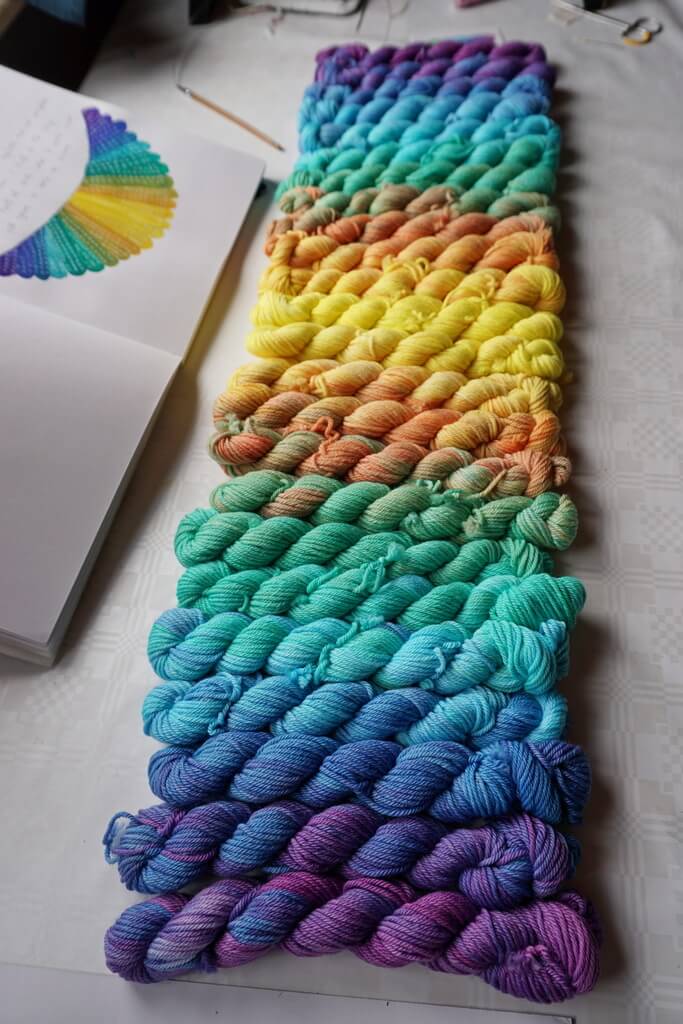
I never expected the yarn to match my sketch so perfectly, but it did, and can you imagine my joy when I unpacked it? I was amazed.
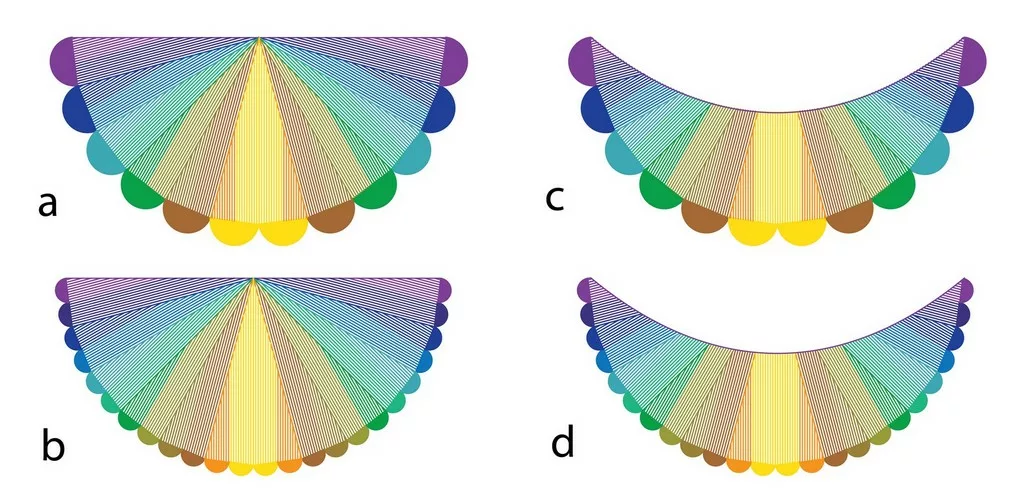
I created the sketches below to see which one Rachel would like me to develop and we both went for sketch d, as it looked the best, with the narrow feathers and the scooped top.
Charts and drafts of charts
I set to work right away (this was the middle of summer) and made up some charts, then started working up a sample and you can see I wasn’t very happy with it.
This is an early proof of concept, mistakes included. It was exactly what I’d sketched, but not awesome (although I wouldn’t mind making up this easier pattern, maybe with a different feather end).
So I kept at it and reorganized the eyelets.
While crocheting the sample, I tried different things, including making eyelets with decreases next to them and going on the diagonal with the eyelets.
This time something clicked and I realized I could make the feathers look more like feathers by adding these details, including a “spine” for each feather.
Thus, the second proof of concept emerged and you can see it below.
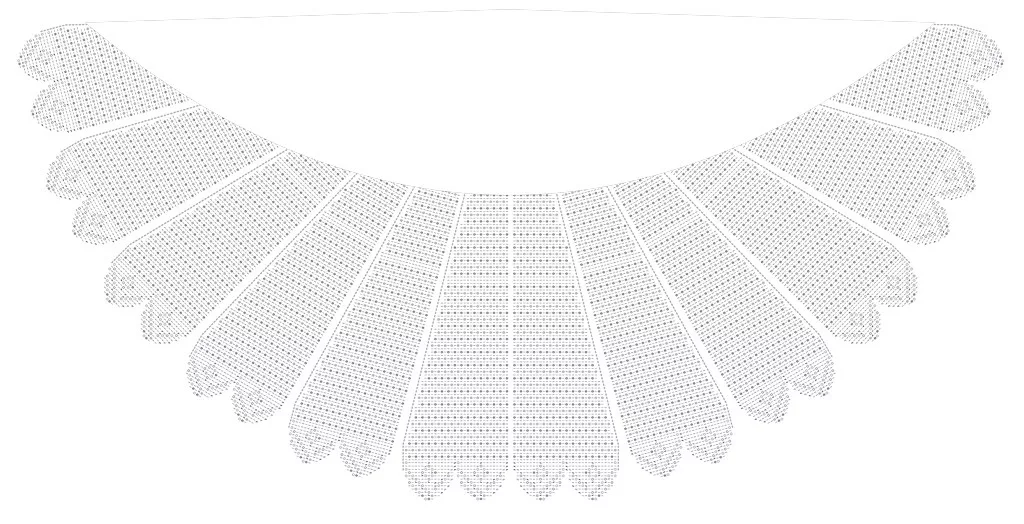
It’s massive and yes, I did draw all of those stitches myself. I used the chart to write the pattern instructions.
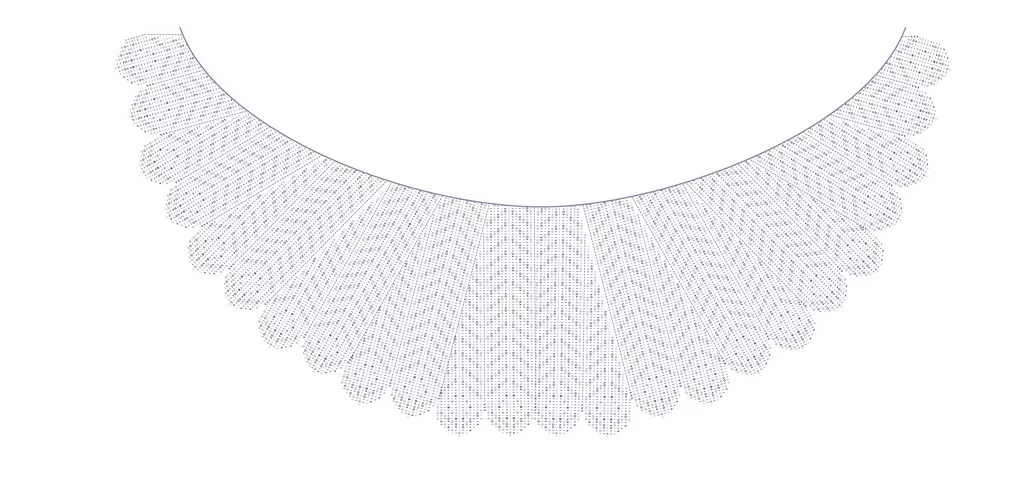
This kept up for the first section, where I took each row and wrote out all the stitches, one by one. As you can imagine, this was a very slow process and if I were to continue it for a total of 378 rows, I’d have never finished…
Thankfully, we have tools that help us in the design process and I learned how useful Stitch Fiddle can be in creating charts and instructions from those charts.
If you get the paid plan (which is extremely affordable, by the way), you can export written instructions from your charts, so I did exactly that.
Gauge swatch
But first I needed to make a gauge swatch to measure how much yarn the longest section would need, to calculate how many sections I could realistically make from the yarn included in the Advent pack (24 skeins of 20 grams or 40 meters each).
I used the middle colors to create a wide strip from the middle of the pattern and I realized I’d have enough yarn to create an extra feather in the middle to act as an axis of symmetry for the pattern.
This is how section 7 came to be and why it has a different shape from the other sections.
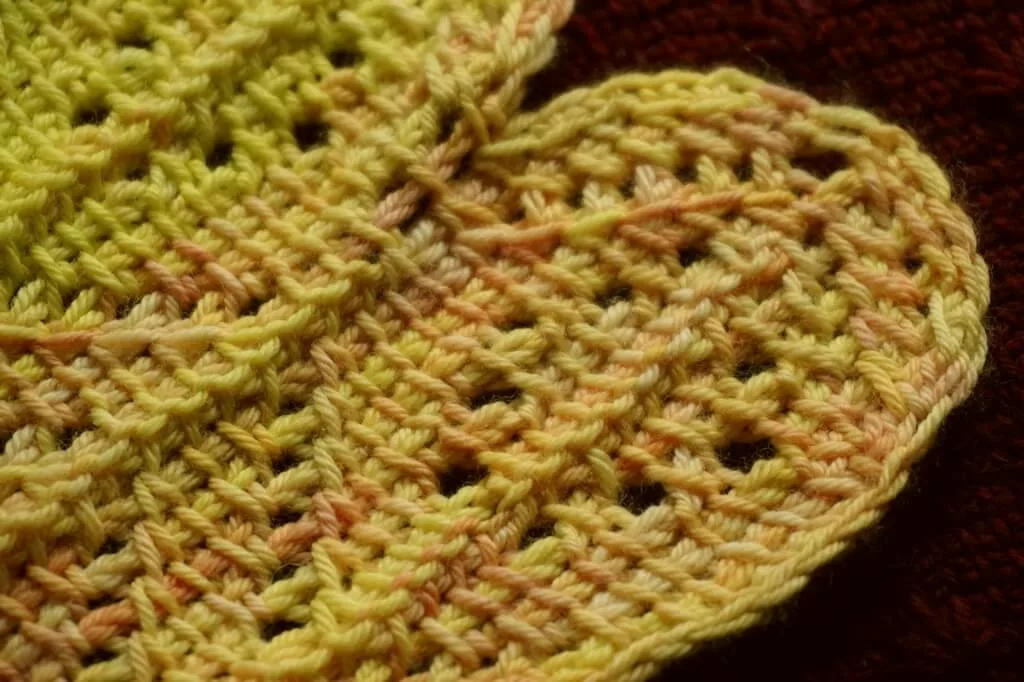
This was a great way to ensure that an advent set would be enough to make the pattern as planned, and to calculate approximate yarn usage for each section.
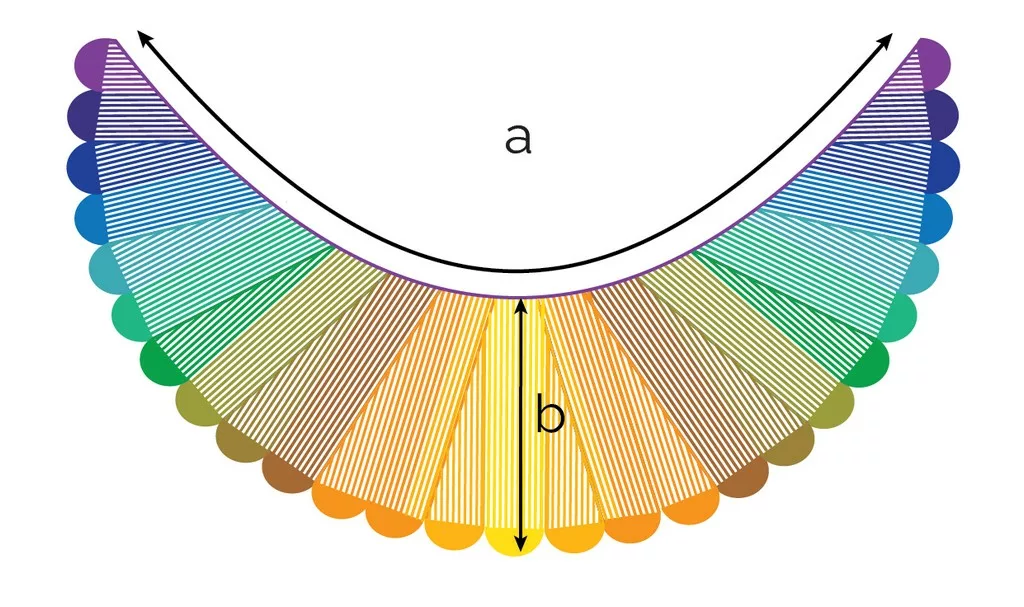
Based on this knowledge, I was able to create the final schematic of the pattern, which I used to show measurements.
Final charts
After deciding how many sections would be in the final pattern, I redrew the charts in Stitch Fiddle (starting from a large block for each one and using the chart above for shaping) and then used the exported instructions to create the sample.
Row by row, I adapted the charts and the pattern to get a flowing connection between the different sections, as I worked up the sample.
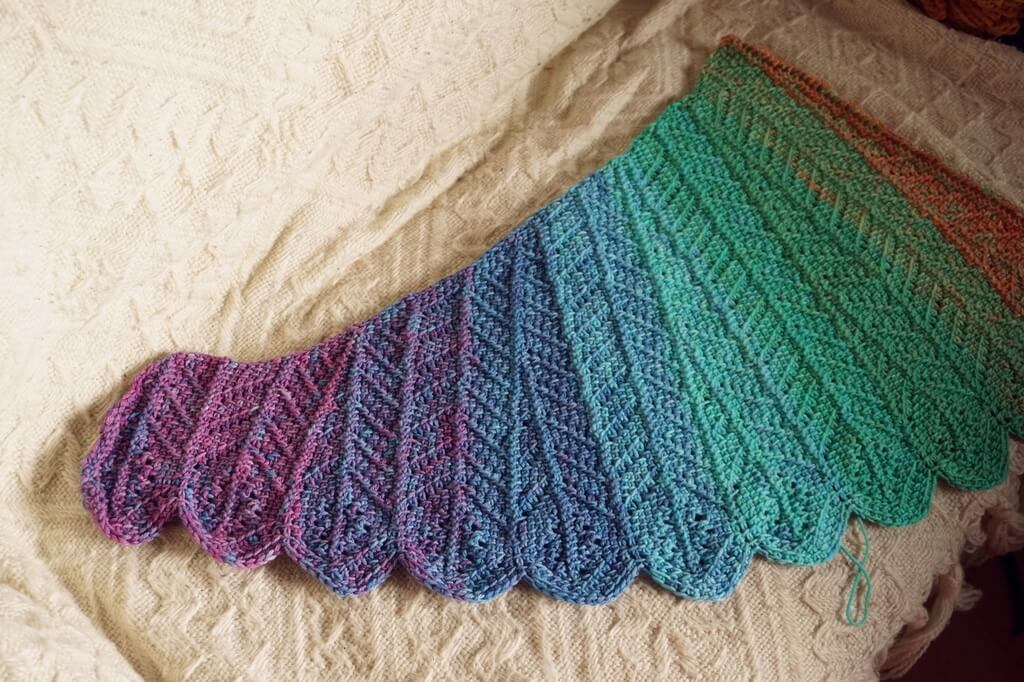
Once my sample was finished and the raw pattern was done, it was time to prepare it for testing.
I modified most repeats to have them make sense (the original export from Stitch Fiddle isn’t very easy to use, nor intuitive) and highlighted the identical repeats in the same color.
This should make it easier for folks who use the digital version to keep up with the repeats (you can’t see them in the black and white printed pattern).
I took photos of tricky parts of the pattern and created a photo tutorial to accompany the written instructions.
Testing
Once the pattern was in good enough shape, I opened up a testing call. You can also participate in future testing calls if you sign up to my email updates.
I’m proud to say that the testers did an amazing job in both their projects and in helping me smooth out any kinks left over from the raw instructions.
They also suggested I add a cheat sheet with stitch/loop counts for the short rows, so I did and I hope you find it useful.
Below you can see some of their projects. The deadline was a little tight at two months, but two of the testers made two shawls each, so I’m sure the TCAL is also very doable in two months.
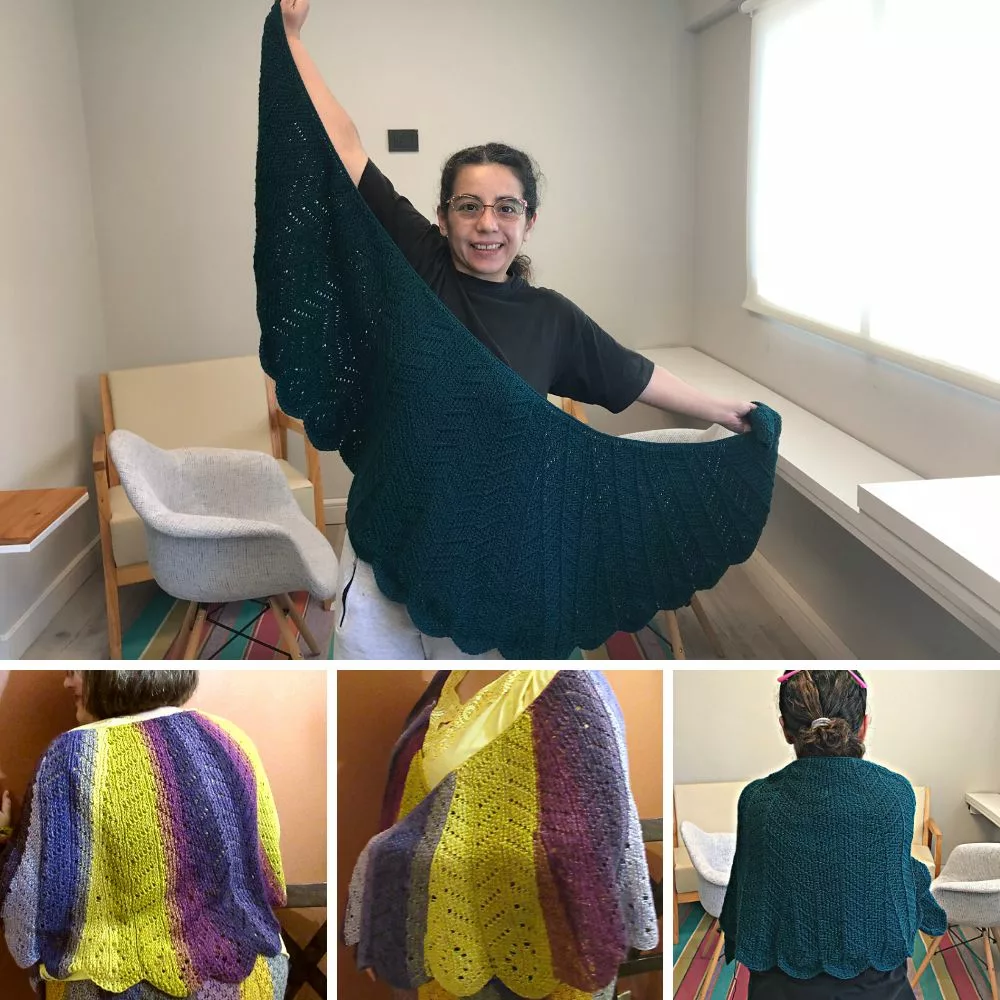
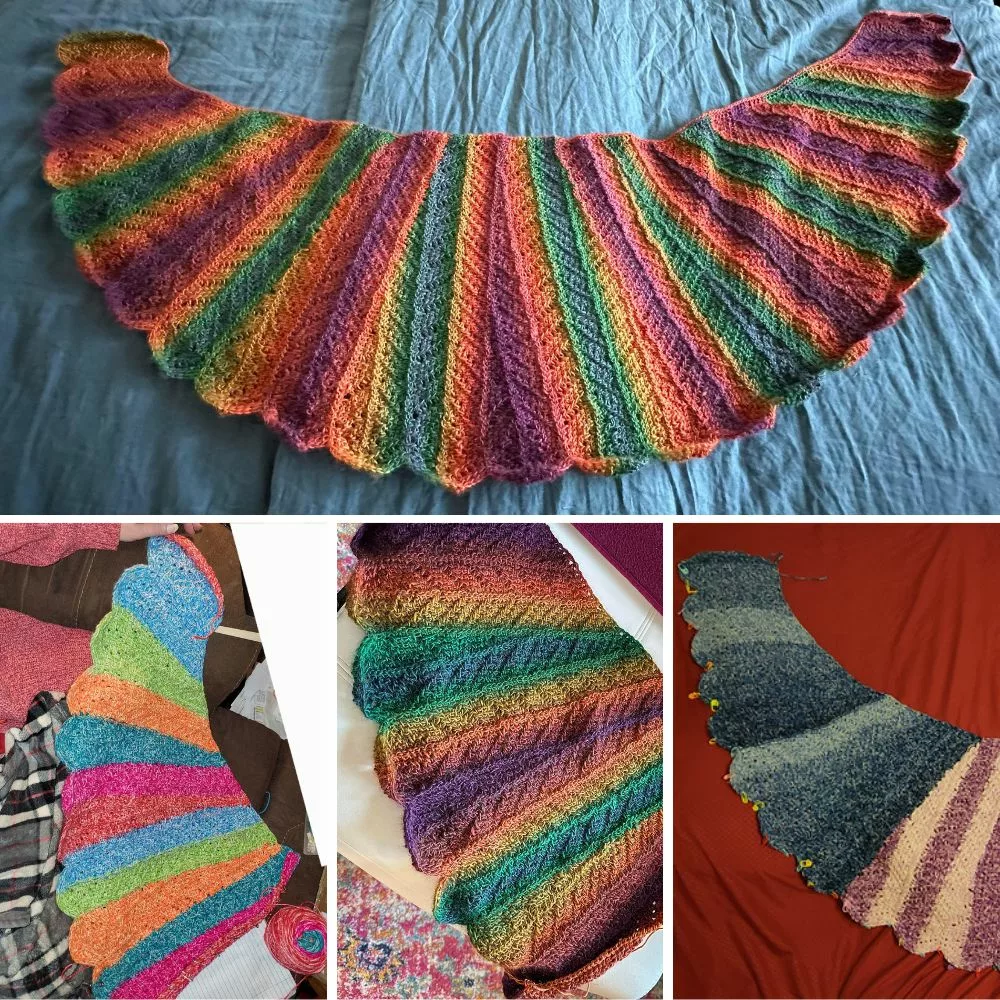
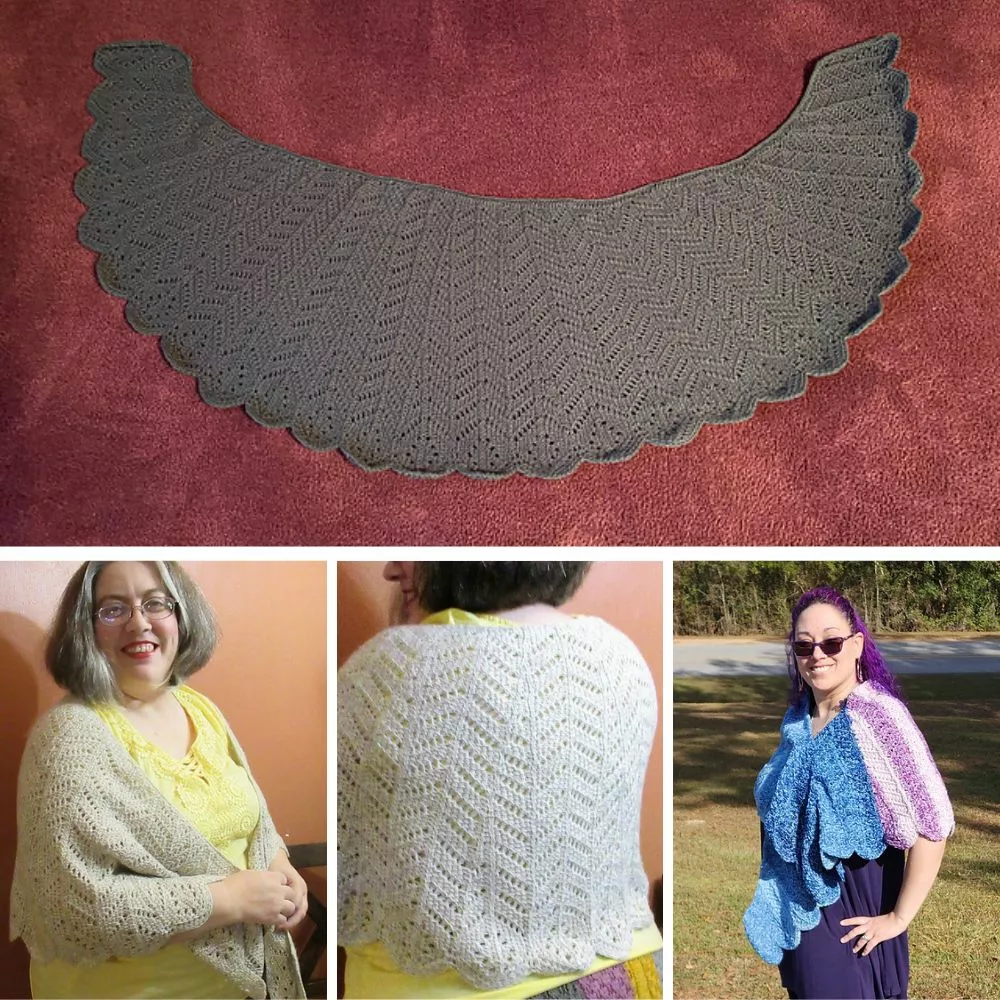
These photos include finished and blocked projects, some that were finished and unblocked, some in progress. You can see more detailed photos in the individual Ravelry projects of the testers.
Final touches and publishing
Once the testing was complete and I’d included all the changes suggested by the testers in their feedback, I exported the final version for each chart and updated the final draft.
The resulting PDF files were a little too large for my webshop (about 6 MB each) because of the high number of charts and photos. So I uploaded it to three platforms, Payhip, Ravelry and Etsy.
I’ve also divided the pattern up into sections that will be published sequentially over the next 3 months, as part of the Macaw wings shawl TCAL. See more info here.
If you think this pattern might be too complicated for you right now, you can try other Tunisian crochet patterns. I have lots that are free on the blog and you can see some of them below.
Corner to corner Tunisian crochet scarf pattern
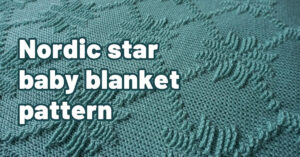
Nordic star Tunisian crochet baby blanket pattern
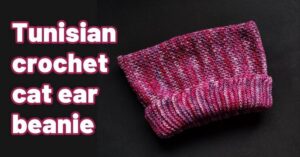
Tunisian crochet cat ear beanie free pattern
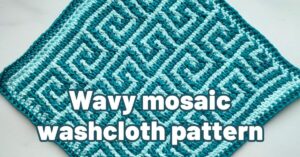
Free wavy mosaic Tunisian crochet pattern
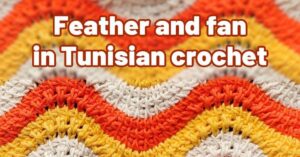
Feather and fan Tunisian crochet pattern for a washcloth
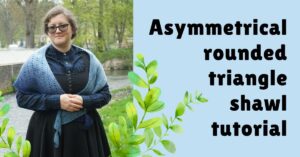
Tunisian crochet asymmetrical rounded triangle shawl tutorial
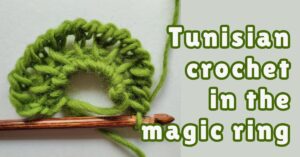
How to start a Tunisian crochet project in a magic ring
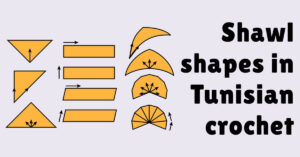
How to make different shawl shapes in Tunisian crochet
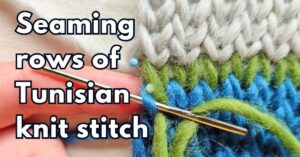
How to sew Tunisian knit stitch row to row
How to make a Tunisian crochet mosaic bee potholder
I hope you enjoyed reading about the process of designing this shawl and of writing up the pattern, as I enjoyed writing about it.
I also hope I’ll be able to repeat this process with other ideas I have and that you’ll also join me in trying out new and exciting things in the wonderful craft that is Tunisian crochet.
Hugs,
Andrea



2 thoughts on “Macaw wings shawl design process”