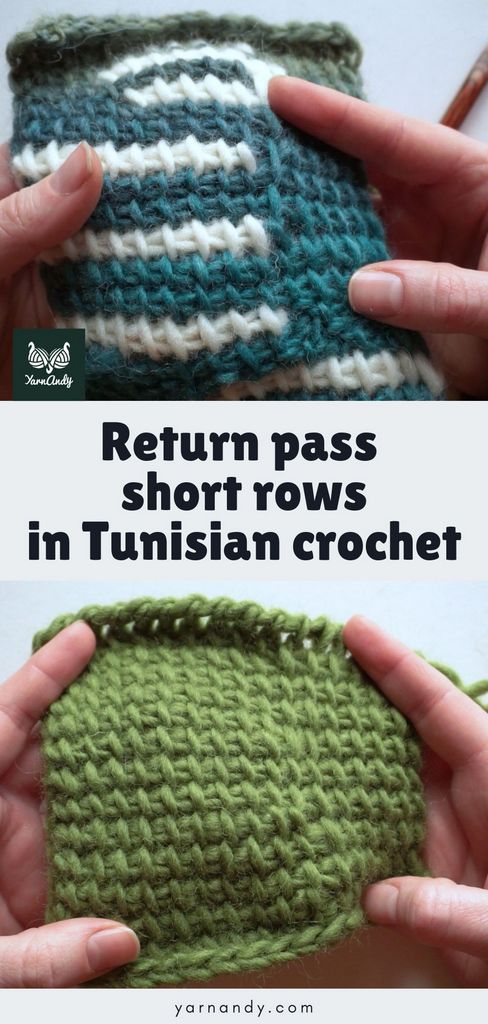
Return pass short rows can be very useful in shaping objects in Tunisian crochet and in this detailed tutorial you have 3 ways of making them, including in video format.
Just like forward pass short rows in Tunisian crochet, the return pass ones are versatile and can be employed in various projects where you need a curved side or to manipulate the shape of your finished object.
These short rows create a wider edge towards the left side of the work if you are right handed, or the right side of the work if you are left handed.
They are made by making an incomplete return pass, leaving some loops on the hook from the forward pass. These loops left on the hook will belong to the next complete row.
You can stack return pass short rows or you can make complete rows in between.
Return pass short rows in Tunisian crochet video tutorials
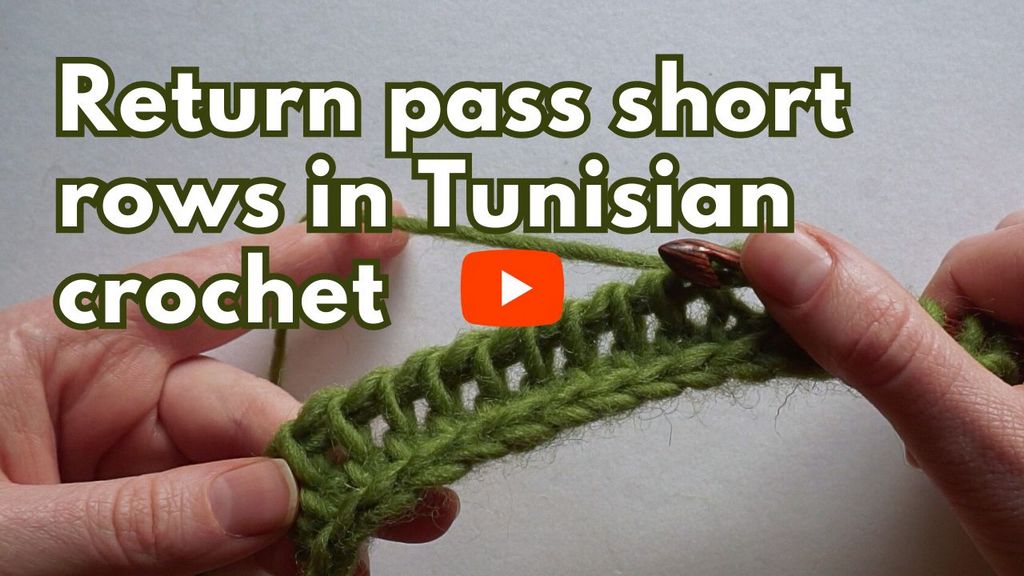
Right handed video tutorial
Opens in new tab.
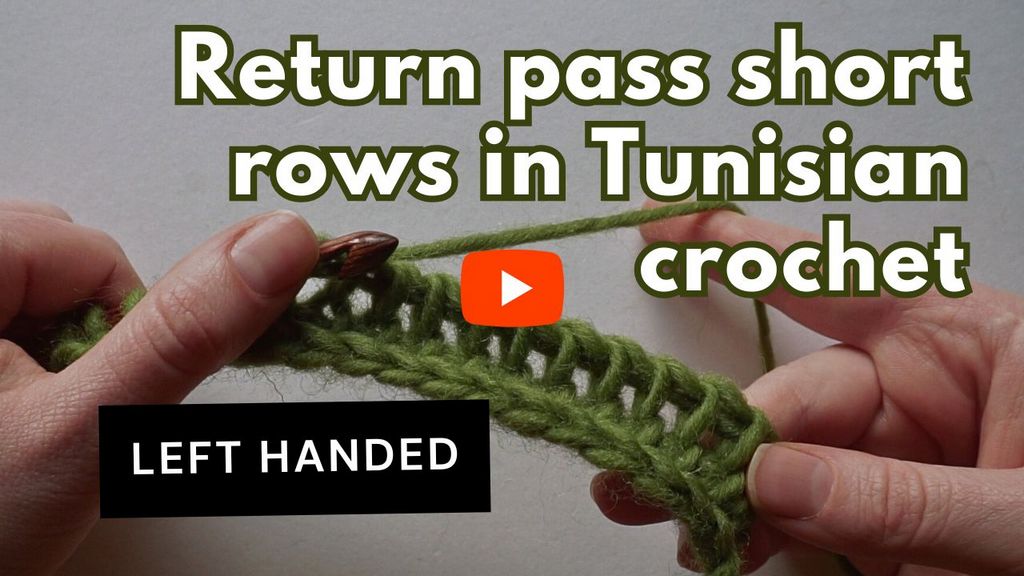
Left handed video tutorial
Opens in new tab.
What are return pass short rows in Tunisian crochet used for?
Unlike the forward pass short rows, I haven’t played with these short rows very much.
They are very useful when making things sideways, if you want to decrease, instead of increasing.
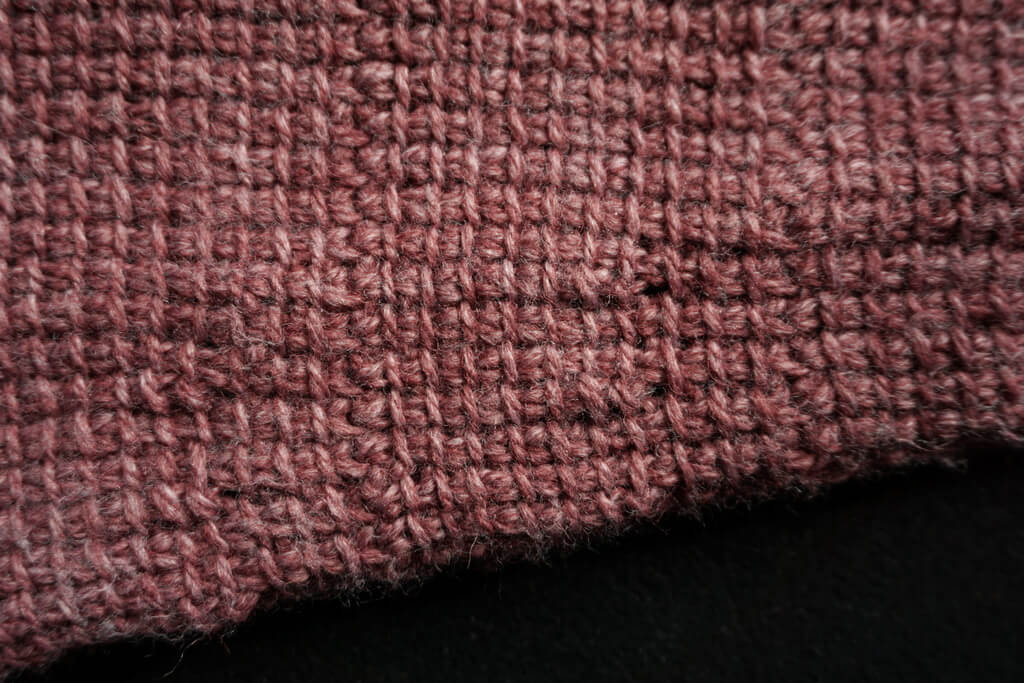
A practical example would be the sleeve of this sweater made entirely in short rows.
The return pass short rows are used for narrowing the sleeves.
I’ve found a couple of patterns that use these kind of short rows. They are free patterns on Ravelry, so give them a try.
If you can’t use Ravelry because of their website theme, check out my method of making Ravelry more accessible.
One of them is the Lizard Ridge Afghan by Dela Wilkins, where the short rows create little waves in the fabric.
The other is a shawl pattern, the Schmetterwurm by Christina Adorjan (I guess a mix between Schmetterling – butterfly, and Drachenwurm – dragon, in German).
The shaping in the shawl is achieved by building gussets with short rows, between straight rows, a very common construction for “dragon shawls” in knitting.
I intend on experimenting with various stitch counts, to get some modular designs using these return pass short rows in Tunisian crochet. I’ll update this page when any of those experiments result in success.
First method of making return pass short rows
This is the easiest method that you could try. It’s not a favorite of mine because of the hole that betrays the end/start of the short row.
To make any kind of short row, you need a foundation upon which you’ll build the short rows. You can also work in the foundation chain if you want to.
My tutorial on how to make a foundation row in Tunisian crochet in 4 different ways. Pick one and make a foundation row.
For this tutorial, just like in the previous one, I made a foundation of 15 Tss and a last stitch.
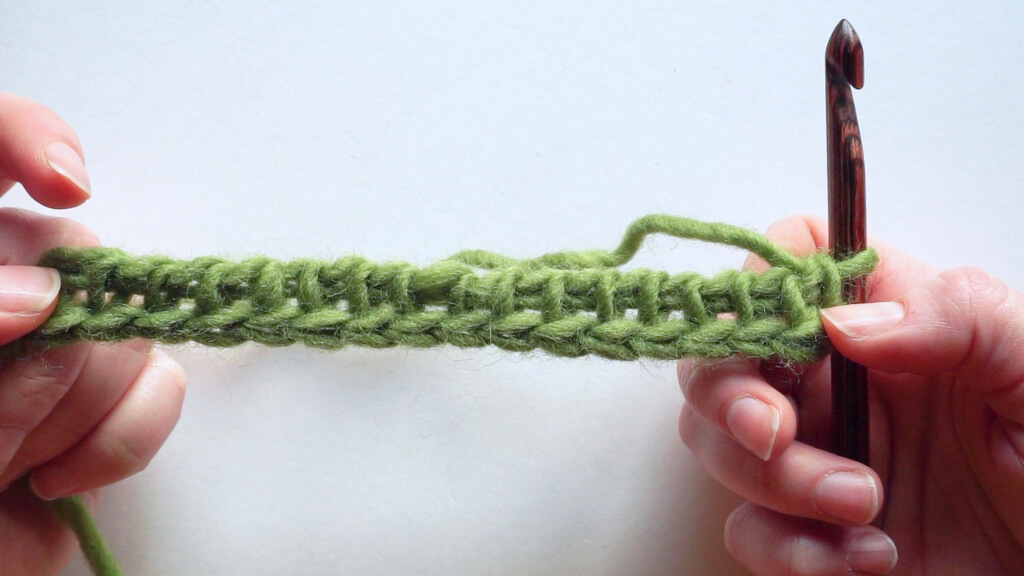
When making return pass short rows, you will keep the loops from the beginning of the row on the hook, and you will only bind them off when you have the next full row.
Now we begin the first short row, picking up stitches all the way to the last stitch.
At the end of the row, insert the hook behind the two vertical bars, draw a loop, and chain one.
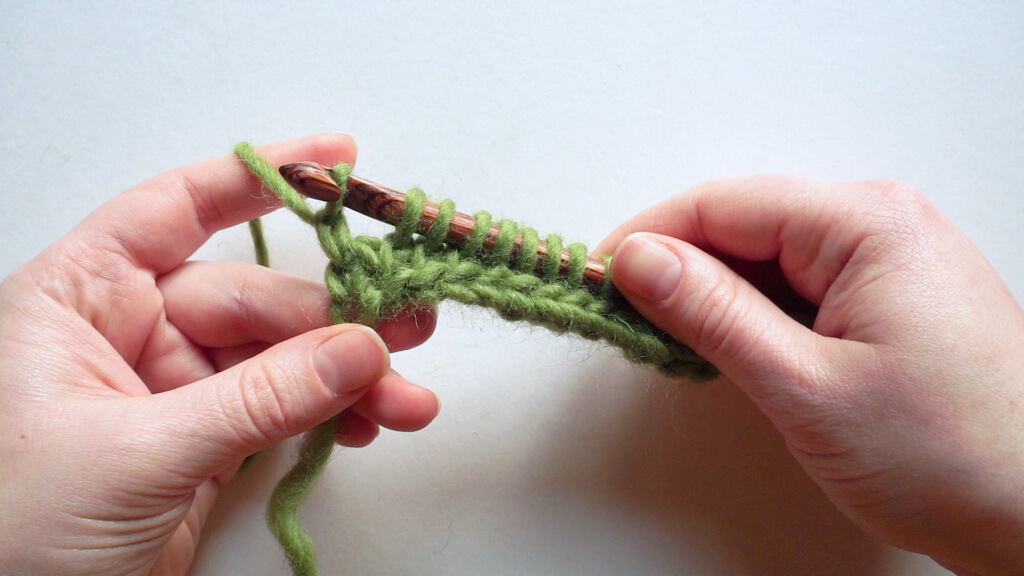
Now we begin the short row return pass.
For the previous tutorial, I made 9 stitches for each short row, so I will do the same here. So we yarn over, pull through two 9 times.
Now we need to yarn over, pull through two one more time because this stitch will not be considered a stitch in the next row. Place a stitch marker in the last stitch, if you want to remember where the short row starts.
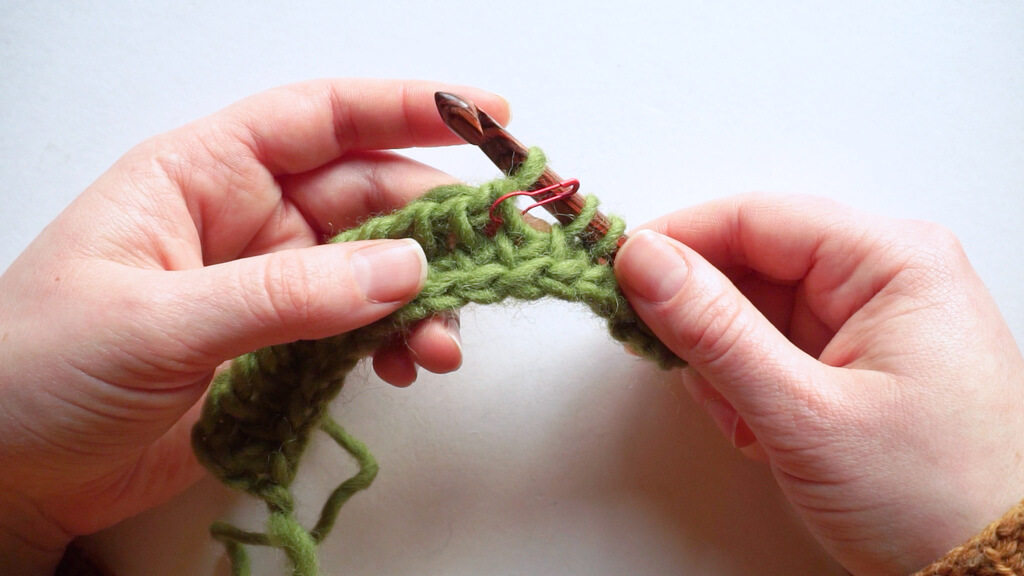
This is the most basic short row, and then you pick up one loop in the next stitch from the hook, then continue until the end of the row and make a regular return pass.
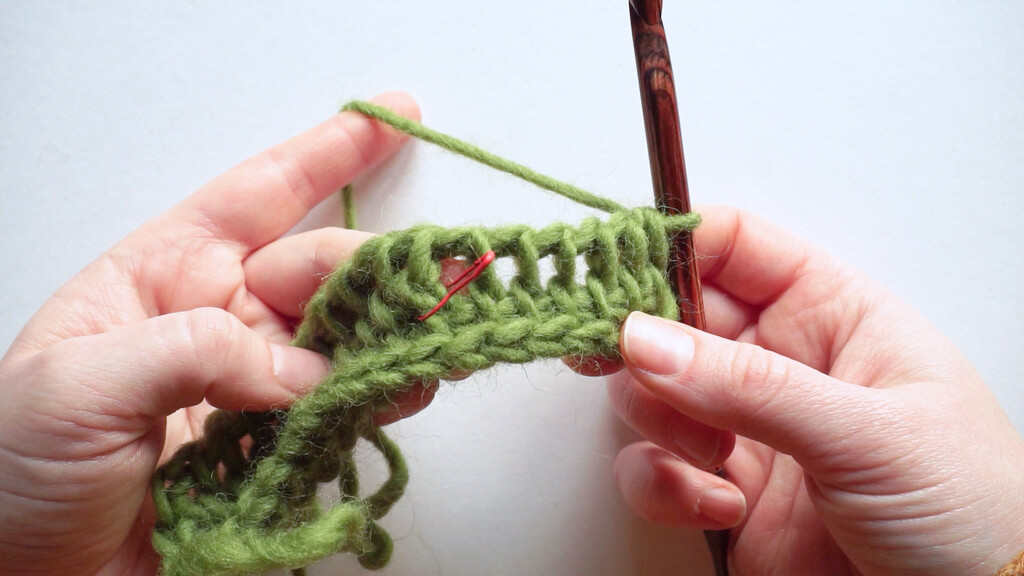
The way that the fabric looks is influenced by what you do when you encounter the marked stitch on the next row.
Pick up stitches normally until you reach the marked stitch.
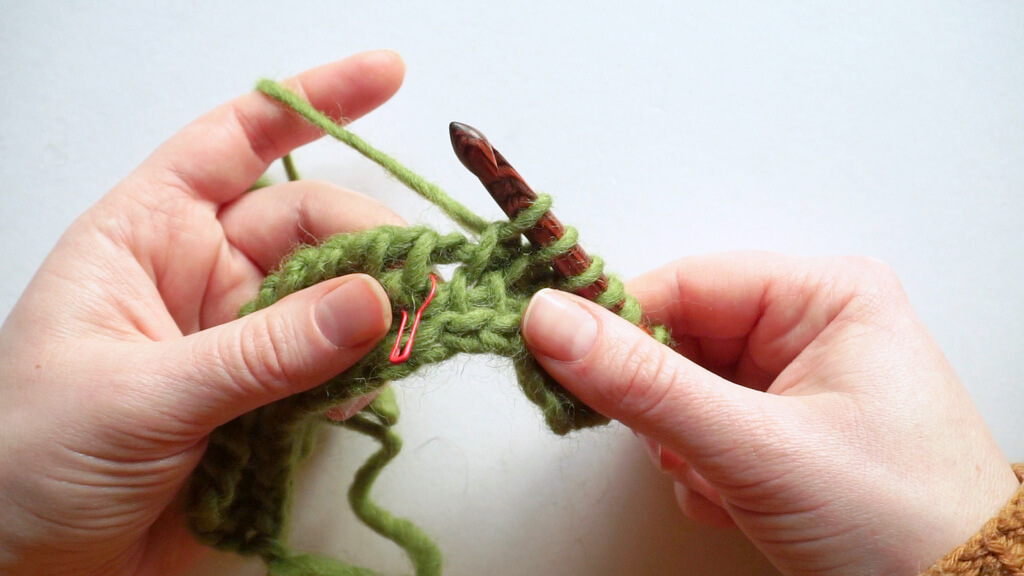
Insert the hook under the next vertical bar to make a regular Tss.
Continue picking up loops in pattern and complete the row with a regular return pass.
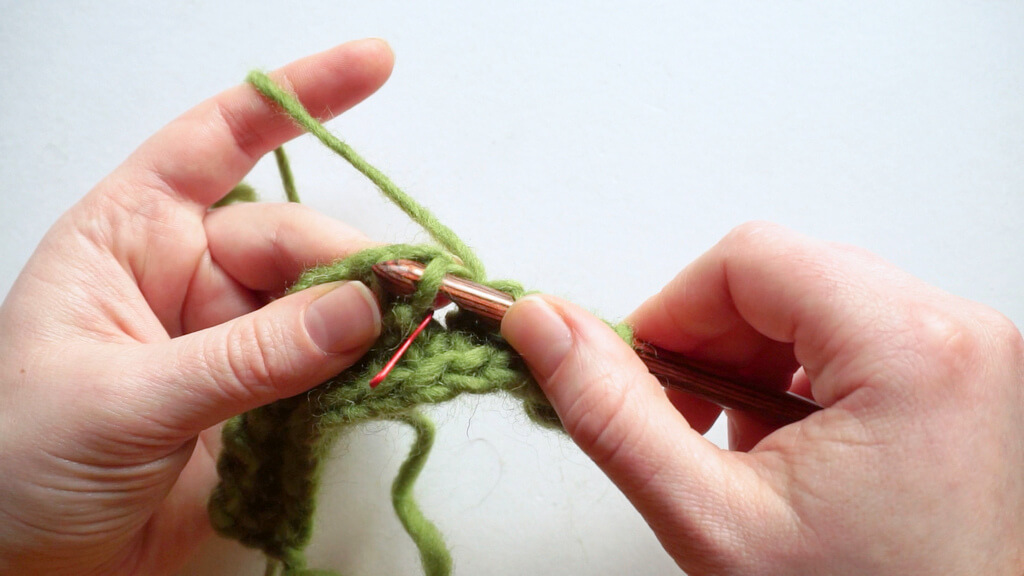
When the return pass is finished, you will see a gap next to the end of the short row.
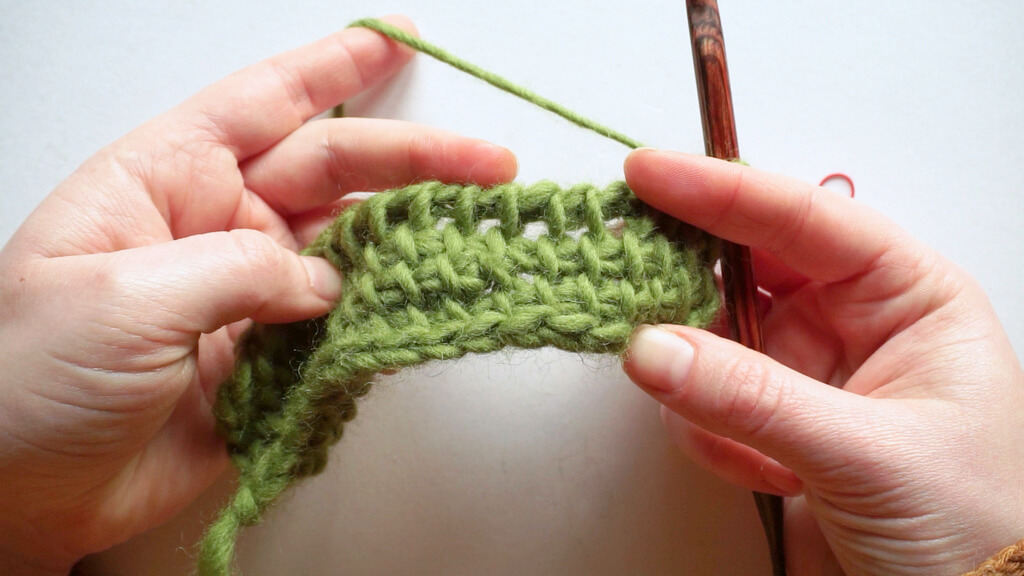
I’m not a fan of this method because there’s that hole there. In the video I show you how easy it is to poke a finger through there.
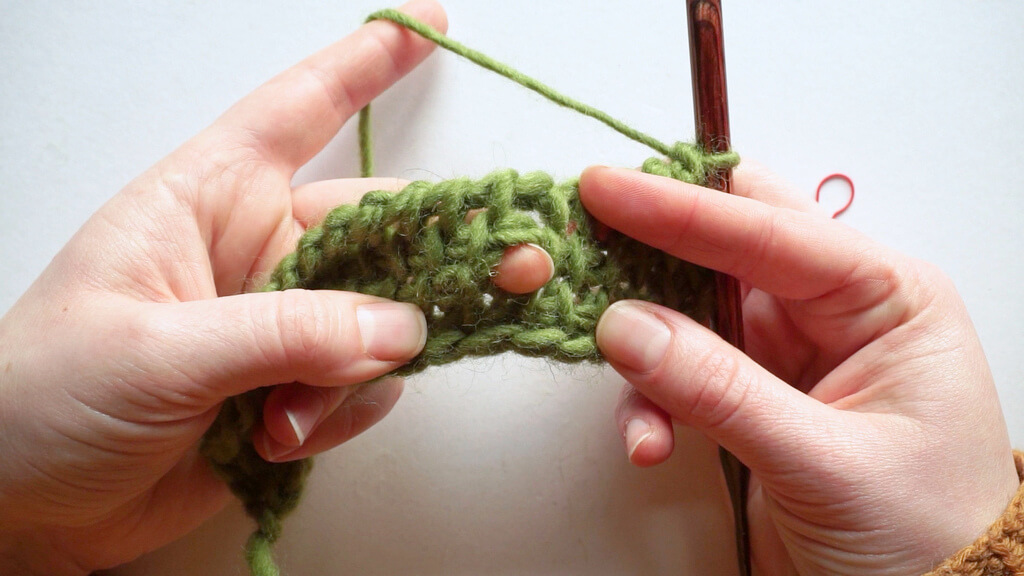
I think this is the method used in the Lizard Ridge Afghan linked above, and you can see the holes in the fabric all around the short rows.
It looks nice in that project, but it’s not a method I’ll be using for any of my projects.
Second method of making return pass short rows
If you’re not a fan of that first method, let’s see what else is available.
I developed this method while trying to get a smaller hole at the beginning of the short row and I used it on two projects so far.
It’s not the best, but it is a method that you can try for yourself.
It starts out like the previous one, by picking up loops until the end of the row, then picking up the last loop and making a chain to start the return pass.
You then yarn over, pull through two eight times.
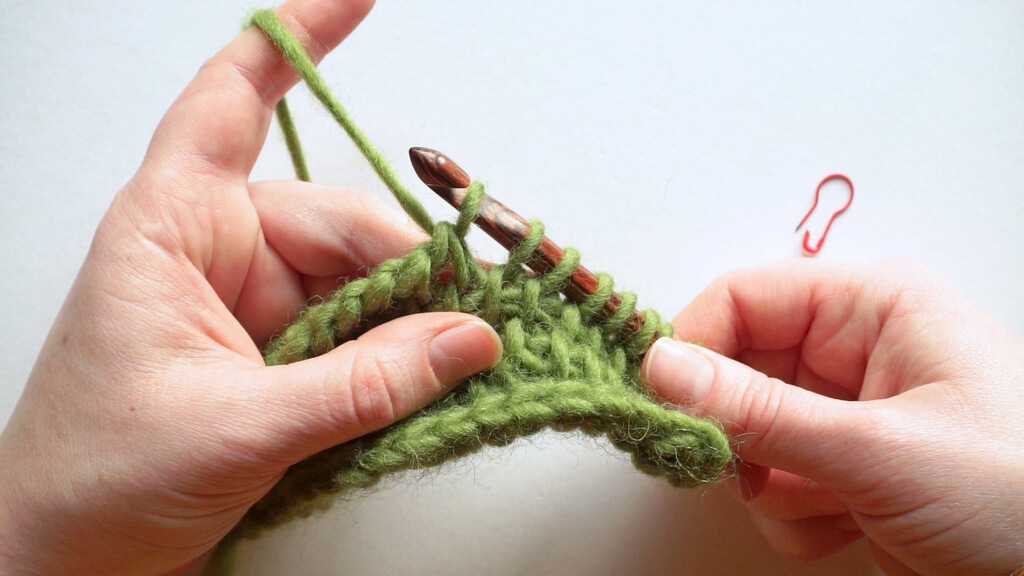
Next, instead of yarning over and pulling through two, I will yarn over and pull through three.
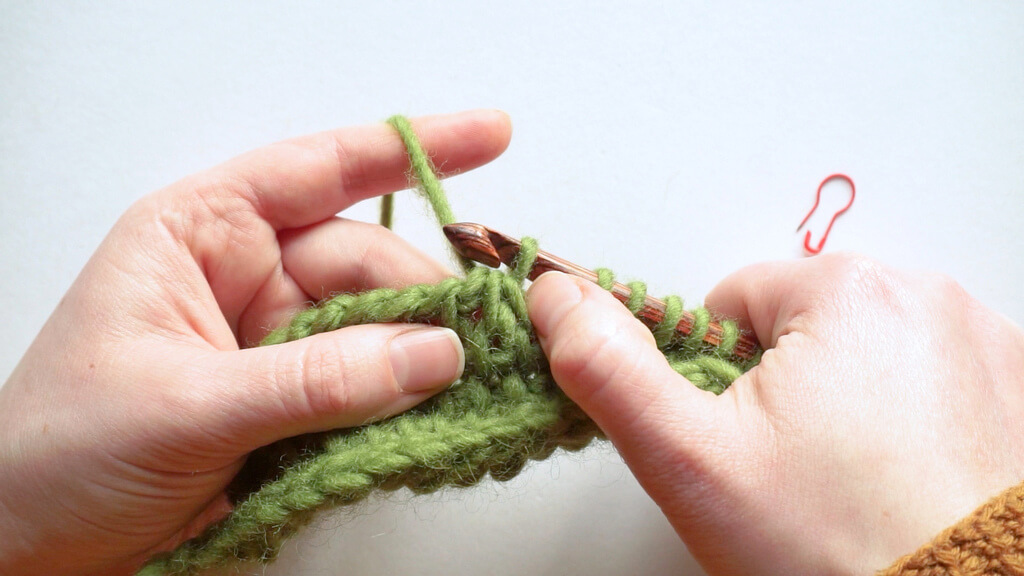
This makes the last stitch in the cluster (towards the start of the row) act more like a filler stitch.
Next up you pick up stitches to finish the forward pass for the full row (remember that the first loops for the full row are already on the hook).
Insert the hook behind the second loop of that cluster just made.
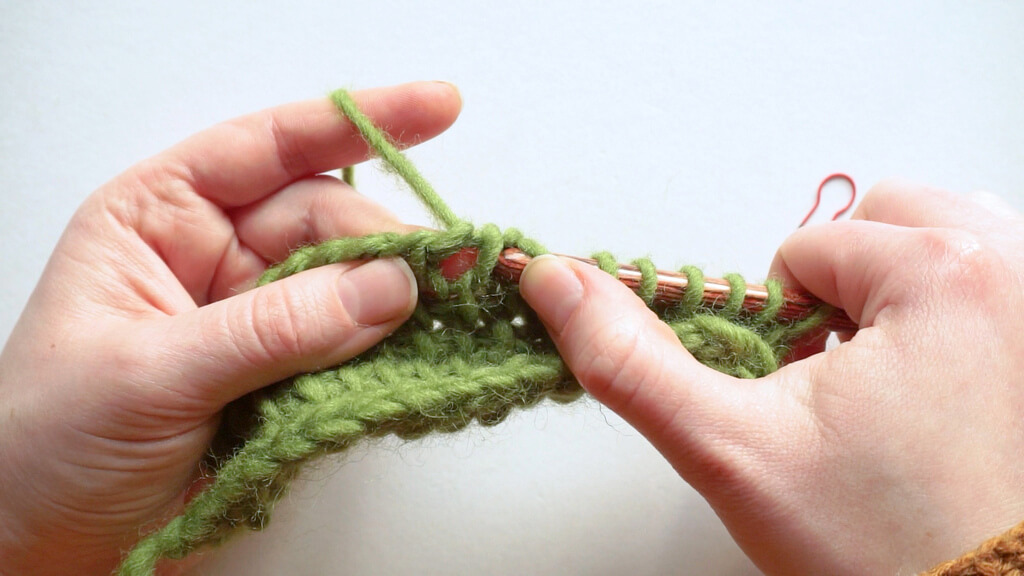
This is what that looks like.
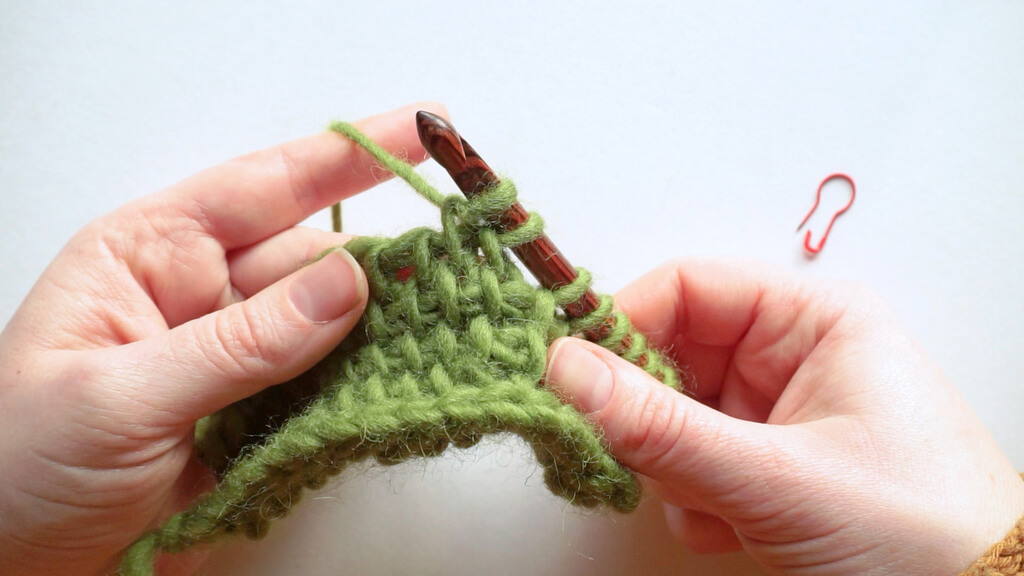
Continue picking up loops as usual and do a regular return pass.
This is what the short row and the full row on top look like.
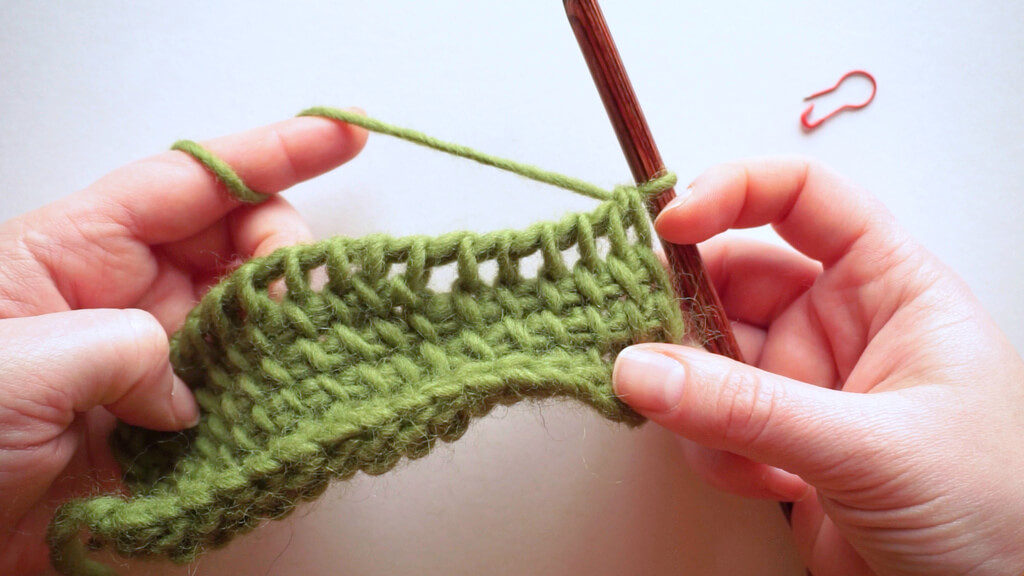
For the next row, there is no special treatment, just pick up loops normally, as if you were working in a regular row of Tss.
This is what the fabric looks like with this kind of short row.
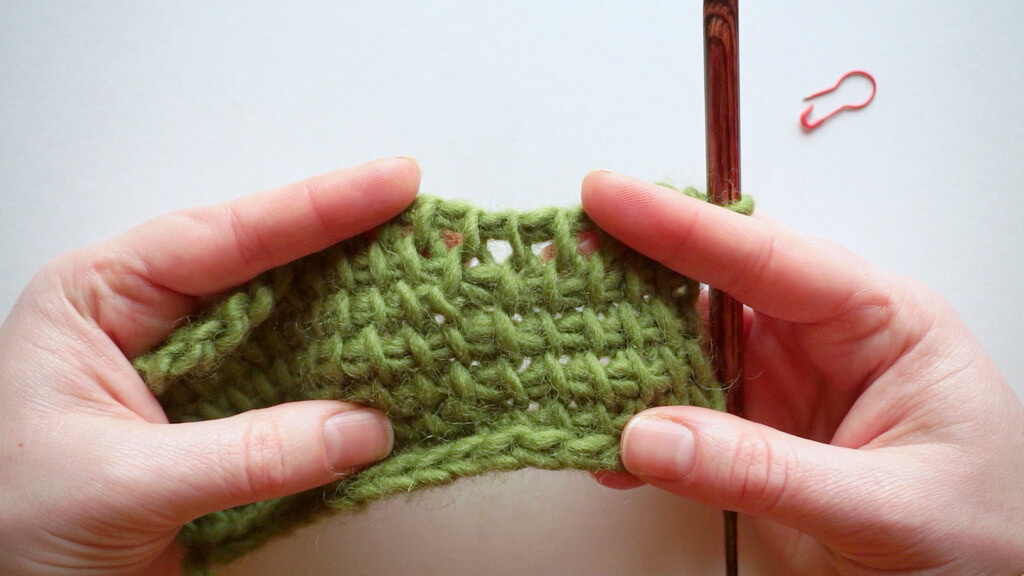
You can’t see it in the photo above, but there is a hole there in the fabric, right before the short row.
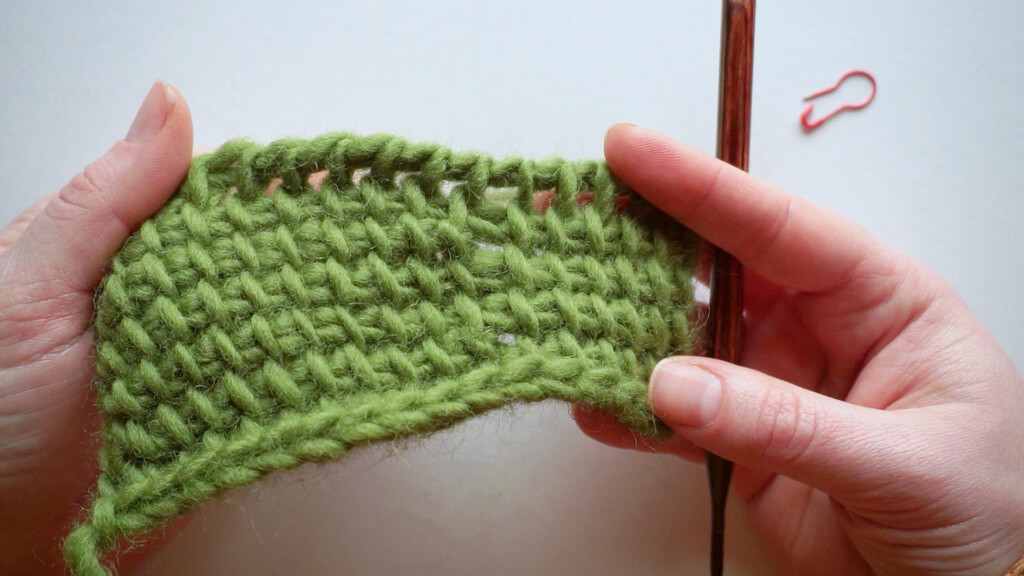
It becomes apparent after the fabric is stretched a bit, which is what happened to my projects.
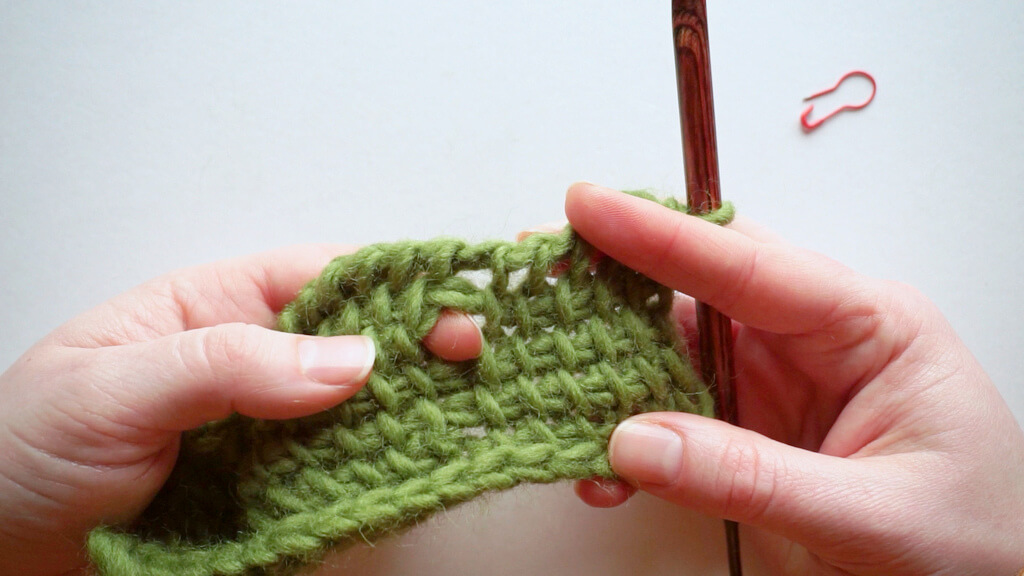
If you don’t mind a small hole, this method is quite easy to use. Just be aware of how many stitches you need.
Third and my favorite method of making return pass short rows
This method is currently my favorite because it’s easy to make and there are no gaps. It’s also invisible in the finished project.
The method is inspired by Natalie of Detroit Knots, whom I’d asked about return pass short rows and who mentioned working in the row below.
I don’t know that this is the method Natalie uses, but it’s a method I’ll be using for middle of row or center short rows (tutorial for that coming soon).
You begin like with the first method. Pick up stitches to the last stitch, chain one, yarn over, pull through two 10 times. 9 times for the stitches, 1 extra for the end/start of the short row.
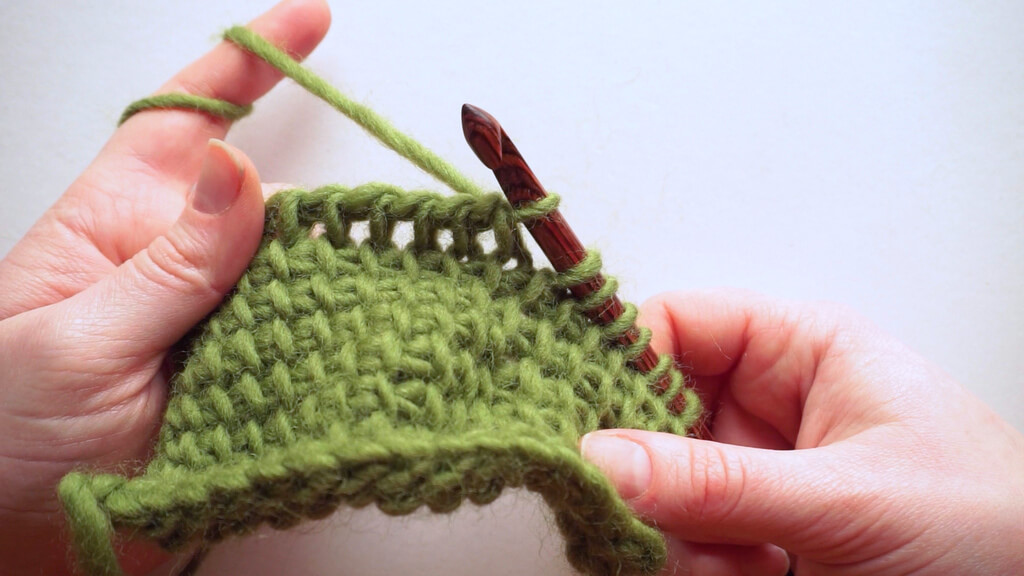
Pick up the nine simple stitches and the last stitch to complete the full row and do a regular return pass.
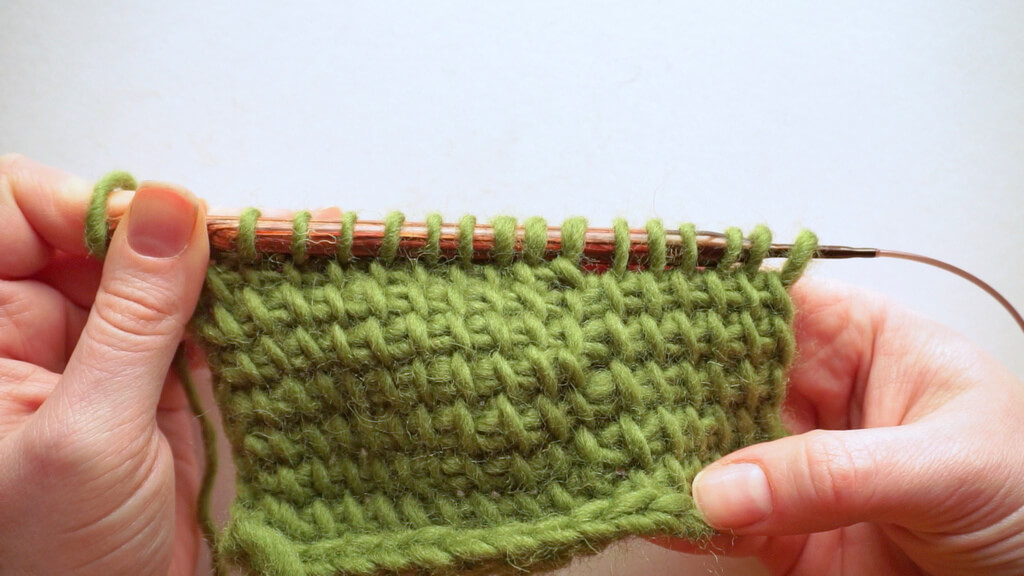
Next, pick up stitches until you reach the gap.
The gap is pretty obvious even without a stitch marker, so this is where the short row ends.
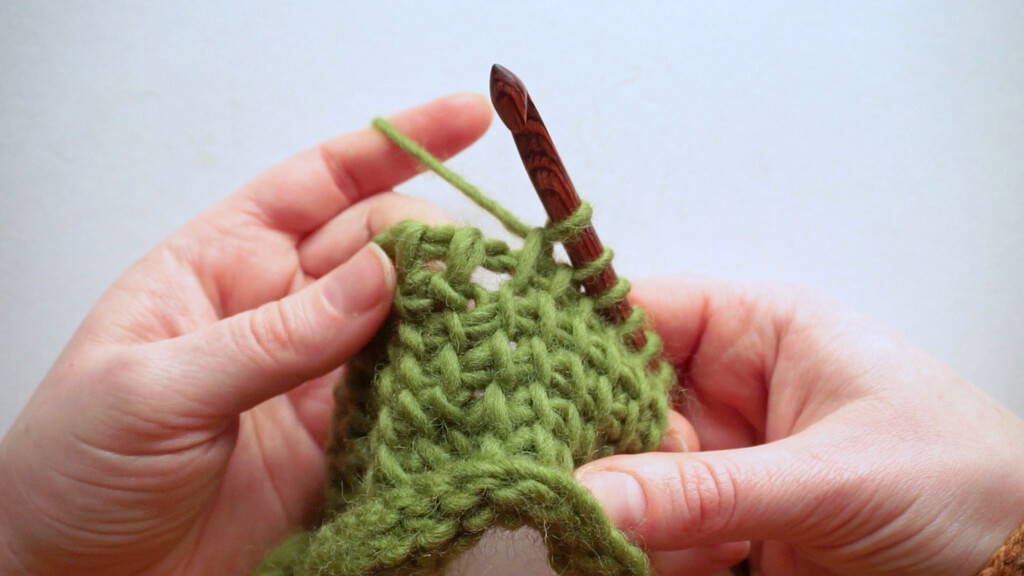
Instead of picking up a stitch here, pick it up in the row below.
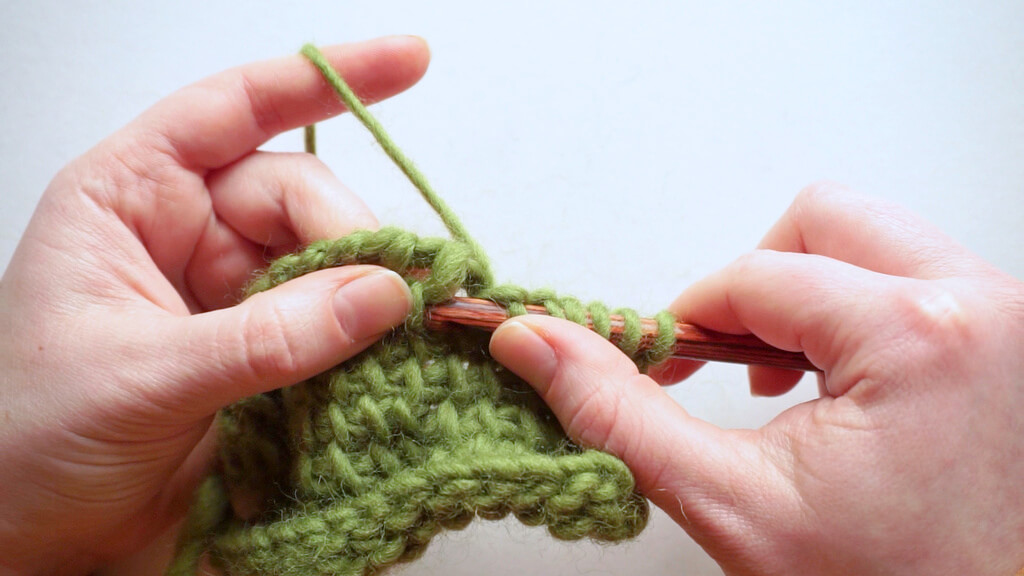
This way, we force the stitch on top to move to the back of the fabric and act as a filler in that open space.
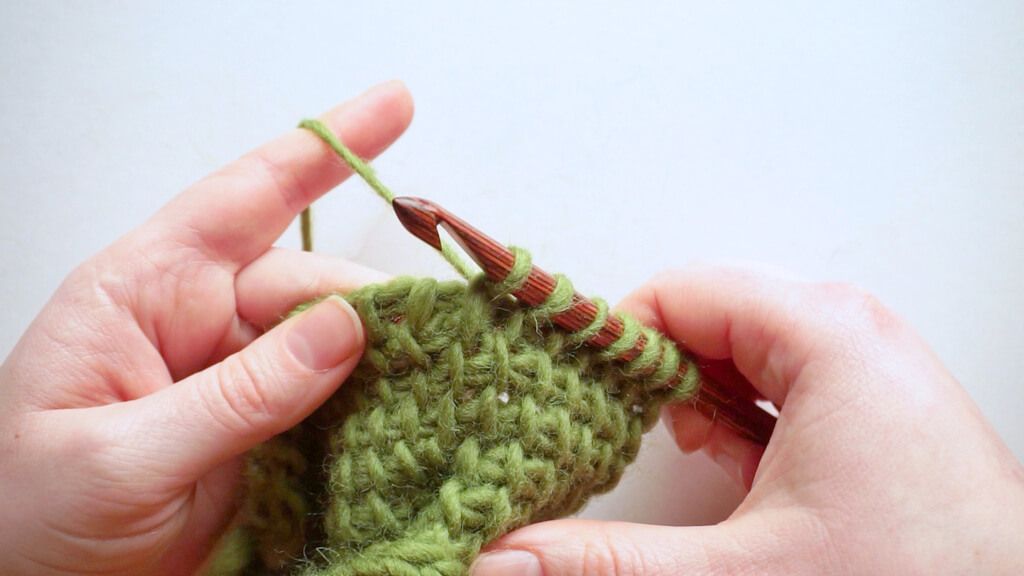
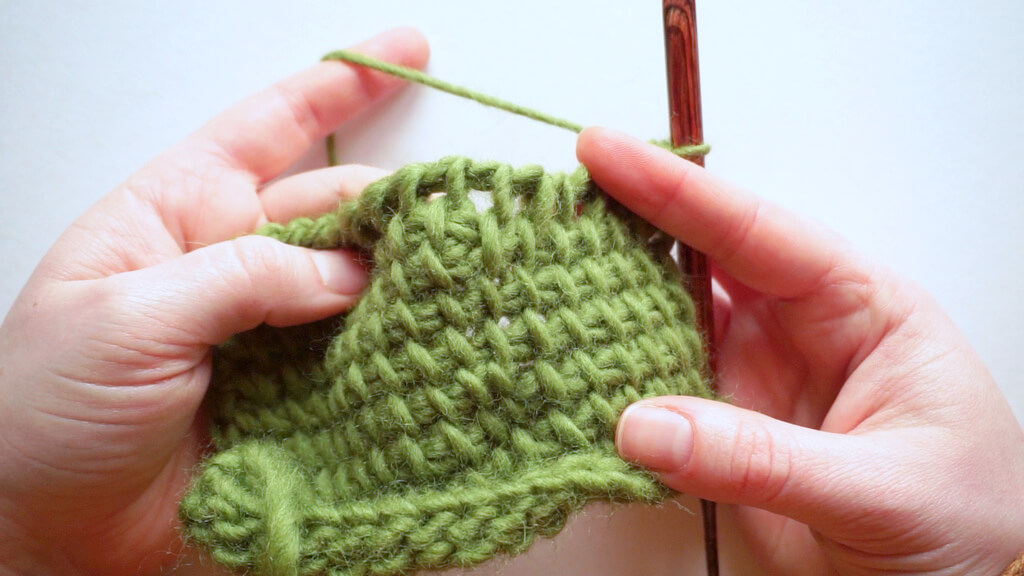
Continue with the forward pass as usual, then make a regular return pass.
When you look at the fabric, there should be no visible gap or end to the short row.
Bonus method
While filming the tutorial, even though I had planned to show 3 methods, I decided to also share this one.
It is a short row method used by Abbey of AbbeyMade and by Rachel Henri, so I thought I should include it.
It’s not a method I’ll be using any time soon, unless I make something with short rows based on one of their patterns.
You begin just like before, with a full forward pass and an incomplete return pass, by doing the yarn over, pull through two 10 times.
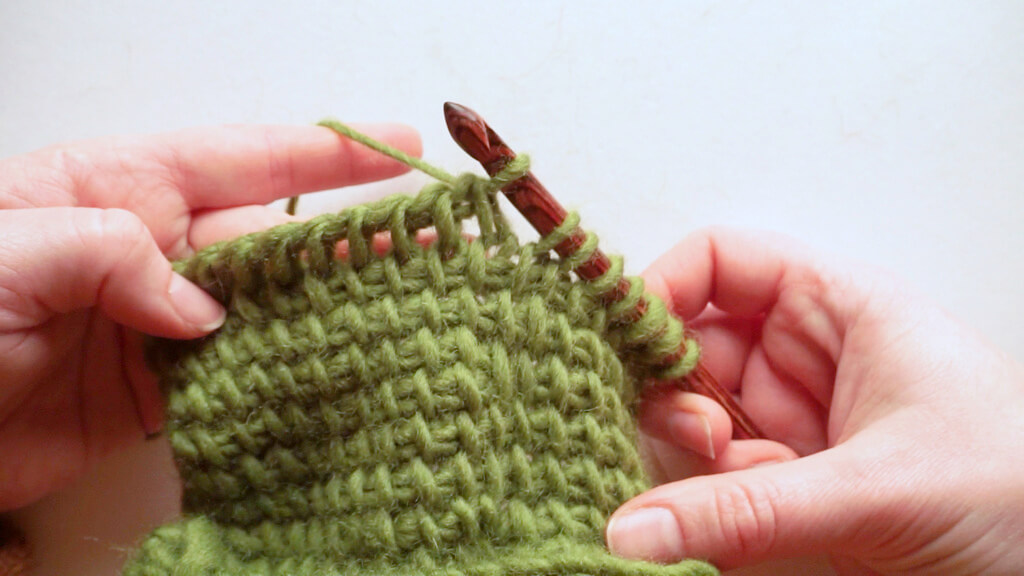
Then pick up the stitches for the regular row, nine simple stitches and last stitch. Then chain one, yarn over, pull through two nine times.
You end up with what looks like two stacked short rows.
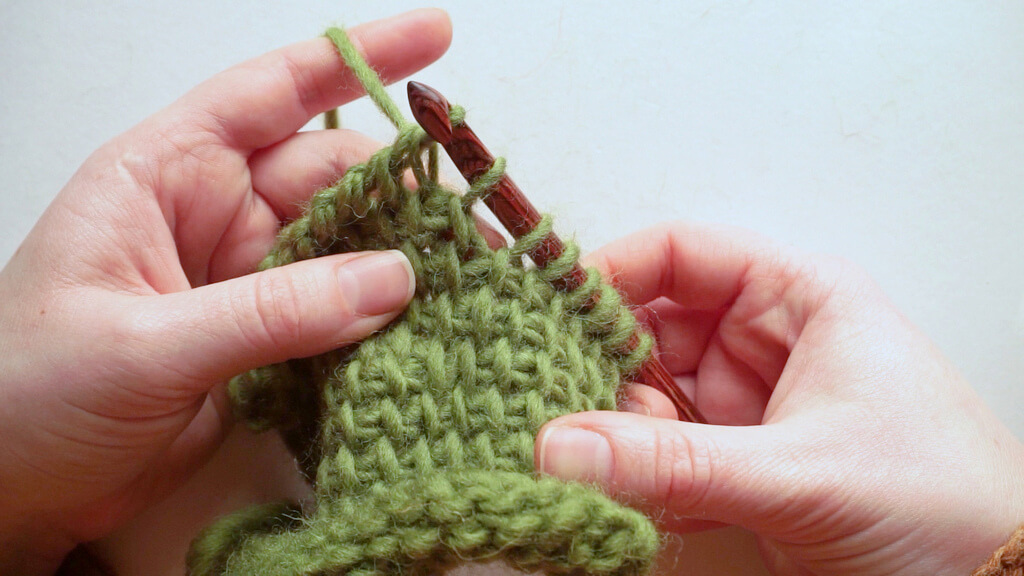
Take the hook out from the working loop and insert it into the stitch where the last loop on the hook originates (see below).
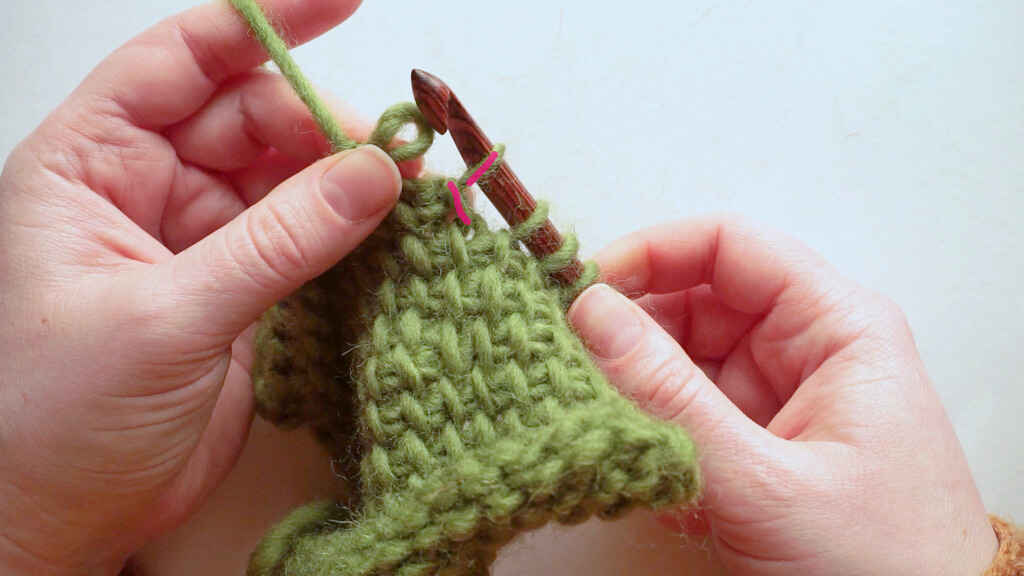
You will end up with what looks like a crossed stitch.
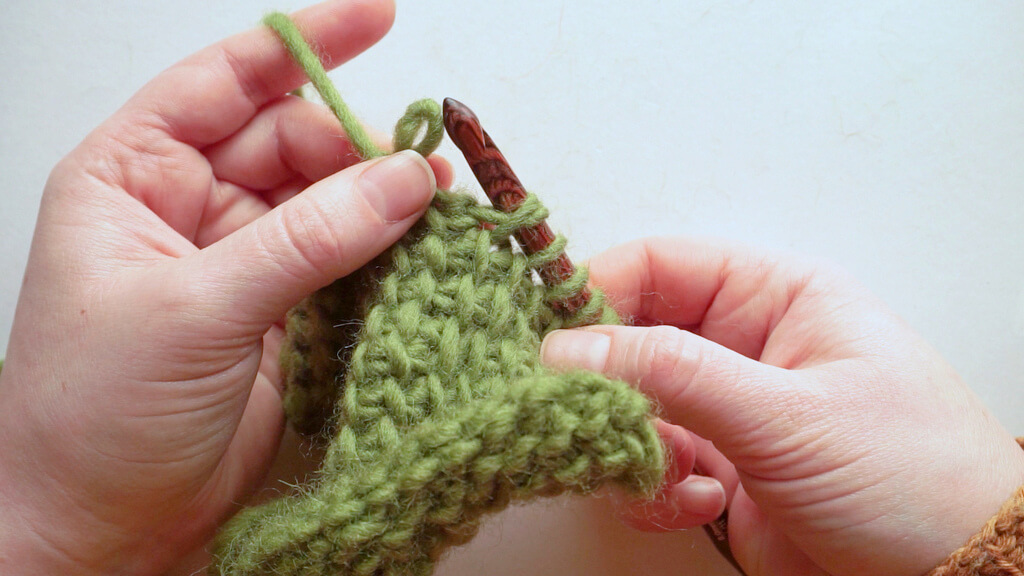
Put the working loop back on the hook, yarn over, pull through this crossed stitch, and then yarn over, pull through two to the beginning of the row.
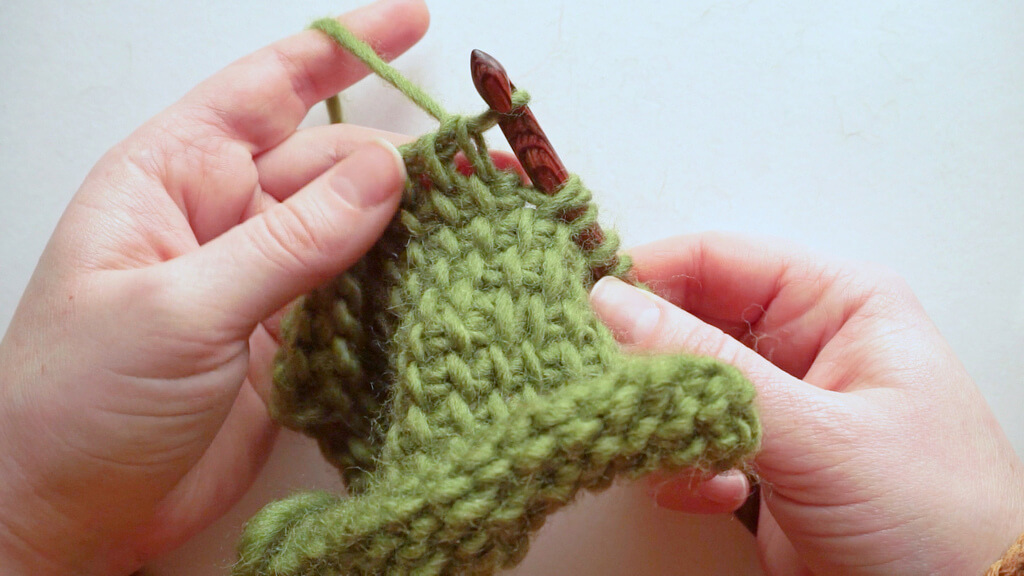
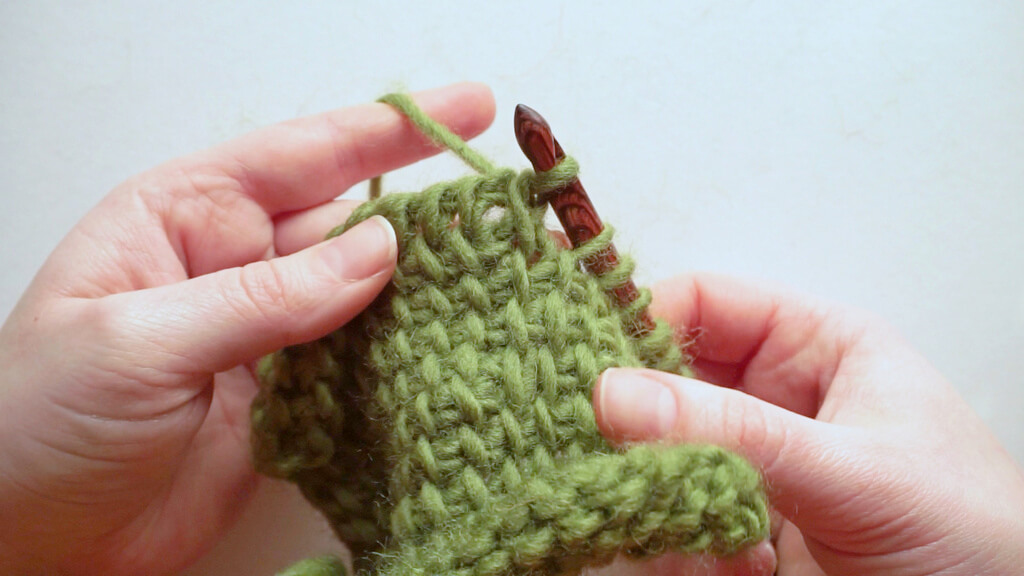
You can see that the crossed stitch “belongs” to both the short row and the full row above it.
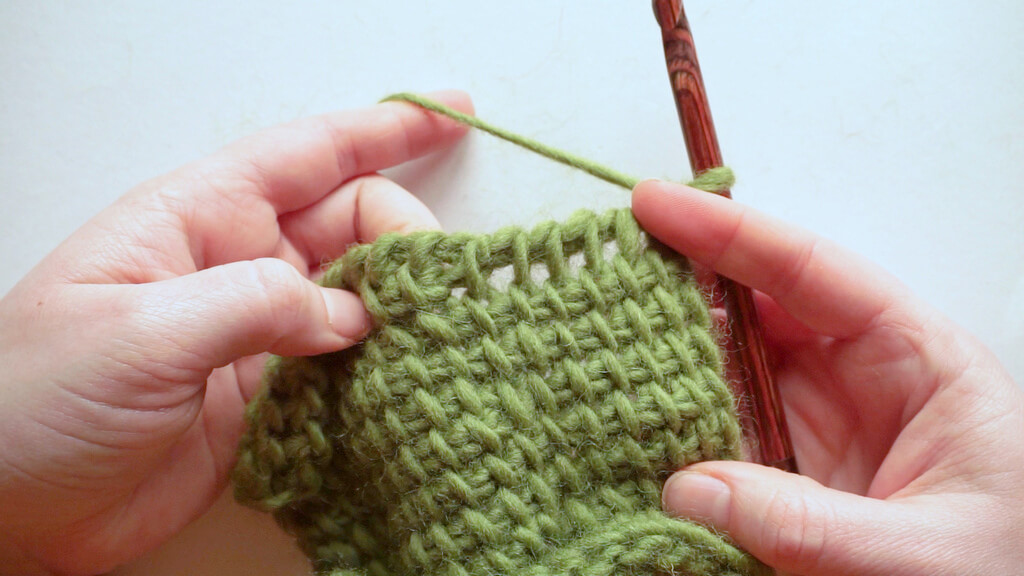
Pick up loops row the next row. When encountering the crossed stitch, insert the hook under both loops and pick up a loop.
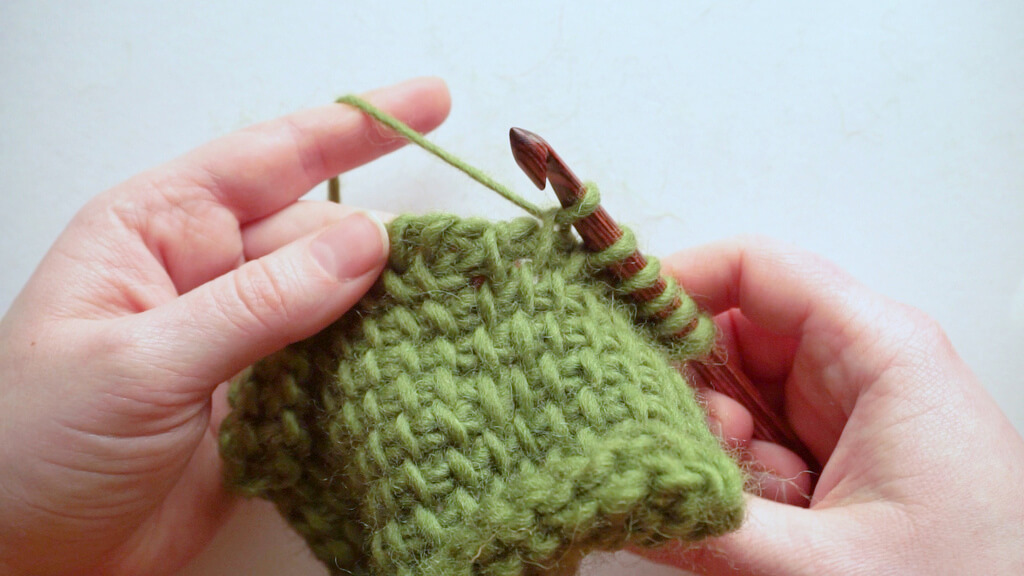
Continue picking up loops as usual and make a regular return pass.
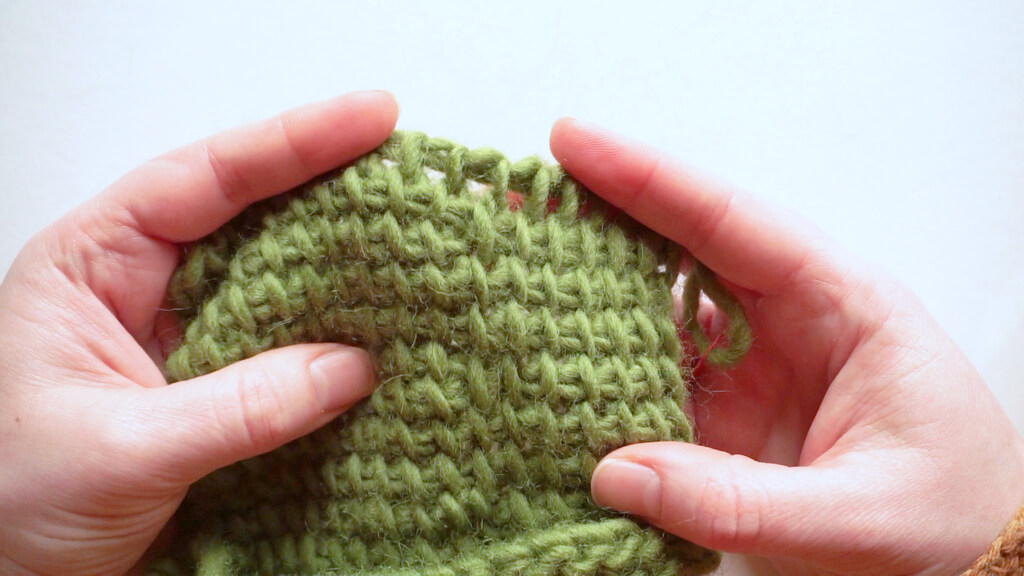
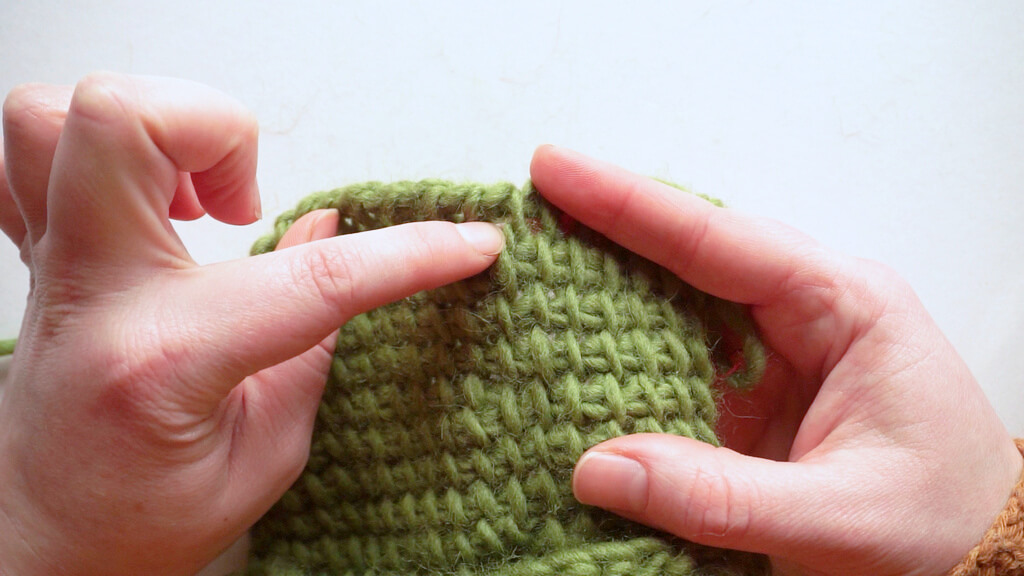
There will be a little bump on the fabric where the crossed stitch is, but other than that, the fabric is nice and you can barely notice the start of the short row.
Final thoughts on return pass short rows
I’ve been thinking about these short rows for so long now, I’m glad there’s finally a space for them to be detailed and shown with their pros and cons.
Let me know which one’s your favorite and what projects you have in mind using these short rows.
If you want to use these to make middle of row or center short rows in Tunisian crochet, check back in later, as I’ll write a tutorial for that as well. The video is done, but there’s a lot of writing that needs to happen because I’m going to give you stitch counts that you can adapt to your projects.
Subscribe to my email updates to find out when that article is ready and check out the blog for more Tunisian crochet goodness.
Lots of hugs,
Andrea
