This article will present in detail how to use Inkscape to draw crochet charts. It’s dedicated to you if you’re a crochet designer and want to start offering more than just instructions to your makers. This article is part of a series for crochet designers. Read more here.
Ready to try your hand at making your own crochet charts from scratch?
Then read on about this free vector graph software that many designers are using: Inkscape.
We’ll explore the overall experience of using it and the pros and cons of using Inkscape to draw crochet charts.
If you want to pin this post to read later, here’s a handy graphic.
Did you know I also offer charting services for designers? If you don’t want to spend the time and the money to learn how to make your own charts, you can also hire me.
Here’s my full portfolio of services for drawing crochet charts and schematics for crochet patterns:
How do you get Inkscape?
Don’t be fooled by the “free” aspect of this piece of software, as it is also open source and developed by a great group of programmers who pour their hearts and souls into this project.
It is available for all platforms (Windows, Linux and MacOS) and it’s still under development, so it becomes more powerful as time goes on.
You can find out more about it and download it here and there’s even a very handy page full of information, including tutorials that will get you started on the path of learning how to use this amazing software.
There are also video tutorials created by members of the community, for most of the questions you may have.
It takes some time and commitment to get used to the controls of this application, but once you do, you’re on the way to creating wonderful, complex graphs that people can easily read and understand.
Using Inkscape to draw crochet charts
When you start up the application, you are greeted by a blank page and some panels with tools.
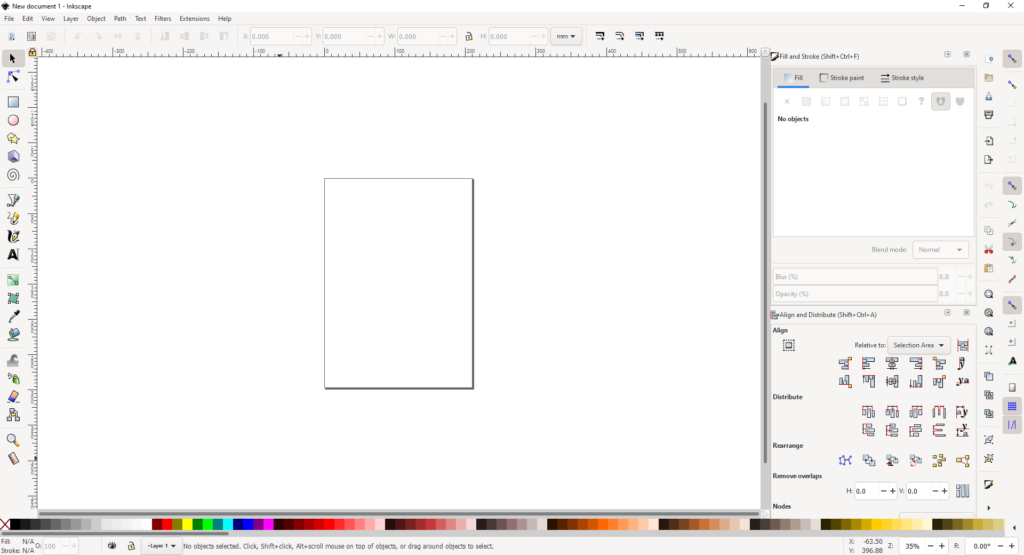
You can always turn some of these on or off, but the ones I find essential for creating graphs are Fill and Stroke and Align and Distribute, since you’ll be working with strokes and copying and pasting, then aligning a lot.
In the following example, I created a stitch (a double crochet in US terms or a treble crochet in UK terms) and changed the color and stroke style.
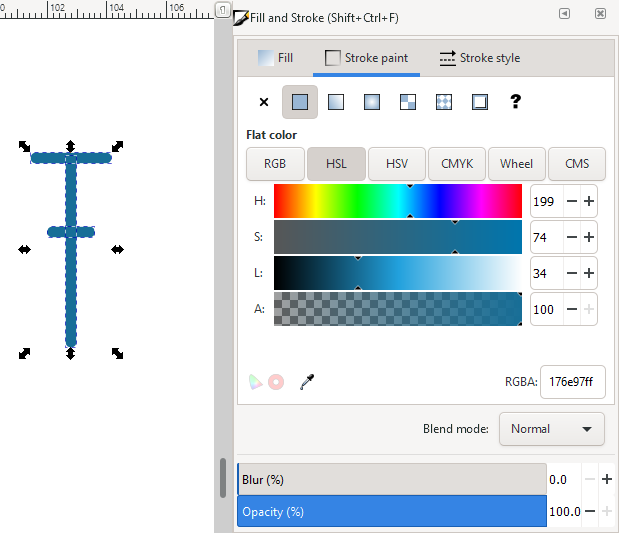
I’m showing one of multiple ways of choosing the color of your stroke. Pick something that’s easy on your eyes, as you’ll be seeing this color a lot while you build up your chart.
The second example shows the changes I made to the stroke style: the width of the stroke and the cap style (from square to rounded because I prefer rounded).
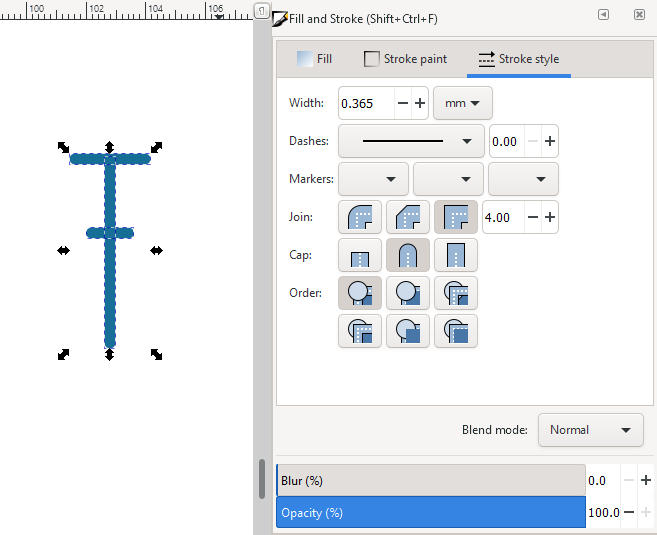
You may change whatever aspects you want in your own design, but the point is to keep it consistent across all of your stitches.
Making up your own stitches
For every stitch, you need to create a symbol. Use the standard symbols for basic stitches and then combine them to create your unique stitches.
You should make all the different stitches using the same style.
- If you choose a specific thickness, stick with that.
- If you choose rounded caps, stick with that.
- If you choose uniform thickness, again, stick with that across all of your stitches.
The advantage of doing this is that once you build up a few stitches (the ones you use most often) and make a couple of graphs, you’ll just be able to use previous graphs as templates for the new graphs and everything will be so much easier.
You will need to draw all of your own stitches in relation to each other. Make sure they are not too tall or too wide.
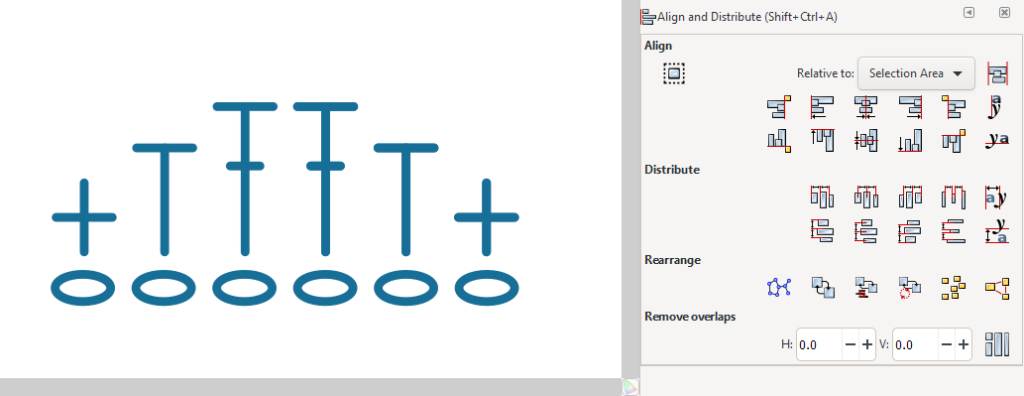
Imagine what the stitches look like in real life and try to get those proportions, even if you’re just drawing sticks. They should occupy a similar space as real stitches of the same kind.
Sometimes this is not feasible due to space limitations on the page or the odd shape of your creation – you can take some creative liberties there, but it’s important to begin from something close to reality.
You can use the stitch drawings from Stitch Fiddle or Crochet Charts as examples for the basic stitches, then add your own details to custom stitches.
As long as you explain in words what each special stitch is made up of or if it’s consistent with the other standard stitches, then you’re good.
Slight variations in style from one designer to another are to be expected, but don’t go on inventing new symbols or terminology for stitches that already exist.
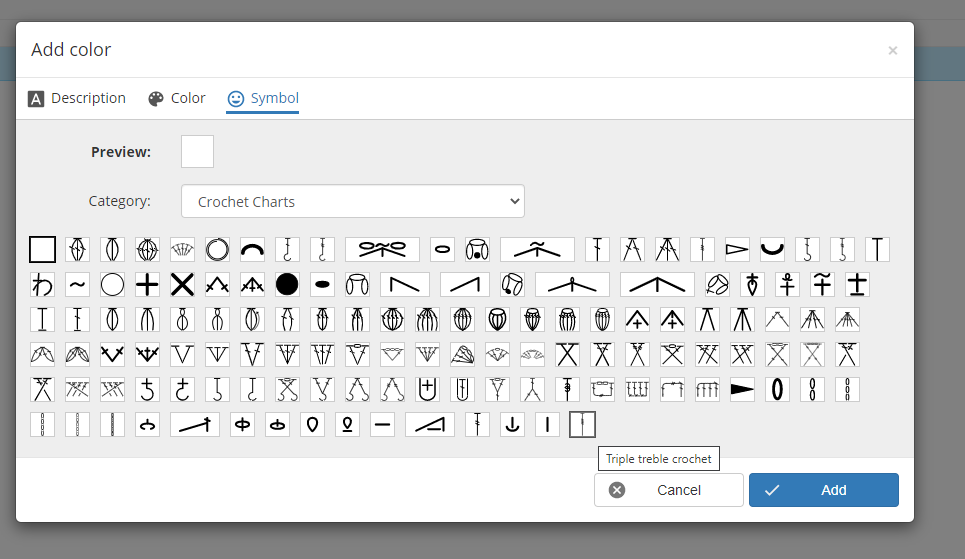
If you are unsure if a stitch already exists and if it has a name, ask in the community (this is one example of a designer community group on Facebook – if you know of other active groups, especially on other platforms, please let me know so I can link them here).
We’re always happy to help and to learn from each other.
Combining the stitches
Once you have all your stitches drawn up, it’s time to mush them up into a pattern (kidding about the mushing part, please don’t mush up your stitches).
You have a lot of freedom here with regards to aligning things – you have a grid (edit the grid from File/ Document Properties/Grid), guides (including a diagonal guide and a guide lock that’s not even a feature of Adobe Illustrator – I’m impressed) and all the alignment and distribution tools in the dedicated panel.
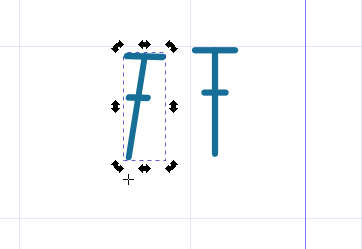
You can copy and paste your stitches, rotate and shear them to place them in their proper shapes.
Click on the stitch twice and you’ll get some handles for rotating and shearing them, plus a crosshair that you can move to change the point around which you will rotate or shear your stitch.
As before, it’s best to have a hand-drawn sketch before you start working on the digital version, so you know more-or-less where your stitches should be.
You could even scan (take a photo of) your sketch and add it as a locked layer in the background, to help you with the stitch placement. It’s all possible.
Keyboard shortcuts
Learning keyboard shortcuts is essential if you’ll be working on charts a lot. They will make your life easier and safe a lot of searching for tools and setting.
If you want to try out some keyboard shortcuts to use with Inkscape, you’ll find them here in all their glory.
Just don’t be overwhelmed by that enormous page, you’ll probably only use a handful most of the time.
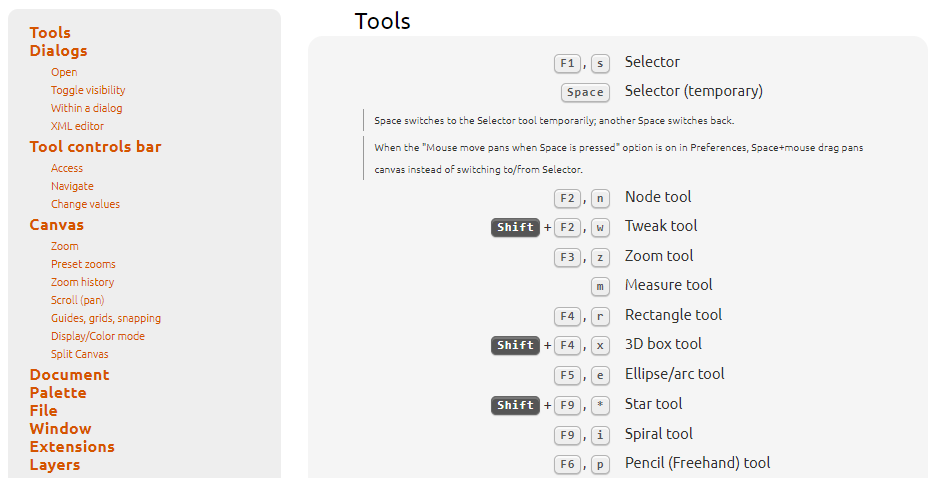
Begin with the tools you use most often and don’t forget the keyboard shortcuts you already know (copy, paste, undo, save, select all are almost universal keyboard shortcuts).
Now let’s see some pros and cons of this awesome software that I just discovered is actually more awesome than I had expected.
I’ll be comparing some features with Adobe Illustrator, which I’ll discuss in more detail in another article dedicated to it, since these two are the most well-known and commonly used vector graphics applications.
Pros and cons of using Inkscape to draw crochet charts
Pros
- Free and open source – this means that it’s free for you to download and use for any purpose and you can even help the developers by providing feedback;
- Available on multiple platforms – if you have a computer or a laptop, you can install it, no matter what operating system you have;
- Lots of tutorials – you can start learning how to use the software right away with detailed instructions and tutorials;
- Layers – you can add your sketch as a background layer and work on top of it or add multiple layers of stitches;
- Custom stitches – build your own stitches with as many details as you want;
- Stitches in your own style – you can customize your stitches in any way you like, including thickness, roundedness, angles, colors;
- Align and distribute features that surpass those in Adobe Illustrator – you can distribute objects based on more than the middle points in both directions – this is especially important in creating crochet graphs;
- Some tiny features (like rotate and shear when selecting and object twice, diagonal guides and an actual guide lock on screen) that are missing in Illustrator and make your life as a designer much easier;
- It’s possible to use the characters from the crochet font created by Adriana Hernandez that you can buy from here, but you still need to learn which character is which symbol and you also need to adjust the size of each individual character;
- You can also create other illustrations for your pattern, such as: pattern pieces, specific shapes with measurements, illustrations of your pattern while laid flat or anything else you can think of.
Cons
- Steep learning curve;
- You need to draw your own stitches and be consistent about it;
- The duplicate while dragging feature needs some work because it can throw a lot of errors (tap the space bar while moving an object to place a copy somewhere – it works, but not really) – so use the copy/paste or duplicate option (Ctrl+D);
- The interface takes some getting used to, especially as you have multiple handles for things that are supposed to be paths with zero thickness (but that may be strange only for me because I’m used to path handling by Adobe Illustrator).
If you find more pros or cons for Inkscape, please let me know in the comments and I’ll add them to the list.
Wrapping up
Now I hope I’ve convinced you to give this awesome software a go if you’re planning on making anything more complex than what Crochet Charts can handle.
After a little bit of learning, you’ll be making up crochet charts faster than you’ll be able to crochet them. You can’t copy and paste yarn stitches, after all.
If this article has convinced you to try Inkscape, do let me know how it’s working for you and if you’d like an actual tutorial for a simple crochet chart from start to finish.
Did you know I also offer charting services for designers? If you don’t want to spend the time and the money to learn how to make your own charts, you can also hire me.
Here’s my full portfolio of services for drawing crochet charts and schematics for crochet patterns:
If you want to read about other pieces of software that I’ve reviewed with the idea of crochet design in mind, here’s the series of blog posts dedicated to this topic, among other topics relevant to crochet designers:
Designing a crochet pattern – my entire process
Project diary – Calliandra round yoke top
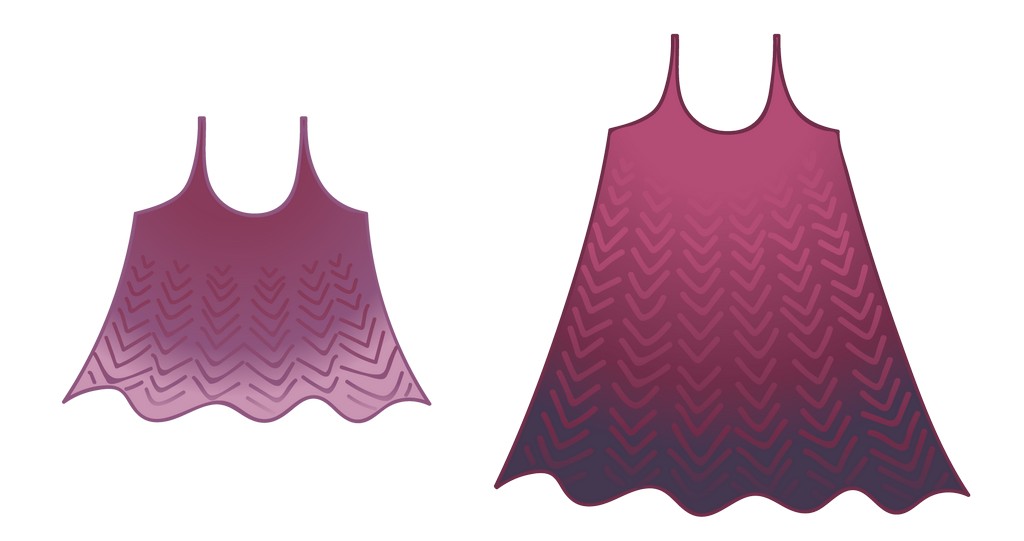
Frilly summer top in Tunisian crochet – project diary
Slate etching Tunisian crochet sweater – project diary
Sempervivum shawl – project diary
How to remove sizes quickly in crochet or knitting patterns
If you’re rather planning on making colored charts, I would recommend you check out Stitch Fiddle instead.
Or, if you don’t want to learn about vector graphic design and can’t be bothered drawing your own stitches, you could try Crochet Charts, another free application that can be used for the same purpose.
I hope all of this information is useful to you in your design journey and please let me know if you have any questions or pros and cons to add to the lists.
Happy hooking!
Andrea
If you want to keep up with news only for designers, with articles just like this one, sign up here.
Otherwise, you can sign up to the general list and get a free pattern.
If you sign up to the general list, you’ll also get updates for designers.

Super helpful! I’ve been looking for crochet specific info for inkscape and there isn’t much out there. A video tutorial would be great!
Thanks, Alyssa!
What exactly would you need in the video tutorial? How to make a basic stitch chart?
I usually work in Illustrator for my charts, but I’ve never done a screengrab tutorial before, it would be a challenge.
Please try out the software and let me know exactly what you’d need.
Cheers,
Andrea