Follow along with the process of turning an old idea into a brand new Tunisian crochet sweater pattern, hopefully one that will be as timeless as it is comfortable.
Contents
My first Tunisian crochet sweater
This is an old project. It’s something I started in December 2019, while on a trip up north, at the Baltic sea. It’s been 4 years and I’m finally tackling writing up the pattern.
I had recently bought a bunch of colors of Diablo yarn from Hobbii, not knowing how it would behave (I’ve written a whole review of this yarn in the meantime).
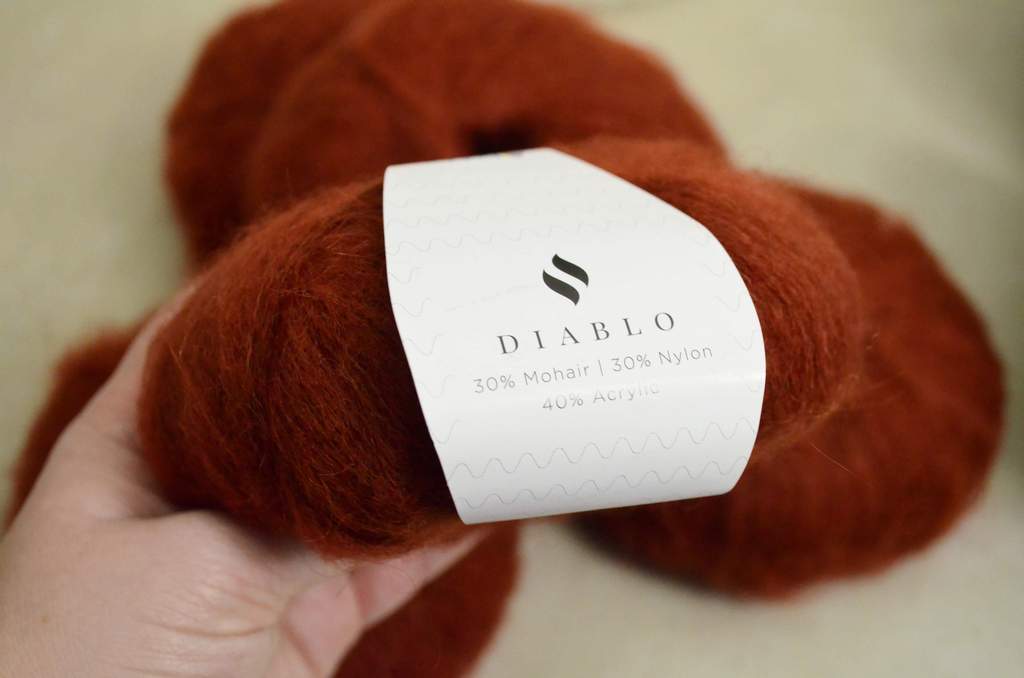
At a winter market in a nearby town, I found some yarn in a similar color at about DK weight, unfortunately 100% acrylic, but it felt nice. So I bought 4 balls of 100 g and paired that with the Diablo.
This is one of my most favorite colors, so I knew I wanted to make a sweater. I didn’t plan much, just got the yarn and my 8 mm Tunisian crochet bamboo hook with a cable and got to it.
I worked on this project mostly in the car on the way to the seaside and back (yes, we do enjoy the seaside in winter, it’s almost as cold and windy as in the summer) and at some point I realized I needed do add some width to the body, otherwise the sweater wouldn’t fit.
(It ended up growing over time, so now it’s oversized, but oh well).
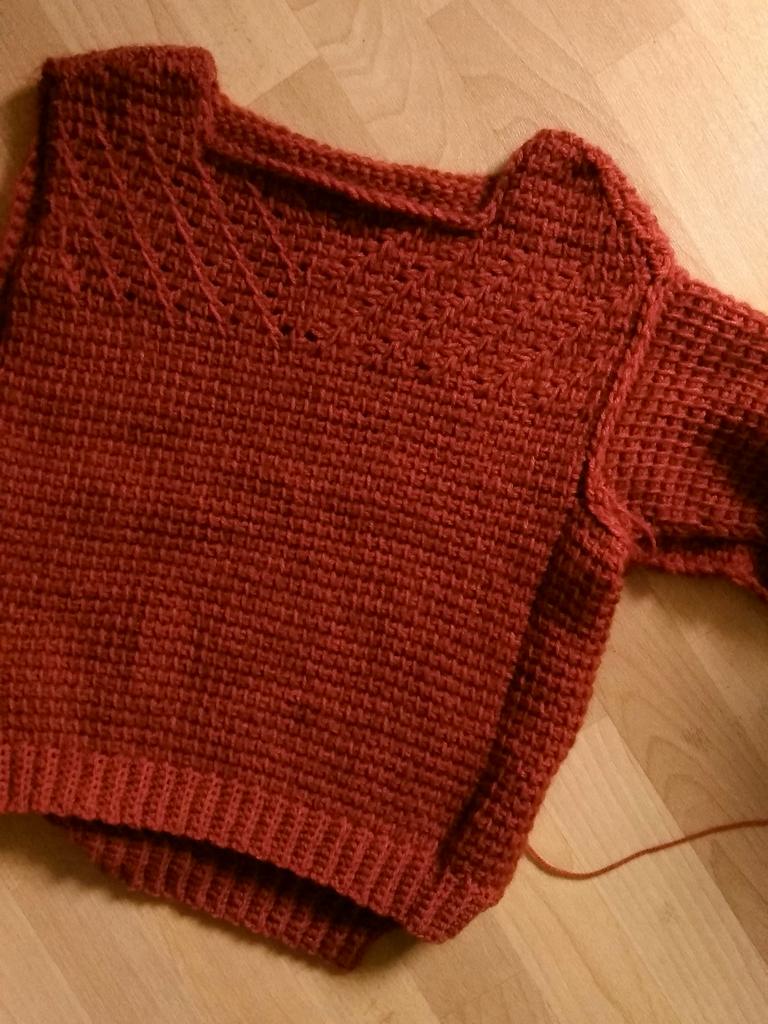
I used the opportunity of the side panel to create space for the underarm, so the final sweater came out as a modified drop shoulder, since the sleeves are flat at the top.
You can see from the assembly photo above that I didn’t know anything about seaming and made a mess of it, but the final sweater ended up fitting well and looking good and I’ve worn it a lot ever since.
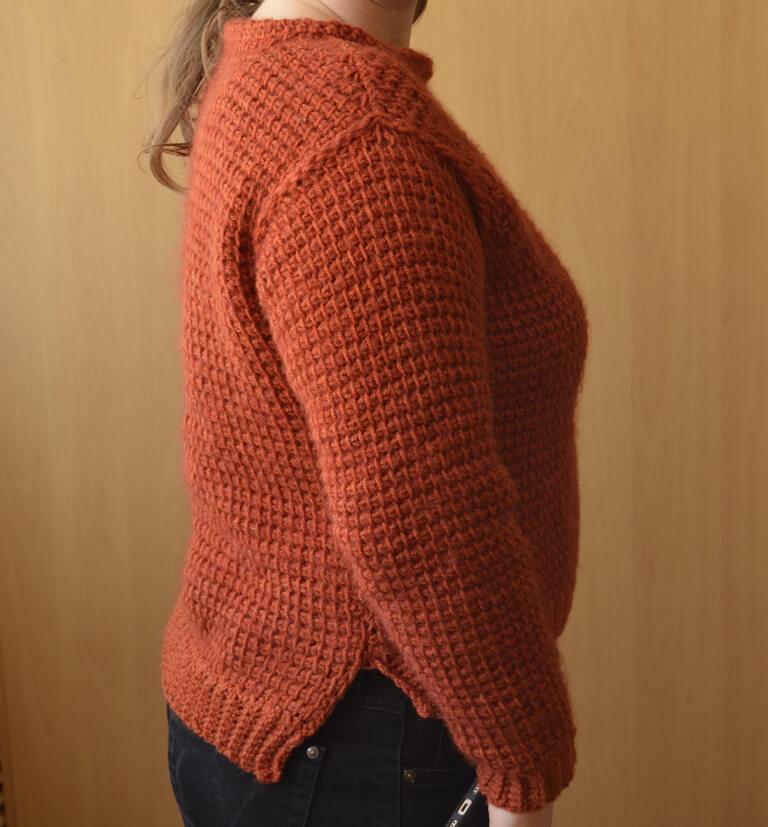

That’s despite the front that’s too short, the front neckline that’s a little too high, and the ribbing in which I didn’t use the Diablo yarn (I think I’d misplaced any remnants of this yarn by the time I got to making cuffs).
Pattern writing block
I’ve been sharing photos of this project every time someone asks for examples of garments made in Tunisian crochet. And invariably, every single time, someone asks for a pattern, then I disappointingly answer that there isn’t one.
I haven’t been able to write a pattern for this sweater because:
- first, I had no idea how to write a garment pattern that is graded for a wide range of sizes,
- and then, after taking half a year last year to learn how to do this, I just didn’t have a sweater quantity of yarn that’s thick enough to make a second (better) sample to write up the pattern.
Now I know how to write and grade a sweater pattern, I know what pitfalls to avoid with designing necklines, learned from the Sporeprint sweater experience, and I have yarn to make it.
I didn’t buy any yarn for it, mind you, as I’m more prone to buying thinner yarn and not in sufficient quantity for sweaters, but my mom generously allowed me to extract any goodies I find in her extensive yarn stash while visiting last year in November.
It’s unraveled yarn from thrifted sweaters, don’t worry, I’m not bankrupting my mom. We have a shared passion for thrifting and remaking sweaters into different things. She has access to thrift shops, I don’t, so…
The second sweater
The yarn is a soft, heathered gray single-ply wool between DK and Aran in weight. I don’t believe in WPI, but if you do believe in that, it’s about 10 WPI.
I didn’t wash the yarn to remove the kinks. I got it in balls (courtesy of my mom having unraveled something) and caked them all to work from them more easily, then washed and blocked each piece as I finished it, to allow the wool to relax into the new shape.
The yarn is a little springy and very soft, so it works well for a sweater.
I used the 8 mm hook, like for the original sweater, and a modified grading spreadsheet from the Sporeprint sweater, to make things go easier.
It’s essentially the same shape, but with a deeper front neckline and with the lace on the top front side. I like wearing seamed sweaters and I like making them too.
I extended the lace up to where the shoulder shaping starts and I’m going to have a field day writing up the instructions for that part of the pattern for each size.
I think I’ll separate them all and write individual instructions because I had to make a chart to be able to make the front for my sample (size 2 because I don’t want ease).
Three pieces are now complete. You can see two of them below, the back and the front.
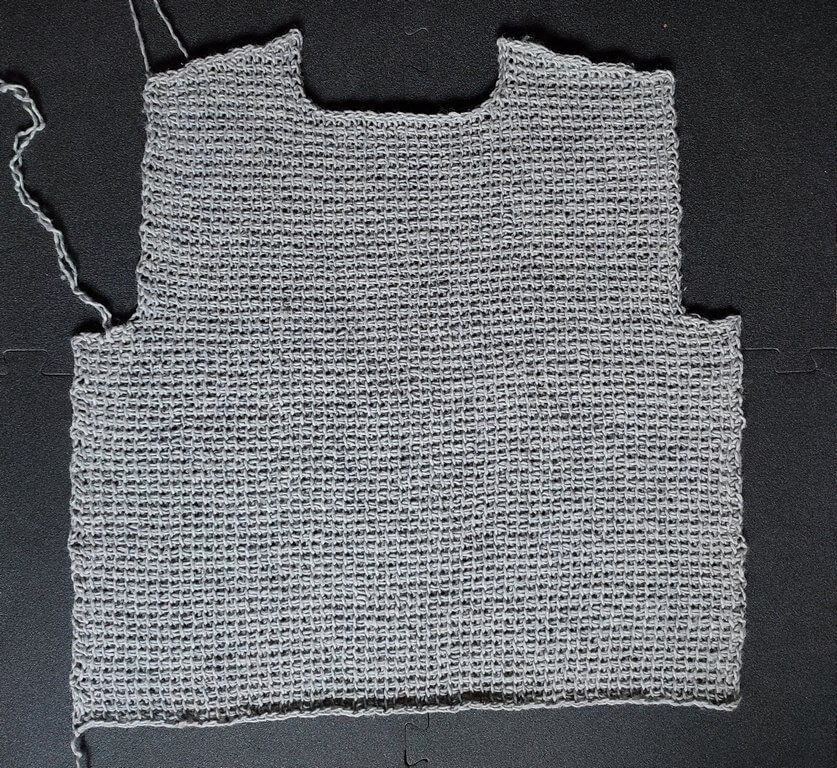
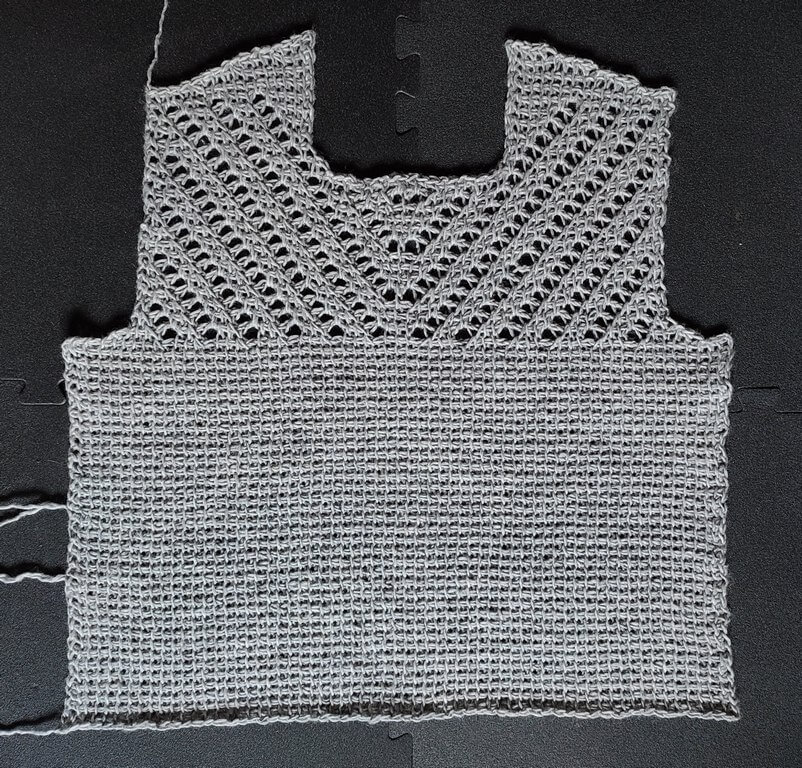
They look a little odd because the fabric was just relaxing after I took the blocking pins out and I really stretched the lace on the front piece, but it will bounce back.
One sleeve is also complete, but I just finished it and it needs washing and blocking, and now I’m going to make the second sleeve, so I can finally assemble this sweater and start making the cuffs and then on to writing up the pattern.
The good thing about starting out with a grading spreadsheet with all the measurements in there is that as you work on one of the sizes, all the other sizes are worked up automatically.
Writing it all up in a coherent pattern, though, that’s a different issue. But I’m up for it because I know I can do this. I’ve done it before with the Sporeprint sweater, so this should go smoothly.
At least until we reach the lace part on the front. That’s going to be a challenge.
But that’s a challenge for later me. I want to get this pattern finished and tested by September. Yes, it is January, but if you want a good quality pattern, you have to start early and give folks time to test (and hope they don’t abandon part way through).
I also have summer garments to grade, test and release before this one, but I’ll write up a different project journal for each of these.
Maybe acknowledging the sheer number of projects I’m supposed to finish will make me stop starting new things before other things are done. Here’s hoping.
New update coming soon when the sleeves are finished and blocked.
If you’re curious about more of these project diaries, check them out in their special category.
I’m updating these articles as things come up and progress is made, so you can follow along with me on the design journey and discover how an idea grows into a finished pattern in a crochet designer’s world.
21.02.2024 Update – The sweater is finished
I’m a bit slow with the updates, but as I finished this sweater and was concentrating on other things (like recovering from the flu), I forgot to add updates here.
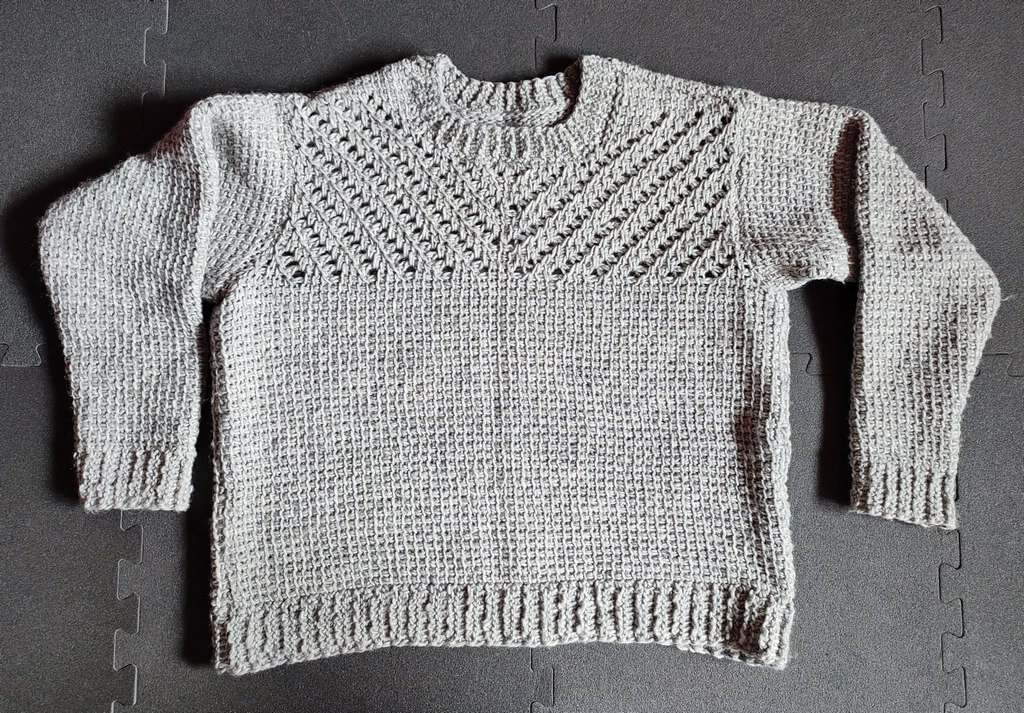
This is the front of the sweater. You can see I added a nice neckline using the same type of ribbing as for the sleeve cuffs and bottom of the body.
Since it’s an elastic cuff, it makes for a comfortable fit around the neck.
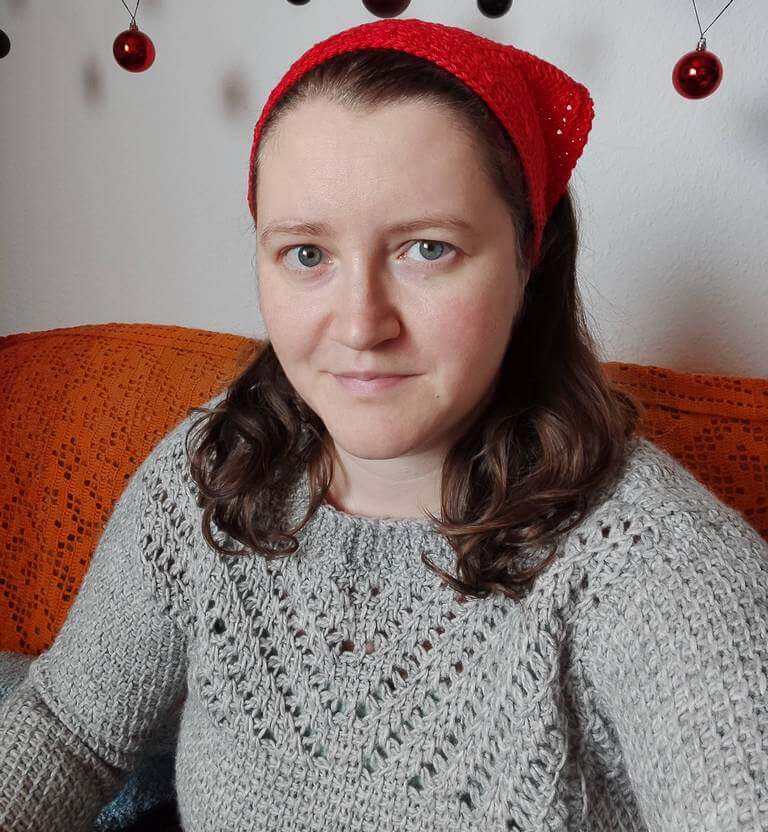
I wore the sweater a couple of times, including for this selfie in which I wanted to show what the latest bandana design looks like when worn.
It fits me perfectly and it’s extremely warm, which is why I haven’t worn it much over the past two weeks, as it’s been pretty warm around here.
Here’s the back of the sweater, without the lace.
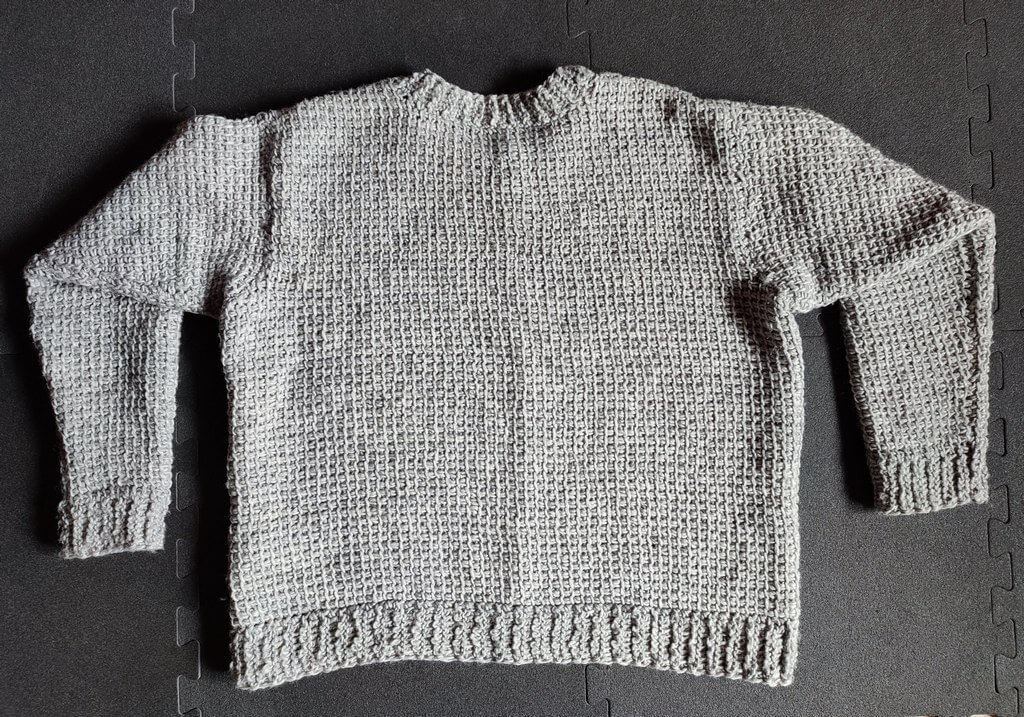
For both flat lays I had to fold the sleeves to get them to behave. They are not flat against the sweater, which makes them fit so well at the underarm, but which also means that I can’t take good photos of this sweater when it’s not on a body.
See for yourself. This is the sweater on a hanger.
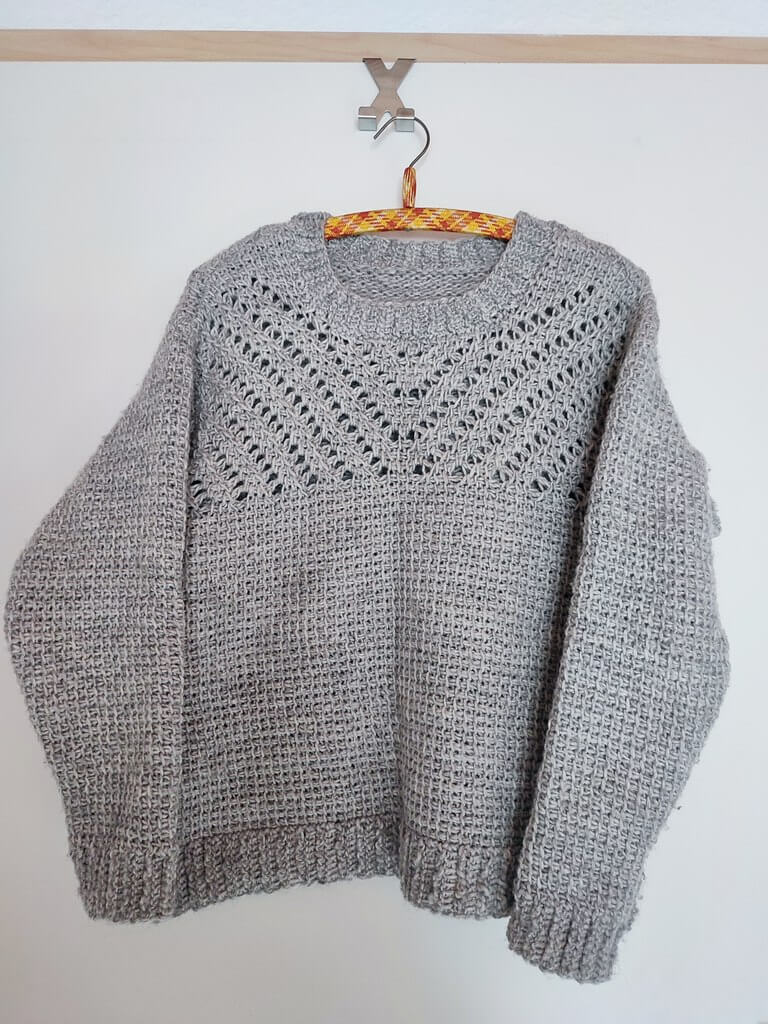
Now I would never store a crochet or knit sweater on a hanger because it tends to get distorted because of its weight, so I store it folded, together with all my other handmade sweaters.
This explains the crease you see in all of these photos. It goes away with wearing.
Now I’ll allow this project to hibernate for a few months, until I’m done writing up the summer garments that I have in plan to start testing in a couple of weeks. I really need to get on that.
I’ll make one project diary for at least one of them, so you can see what’s up, then I’ll come back and update here when that’s done and I can focus on autumn/winter designs.
Subscribe to my email updates if you want to know when I publish patterns, launch testing calls or publish video tutorials or become a Patron on Patreon to get one free pattern a month and get exclusive content, while supporting this work.
Have fun crocheting and I’ll see you around!
Lots of hugs,
Andrea
