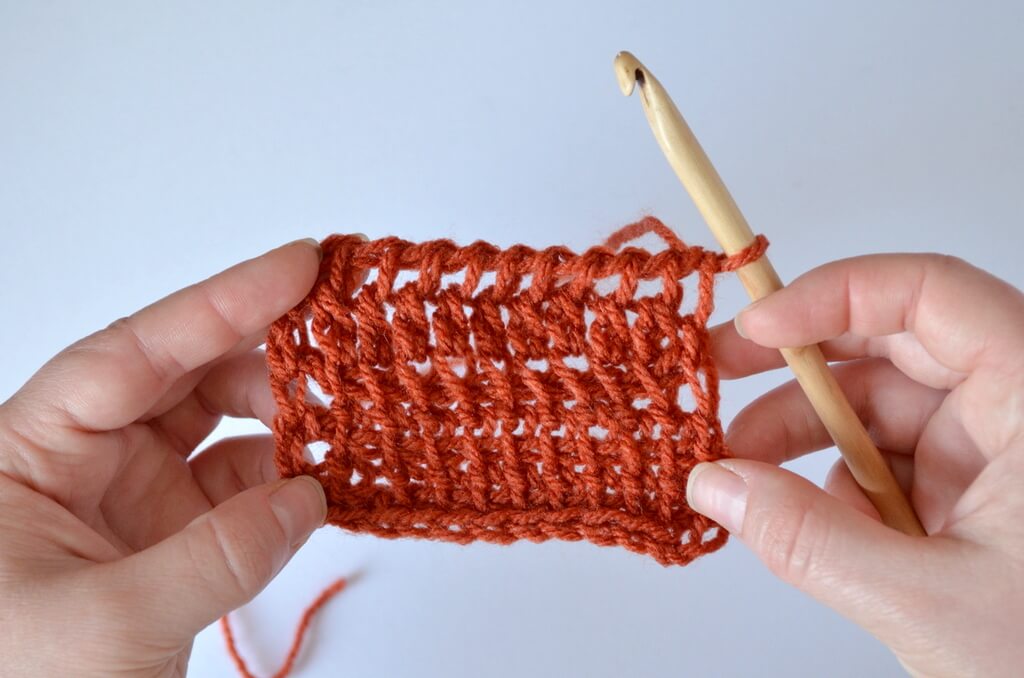
If you want to try adding Tunisian crochet extended stitches to your projects, check out this detailed photo tutorial and the video that will show you how to make three types of Tunisian crochet extended stitches.
Tunisian crochet extended stitches are slightly taller than Tunisian simple stitches, but not as tall as Tunisian crochet double stitches. You can make extended double stitches as well, just see below.
They are easily made by adding a chain after picking up a loop in the stitch on the row below. This way, you can extend any stitch that you know how to make.
You could even make doubly extended stitches by making two chains instead of one, the possibilities are endless.
In the video tutorial I show how to begin with an extended stitch foundation row, but you can begin working Tunisian crochet extended stitches over any foundation.
This post contains affiliate links that may earn me a small commission if you buy yarn or other supplies through them (buying through an affiliate link doesn’t affect you or the prices you see/pay).
Contents
Materials
To make this swatch, you will need yarn (start with a wool or an acrylic if you are a beginner in Tunisian crochet) and a hook that’s 2-3 mm thicker than the hook recommended for your yarn.
If you don’t know yet which hook to use for each type of yarn, I recommend getting a set of hooks.
Starting with a regular foundation row
If you want to start with a regular foundation row, you need to make it up by chaining any amount you want (let’s start with 10 chains), then you pick up loops in the back bumps of the chain.
When you reach the end of the chain, you start the return pass by first chaining one, then yarning over and pulling through 2 loops on the hook until the beginning of the row.
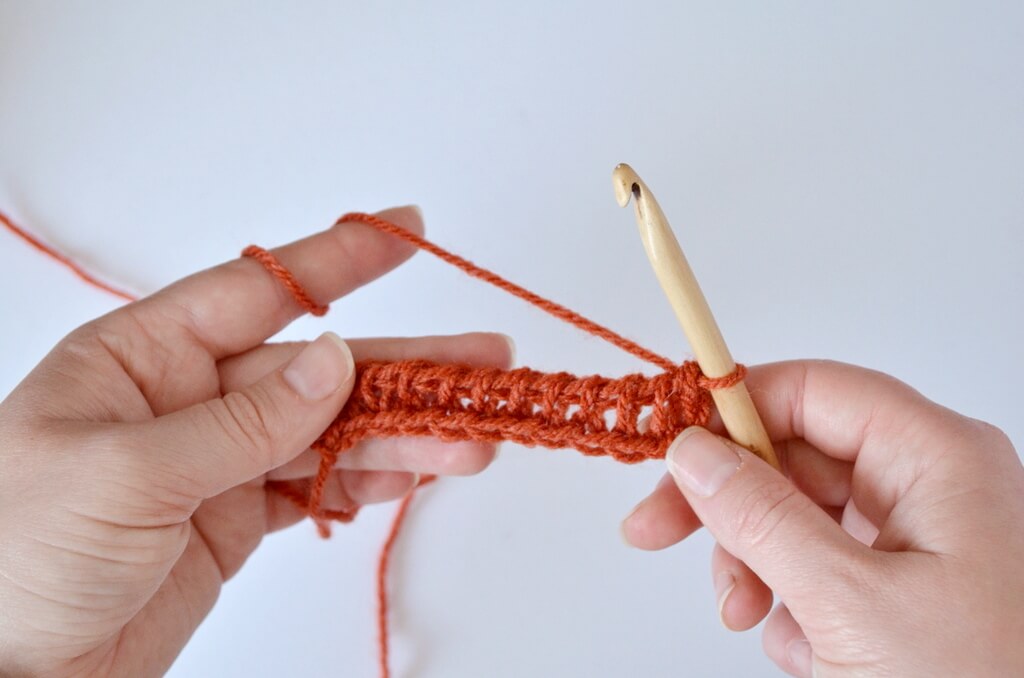
When your foundation is ready, you can start making the Tunisian crochet extended stitches.
Chain 1. Insert the hook behind the vertical bar of the next stitch, pick up a loop.
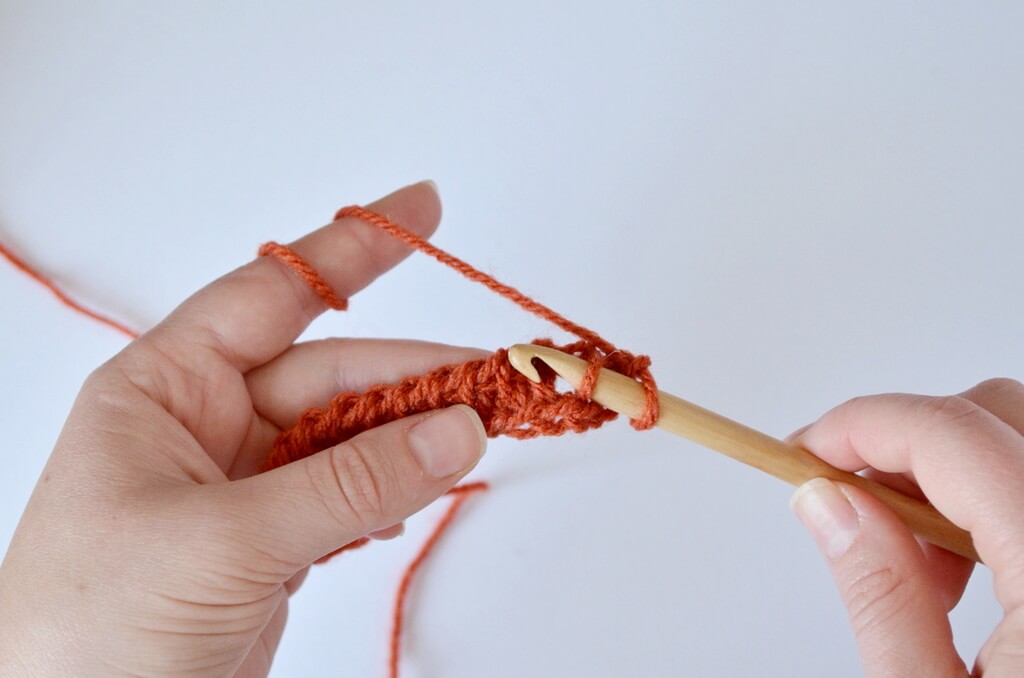
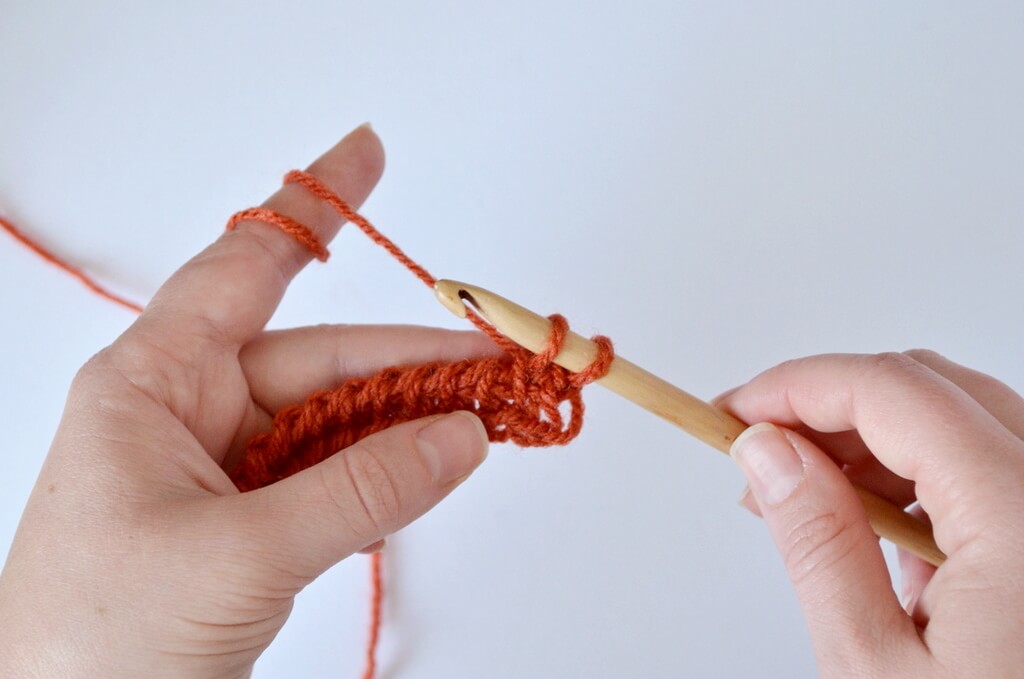
Chain 1. One extended simple stitch is completed.
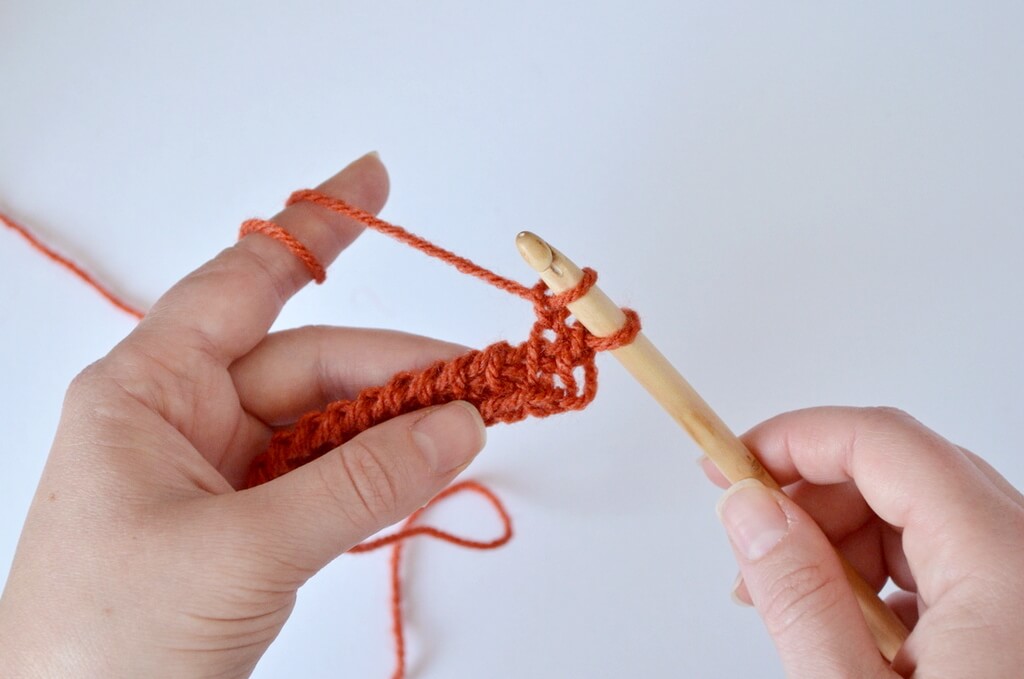
Now you should have 2 loops on the hook.
Pick up a loop behind the vertical bar of the next stitch. Chain 1, ending up with 3 loops on the hook.
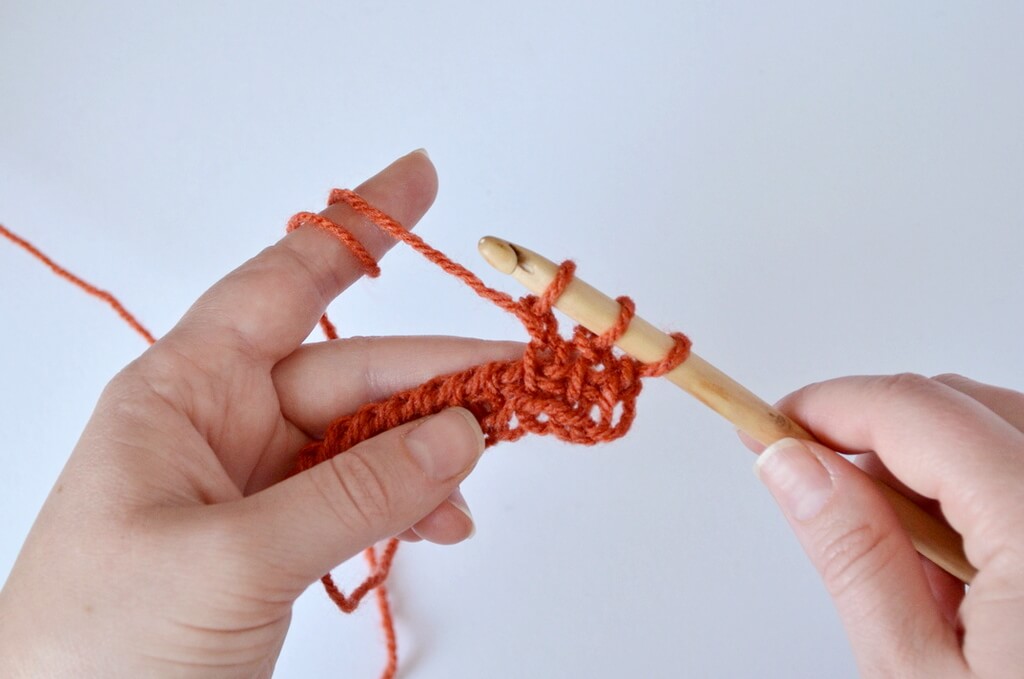
Continue working like this until you have 11 loops on the hook.
Insert the hook behind the 2 vertical bars at the end of the row to make the last stitch. Ch1. Now you should have 12 loops on the hook.
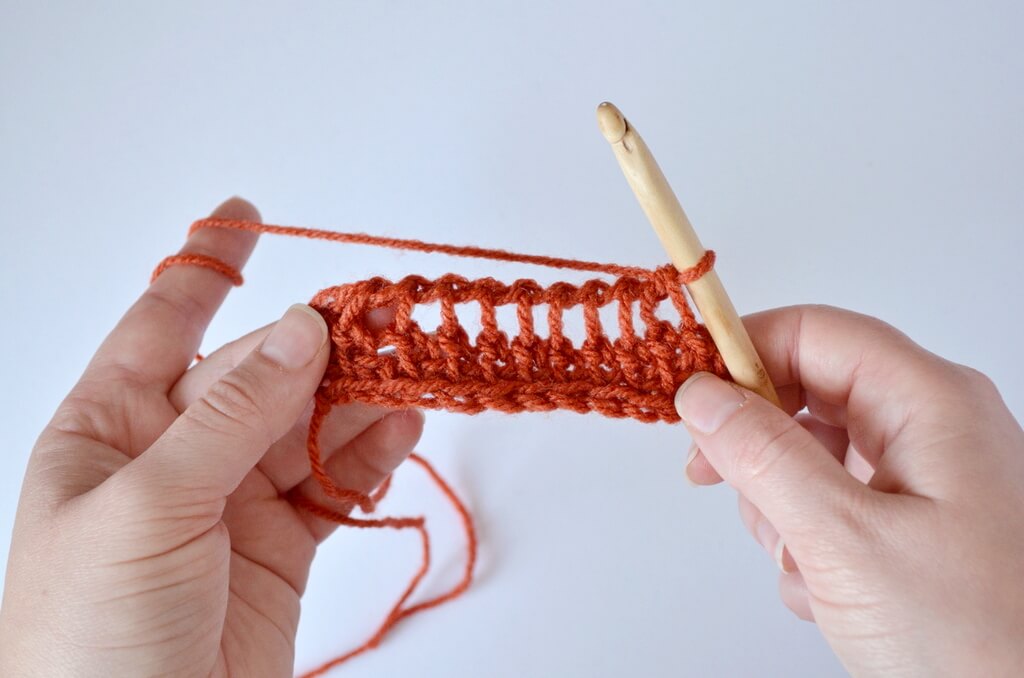
Ch1, repeat [YO, pull through 2 loops on hook] until you are left with a single loop on the hook to do the return pass.
Second row of Tunisian extended stitches
To continue the pattern, regardless of which method you choose for the foundation row, you always start with a Ch1.
Then insert the hook behind the top vertical bar of the next stitch on the row below and pull up a loop. Ch1.
Continue with picking up loops and making a Ch1 after you pick up each loop, to the end of the row.
At the end of the row, insert the hook behind the two vertical bars on the top part of the last stitch and pull up a loop. Ch2, then continue with the regular return pass: repeat [YO, pull through 2 loops on the hook] until only 1 loop remains.
Continue repeating this pattern until your project is the desired length.
Binding off Tunisian extended stitches
Binding off these stitches is not much different from Tunisian simple stitches.
You no longer Ch1 at the beginning of the row, but insert the hook behind the top vertical bar of the first stitch. YO and pull a loop through both loops on hook.
Continue this until the end of the row, which should give an elegant finish to the top of your project.
Below you see a comparison between fabrics worked with Tunisian double stitches (on the left, in green) and Tunisian extended stitches (on the right, in orange).
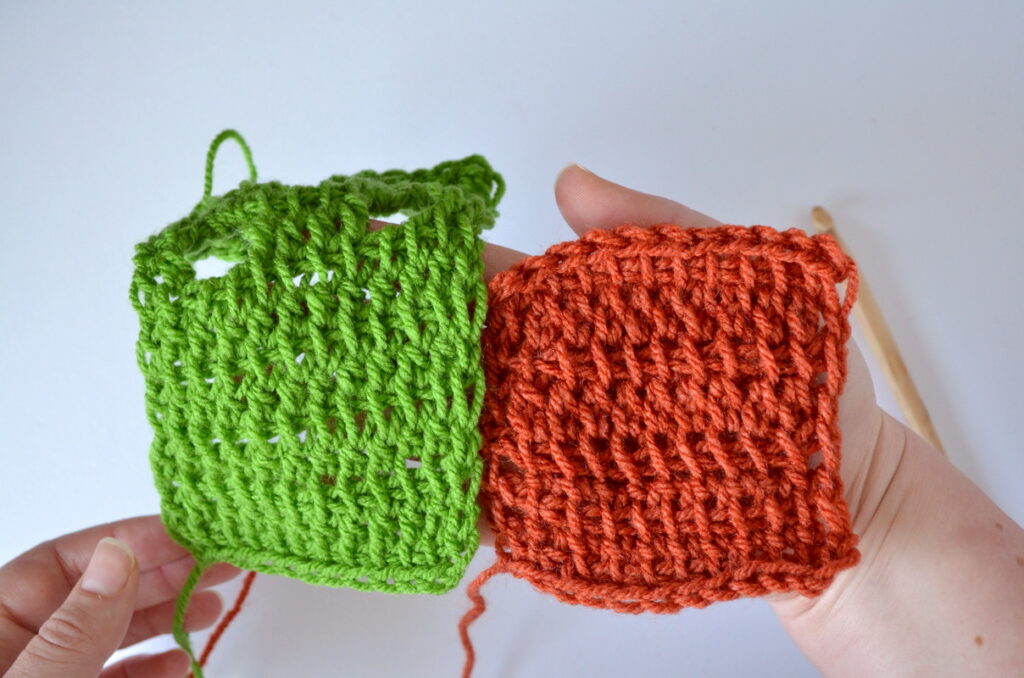
Note that the rows have similar height, but the texture of the stitches looks quite different. You also have extended double stitches on the right.
Variations
There are different ways of making extended stitches, just like with any other Tunisian crochet stitch. These will give your fabric a different appearance, depending on where you insert the hook.
If you want to, you can make extended knit stitches. In this case, you insert the hook between the vertical bars at the top of the stitch below.
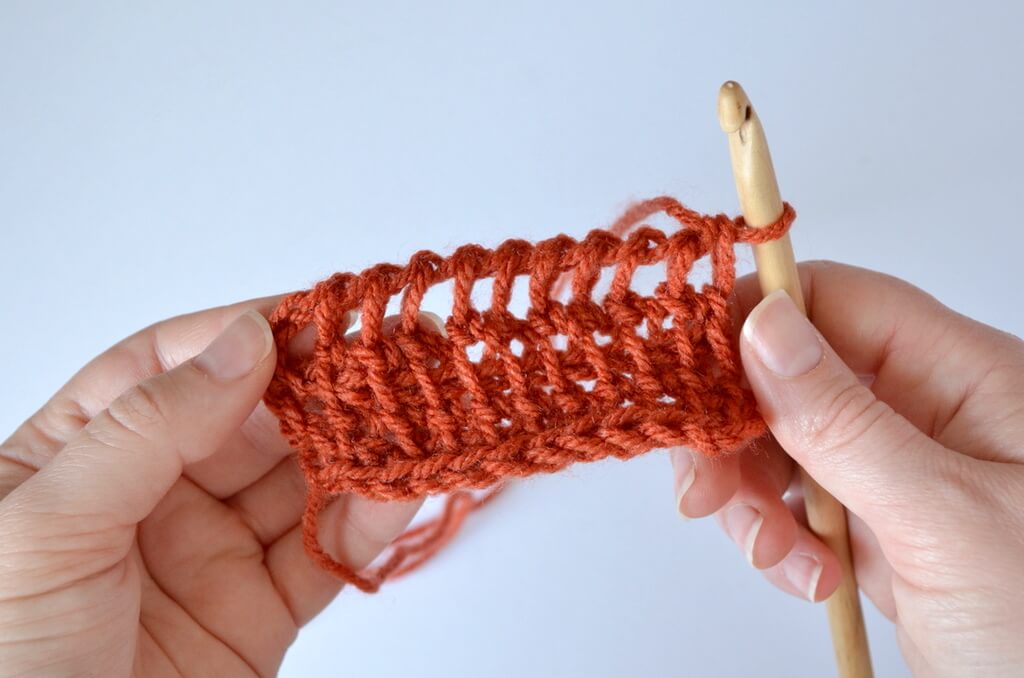
These extended knit stitches look different even from regular Tunisian knit stitches because you will not be working into them in the same way. You will have the appearance of two rows for every row, one tighter and one looser.
You may also choose to make extended double stitches.
For this, you first do a yarn-over, then insert the hook, pick up a loop, Ch1, YO and pull through 2, then leave the loop on the hook.
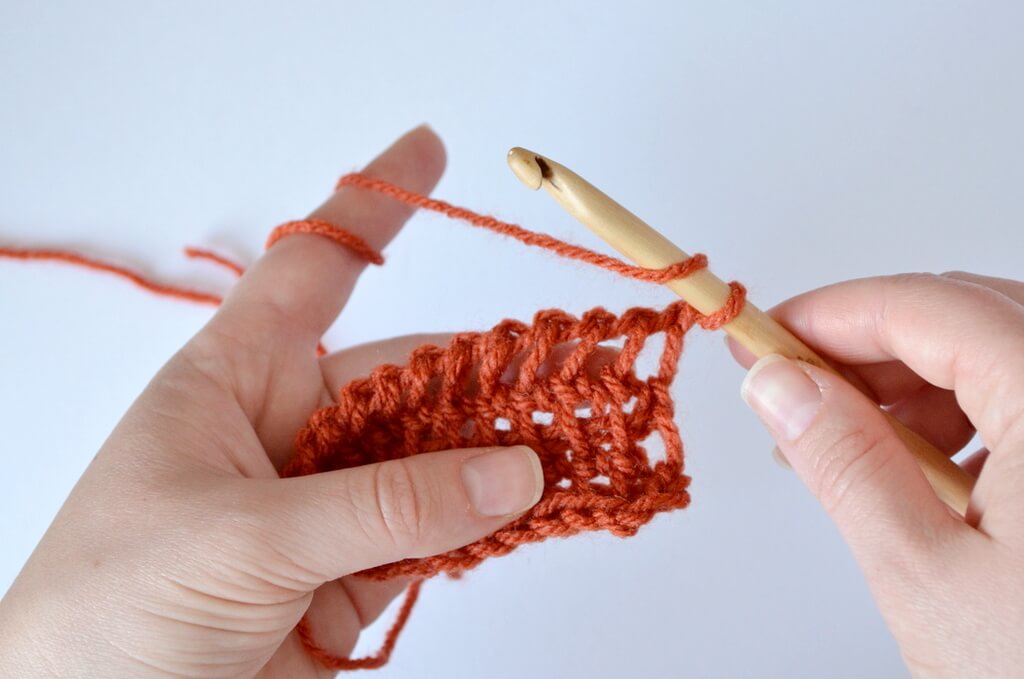
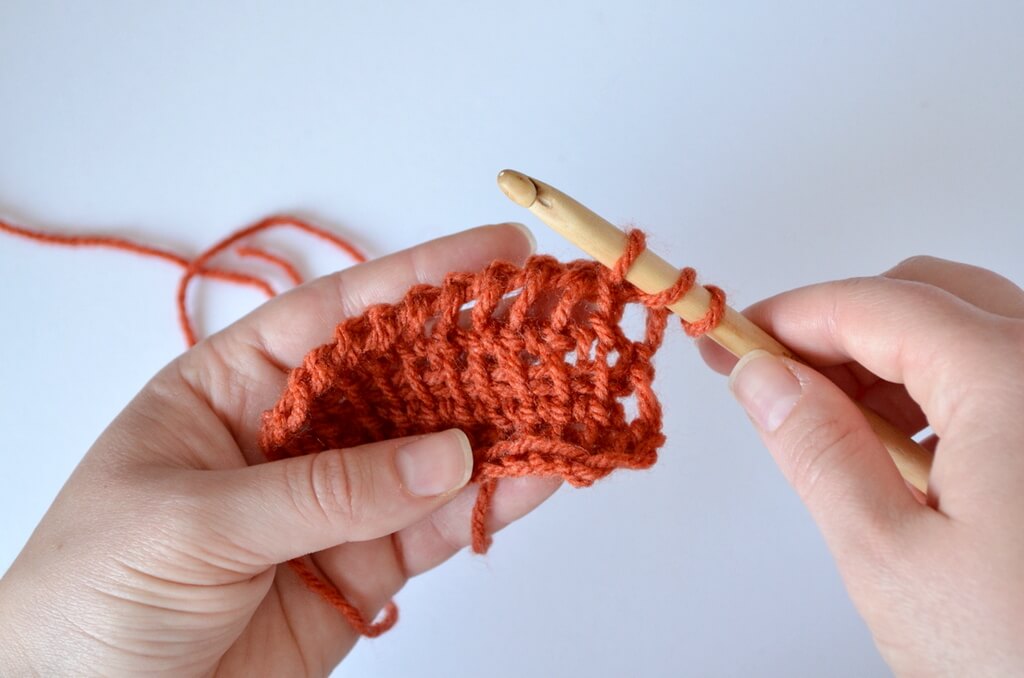
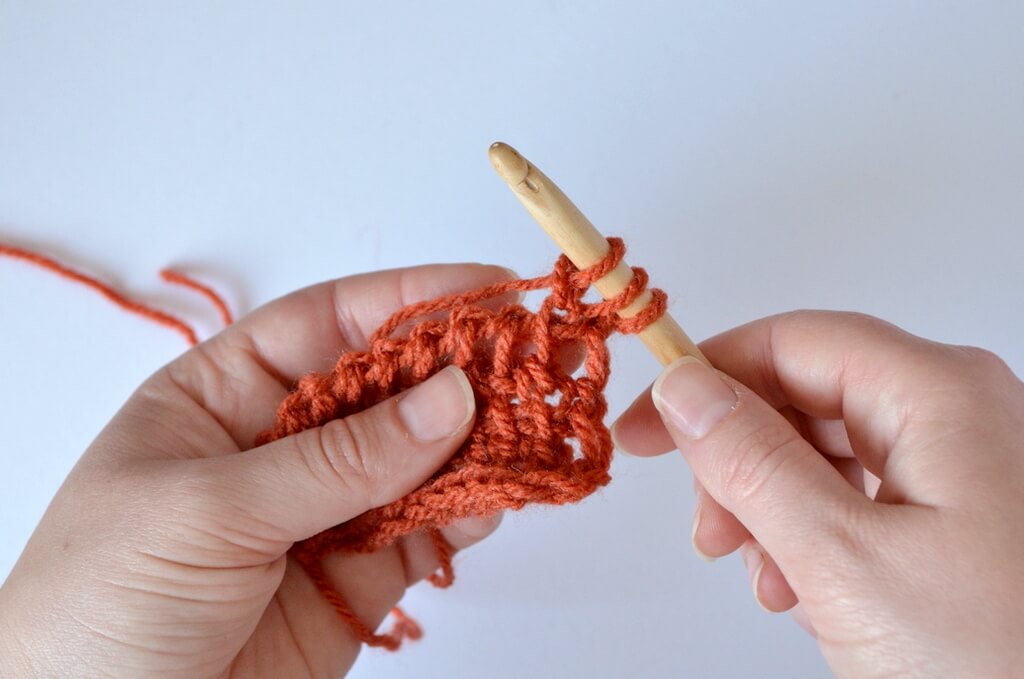
Continue like this until the end of the row. There, YO, pick up a loop behind the two vertical bars, Ch1, YO and pull through two to make the last stitch.
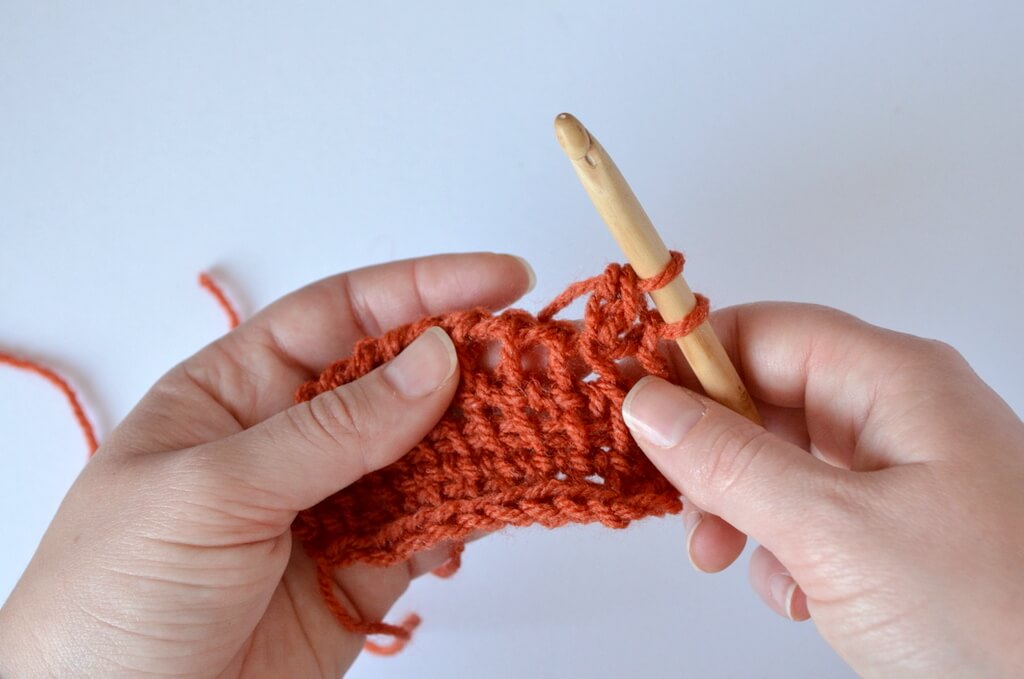
Then do the regular return pass, with Ch1 and YO and pull through 2 loops on the hook until you are left with one loop.
You can use this stitch in filet Tunisian crochet, for which I will soon have an article available.
Video about Tunisian crochet extended stitches
If you would rather follow along with video instructions, here’s the video about the extended stitches. Or click on the thumbnail below. Don’t forget to subscribe to my channel if you want to know when I publish new videos.
Projects with Tunisian extended stitches
Right now, I have no patterns that use extended stitches. I have a pattern in progress, but I don’t know when it will be finished.
Extended stitches are really useful when you want a flat fabric and when you want a quick project.
I could see blankets, both full-size and baby blankets, washcloths and kitchen towels, sweaters and ponchos, all made with this stitch.
What’s nice about the extended stitches is that you can easily shape items made with them. You can increase easily, by putting multiple extended stitches in the same stitch, or you can decrease easily on the return pass.
You could also try filet crochet with the extended double stitches. Sign up to my email updates if you want to know when that article is published.
Let me know in the comments if you know of any patterns that use Tunisian crochet extended stitches and I will make a list below.
I hope this article was useful to you and that you will check out other tutorials and patterns using Tunisian crochet that I have published here on the blog.
Corner to corner Tunisian crochet scarf pattern
Nordic star Tunisian crochet baby blanket pattern
Tunisian crochet cat ear beanie free pattern
Free wavy mosaic Tunisian crochet pattern
Feather and fan Tunisian crochet pattern for a washcloth
Tunisian crochet asymmetrical rounded triangle shawl tutorial
How to start a Tunisian crochet project in a magic ring
How to make different shawl shapes in Tunisian crochet
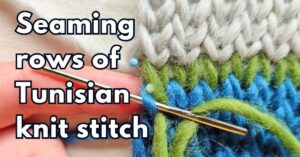
How to sew Tunisian knit stitch row to row
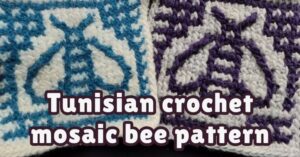
How to make a Tunisian crochet mosaic bee potholder
Please let me know in the comments if you are planning on making anything with these stitches soon or if you’d like a pattern to use with them.
I’ll see you soon.
Hugs,
Andrea



2 thoughts on “Tunisian crochet extended stitches – detailed tutorial”