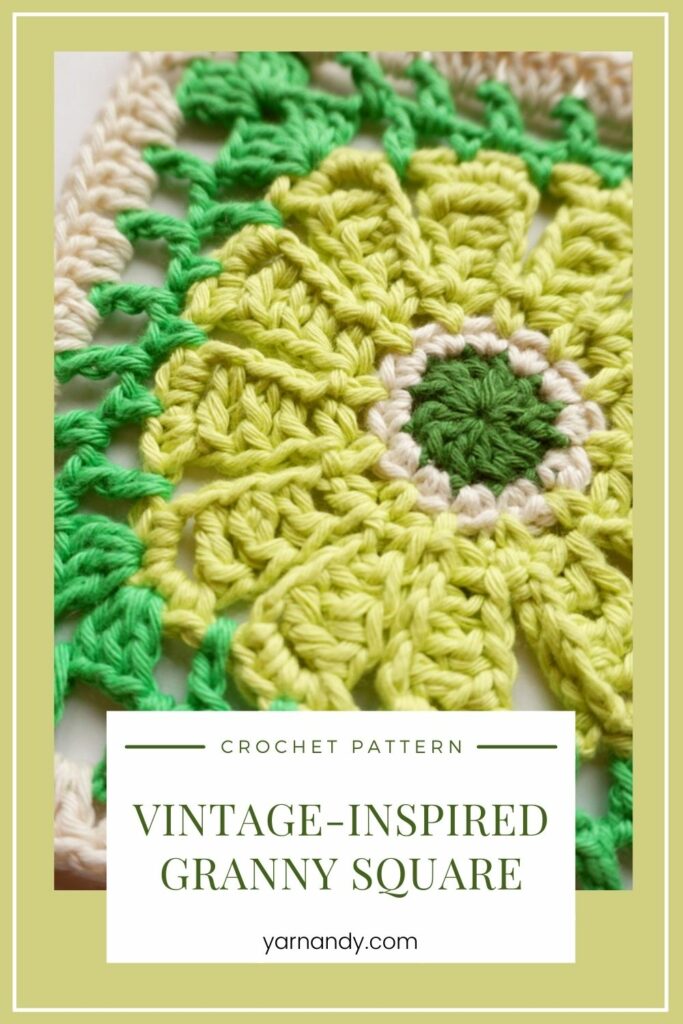
Here is another vintage granny square crochet pattern inspired by a couple of photos of a blanket.
If you like vintage crochet blankets made with squares of different designs from the basic granny square, here’s one with a flower in it.
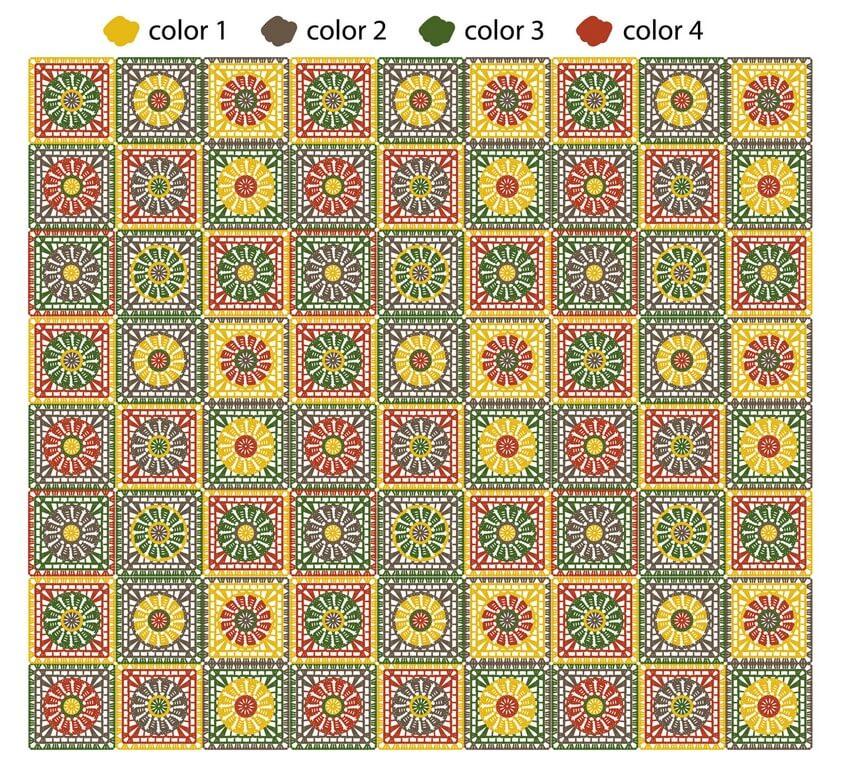
You can mix colors from a 70’s or 80’s palette and make a beautiful blanket that looks vintage, but will last for many years to come.
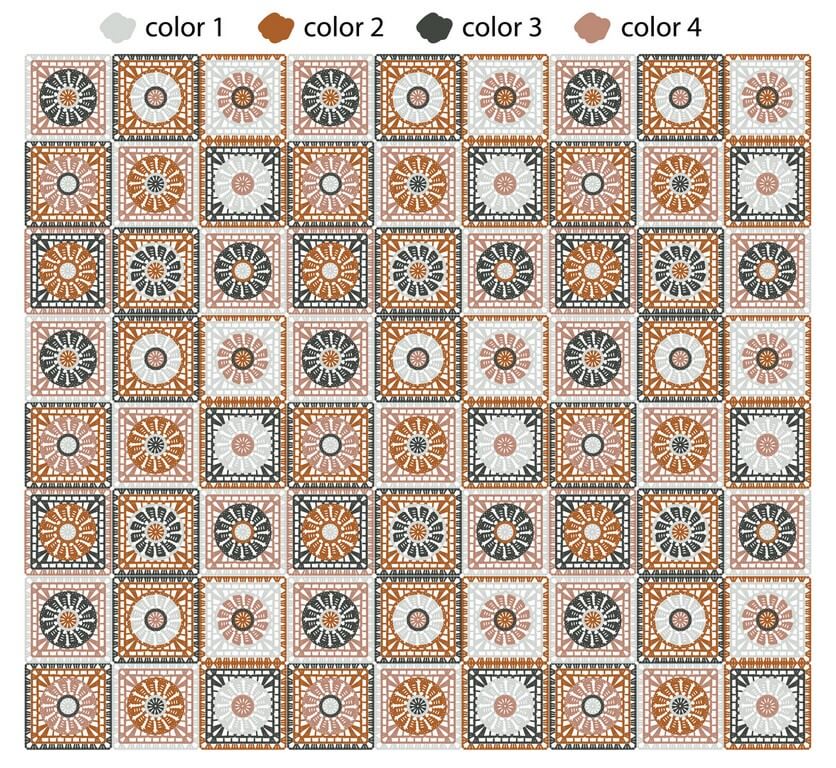
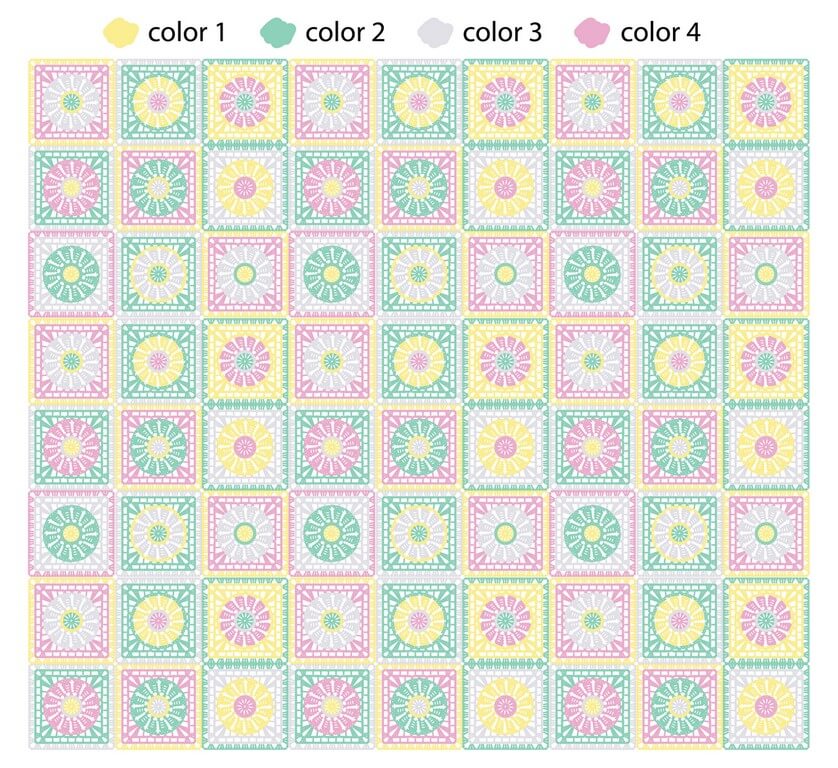
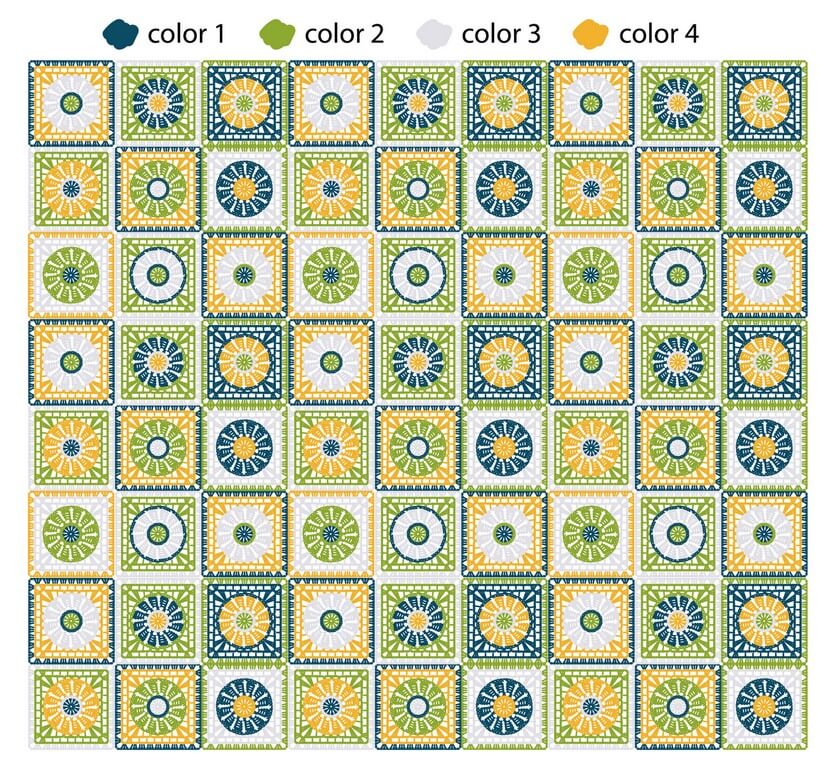
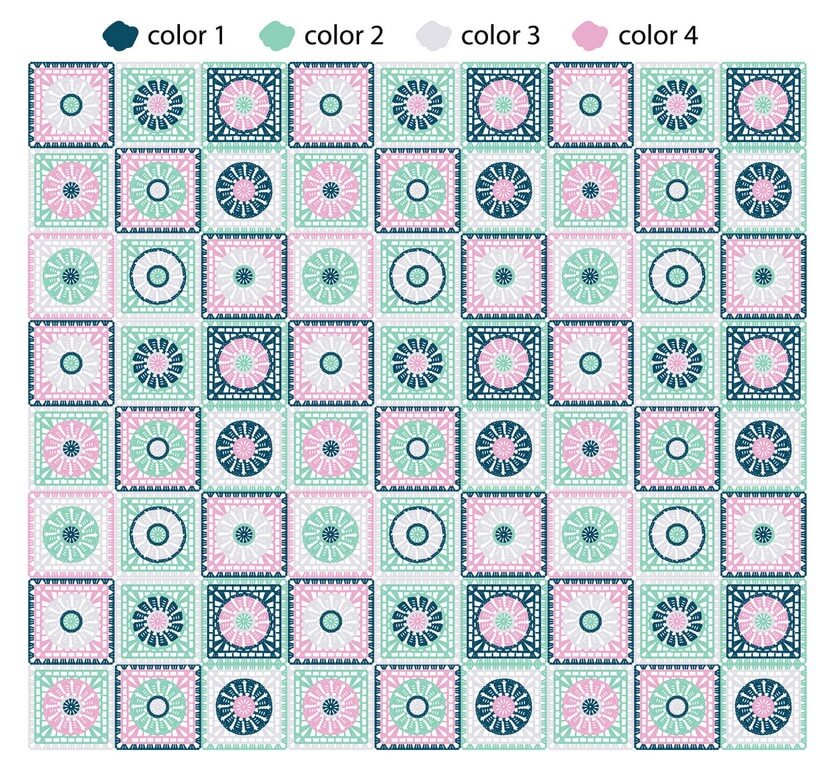
Or use fun spring colors for a modern twist on this classic design. I made a few mockups with different color combinations and different ways of mixing the colors.
If you’d like to try my previous experiment with vintage crochet granny squares, check it out here. Dear Peony is also inspired by vintage rose granny squares.
About this pattern
You know how I like all things vintage (and now I’m also dabbling into historical). I love learning about old projects and discovering how people made them.
It’s a connection to the past I otherwise could not really make.
My pattern-finding autistic brain also likes to decipher things and figure out how they are made (this mostly applies to biology and handmade crafts, not so much to machinery), so trying to figure out an unusually constructed granny square is the perfect challenge.
Here’s another interesting granny square with a unique construction. Last time we had a multiple of 5 and small petals.
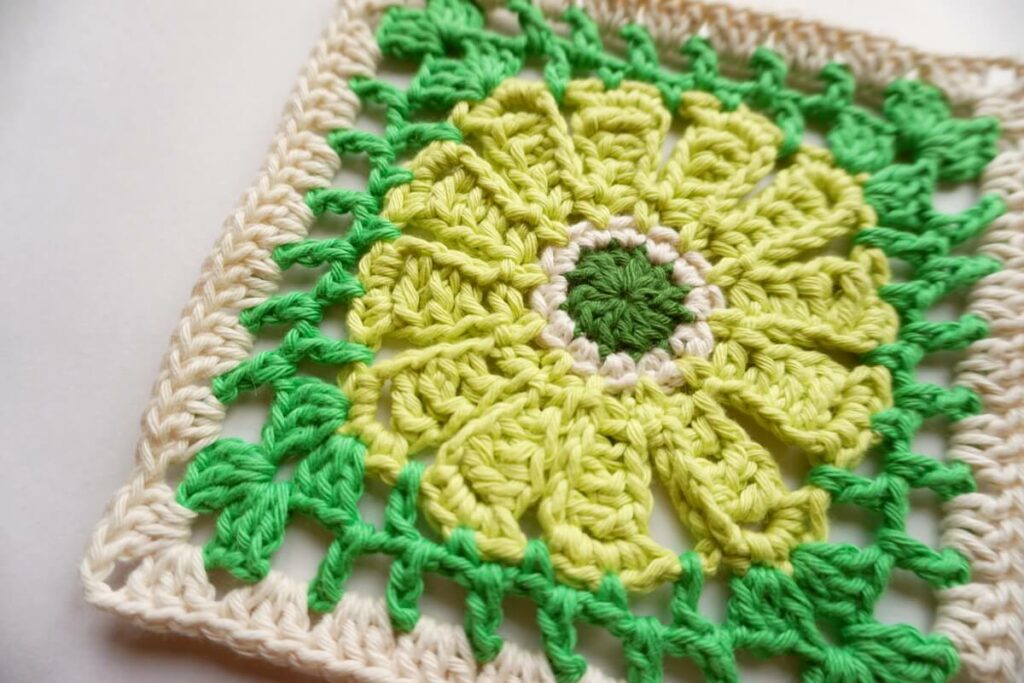
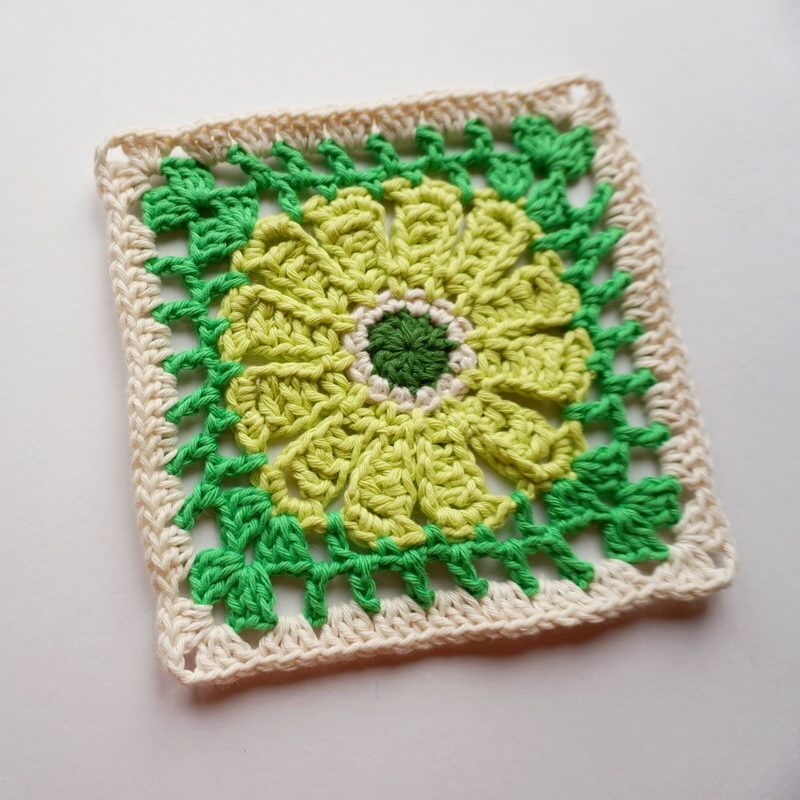
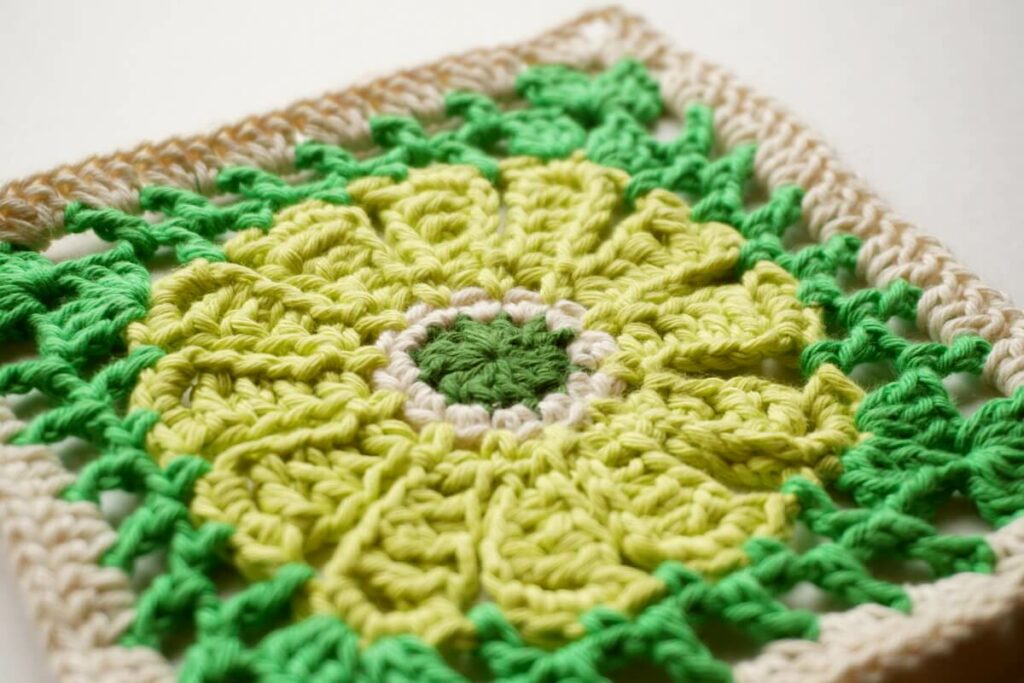
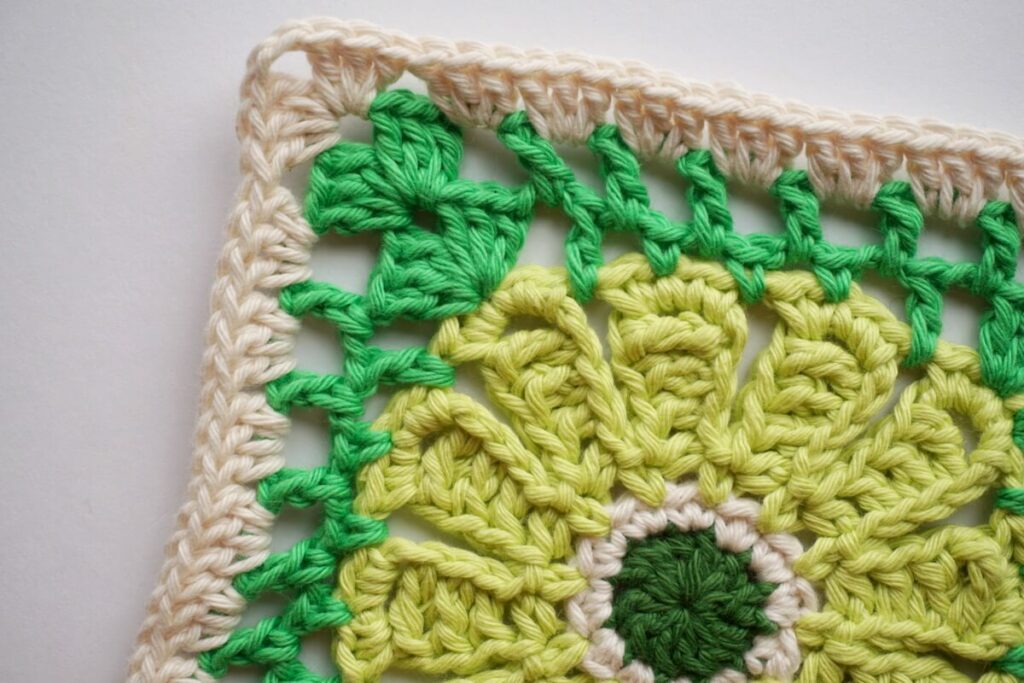
This one also features a flower-like center, but it has 12 petals worked sideways and a classic granny square edge, so it fits perfectly with other granny squares with 9 clusters per side.
Mix up 4 colors or more in this 7-row granny square pattern that will keep you entertained for hours making pretty flowers.
Size
The finished square measures about 14 by 14 cm. The size of your project will depend on how many squares you make and how you distribute them.
Skill level
Intermediate – you will be working off of detailed instructions and into the side of different stitches.
Notions
- Yarn – size 2-3 cotton yarn or acrylic in 4 colors, about 15 grams or 30-35 meters in total per square;
- Hook – 3 or 3.5-mm crochet hook or hook that goes with your chosen yarn;
- Scissors and tapestry needle for weaving in ends.
Gauge
18 Dc stitches per row and 10 rows should give you a 10 by 10 cm or 4” by 4” square.
PDF version of this vintage granny square crochet pattern
I also prepared a PDF version for this pattern that includes a chart for the granny square, files for US terms and UK terms, as well as low vision files for both US terms and UK terms.
Here is where you will find the PDF pattern on different platforms.
Stitches and other abbreviations (US terms)
- BLO – back loop only;
- Ch – chain;
- Dc – double crochet;
- EDc – extended double crochet – YO, insert hook into working space and draw up a loop, Ch1, repeat [YO and pull through 2 loops on hook] 2 times to complete the stitch;
- HDc – half double crochet;
- MR – magic ring;
- Sc – single crochet;
- SDc – standing double crochet – draw up a tall loop with your hook, YO with this loop, insert hook into working space and draw up a loop, repeat [YO and pull through 2 loops on hook] 2 times to complete the stitch;
- Sk – skip;
- Sp – space;
- St – stitch;
- Tr – treble crochet – YO twice, draw up a loop, repeat [YO and pull through 2 loops on hook] 3 times to complete the stitch;
- YO – yarn-over.
Observations
- Stitches in {curly brackets} are all worked in the same stitch.
- Stitches in [square brackets]are repeated.
- Stitch counts are provided in (round brackets).
- The size of the finished project and yarn requirements will depend on how many squares you make. Try to go through the different colors for each color change to use them up equally.
- Attach new colors by using standing stitches.
- You can make 8 chains instead of 7 on R3 and work into the 5th chain from the hook to make the top of the petals loose. Then put 5 Sc into the chains on R4.
Instructions
Start with C1 and a magic ring. Work in rounds, without turning.
R1. 1SDc, 11Dc in MR, Sl St to top of 1st St
Change to C2.
R2. 2Sc in each St around, Sl St to top of 1st St
Change to C3.
R3. repeat [1Sc, Ch7, 1Tr in 5th Ch from hook, 1EDc in next Ch, 1Dc in next Ch, 1HDc in next Ch, Sk1 Sc on previous row] 12 times around, Sl St to BLO of first Sc
R4. Ch4, repeat [4Sc in next Ch3 Sp, Ch1] 12 times, Sl St to first Sc
Change to C4.
R5. repeat [1Dc in Ch1 Sp, Ch2, Sk1, 3Dc in BLO in next St, Ch2, 3Dc in BLO in next St, Ch2, 1Dc in next Sp, Sk2, 1Sc in next St, Ch2, 1Sc in next Sp, Ch2, Sk2, 1Sc in next St, Ch2] 4 times, Sl St to first St
R6. Sl St to next Ch2 Sp, repeat [1Dc, Ch2, {3Dc, Ch2, 3Dc} in next Ch2 Sp, repeat [Ch2, Dc in next Sp] 5 times, Ch2] 4 times, Sl St to first St
Change to C2.
R7. Attach yarn to Ch2 Sp before corner Ch2 Sp.
repeat [3Dc in Ch2 Sp, {3Dc, Ch2, 3Dc} in next corner Sp, repeat [3Dc in next Ch2 Sp] 6 times] 4 times, Sl St to first St.
Cut off yarn and bind off. Weave in all ends. Block into a square about 14 cm by 14 cm or 5.5″ by 5.5″.
Make as many as you need for a blanket of the desired size.
You can use a join as you go technique or use my favorite way of seaming up granny squares, the slip stitch method.
Blanket sizes and square counts
Here are some approximate sizes and numbers of squares required for them.
I used generic sizes and calculated the approximate numbers of squares necessary to cover the size, then calculated the resulting size of the blanket based on those numbers after I rounded them to the nearest integer.
You can also use this method to calculate the number of squares needed for other sizes of blankets.
| Size | Blanket length | Blanket width | Squares/ length | Squares/ width | Total squares |
|---|---|---|---|---|---|
| Security blanket | 17″ or 42 cm | 17″ or 42 cm | 3 | 3 | 9 |
| Baby (small) | 22″ or 56 cm | 22 or 56 cm | 4 | 4 | 16 |
| Baby (large) | 28″ or 70 cm | 33″ or 84 cm | 5 | 6 | 30 |
| Throw | 50″ or 126 cm | 61″ or 154 cm | 9 | 11 | 99 |
| Double bed | 72″ or 182 cm | 88″ or 224 cm | 13 | 16 | 208 |
Calculating how many squares you need for your blanket
If you want to do this calculation for another size of blanket and another size of square, I’ll show you how below.
Let’s say your square came out at 20 by 20 cm or 8″ by 8″ because you used Aran weight or size 4yarn and a 5 mm hook.
You want to make a double bed sized blanket, but bigger than in my table below (sizes for blankets vary by country).
Let’s say you want to make the blanket about 204 cm by 228 cm or 80″ by 90″.
Let’s start with the width. We divide the width of the desired blanket by the width of the square. That’s 204/20=10.2 or 80/8=10.
That means you need 10 squares along the width.
Now we do the same with the length. We have 228/20=11.4 or 90/8=11.25. You can round this number down to 11.
This means you need 11 squares along the length of the blanket.
In total, you will need 10×11 squares, or 110.
The finished size of the blanket will be 10×20=200 cm or 10×8=80″ in width and 11×20=220 cm or 11×8=88″ in length. You can add a border of 2 cm or 1″ wide to almost reach your initial desired size.
This method will work for whatever granny square pattern you have, try it out next time you find a granny square pattern without counts for various blanket sizes.
Charts
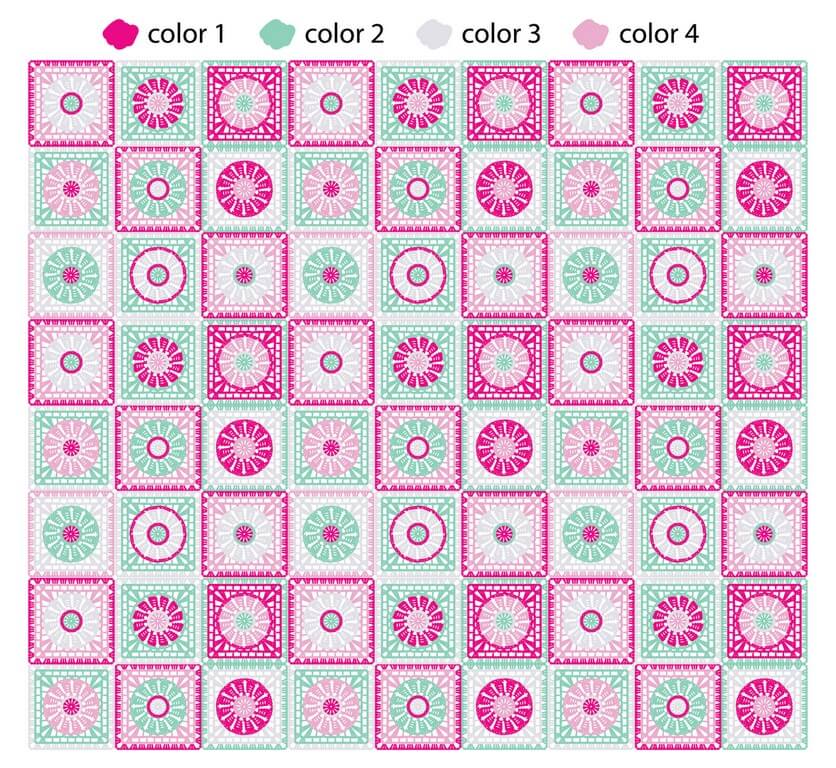
The PDF pattern (see above) includes detailed symbol charts and comes with color charts with various examples of color combinations, plus a blank chart where you can fill in your own colors.
Below you will find some of the color combinations I’ve made up for these granny squares.
Each design includes 9 ways of combining the 4 colors in the pattern. You can come up with more if you want to.
Final remarks
I hope you enjoyed this pattern and that you’ll share with me your projects (tag me on Instagram @yarnandy).
If you liked this pattern and would like to try other granny squares, check them out below. Or explore all the free crochet patterns on the blog if you’re into discovering something new.
Don’t foget to subscribe to my emails if you want to know when I publish more patterns, blog posts, testing calls and new videos.
Here’s a handy link to subscribe and you also get a copy of my Kizilkaya pattern.
Take care and I’ll see you soon in your inbox.
Hugs,
Andrea


So awesome, thank you for this!!!
I’m glad you like it! It was a lot of fun to figure out.