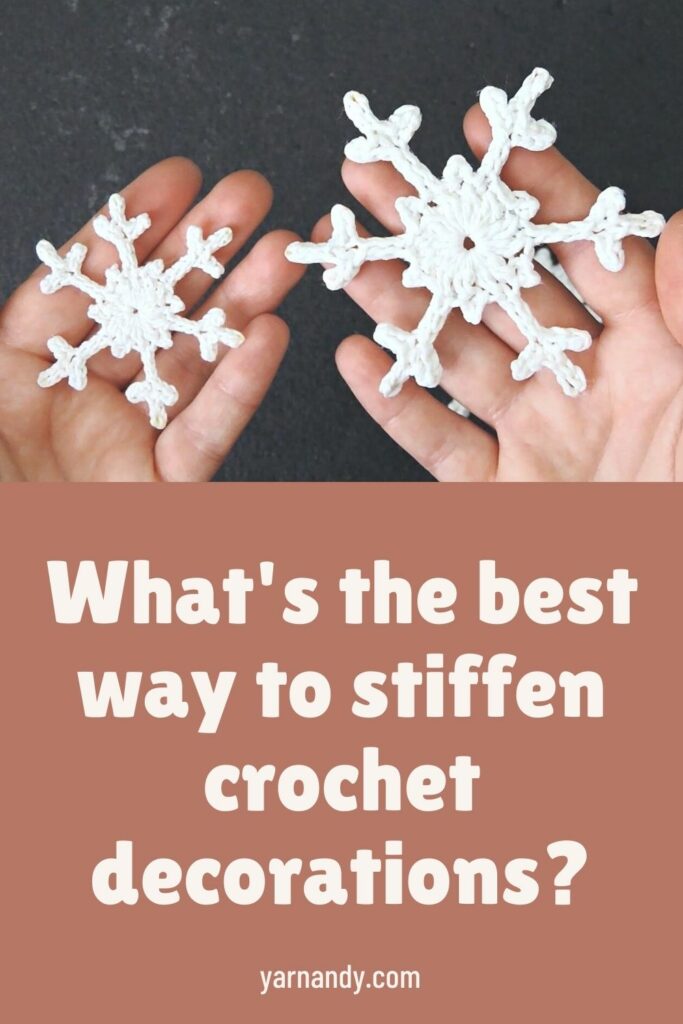
Do you know how to stiffen snowflakes? Maybe you know a couple of ways, but in this tutorial you’ll get full explanations for three methods to stiffen crochet decorations, be they thread angels, snowflakes or anything else made of cotton.
Every year during early winter I crochet a few snowflakes out of cotton thread to use as decoration. Then I need to stiffen them, otherwise they look like scrunched up hankies.
But what’s the best method of making them keep their shape over the years to come? Just ironing them flat is not enough.
I had to experiment with the 3 most common methods, starch, PVA glue, and sugar, to see which one works best. So now you can choose the best method for your crochet decorations.
Contents
How do you stiffen crochet decorations?
Which solution is better at stiffening crochet decorations? Starch? PVA glue? Sugar in water?
I see this question all the time while browsing my crochet groups “How do I stiffen crochet decorations that I made from this or that pattern?” and there are always tens of conflicting answers.
They are all correct, but they all have pros and cons, which I’d like to explore here, including some practical tests too.
If you’d like to know how to stiffen crochet doilies permanently (PVA glue) or just how to stiffen crochet projects in general, you’re on the right page.
I will show you detailed tutorials on how to stiffen crochet with glue, how to use starch for the same purpose, how to stiffen crochet with sugar (although I don’t recommend it) and even have a bonus section about stiffening acrylic crochet projects and if you really want to try that.
These methods work whether you want to stiffen thread projects or thicker cotton yarn crochet projects.
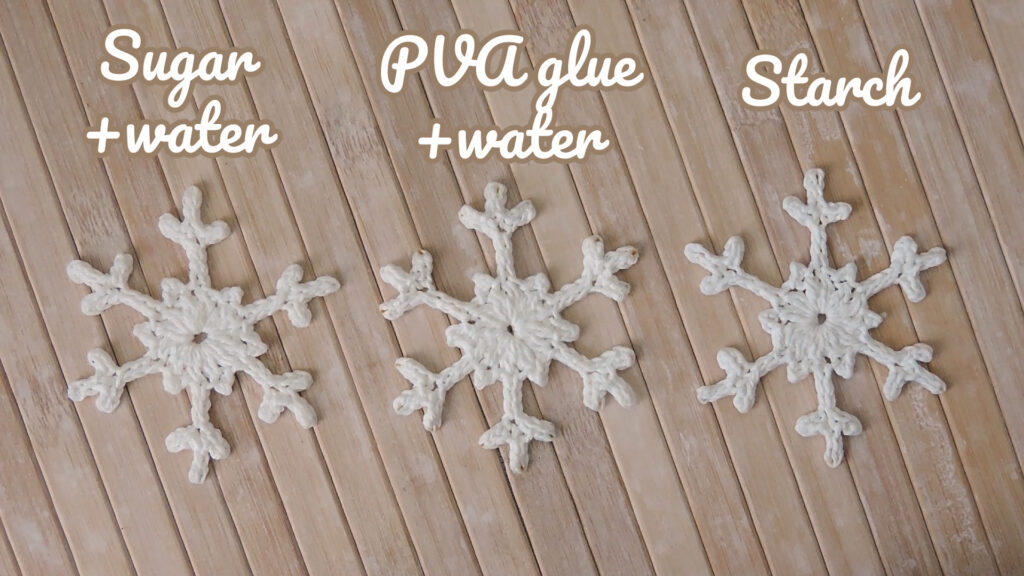
Because of my background in research and my natural curiosity, I wanted to make an experiment.
I prepared three identical crochet snowflakes using a really simple pattern, to test the three most common solutions. I’ll present the method, the results and the pros and cons for each method (in science we like to call this section the “discussion”).
Before we start the actual starching experiments, we’ll need a few supplies prepared beforehand.
You will need:
- rust-proof pins (any stainless steel pins will do – make sure they are not dull);
- pinning surface – used for snowflakes – use a washable blocking mat (most are made of some kind of foam; don’t use one with too many holes in it, because some of the solutions can get stuck in those holes and attract critters); alternatively, cover a piece of thick cardboard (from a shipping box) in some plastic foil (I don’t recommend this method because it’s wasteful and I don’t like plastic foil for anything, but you can also use some shopping bags that you’ll later on recycle);
- another object that will keep the shape of other crochet projects: an upturned glass or plastic cup with the proper shape, a plastic pear decoration or other similar objects.
Video of the different methods to stiffen crochet decorations
Here’s the video I made for this experiment, showing the preparation of the different solutions, lessons learned and the feel of the final results, which I cannot show in photos, nor transmit through words.
Starch for stiffening crochet decorations
Starch is the oldest known substance used for stiffening fabrics. Apparently, its use dates back to predynastic Egypt (which means any time before 5000 years ago), when it was used as an additive in the making of papyrus (I’d like to make papyrus some day, it looks so cool in this live tutorial).
It’s a polysaccharide, which means it’s a polymer made of multiple glucose molecules stuck together in enormous macromolecules. If this doesn’t mean anything to you, don’t worry.
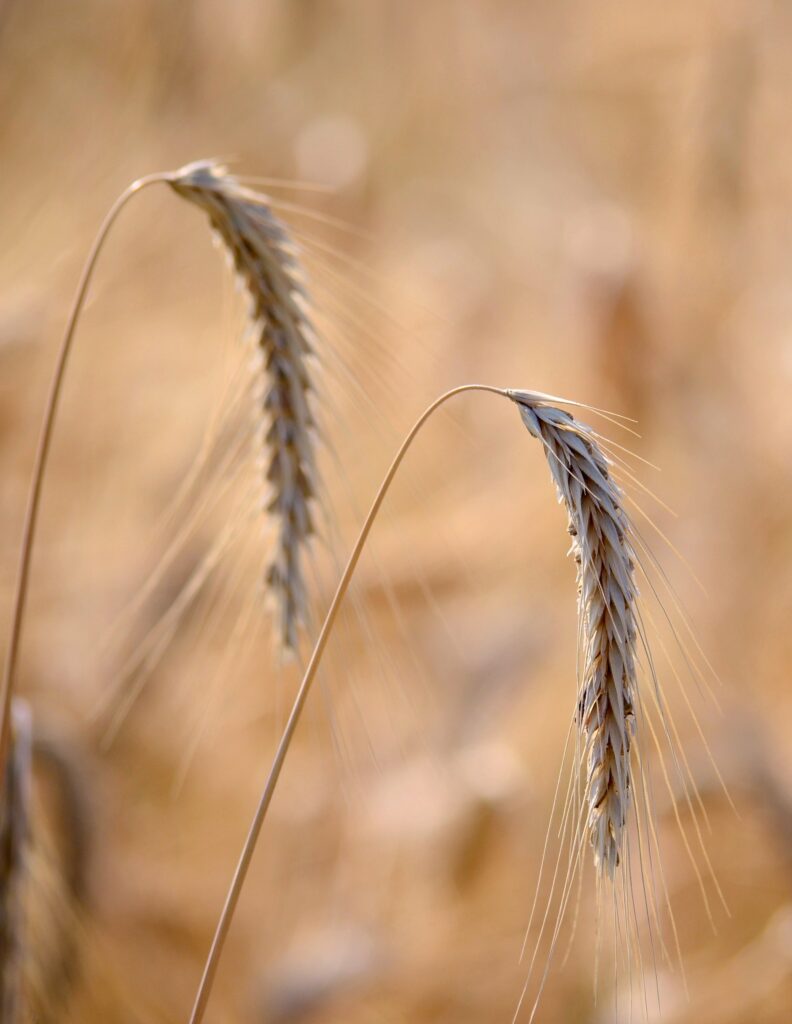
Starch is used in many industries beside food. It’s used in paper-making, book-binding, traditional Japanese crafts known as tsumami kanzashi, and many others that I’m not even aware of.
Just take a piece of bread or some pasta or a piece of cake and you’ve got a bunch of starch in your hand.
Starch is an important part of our diets and can be extracted from many plants: wheat, corn, potatoes, rice, cassava and probably many others. It can be purified and you can find it in a box on a shelf in your local supermarket, or you can extract it yourself.
For stiffening purposes, you can choose either. Or you can buy ready-made starching solution in a container or a tube, if you don’t want to worry about getting the concentration right.
We’ll explore each of these three methods for starching your snowflakes or other holiday decorations, starting with the easiest, of course.
Read on if you wan to find out what to use as a fabric stiffener for crochet baskets if you make them out of cotton.
These starch-based methods only work for cotton or other cellulose-based fibers (bamboo, tencel, linen, hemp, rayon, viscose, banana, jute).
Using ready-made starch solution
About ready-made starch
This is the easiest method, preparation-wise, but you have no control over the concentration of the starch. You’ll notice that it’s very loose and flows easily, which means that’s it’s mostly water.
Since this solution is prepared for starching home goods (think shirts and bedsheets), it has a small concentration and you’ll need to apply multiple layers/baths.
This is easy enough to do for snowflakes, but not so easy for three-dimensional objects, like bells and angels. So I’ll write the instructions for a snowflake.
Steps
If you are using the solution meant for putting in the washing machine, pour some solution into a dish.
- Take your dry snowflake and dip it into the solution.
- Work the solution in with your fingers.
- Squeeze out the excess back into the dish.
- Leave it to dry without forming into the final shape.
- After it dries a bit, dip it again.
- Add some more solution to your dish.
- Repeat this process as many times as you think necessary (try out different numbers and see how stiff your snowflakes get).
- The yarn will keep on absorbing the starch from the solution.
- When you think you have enough starch in the yarn, stop and lay out the snowflake into the final shape on your prepared surface.
- Spread it out into the final shape and insert pins in the extremities of the snowflake, at an angle leaning away from the fabric.
- Leave to dry and test it.
- If it’s still floppy, add more baths (the snowflake will lose its shape with each bath, which is why I only recommend shaping it up at the final bath).
- If it’s stiff enough, add a string and hang it up.
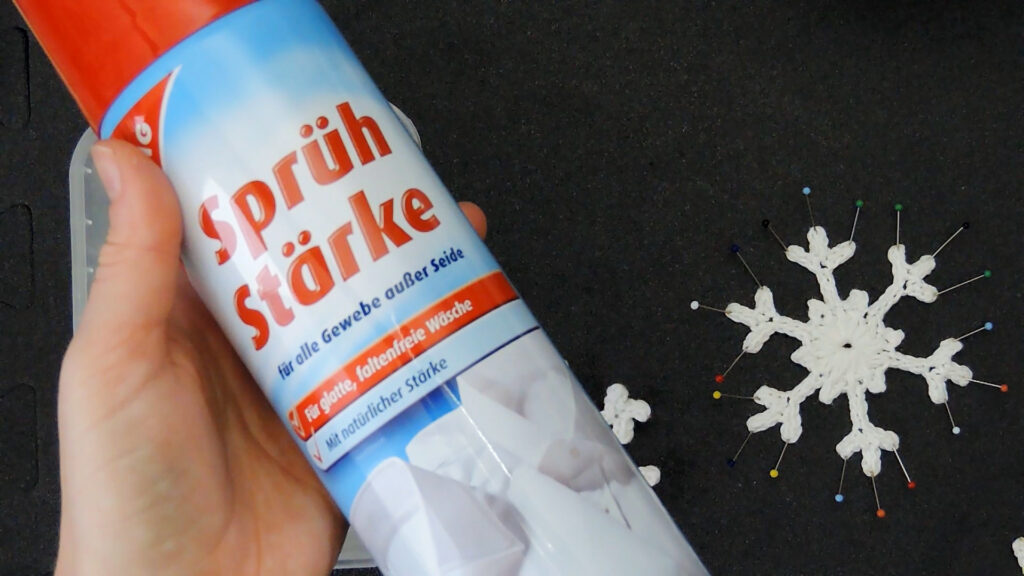
Observations
The drying in between the multiple baths may take some time, so you can hurry it up with an iron set on a low-medium setting (not the hottest that is usual for cotton, ask me why I know this). Put the snowflake between two layers of another cotton fabric (a tea towel works) and press it.
If you are using the spray-on starch, you’ll have some trouble getting it into the actual yarn or thread, between the fibers.
It’s also much more than just starch, the one I have from the local supermarket contains other ingredients as well which may interact with your object and potentially get it to yellow over time.
The method is the same, except instead of dunking the object into a solution, you just spray it on both sides before allowing it to dry.
Using an iron is normally recommended when spraying starch on things, but I have yet to become proficient in using it.
I’m not sure if your objects need to be wet before you spray them with the starch, but it has happened that the starch just sits on top of the fabric (I use it only for silk) and then creates a film of starch when ironed.
This is why I also recommend using a second cloth between your ironing board and the snowflake and also between the snowflake and the iron. Keeps things tidy.
Pros and cons of using ready-made starch solution
Pros:
- very easy to implement;
- no preparation/cooking necessary;
- very little cleaning up;
- you can starch multiple items at the same time;
- washable (if you are interested in that);
Cons:
- time consuming – takes a long time between the initial dip and the final starched product;
- energy consuming – your energy and the electrical energy if you use an iron;
- difficult to control the stiffness of the final item.
Some people have had success with this method, doing only one dip. I think it depends on the brand of liquid starch and their formula.
I personally prefer the next method for decorations.
Using homemade starch to harden crochet items
About homemade starch
In this section I’ll include the solution you make from pure starch and from starch-containing flours or grains, since they are very similar in production.
For making your own starch solution, you’ll need some uncooked starch (find it in boxes in your local supermarket), sticky rice (like the one used for making sushi), rice flour or tapioca flour. There are many more, but these are the most common and easiest to use at home.
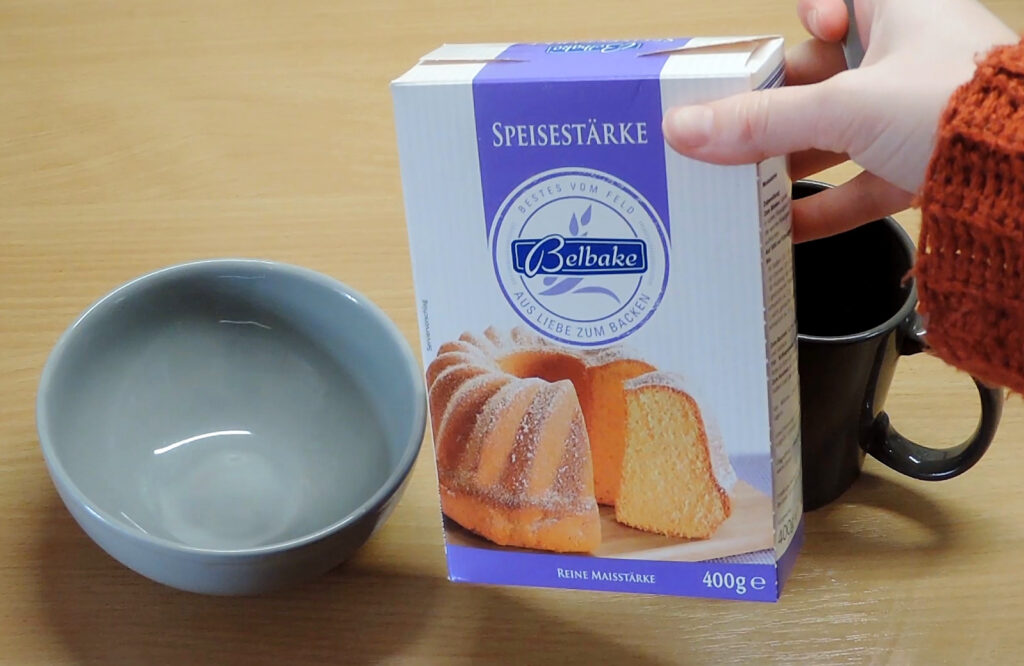
You need to heat up the starch in order to make it dissolve in water and stick to your items.
If you’ve ever made a pudding from one of those packets in the supermarket, it’s the exact same procedure, except now we leave aside all the tasty ingredients (milk, sugar, cocoa and flavors) and only mix water and starch.
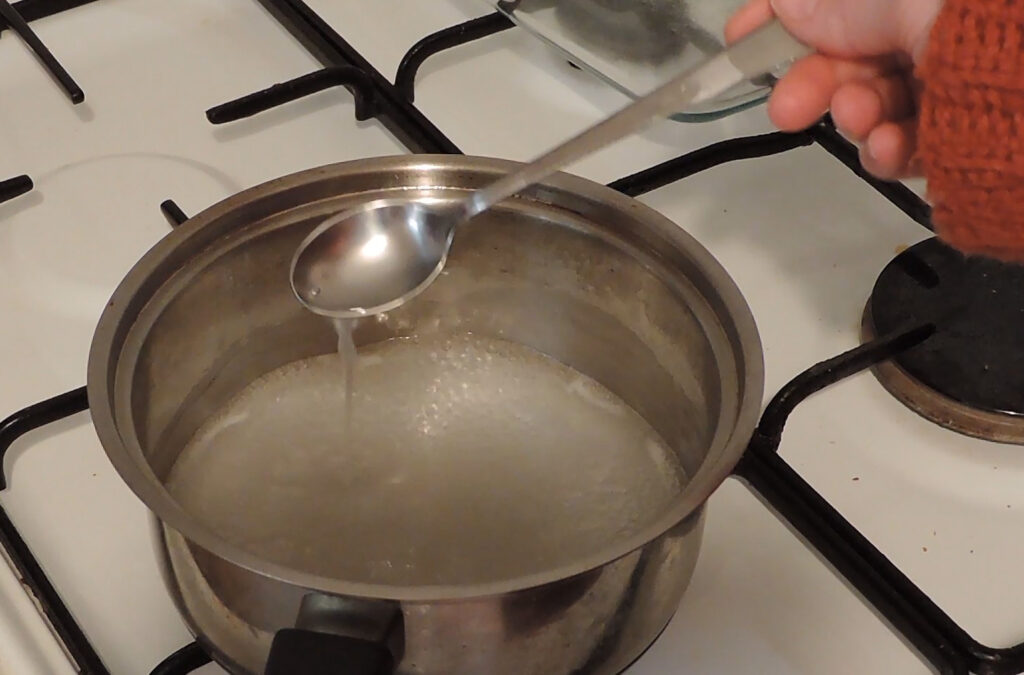
Making the starch solution
Heat up about 100 ml or half a cup of water in a saucepan. In a cup, mix about 10 grams or a heaped tablespoon of starch or rice/tapioca flour with a few tablespoons of cold water.
Slowly mix this solution into the warm water and keep on mixing on low heat until the solution thickens and becomes partly transparent instead of pure white. This is how you know that the starch is ready.
Pass the whole mass through a fine sieve to remove or break down any lumps.
You can add some more water if it is too stiff. You want to be able to insert your projects into this solution and wring out the excess.
If you use sticky rice, boil the rice with enough water to cover it, until it is cooked through (there’s no white left inside a rice grain when you cut it in two). Then mash it up and pass it through a sieve and dilute it with cold water after it has cooled.
With both methods you should now have a thin, almost transparent paste.
Using the homemade starch
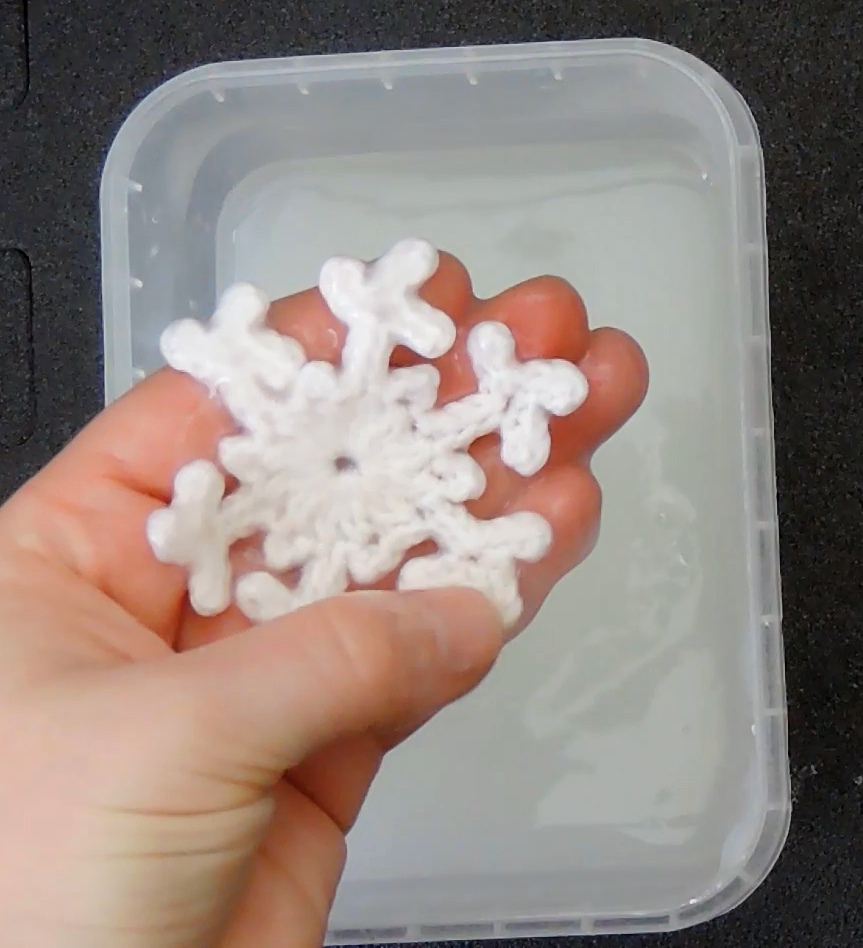
To use this paste, you’ll have fewer steps:
- Dip the dry object in the solution, rubbing it through with the starch.
- Squeeze out any excess that you can – do not leave dollops of the solution on the object.
- Do not rinse!
- Lay out the object into the final shape on your prepared surface.
- If you are starching a snowflake, insert pins in the necessary points of the snowflake, at an angle leaning away from the fabric.
- Leave to dry.
- Once dry, it should be stiff enough for you to hang.
Pros and cons of using homemade starch
Pros:
- Washable.
- Quick to dry.
- Can be diluted or concentrated before use.
- Can be layered if the first layer isn’t enough.
- Can be redone as many times as necessary.
- Light – very small change in weight.
- The items that are starched can still be easily sewn through.
Cons:
- Needs to be prepared beforehand.
- May attract critters (insects, rodents).
- Water soluble, which means it needs to be redone after a while, especially after washing.
All in all, to draw some conclusions here, starch is a great solution for stiffening crochet decorations and I highly recommend it, most of all because you can wash it out, along with any grime that your decorations may accumulate over the years.
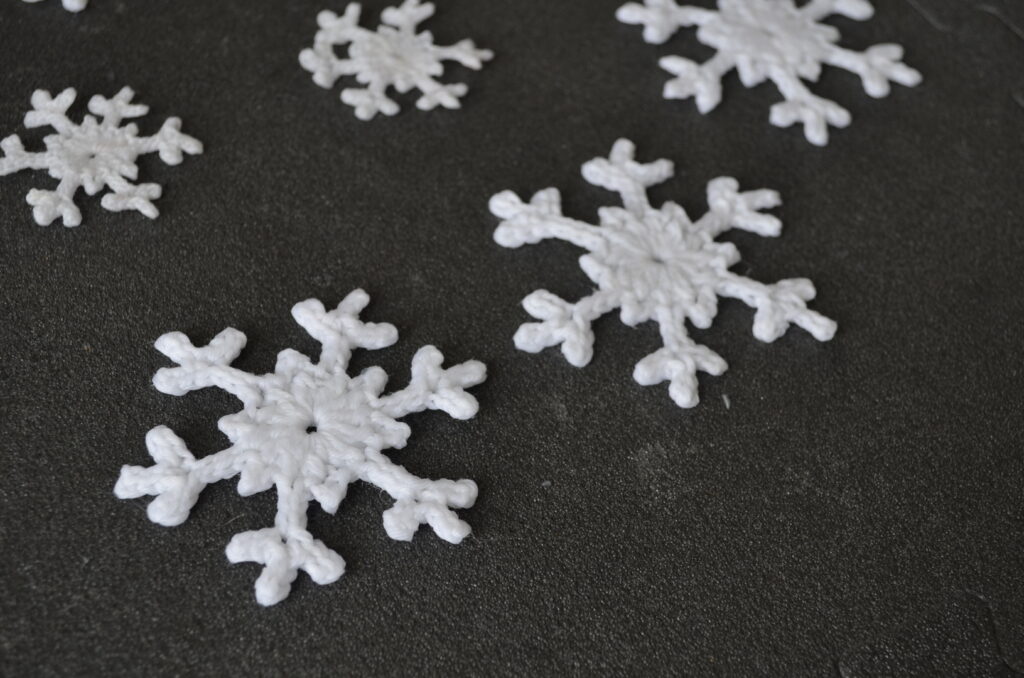
Using PVA glue solution to stiffen crochet decorations
About PVA glue
PVA glue (Polyvinyl alcohol) is a very common type of glue. It’s also known as white glue, craft glue, wood glue and may or may not be an ingredient in Mod Podge (who knows, they don’t list their ingredients anywhere, but I’m pretty sure that’s it). It’s water soluble, which means you can dilute it with water (phew, no fumes here) and dries clear.
If you use it at full concentration, it’s good enough to glue pieces of wood together and it leaves behind a stiff, shiny layer when completely dry.
Which is why you don’t want to use it at full concentration for stiffening crochet decorations, as it might leave residues on your items and you probably don’t want that.
To use it in this case, you’ll have to dilute it. I’ve heard of mixing water in the glue in proportions between 2:1 and 1:1. It’s best to mix water into the glue, not like I did in the video.
That way you can control the amount of glue better, then just add water and mix until you have a white liquid. It will be much thinner than the starch solution and it will also be white, opaque.
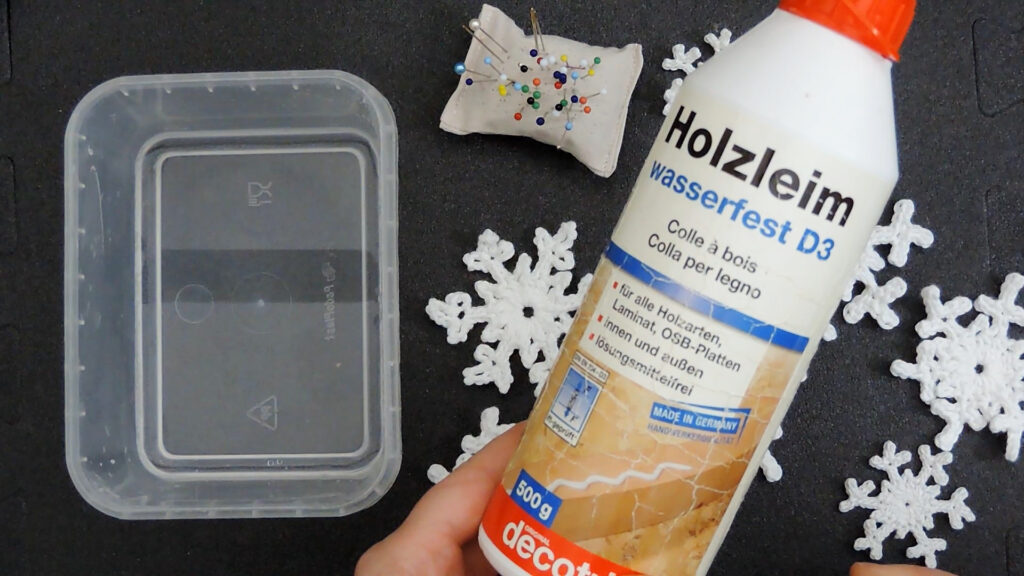
For this experiment, I chose some high quality construction PVA glue that we regularly use around the house for fixing or stabilizing new furniture.
Depending on where you buy it and how much you pay, your glue might be more or less diluted. This one takes a lot of dilution before it’s too weak to make bonds, but some craft glues may need much less dilution.
PVA glue works by creating long chains of polymers all across the surfaces it finds itself on, so it’s essential that the glue is well distributed throughout your fibers if you want a stiff decoration.
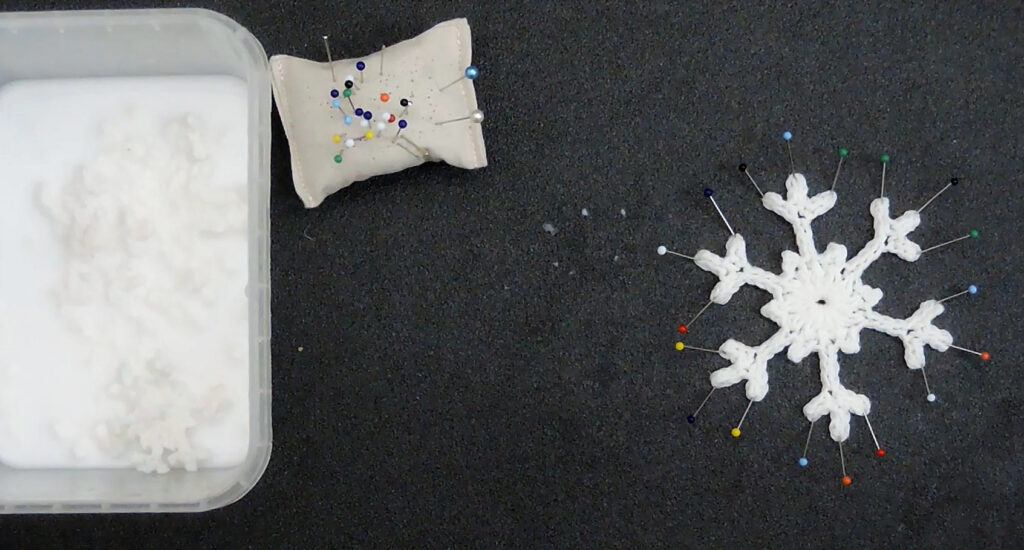
This is why, after mixing the solution well and dipping your decorations, you need to knead and squeeze the decorations, to make sure they are fully saturated with the solution.
Don’t worry, though. This glue is non-toxic and even bio-compatible (it’s used in several medical applications), so using your hands is completely safe.
Steps in using PVA glue
To prepare the solution, all you need to do is mix a quantity of glue with the same quantity of water or even a bit more.
- Dip the dry object in the solution, rubbing it through with your fingers.
- Squeeze out any excess that you can.
- Lay out the object into the final shape on your prepared surface.
- If you are stiffening a snowflake, insert pins in the necessary points of the snowflake, at an angle leaning away from the fabric.
- Leave to dry.
- Once dry, it should be stiff enough for you to hang.
If the decoration is not stiff enough, you need to use a higher concentration of glue.
You can potentially dip the item a more concentrated solution, but you cannot change the shape any more and it’s not certain that you will get the object saturated again.
Pros and cons in using PVA glue to harden crochet
Pros:
- Very easy to use;
- Fast – only requires mixing and dipping;
- Dries quickly;
- Very strong;
- Non-water soluble – doesn’t require re-stiffening after a while;
- Will hold for many years to come.
Cons:
- May rust your pins if they are not really rust-proof;
- May yellow over time;
- Not washable (you can soak items in a detergent solution, but that doesn’t guarantee removal of stains or discoloration);
- Can only be posed once;
- Efficiency of this method varies with quality of glue.
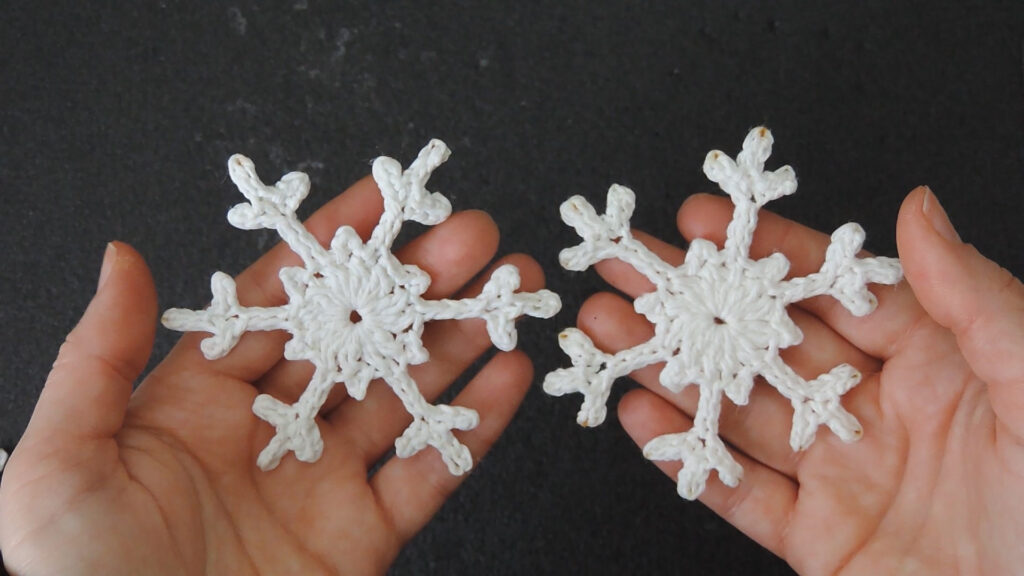
As an aside, you may notice in the video that the snowflakes I stiffened with PVA glue solution rusted my pins the most (not sure why, maybe the glue creates an acid environment that promotes the formation of rust – that makes sense now that I think about it).
So if you’re not sure that your pins are rust-proof, do not use this method! Use the starching method until you can get some actually rustproof pins.
Do not try this out, because you’ll end up with rusty pins (which can be fixed) and rusty decorations, which cannot be cleaned!
For earrings, if you want to make them using crochet thread, use a higher concentration of PVA glue solution and rust-proof pins that you trust.
There will be a separate blog post around here on how to make earrings out of these little snowflakes.
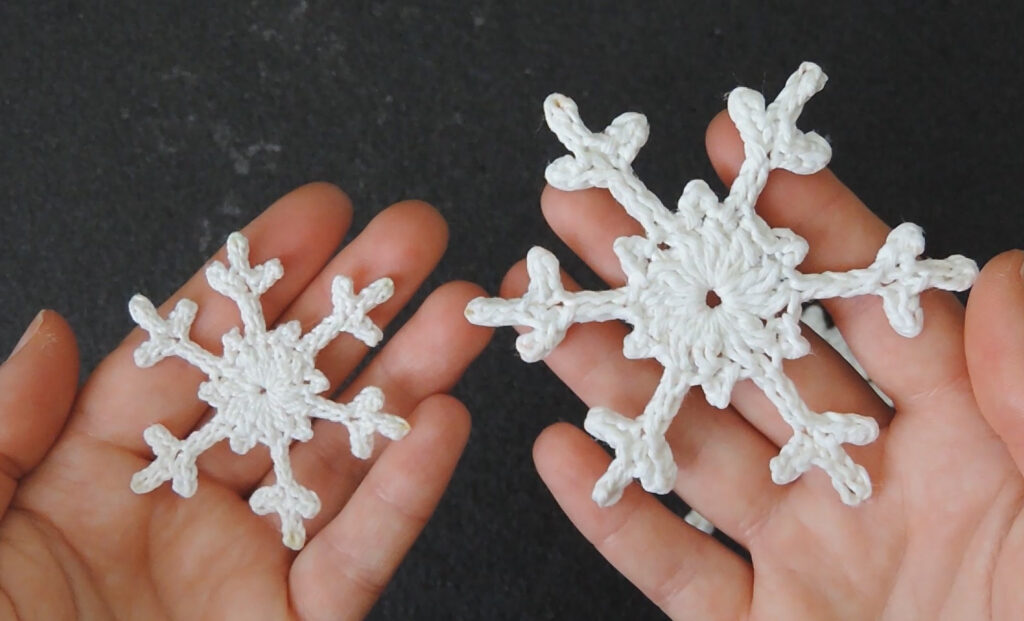
Using sugar-water solution to stiffen decorations
About the water-sugar solution
This is the last solution I want to discuss and to try out, as I’ve seen it recommended over the years.
After doing the experiment, the only reason I would ever recommend this method is if you really need to stiffen something and have no access to starch powder/rice or white glue.
To use this solution, all you need to do is dissolve some sugar in an equal quantity of water (it took me one teaspoon of sugar and one of water to soak one 3 gram snowflake).
Mix well, until the sugar is completely dissolved in the water. You may use a bit of heat, but not enough to evaporate the water. You don’t want caramel.
Steps in using sugar-water solution
The process is quite straightforward:
- Dip the dry object in the solution, rubbing it through with your fingers.
- Squeeze out any excess that you can.
- Lay out the object into the final shape on your prepared surface.
- If you are stiffening a snowflake, insert pins in the necessary points of the snowflake, at an angle leaning away from the fabric.
- Leave to dry.
- Once dry, it should be stiff enough for you to hang.
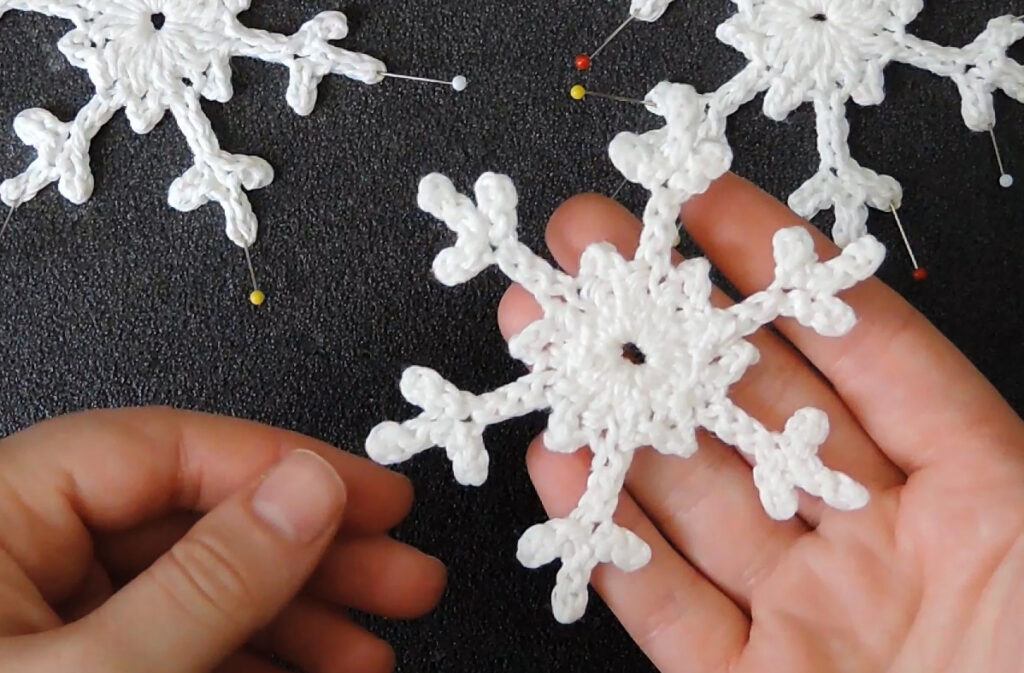
Pros and cons for using sugar solution
Pros:
- Washable – if you need to wash your item, let it soak for at least an hour in clean water, then wash as usual;
- Can be used when nothing else is available.
Cons:
- Slow to dry – the drying takes a lot more time than in the case of the PVA glue or the starch;
- Not suitable for humid environments – sugar loves humidity, so your decorations will never dry if you live in a humid environment;
- Heavy – a teaspoon of sugar went into a single snowflake, which made it extremely heavy, compared to the other decorations;
- May attract pests – insects and rodents would love to munch on this sweet treat.
So please only use this method if nothing else is available to you.
Bonus experiment – acrylic yarn
This experiment was not part of the original plan because I didn’t expect myself to be able to stiffen synthetic fibers.
But I still did it (for science!) and tried to stiffen crochet decorations made of acrylic yarn.
Later I looked up the chemistry of acrylic fibers to understand why my experiment failed (as I regularly do, fail first, seek explanations later).
But let’s see what I got anyway.
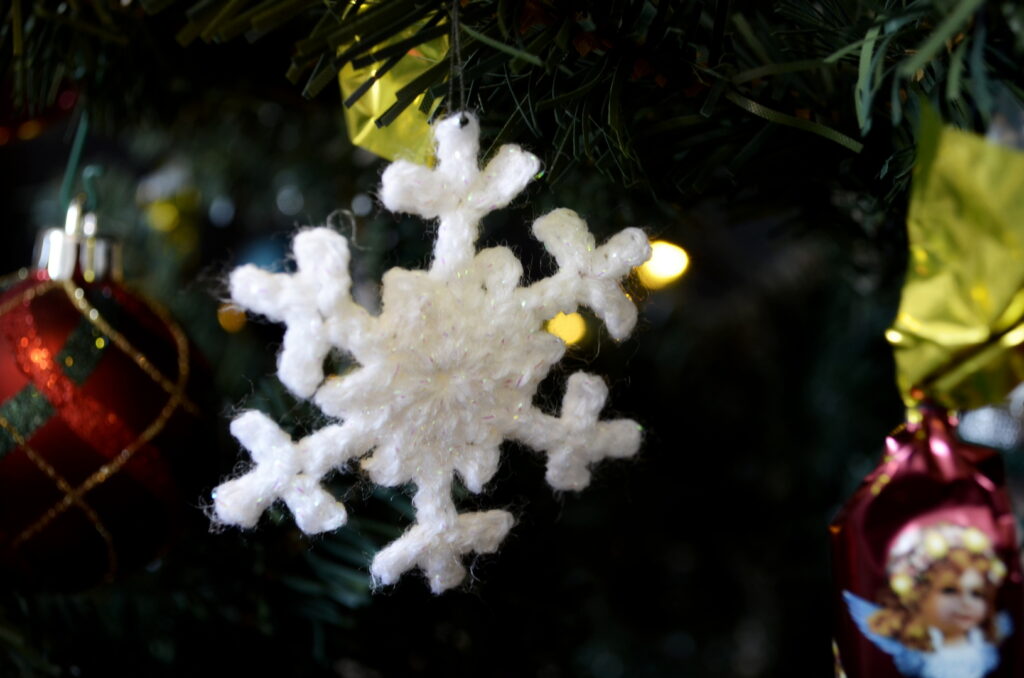
This acrylic decoration cannot be really stiffened with any of these three methods, so please don’t use acrylic if you want to starch your decorations!
I tried both starch and PVA glue (left sugar aside because it’s yucky and I didn’t want to deal with the mess it makes).
Guess what, neither stuck to the fibers. But that’s expected, since there are no places for the stiffening agents to stick to.
All of these solutions work because, while drying, they create hydrogen bonds with each other and with the cellulose molecules in the cotton fibers.
But in acrylic there are no places to create hydrogen bonds. So the starch and the PVA molecules can bond only with themselves, which means that they create a very weak “scaffolding” around the item, not really interacting with it.
Which, in practice, translates into the fact that the acrylic snowflakes did stiffen slightly, but they gave way at the slightest manipulation, as the weak bonds around the acrylic fibers are easily broken.
Now if you really must stiffen acrylic decorations, there is one method that might work, but I’m not entirely sure of it and will not try it.
You could just dunk your items in pure PVA glue, which means there will be stronger bonds within the item, if you manage to soak it well enough.
Or you could try acrylic varnish, the type used to finish off acrylic paintings. That one will surely bond with the fibers, but it might be way too stiff (I’m not sure that this type of varnish can be diluted with anything).
The major deterrent to this method is the smell. You want to work in a well-ventilated area and leave the items to dry and air out for at least a week before bringing them indoors.
Varnished items retain their unpleasant smell for a long time, so I wouldn’t ever use such varnish for holiday decorations. Maybe if you want to have an exhibition of your sculptural works in acrylic, then I might consider this idea.
There are also water-based varnishes which don’t smell, but I’m not sure whether they will actually bond with the acrylic, as they are made to be used on surfaces which have lots of free -OH groups available (wood, mostly, which is made of cellulose, just like cotton).
I will try this and maybe share the results in another article. Make sure you subscribe to my emails if you want to know when I publish that article (there’s an image below and a link in the menu as well).
FAQ about stiffening crochet decorations
What are the ways to stiffen crochet snowflakes?
To stiffen crochet snowflakes, you can use homemade or ready-made starch solution, diluted PVA glue or wood glue, or sugar solution.
Can you starch crochet decorations?
Yes, as long as they are flat, such as doilies or snowflakes, or if they are 3-dimensional, if they are empty inside, such as a crochet bauble or a bell or other similar items. You should not starch items that are stuffed (such as amigurumi) or covered glass or plastic baubles, as there is no need for starching in these cases.
Can you wash starched crochet decorations?
Yes, you can safely wash decorations that were starched and for the first few washes you will still have starch residues in your crochet decoration. You can use that to stiffen the decoration again or apply fresh starch to increase the stiffness.
How do you starch crochet decorations?
First, make sure you are using the right fiber that can be starched (see above), then use a more or less concentrated solution of starch by spraying or dipping your decoration once or multiple times, depending on the stiffness you want to achieve. Pin or drape the item in the final shape you want it in and let it dry.
Which yarn decorations can you stiffen with starch?
You can starch crochet decorations made only with 100% cotton or other natural cellulose-based fiber (linen, hemp, bamboo, viscose) or a mix of these, as well as silk. You cannot starch decorations made with acrylic, wool from various animals or a mix with these fibers.
Can you starch acrylic yarn items?
No. Acrylic yarn does not interact with starch and cannot be stiffened with starch. If you want to make snowflakes, try a cotton thread instead of acrylic.
Can you stiffen items made from acrylic yarn with PVA glue?
No, not to the same extent as you can stiffen items made with cotton. You can get items made with acrylic slightly more solid than in the beginning, but not by much (see the explanation in the experimental section above).
How do you clean stiff crochet decorations?
Depending on the method that was used to stiffen the crochet decoration, you have different options. If they were starched or sugar was used, you can wash them with water and suitable detergent for your stains. You can also leave them out in the sun for natural bleaching. If PVA was used, you can use a toothbrush to remove dust and spot clean with a cotton swab.
How do you stiffen crochet doilies?
You can stiffen crochet doilies the same way as any other crochet decoration. Wash and starch, pin into place on a blocking mat, using a ruler or the markings on the blocking mat to get a uniform shape, then let dry and unpin.
Can you completely wash crochet decorations stiffened with PVA glue?
Short answer, no. PVA glue that was used for stiffening decorations and has dried cannot be washed out without damaging the item itself. Long answer, maybe. You could try soaking the item in water is the glue is not water-resistant and removing some of the soaked glue from the surface, but if you did a good job with soaking your item in PVA glue in the first place, you will not be able to do this. You can remove any dust or other debris in your decoration by soaking it in lukewarm water for 30 minutes.
Can you starch crochet decorations multiple times?
Yes, you can starch an item again and again until it reaches the stiffness you are interested in. Let the item dry out in between soaks. You can also wash and starch an item again as many times as you want.
Conclusions
After this long and thorough experiment, including some bonus content, I hope you’re well informed enough to take a decision about which stiffening solution is the best for you and your decorations.
When in doubt, always go with starch, as you can wash it out later if it doesn’t work the way you expected it to.
If you want to make some snowflakes, remember that the pattern and tutorial can be found in this blog post.
If you want to try out more crochet patterns, some of which can be stiffened with starch, here’s a list from the blog:
Easiest waffle stitch crochet washcloth or potholder
Free textured star granny square pattern
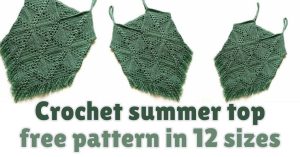
Crochet summer top free pattern in 12 sizes
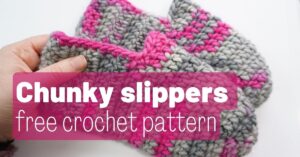
Easy chunky slippers – free crochet pattern
Dog bone amigurumi free crochet pattern – 2 versions
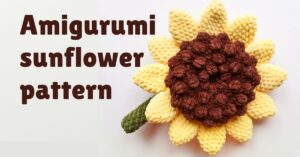
Free sunflower amigurumi pattern
Free vintage granny square crochet pattern for blankets
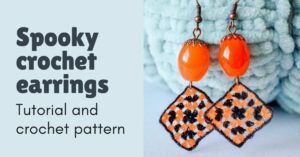
Easy pattern for spooky crochet earrings
Strawberry Cupcake CAL – Part 4
Strawberry Cupcake CAL – Part 3
Free vintage-inspired granny square pattern
Strawberry Cupcake CAL – Part 2
Strawberry Cupcake CAL – Part 1
Announcing the Strawberry Cupcake CAL
Leaf border pattern – Dear Peony blanket edging
Dear Peony – simple flower granny square pattern
Dear Peony flower granny square free video pattern
Free Jasmine lacy edging crochet pattern
Mint truffle shawl – free crochet pattern
Raspberry croissant shawl – free crochet pattern with video
Now go ahead and have some fun!
Happy holidays!
Hugs,
Andrea




This is such a helpful and enjoyable post to read. I appreciated the scientific structure, I love this! Thank you Andrea!
Thank you for this helpful post! I was looking for some info on starching a tiny little crocheted hat for a doll, and seeing the comparative information here was very useful! It’s also fun to see the pictures of the products you posted in German, since I’m in Germany and it’s nice to know what the actual product should say! 🙂 Thanks again!
Aw, a tiny hat! How sweet.
Yeah, I could only post photos of products I can buy, as I have no idea about using product photos from companies (copyright and all that).
Glad they’re helpful!
Thanks a lot. Your experiment spared me a lot of time.
Have a nice day.
That’s great to hear! You too!