Did you get your tree up or not yet? There’s still time to whip up a few crochet snowflakes to decorate the tree with. When you use this snowflake crochet pattern, it will take you only 10 minutes to make one.
I developed this very easy crochet snowflake pattern to use in an experiment. I wanted the snowflakes to be simple, quick and beautiful, and I believe I got all these right.
Make these crochet snowflakes in cotton that matches with the theme of your tree or go with simple white. You can never go wrong with white.
Use one of the stiffening methods I present in this article to make them keep their shape and decorate your tree with some of the cutest snowflakes you can make yourself.
Use cotton yarn for regular snowflake decorations, about 7-8 cm (2″) in diameter or try out some crochet thread to make earrings. The instructions for earrings will be in a different blog post.
Contents
This post contains affiliate links to various products. They will not affect your shopping experience if you follow my links, but they may earn me a small commission that helps me make more free patterns available to you.
Video tutorial
It’s the easiest way to make a snowflake – just follow the video instructions that I prepared for you.
Observations/Notes
- This pattern is written in US terms (for UK terms, replace Dc with Tr).
- Work in back bumps of chains.
- You can replace the magic ring with Ch4, Sl St into first Ch.
- Use a hook suitable for your yarn – this is not amigurumi.
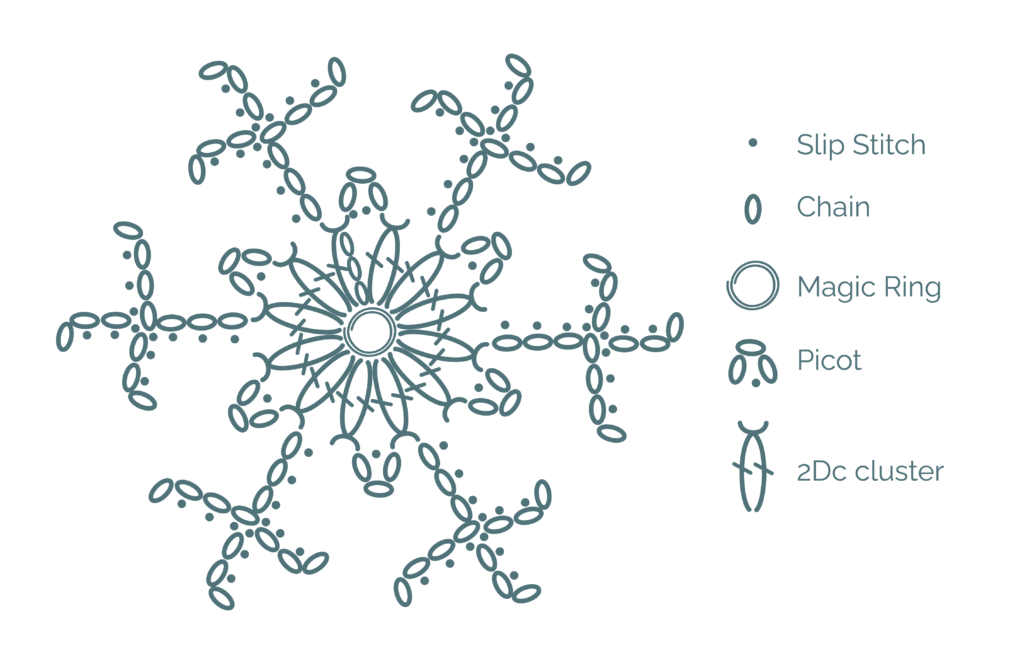
- The pattern comes with a graph and a video if you prefer those.
Materials and notions
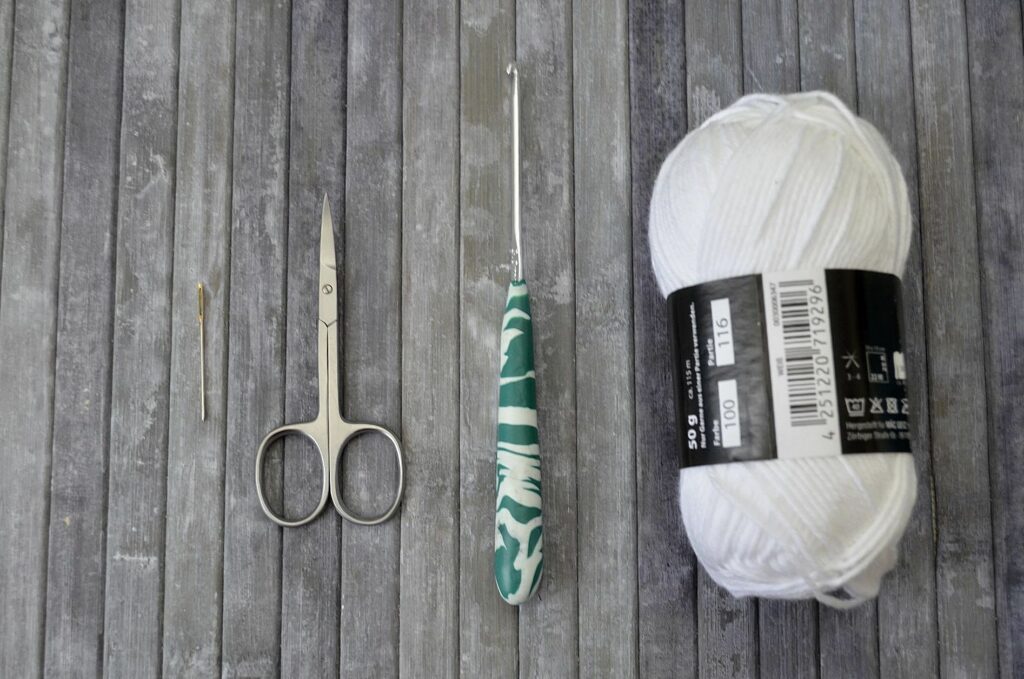
- Yarn – about 3 grams or 8 meters of 4-ply or 5-ply generic cotton yarn – it helps if it’s mercerized or shiny; here’s an example from LoveCrafts, a Paintbox Yarns Cotton DK with 125 meters per 50 grams;
- Hook – 3 mm crochet hook or size close to 3 mm (or the smaller size on your yarn label);
- Scissors and tapestry needle for weaving in ends.
Abbreviations
- Ch – chain;
- 2Dc cluster – YO, insert hook into MR, YO and pick up a loop; YO and pull through 2 loops on hook; YO, insert hook into MR, YO and pick up a loop; YO and pull through 3 loops on hook;
- MR – magic ring;
- Picot – Ch3, Sl St into first Ch;
- Sl St – slip stitch;
Instructions
In MR:
Ch2, Dc (counts as first 2Dc cluster), Ch7, Sl St into 2nd Ch from hook, 2Sl St, Ch3, Sl St into 2nd Ch from hook, 2Sl St, Sl St into next Ch (the one where you ended the previous leg), Ch3, Sl St into 2nd Ch from hook, 2Sl St (the last in the same Ch as the other 2), 3Sl St back down the remaining 3 chains, 2Dc cluster, Picot.
Repeat {2Dc cluster, Ch7, Sl St into 2nd Ch from hook, 2Sl St, Ch3, Sl St into 2nd Ch from hook, 2Sl St, Sl St into next Ch (the one where you ended the previous leg), Ch3, Sl St into 2nd Ch from hook, 2Sl St (the last in the same Ch as the other 2), 3Sl St back down the remaining 3 chains, 2Dc cluster, Picot} 5 times.
Sl St into top of first 2Dc cluster. Cut off yarn, making an invisible seam (see photos), then weave in ends.
Chart
If you prefer charts, here’s one I developed. You start from the middle, in the magic ring, then work around, going anti-clockwise.
The crochet snowflake pattern in photos
1. 2Dc cluster in magic ring
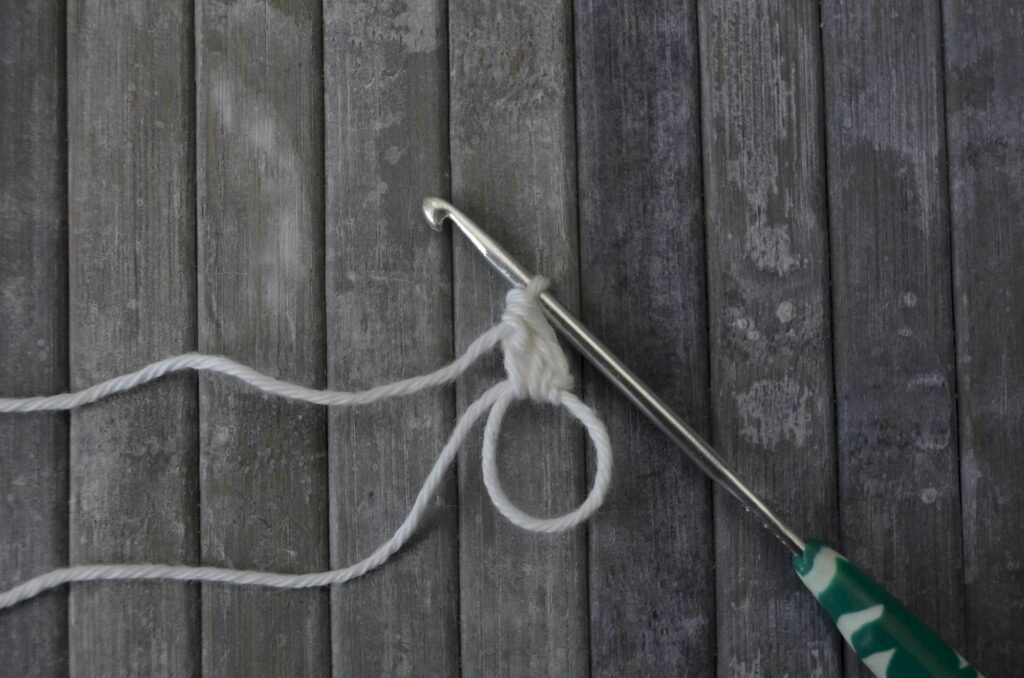
2. Ch7
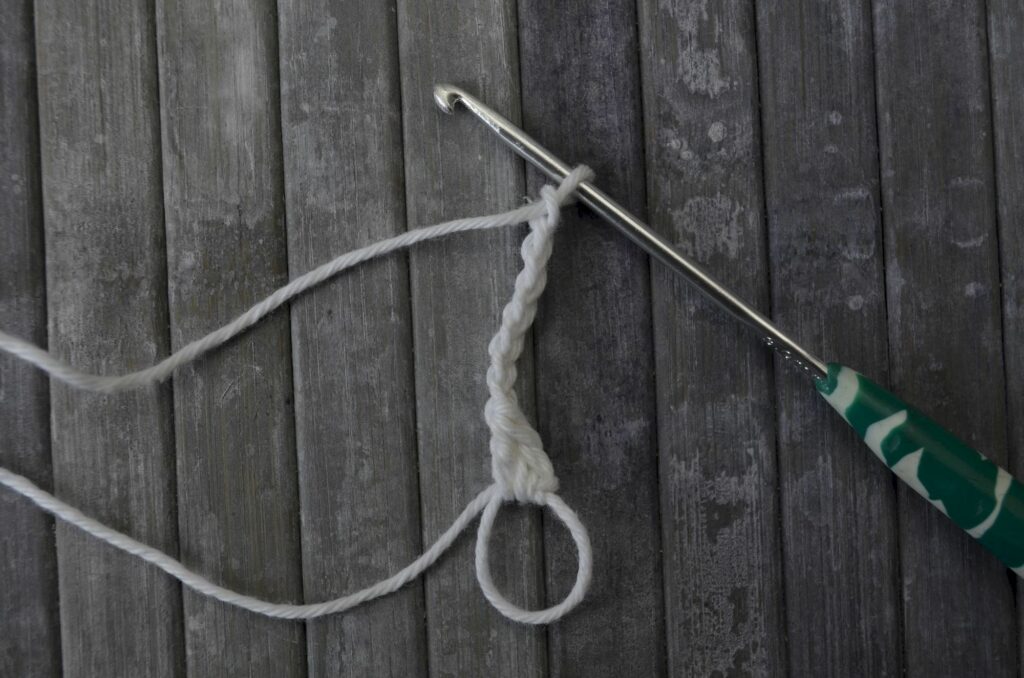
3. Sl St into 2nd Ch from hook
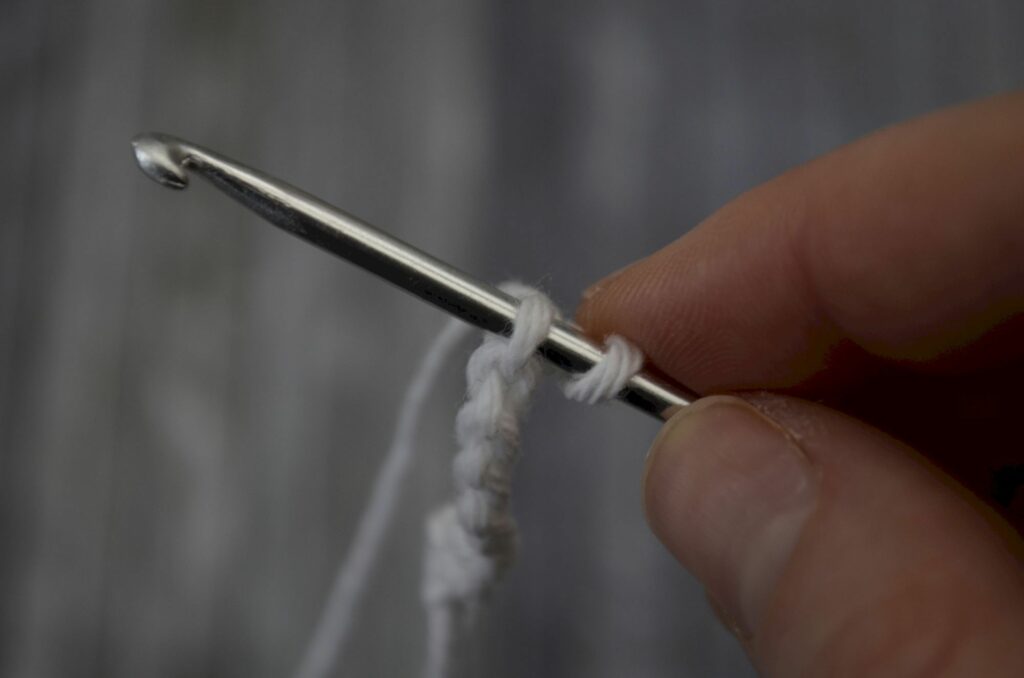
4. 2Sl St
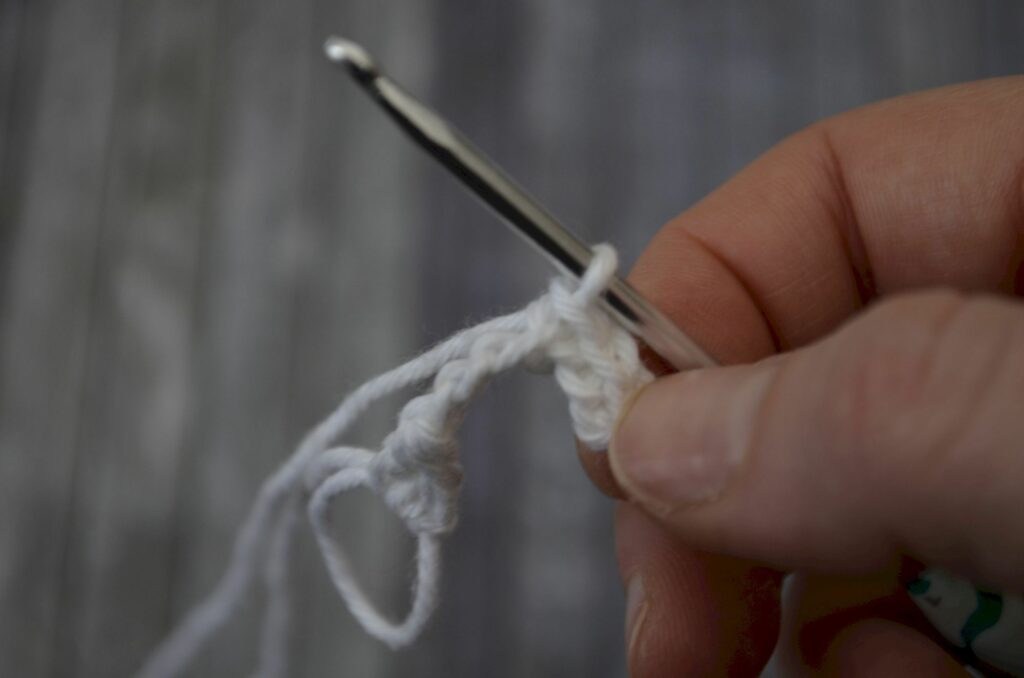
5. Continue working the other 2 sections
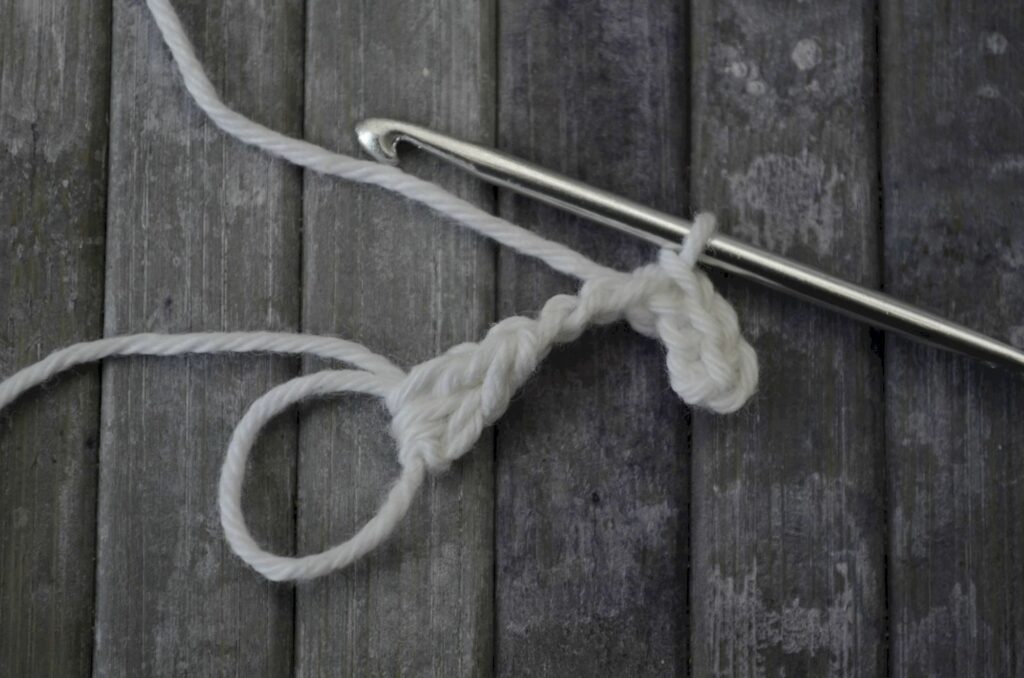
6. Ch3, Sl St into 2nd Ch from hook, 3Sl St
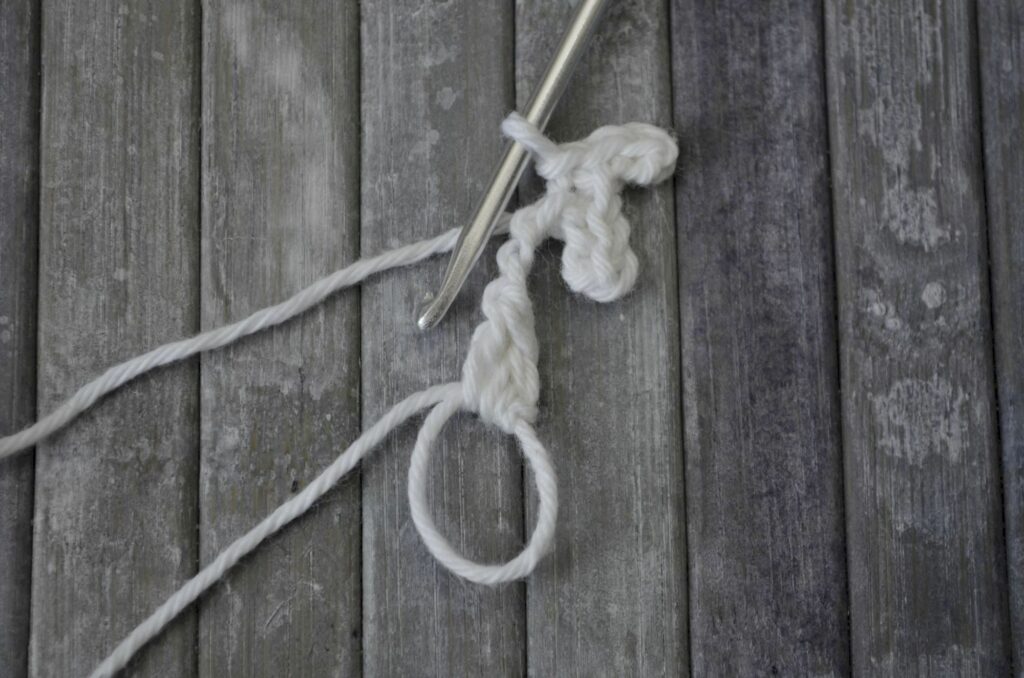
7. Ch3, Sl St into 2nd Ch from hook, 3Sl St
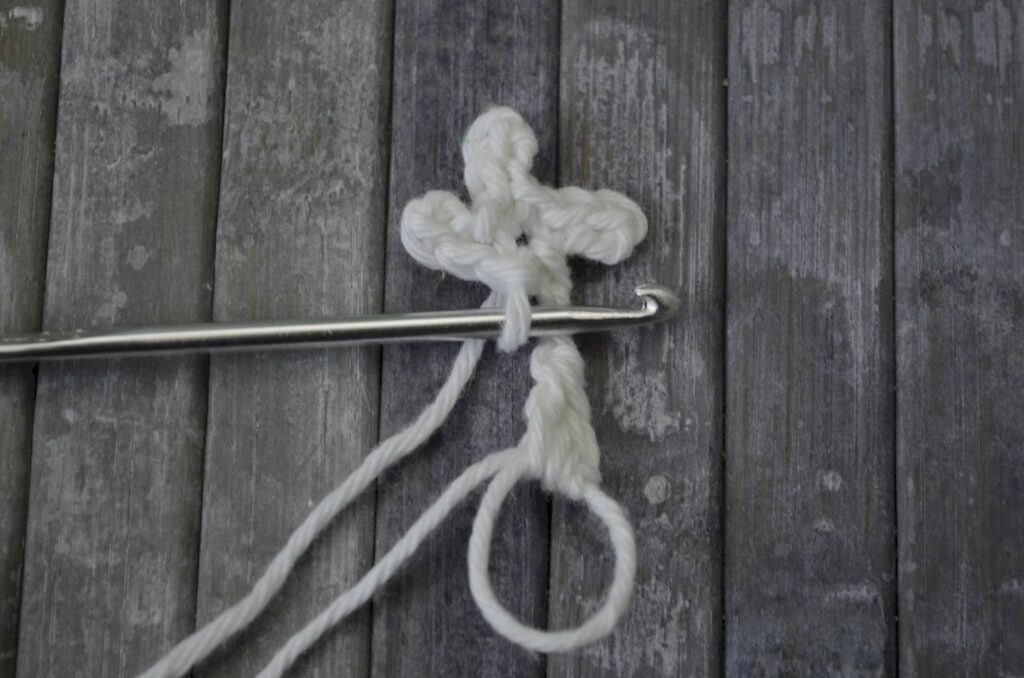
8. 3Sl St. First “branch” of the snowflake finished
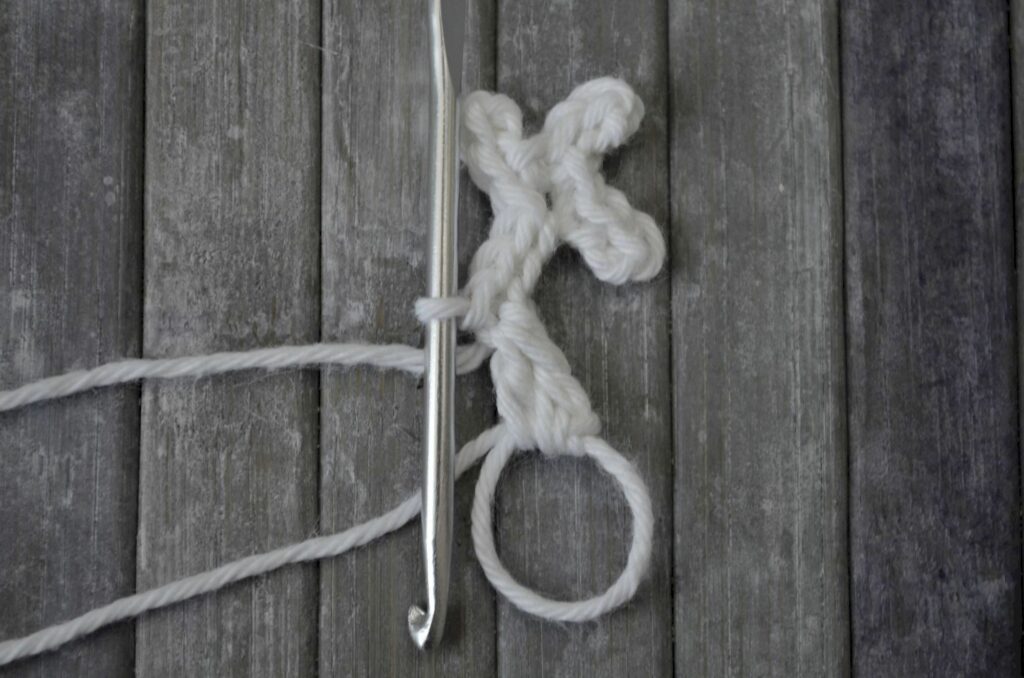
9. 2Dc cluster
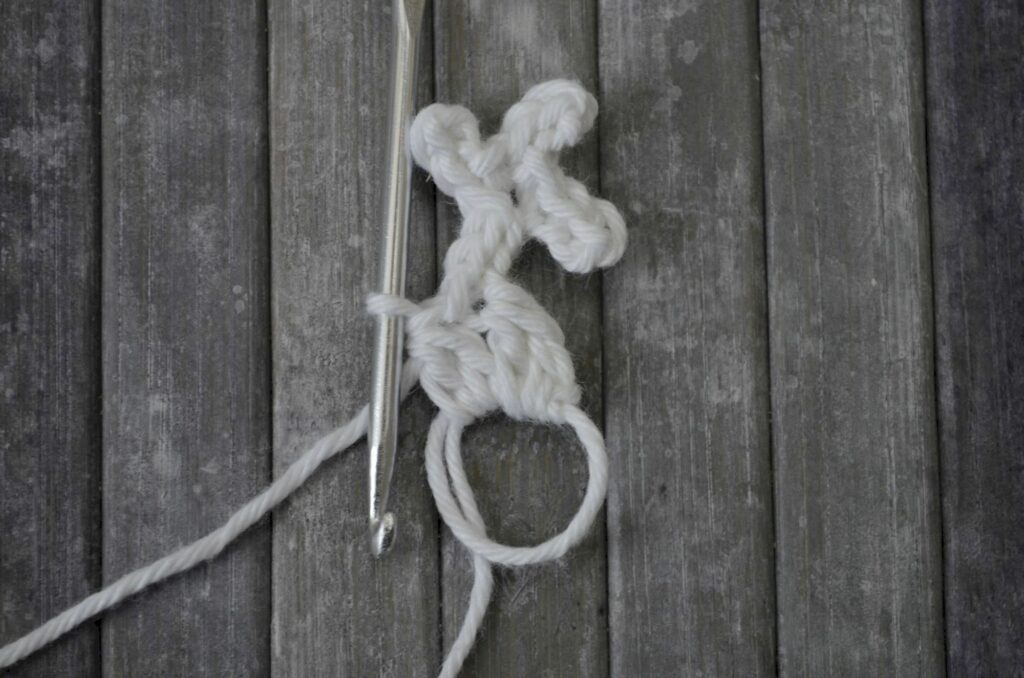
10. Picot
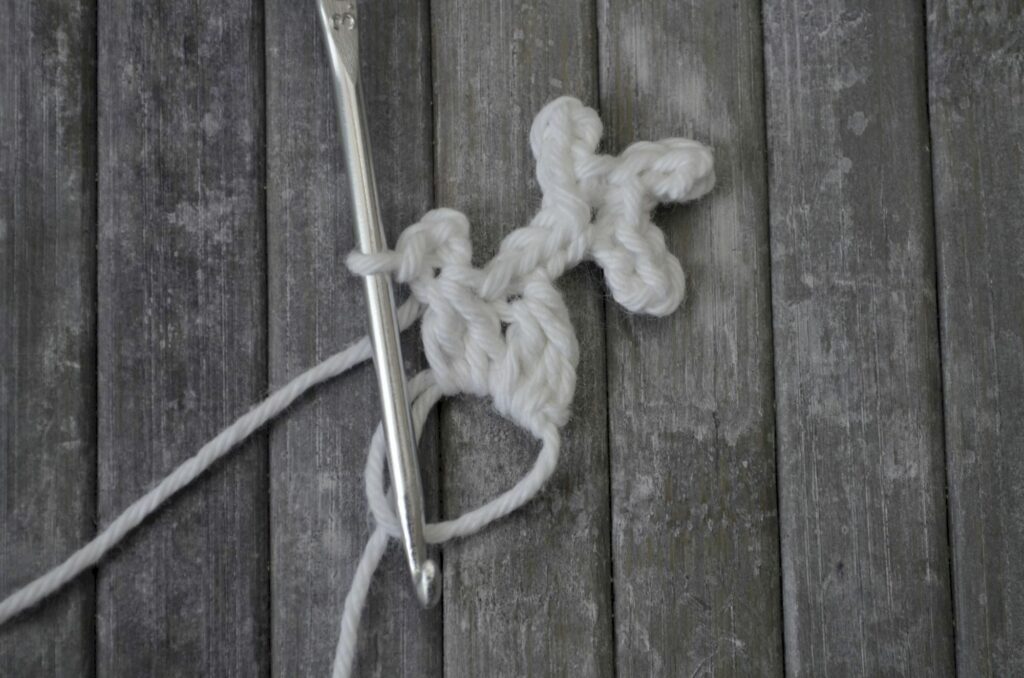
11. 2Dc cluster
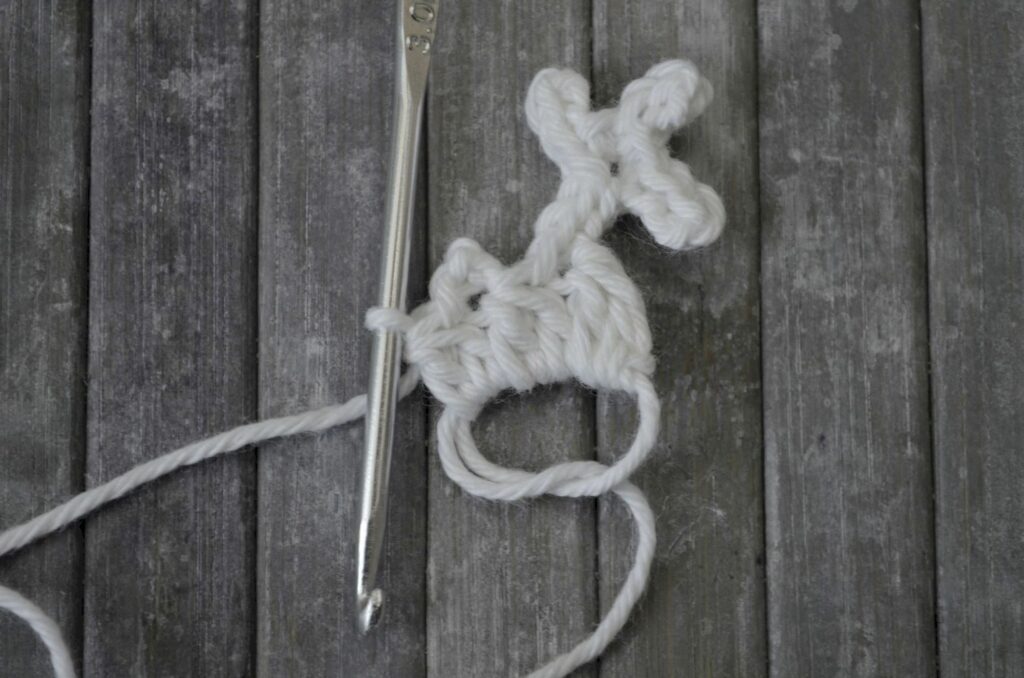
12. Second “branch”
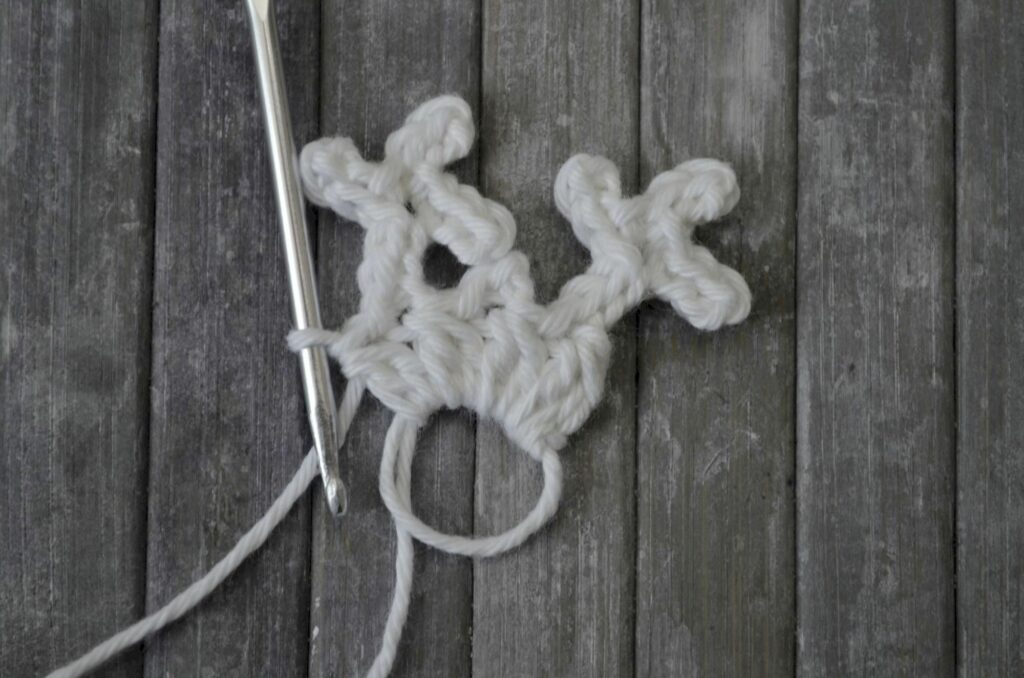
13. 2Dc cluster
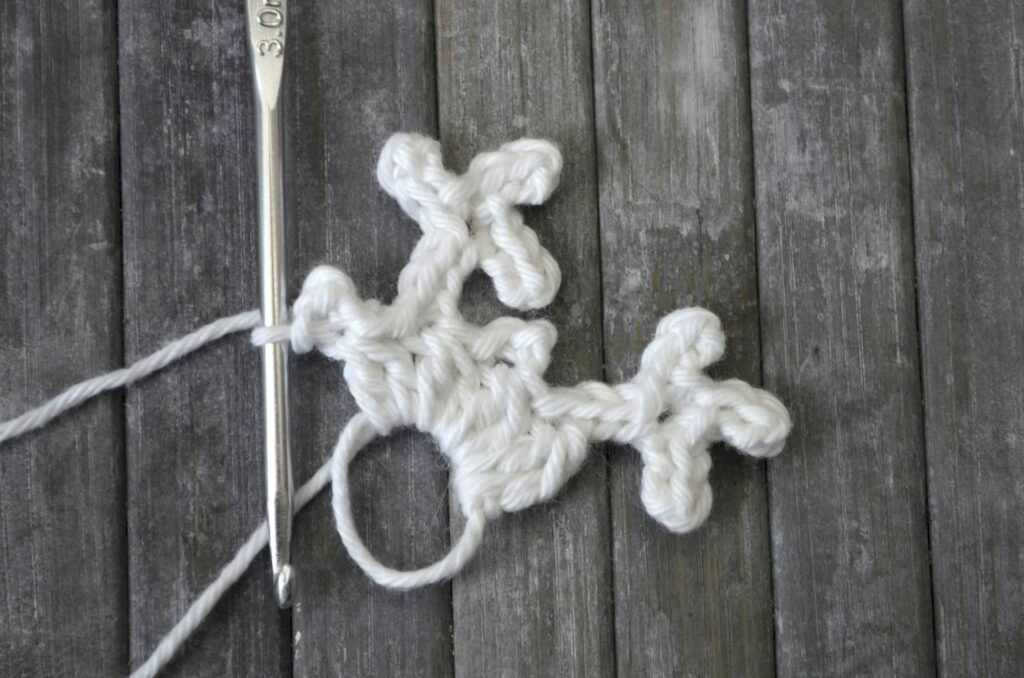
14. Picot
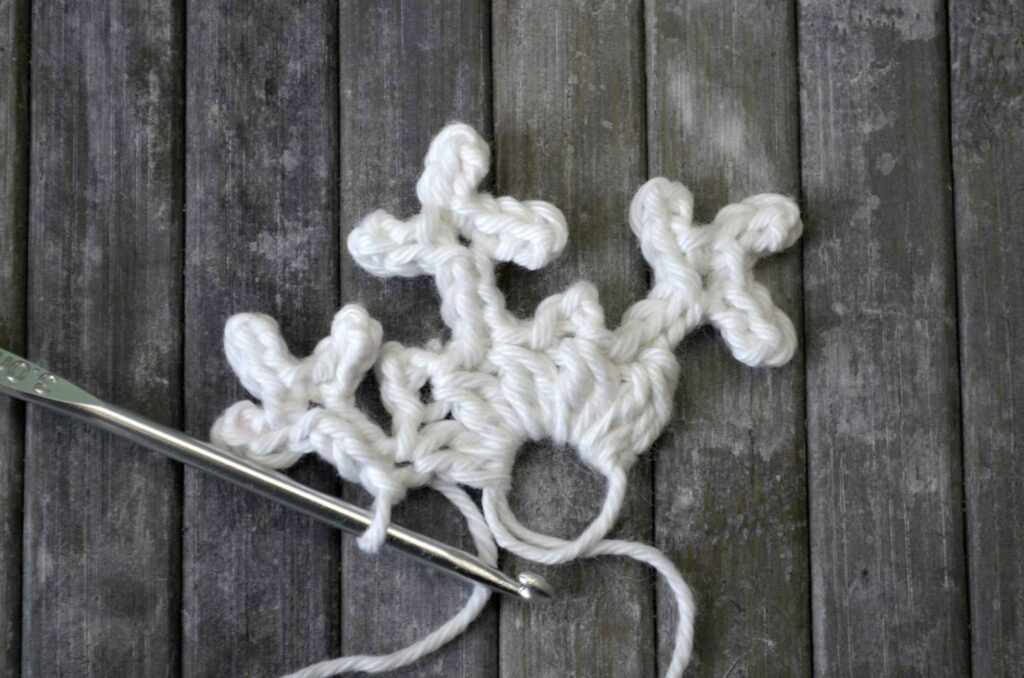
15. Third “branch”
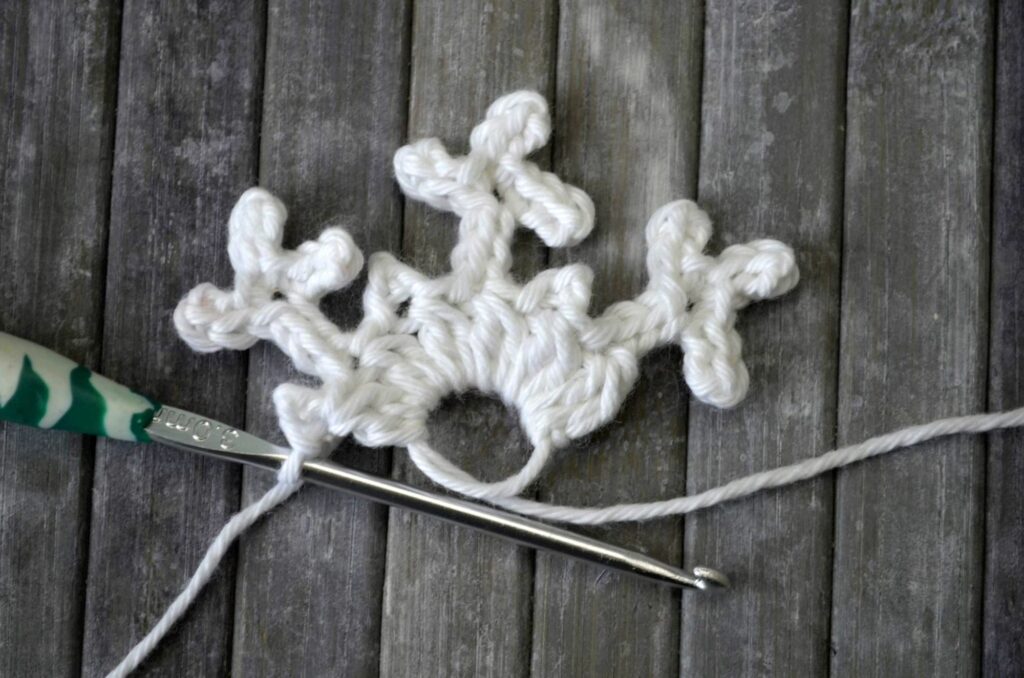
16. 2Dc cluster and Picot
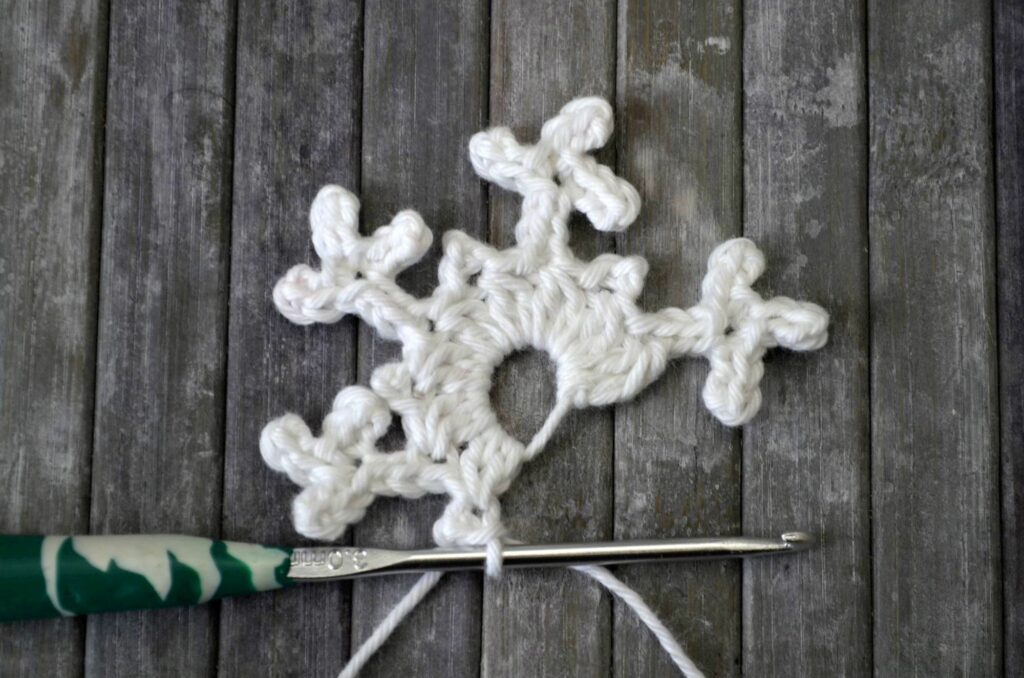
17. Fourth “branch”
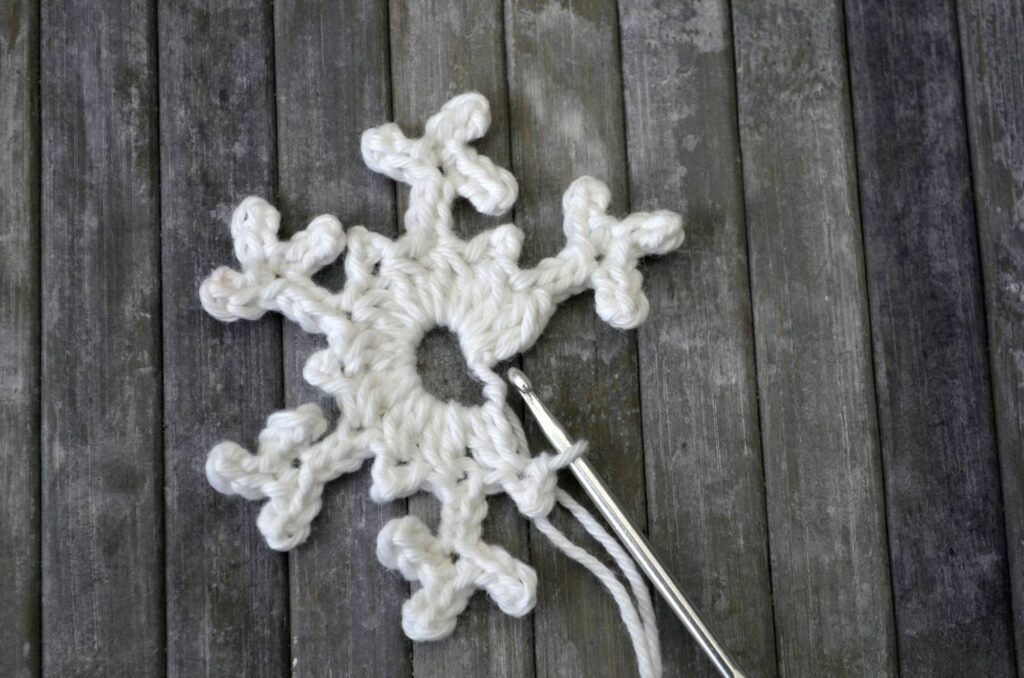
18. Fifth “branch”
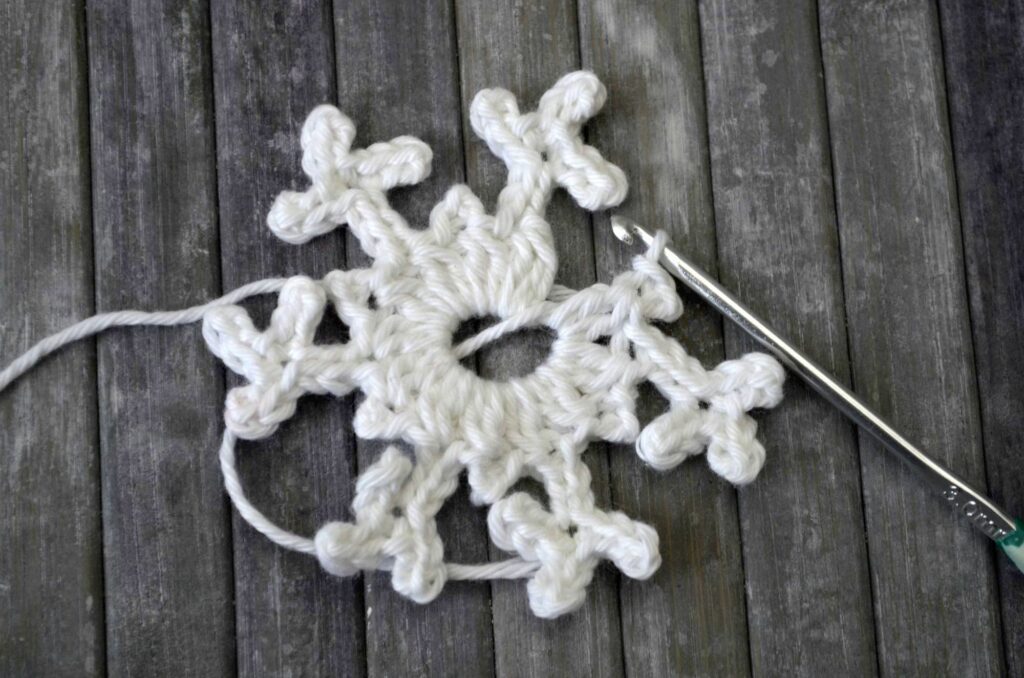
19. Last “branch” finished
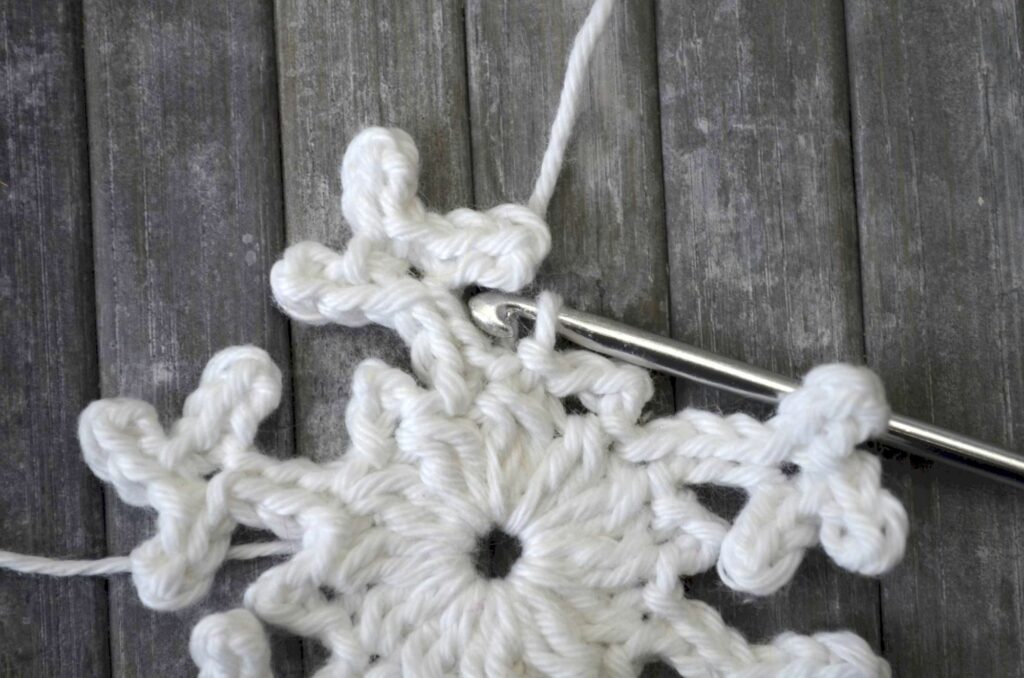
20. Sl St to top of first St

21. Cut off yarn and pull through
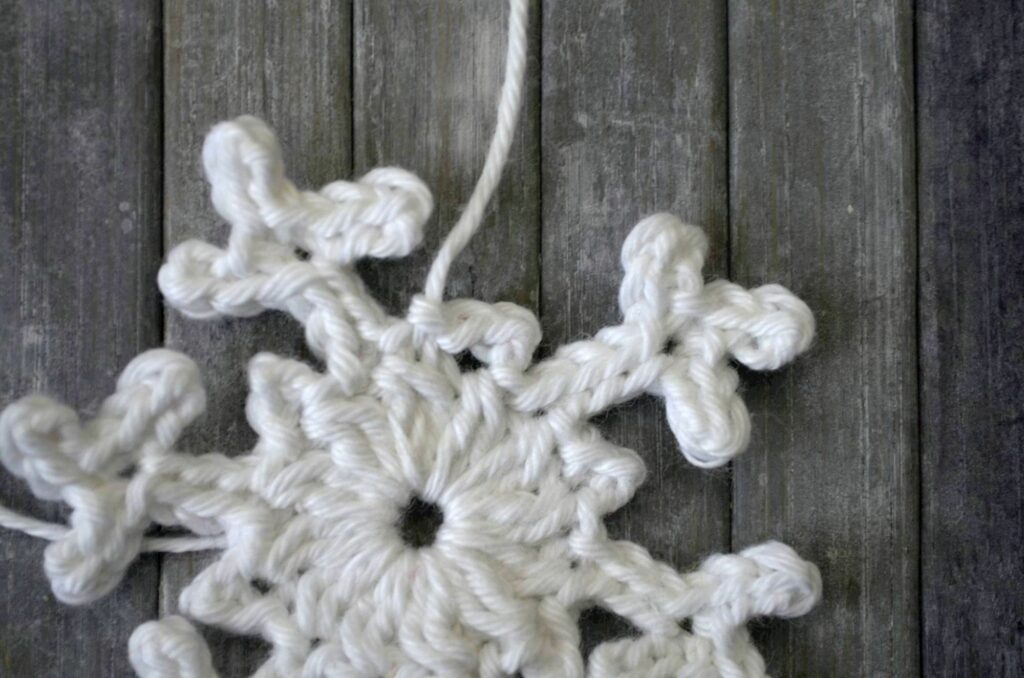
22. Create an invisible seam
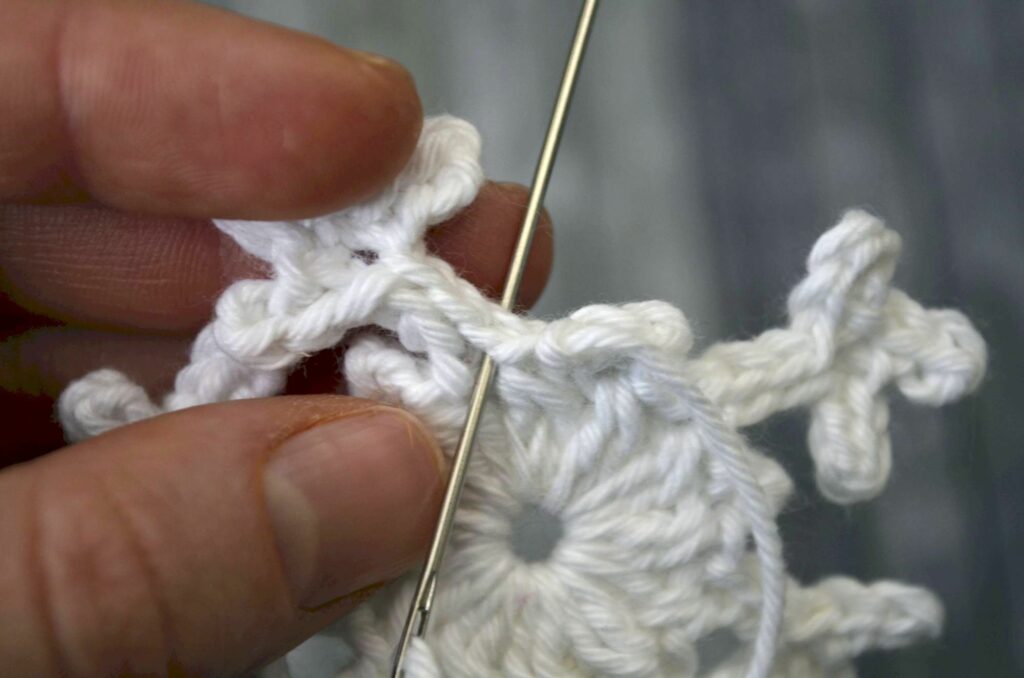
23. Finish the invisible seam
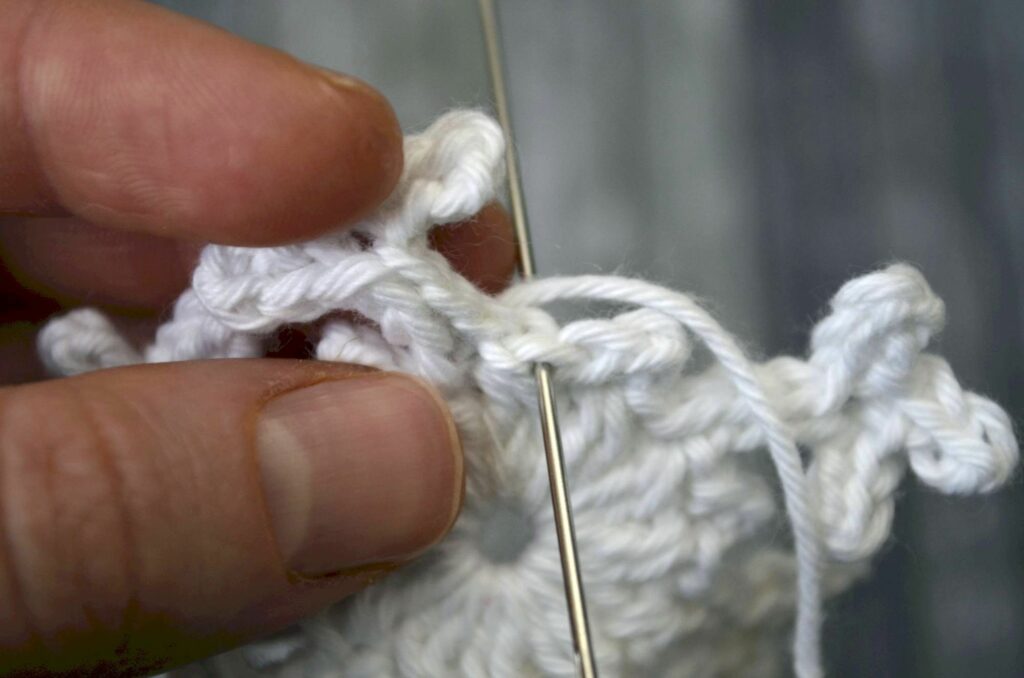
24. Weave in both ends
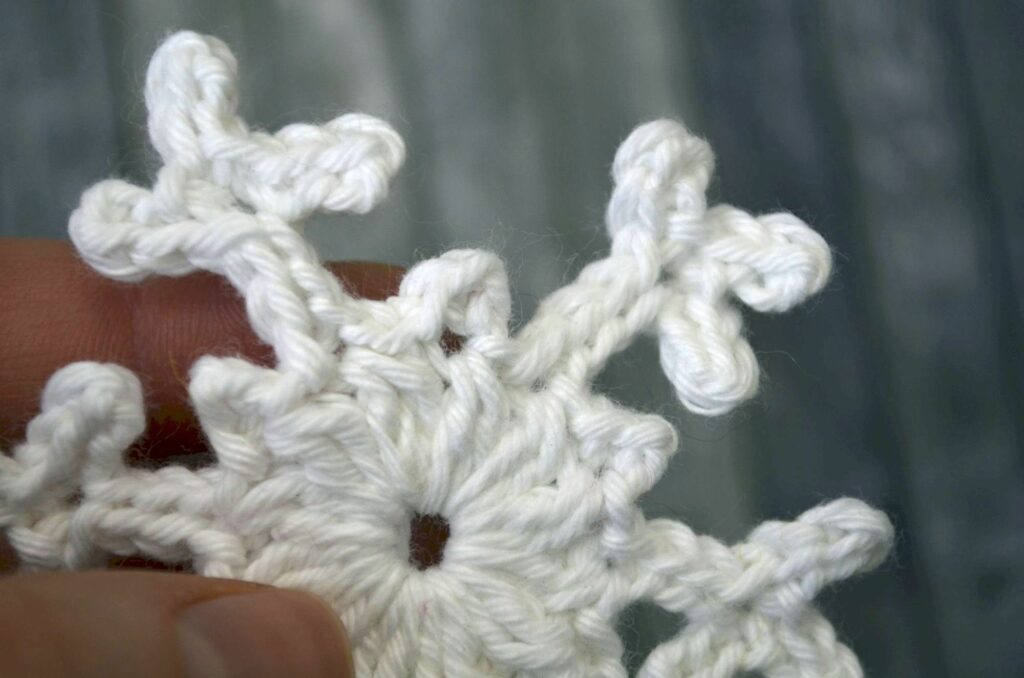
Finished!
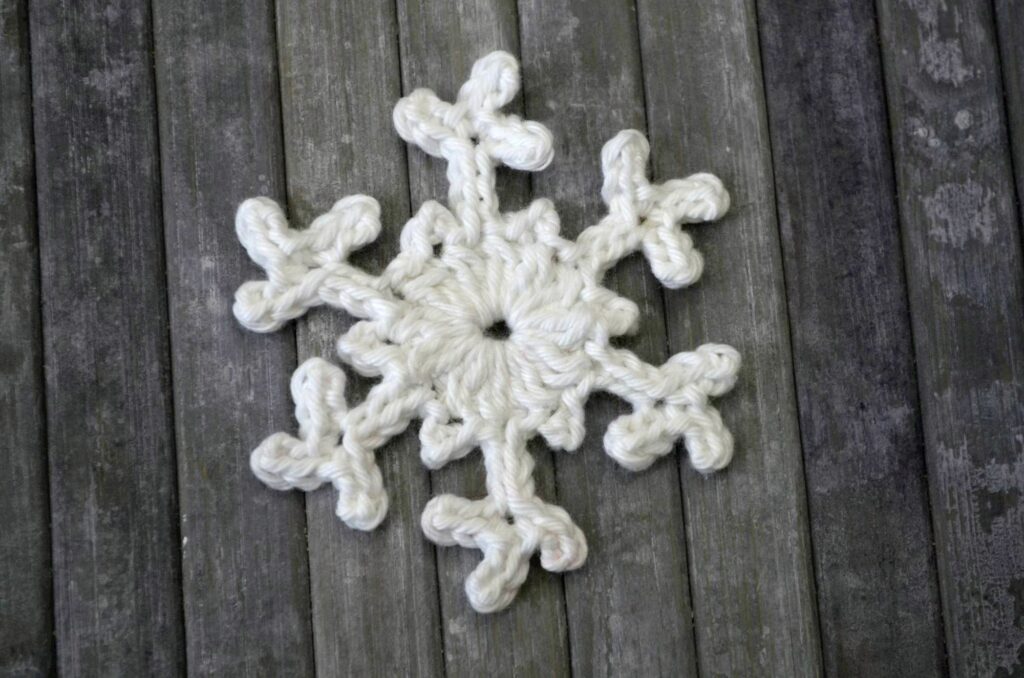
Once you make some of these snowflakes, you won’t be able to stop. It takes me about 10 minutes to finish one, so in one day I made enough to fill my Christmas tree.
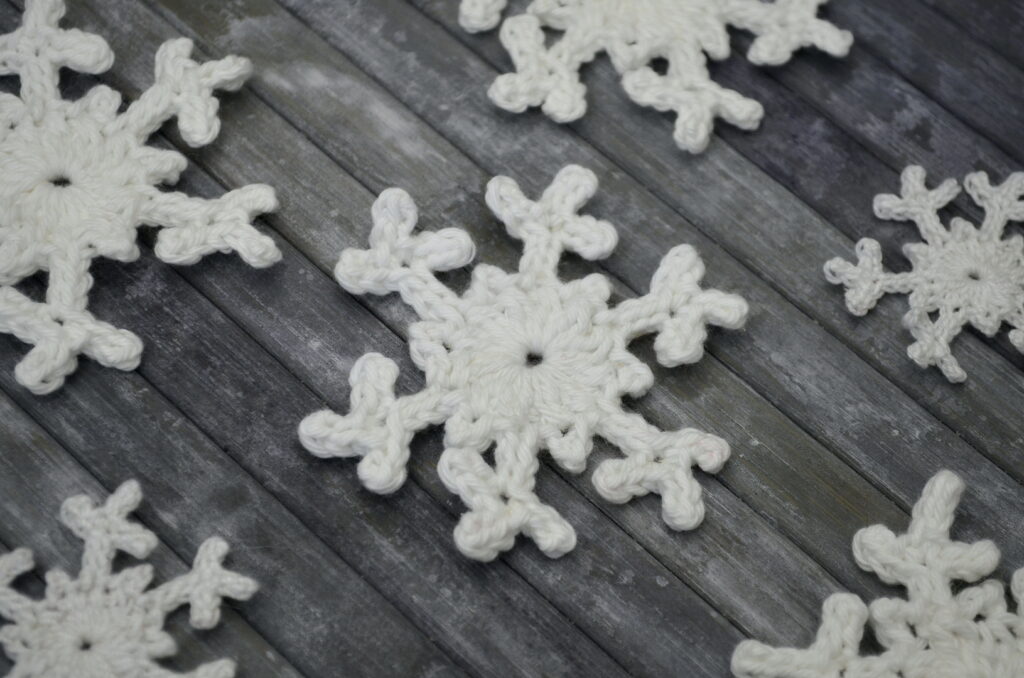
I hope you’ve enjoyed this very easy crochet snowflake pattern and will make many snowflakes.
Check out here which method to use to stiffen these and give them a nice shape.
If you want to try out more free patterns, check them out here:
Easiest waffle stitch crochet washcloth or potholder
Free textured star granny square pattern
Crochet summer top free pattern in 12 sizes
Easy chunky slippers – free crochet pattern
Dog bone amigurumi free crochet pattern – 2 versions
Free sunflower amigurumi pattern
Free vintage granny square crochet pattern for blankets
Easy pattern for spooky crochet earrings
Strawberry Cupcake CAL – Part 4
Strawberry Cupcake CAL – Part 3
Happy holidays!
Hugs,
Andrea

This might just be me, but there are no images on this page for me other than the video link.
Thank you in advance.
Hey, thanks for the feedback.
It takes a bit of time to load all the images, but they are there. Did they load for you in the end? Did you try refreshing the page or going incognito?
Cheers,
Andrea