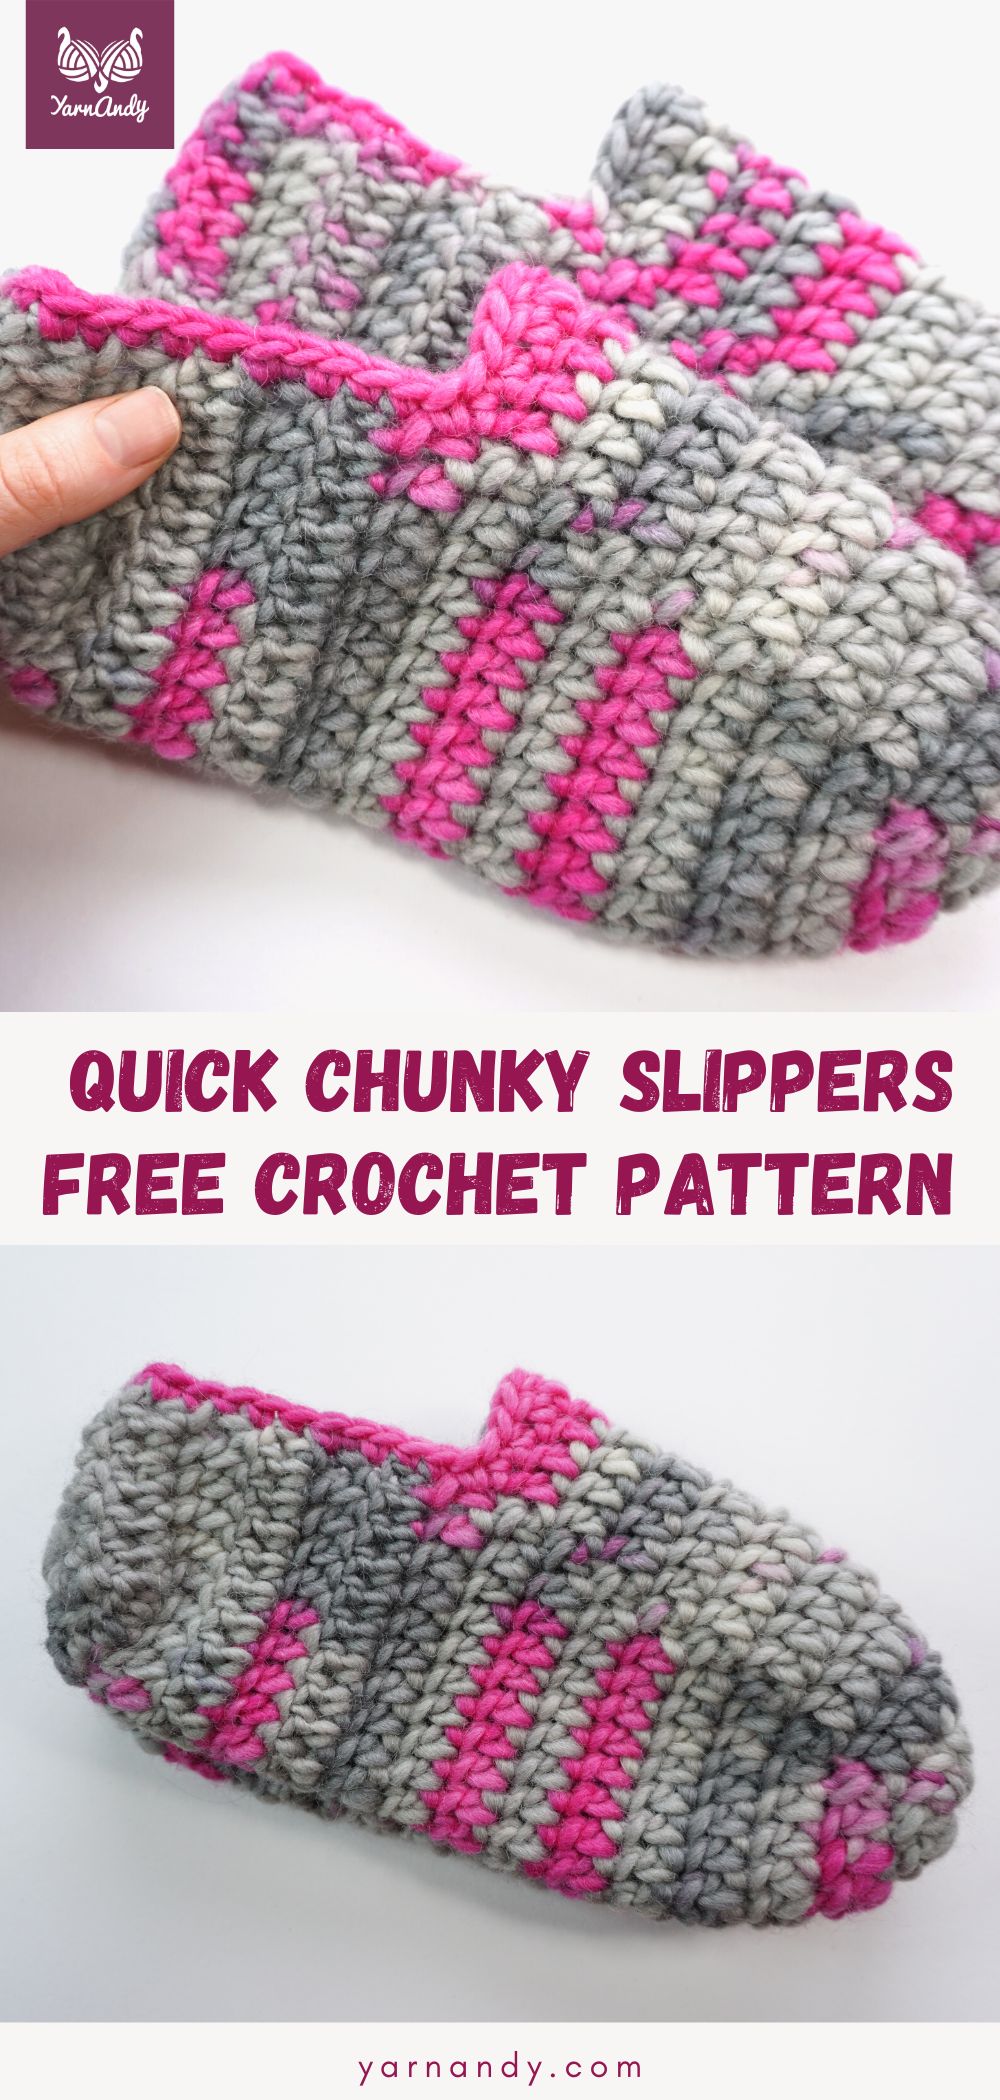
This beginner crochet pattern for chunky slippers is perfect for last-minute gifts for your loved ones. Quick to work up in chunky yarn, the size can easily be adapted and you can use the written instructions or the video tutorial to make them.
This article includes affiliate links, which may make me a small commission at no cost on your part, if you make any purchases using my links.
Contents
About this pattern for chunky slippers
If you’re like me and your hands and feet are always cold and you suffer in the cold season, this pair of slippers will improve your life.
I whipped them up in a couple of hours (including writing up the pattern for my size) and my feet no longer bother me.
I had a couple of pairs of slippers made last winter from the same yarn, that I wore out (and patched over), but which I’ve since misplaced.
They are here somewhere, but my feet are cold now, so I decided to go the easiest route.
A simple design, highly customizable, which I hope you’ll enjoy for yourself.
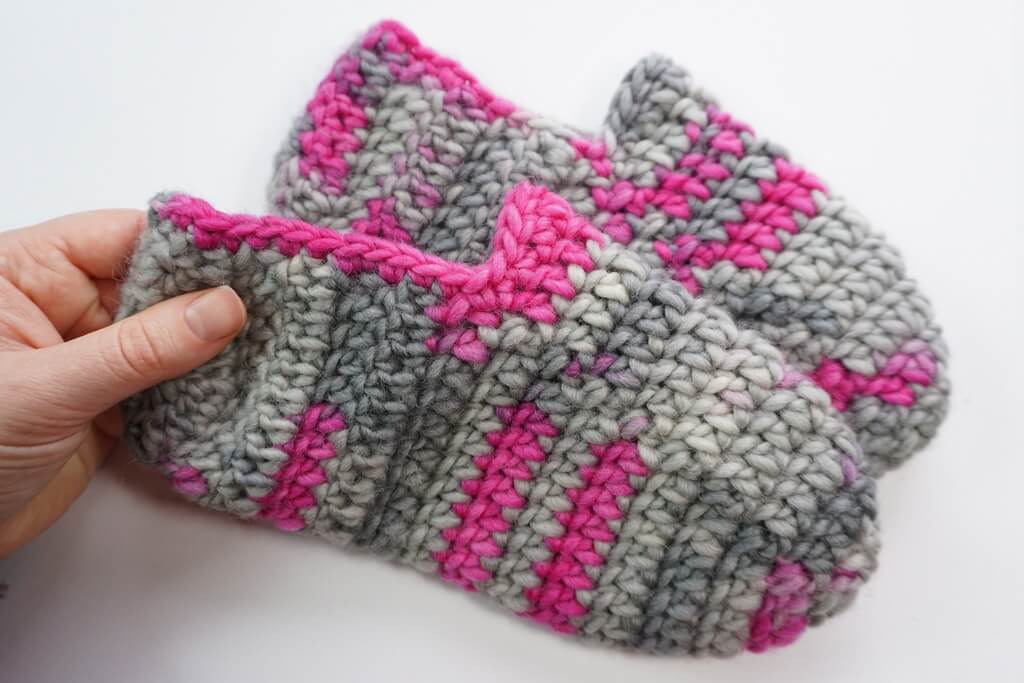
Make sure the yarn you use for these is 100% wool (wool for felting, for example) and not acrylic or cotton, as acrylic will make your feet sweat and they will feel even colder, and cotton is stiff and hard to walk on.
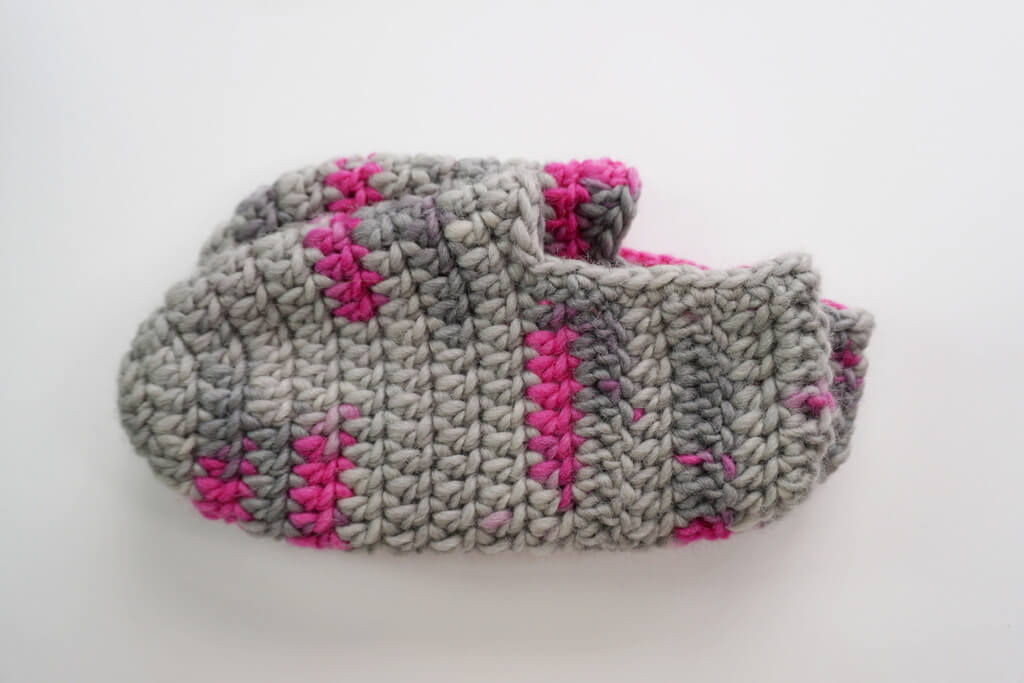
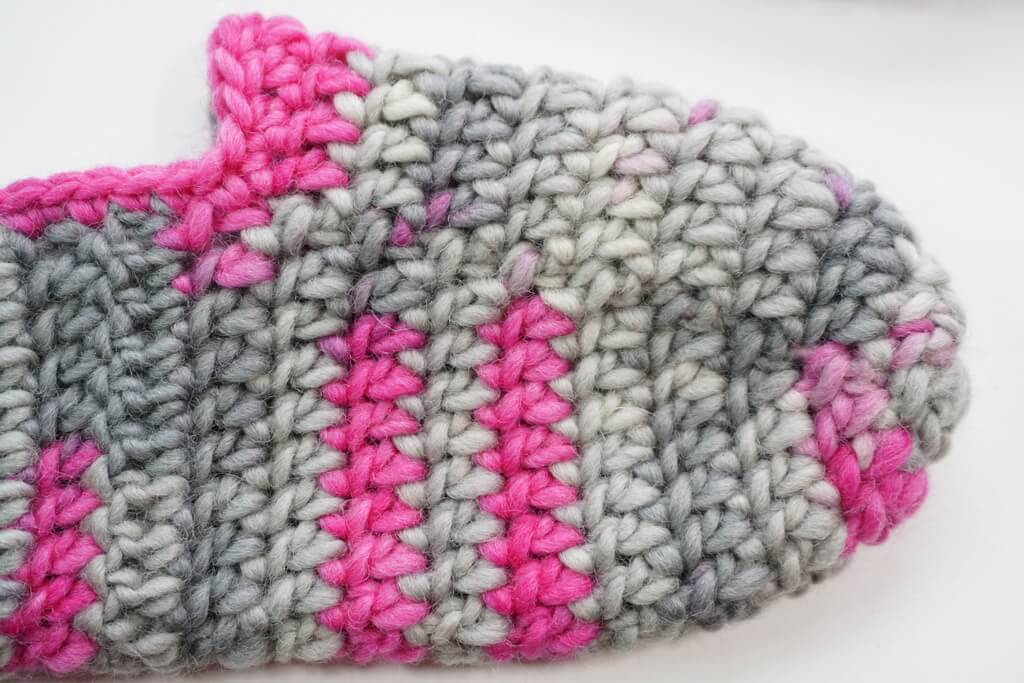
These slippers will have a little texture, but due to the loftiness of the yarn, they should feel comfortable when worn over socks.
I’m autistic and hypermobile and I enjoy the feel of the bumps in the fabric, as it feels like I get a foot massage every time I walk in these slippers.
After a while, however, the sole becomes flat and you can no longer feel the stitches.
If you plan on walking around in these, get some puffy paint or anti-slip paint and put some dots on the soles to prevent slipping.
There is no PDF version of this pattern as of right now, but let me know if you are interested in one and I will prioritize making that.
I also like wearing these as a liner for my huge Croc-like gardening shoes, as they fill out the space comfortably.
Size and measurements
The measurements of these basic crochet slippers are adjustable to the size of your feet.
You will need to achieve the gauge if you want your slippers to have the same measurements as mine, but the pattern is highly customizable.
The sample slipper measures 24 cm or 9.5″ in length 15 cm at the top and 24 cm or 9.5″ around at the widest point. This is the outer circumference and the inner circumference will be smaller.
You can alter the stitch counts to increase or decrease the size in both length and circumference, just make sure your slipper is snug around the foot, so you have zero ease.
Gauge
If you want to work to the provided size, make a gauge swatch by following these instructions
Row 1. Ch 18, 15 Dc in back bumps of chains, turn (16)
Row 2. 16 Dc, turn (16)
Repeat Row 2 8 more times for a total of 10 rows.
Measure a 10 by 10 cm (4″ by 4″) square in the middle of the swatch and count the stitches and rows.
12 stitches and 6.5 rows should measure 10 by 10 cm (4″ by 4″).
If you get fewer stitches and rows, go down a hook size (0.5 mm), if available, and make another swatch.
If you get more stitches and rows, go up a hook size (0.5 mm), if available, and make another swatch.
Repeat the swatching process until you reach the recommended gauge. Make a note of the hook size used.
Skill level
Beginner. You need to know how to make double crochet stitches and clusters.
Observations
This is a regular crochet pattern written in US terms.
You can replace the standing stitches at the beginning of the row with chains or stacked Sc. However, this might create a visible seam.
Add more rows for longer slippers. When adding rows for length, add them to the foot/toe part, not the ankle part.
Stitch counts are shown at the end of each row after the — symbols.
You can felt the adult version of these slippers if made in 100% non-superwash wool and make them perfect for children.
In this pattern, you work in the round until you reach the ankle shaping. That will change the look of the fabric. If you want the fabric to look the same throughout, turn at the end of each row.
Notions
- Yarn: for one pair, 100 g or 100 meters of size 5 wool yarn at about 50 meters per 50 grams – more yarn for longer/wider feet;
- Hook: regular crochet hook, 6 mm or hook size that gets you gauge;
- Tapestry needle, scissors, tape measure;
- Optional, stitch markers;
Sample made using Lana Grossa Feltro Print, color 366.
Examples of budget wool yarn for felting that works with this pattern (affiliate links):
- Lana Grossa Feltro;
- Lana Grossa Feltro Print;
- Viking Of Norway Naturgarn;
- Schoeller und Stahl Filzi;
- Schachenmayr Wash + Filz-it! Fine.
If you prefer shopping from Amazon in the US, here are the yarns in this category that I was able to find:
Abbreviations in US terms
- Ch – Chain;
- Dc – Double crochet;
- Dc4Tog – 4 Dc cluster – YO, insert hook into first St, pull up a loop, YO, pull through 2 loops on hook, Rep [YO, insert hook into next St, pull up a loop, YO, pull through 2 loops on hook] 3 times, YO, pull through 5 loops on hook;
- HDc – Half double crochet;
- Inc – 2 Dc worked in the same St;
- MR – Magic ring;
- Rep – Repeat;
- Sc – Single crochet;
- Sk – Skip;
- Sl St(s) – Slip stitch(es);
- St(s) – Stitch(es);
- YO – Yarn over;
- YU – Yarn under: bring the yarn under and to the front of the hook.
How to crochet chunky slippers
Start with a magic ring.
Row 1. 12 Dc in MR, Sl St to top of first – 12
Row 2. SDc, 1 Dc in first St, 1 Dc, Rep [2 Dc in one, 1 Dc] 5 times, Sl St to top of first St — 18
Row 3. SDc, 1 Dc in first St, 2 Dc, Rep [2 Dc in one, 2 Dc] 5 times, Sl St to top of first St — 24
Row 4. SDc, 1 Dc in first St, Inc, 10 Dc, 2 Inc, 10 Dc, Sl St to top of first St — 28
If working a larger slipper, add more increases in this row and distribute them evenly. Aim for multiples of 2 or 4 extra stitches.
Rows 5-9. SDc, 27 Dc, Sl St to top of last St, Sl St to top of first St — 28
Rows 10-14. SDc, 19 Dc, turn — 20
If working a larger slipper, make 2 extra stitches on Rows 10-14 for each 4 extra stitches added to the toe.
Row 15. SDC, 5 Dc, 2 Dc4Tog, 6 Dc, turn — 14
If working a larger slipper, add 1 Dc on each side for each extra 4 stitches added to the toe.
Row 16. Ch 1 (does not count as St), 5 HDc, Dc4Tog, 5 HDc — 11
If working a larger slipper, add 1 HDc on each side for each extra 4 stitches added to the toe.
Working around the foot opening, make 2 Sc in the side of each Dc until you reach the corner.
Make 1 Sc, 1 HDc, 1 Dc, 2 Inc, 1 Dc, 1 HDc, 1 Sc in the 8 Sts left unworked on Row 10 and continue with Sc around until you reach the beginning of the row.
If working a larger slipper, add 1 Dc on each side of the 2 Inc in the middle for each extra 4 stitches added to the toe.
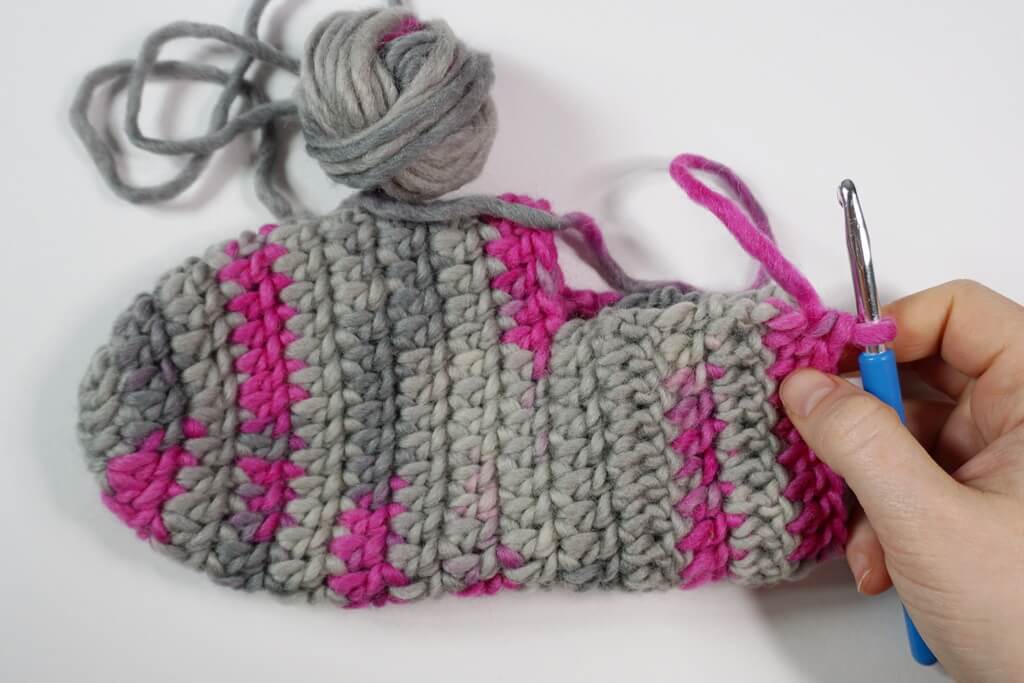
Cut off the yarn and sew up the gap using the tail, using a ladder stitch, so the seam does not show on the front of the work.
Weave in the ends on the inside of the work.
Video tutorial for easy chunky slippers
If you prefer a visual tutorial, please follow along with the one I prepared.
Right handed video tutorial
Left handed video tutorial
In the video tutorial, I seam up the gap first and attach the yarn again to finish the foot opening, but you can sew up the gap at the end.
I only realized after making the video that it was easier.
Final remarks
If you have any trouble with the pattern, write me a comment down below or use the contact page to write me an email.
If you want to explore more free crochet patterns, here you go:
Easiest waffle stitch crochet washcloth or potholder
Free textured star granny square pattern
Crochet summer top free pattern in 12 sizes
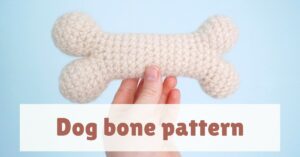
Dog bone amigurumi free crochet pattern – 2 versions
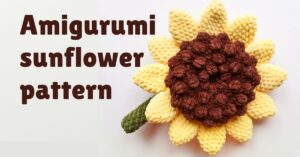
Free sunflower amigurumi pattern
Free vintage granny square crochet pattern for blankets
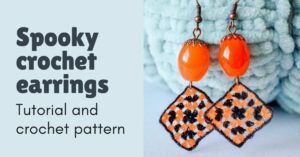
Easy pattern for spooky crochet earrings
Strawberry Cupcake CAL – Part 4
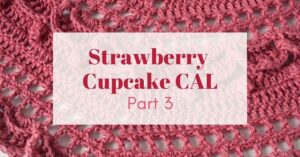
Strawberry Cupcake CAL – Part 3
Free vintage-inspired granny square pattern
I hope, however, that you’ll have fun with the pattern and try out other free crochet patterns that I’ve put out so far.
Hugs,
Andrea
