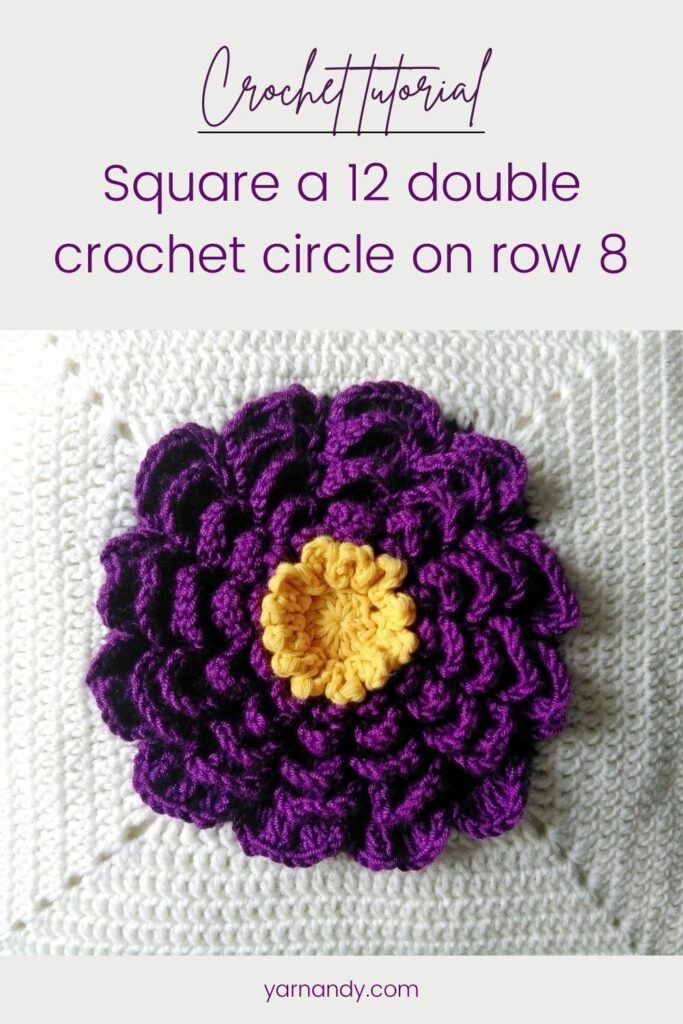
Learn from this detailed tutorial how to square a crochet circle started with 12 Dc stitches and worked for 8 rows.
If, like me, you’re in love with the Neverending Wildflower pattern and want to make a blanket with these flowers, but want to make it bigger than in the original pattern (say 8 rows of petals, like in my blanket), then you’ll need a way to square off that pretty circle, to get blanket squares.
In this pattern, I’ll show you how to square a crochet circle made with 8 rows of Dc stitches. You can use this technique for many circle-based motifs and as a base for an appliqué.
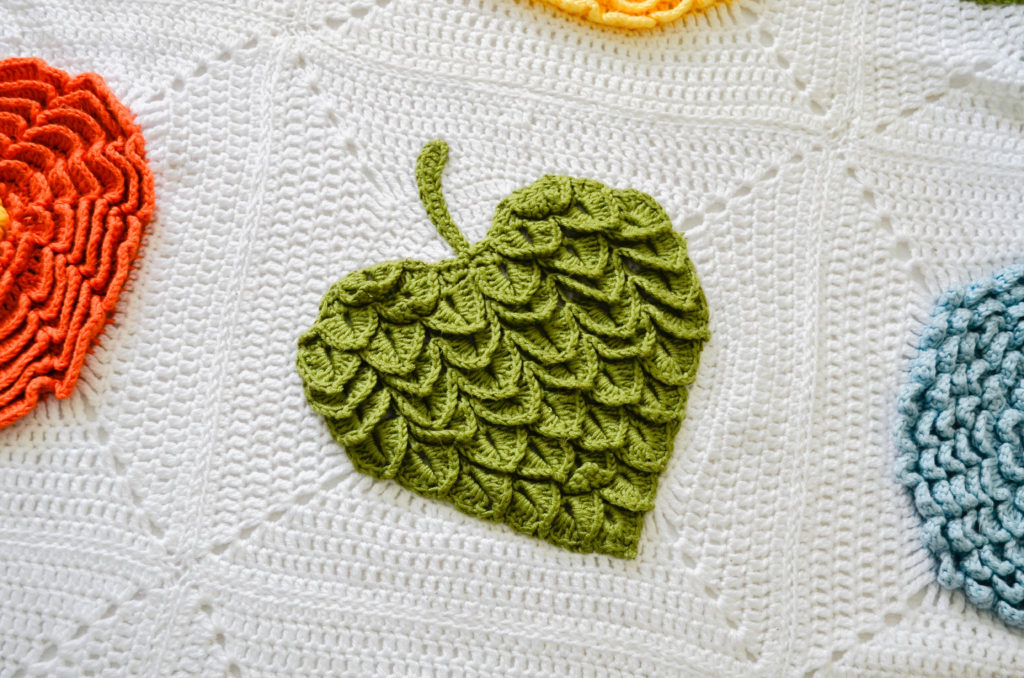
You might also use these instructions to make a background square that you can use with the crocodile stitch leaf pattern that I wrote for the blanket project (which I’m currently updating and posting on this website, so the link will follow soon) (which you can see in the middle of the photo below).

Notions
Since this is just a general formula for squaring a circle, you will use the yarn you want for your project. I’ll give you details about the yarn I used.
For the whole square, including the middle circle and all the rows in the pattern below, you will need:
- Yarn: about 40 grams or 150 meters of size 2 yarn (I used 40 grams from a skein of 330 meters/100 grams);
- Crochet hook – 3.5 mm;
- Scissors and tapestry needle.
US Terms
Observations
- Ch3 at the beginning of the row counts as a Dc stitch, so you work into it.
- You can use standing Dc stitches instead of Ch3 at the beginning of each row.
- Instructions in [square brackets] will be repeated the number of times mentioned after the brackets.
- Instructions in {curly brackets} are all worked in the same stitch.
- Numbers in (round brackets) at the end of the row represent the number of stitches on each row.
Abbreviations
- Ch – chain
- Dc – double crochet
- Hdc – half-double crochet
- MR – magic ring
- Sc – single crochet
- St – stitch
- Tr – treble crochet
How to square a crochet circle – detailed instructions
Base circle
To begin, you’ll need a Dc circle of 8 rows, which means 96 stitches on the last row. You can follow the flower pattern or just try it out with me, using the following instructions.
R1. Ch3, 11Dc in MR, Sl St to top of Ch3 (12)
R2. Ch3, Dc in 1st St, [2Dc in next St] 11 times, Sl St to top of Ch3 (24)
R3. Ch3, Dc in 1st St, Dc, [2Dc in next St, Dc] 11 times, Sl St to top of Ch3 (36)
R4. Ch3, Dc in 1st St, 2Dc, [2Dc in next St, 2Dc] 11 times, Sl St to top of Ch3 (48)
R5. Ch3, Dc in 1st St, 3Dc, [2Dc in next St, 3Dc] 11 times, Sl St to top of Ch3 (60)
R6. Ch3, Dc in 1st St, 4Dc, [2Dc in next St, 4Dc] 11 times, Sl St to top of Ch3 (72)
R7. Ch3, Dc in 1st St, 5Dc, [2Dc in next St, 5Dc] 11 times, Sl St to top of Ch3 (84)
R8. Ch3, Dc in 1st St, 6Dc, [2Dc in next St, 6Dc] 11 times, Sl St to top of Ch3 (96)
Squaring up the circle
We’ll now square off the circle in two rounds, to make stitches that are only a bit taller than the stitches on the previous rows.
R9. 3Sc, repeat {3Hdc, 3Dc, 2Tr, [Tr, Ch1, Tr] in the next St, 2Tr, 3Dc, 3Hdc, 7Sc] 3 times, 3Hdc, 3Dc, 2Tr, {Tr, Ch1, Tr} in the next St, 2Tr, 3Dc, 3Hdc, 4 Sc (104)
R10. 3Sc, repeat [3Hdc, 6Dc, {Dc, Ch1, Dc} in the next Ch1 space, 6Dc, 3Hdc, 7Sc] 3 times, 3Hdc, 6Dc, {Dc, Ch1, Dc} in the next Ch1 space, 6Dc, 3Hdc, 4Sc (112)
To make larger squares, for a blanket, I added three more rows of Dc and one of Hdc, as follows.
R11. Ch3, 12Dc, repeat [{2Dc, Ch1, 2Dc} in the next Ch1 space, 27Dc] 3 times, {2Dc, Ch1, 2Dc} in the next Ch1 space, 14Dc (128)
R12. Ch3, 14Dc, repeat [{2Dc, Ch1, 2Dc} in the next Ch1 space, 31Dc] 3 times, {2Dc, Ch1, 2Dc} in the next Ch1 space, 16Dc (144)
R13. Ch3, 16Dc, repeat [{2Dc, Ch1, 2Dc} in the next Ch1 space, 35Dc] 3 times, {2Dc, Ch1, 2Dc} in the next Ch1 space, 18Dc (160)
R14. Ch3, 18Hdc, repeat [{2Hdc, Ch1, 2Hdc} in the next Ch1 space, 39Hdc] 3 times, {2Hdc, Ch1, 2Hdc} in the next Ch1 space, 20Dc (160)
Leave a long tail that you’ll be able to use for sewing some of the squares together.
Attaching the leaf
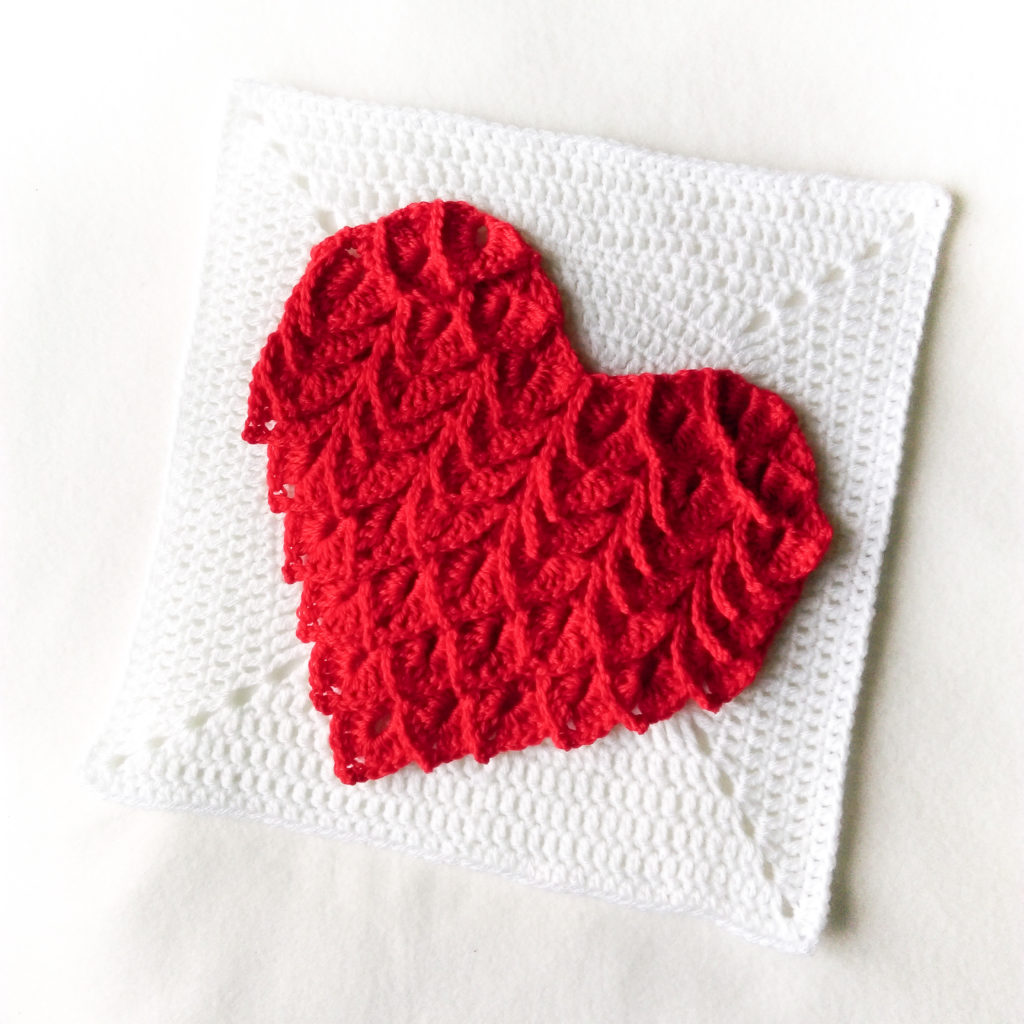
After you make the leaf (or heart, if you want to make a blanket of hearts), you will sew it on one of these circles made in a solid color, using the main color of the leaf/heart.
First, center the leaf/heart on the square. Pick an angle that you will like to see in the finished piece. Put some pins in it, to keep it from shifting while you’re working on it, or, even better, baste it in place with a contrasting thread and very long loops.

Starting from whichever point you feel comfortable and using the main yarn of the leaf/heart, start making small stitches on the edges of the leaf, catching each stitch end in the crocodile stitch, going around the whole design in very small steps. Do this around the leaf stem too, if you have it.
If you plan to have backing for the blanket (which I recommend), you can just go through both layers, otherwise be careful to make the stitches go through the yarn, but not all the way to the other side.
I hope you enjoyed this little tutorial and will use it to make beautiful projects with it.
I’ll see you around.
Hugs,
Andrea
P.S. Sign up to my updates if you want to know when I publish more patterns and videos.


1 thought on “How to square a crochet circle with 8 Dc rows – easy as pie”