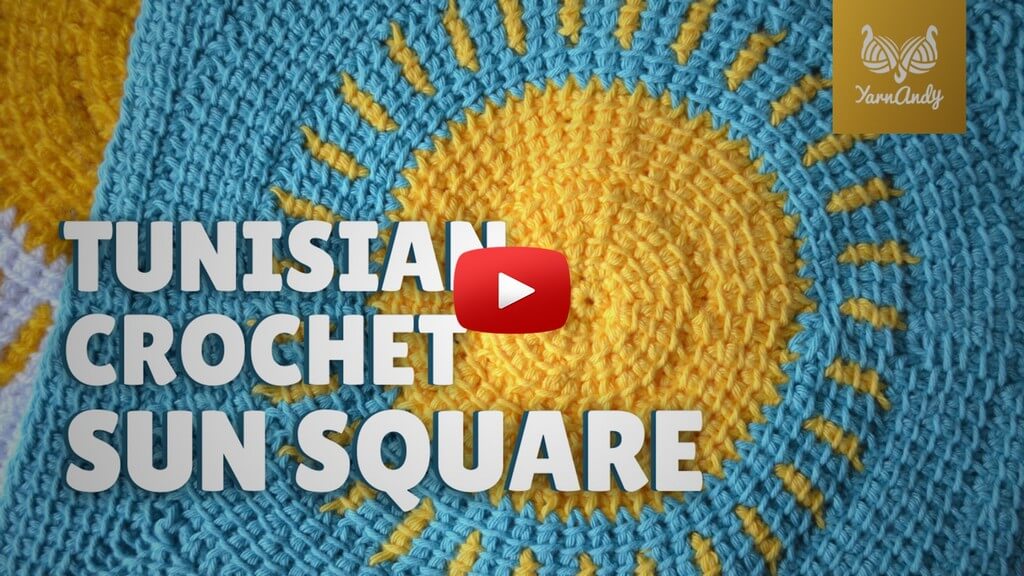
This free Tunisian crochet sun square pattern is part of the TCAL hosted by Arunima on her website KnitterKnotter and her Facebook group. Check them out and also check out the PDF version of this pattern if you want a printable. Video here.
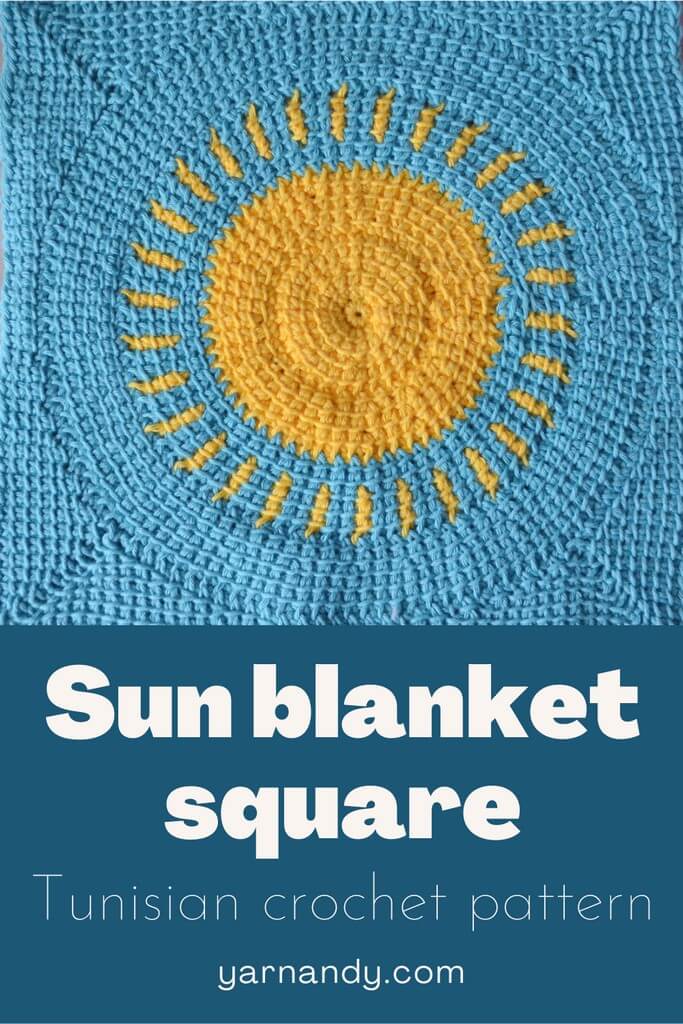
Are you ready to add another block to your Tunisian crochet blanket that you’re working on within the CAL hosted by Arunima from Knitter Knotter?
If you have no idea what I’m talking about, check out this fabulous crochet-along that Arunima is hosting throughout the year.
Crochet designers from all over the world are contributing with their interesting and innovative designs to this blanket that will be one of a kind.
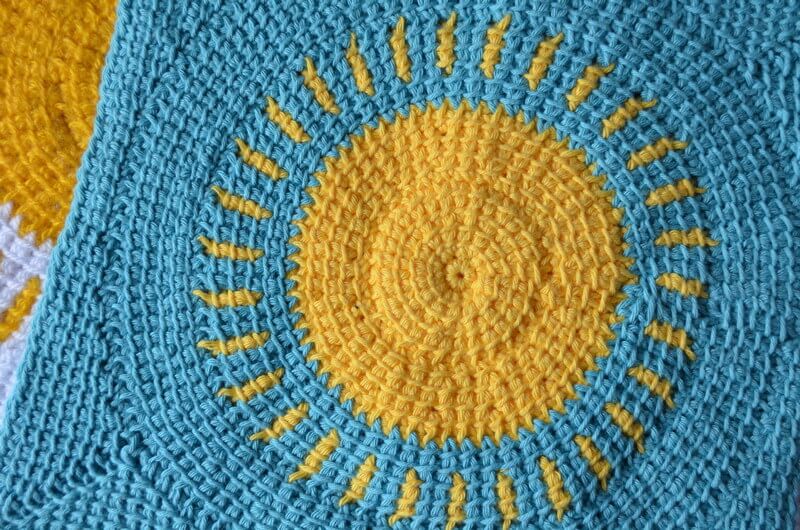
I’m really happy that Arunima has invited me to participate in this CAL with a design, as I had the perfect idea for it.
An intermediate-level square with step-by-step instructions that will help you even if you are a beginner in Tunisian crochet.
You can make it in two or three colors, depending on what you’ve chosen for your blanket.
And you also have sizing adjustments, in case you can’t reach gauge.
Read Arunima’s observations from her experience with this pattern and then come back and start on your own!
What you can make with this pattern
Besides the obvious blanket square, you can make a lot of things with this pattern.
Using cotton yarn, you can make placemats for your table. They would make any plate of food shine.
Or you could make two squares and seam them up into a pillowcase.
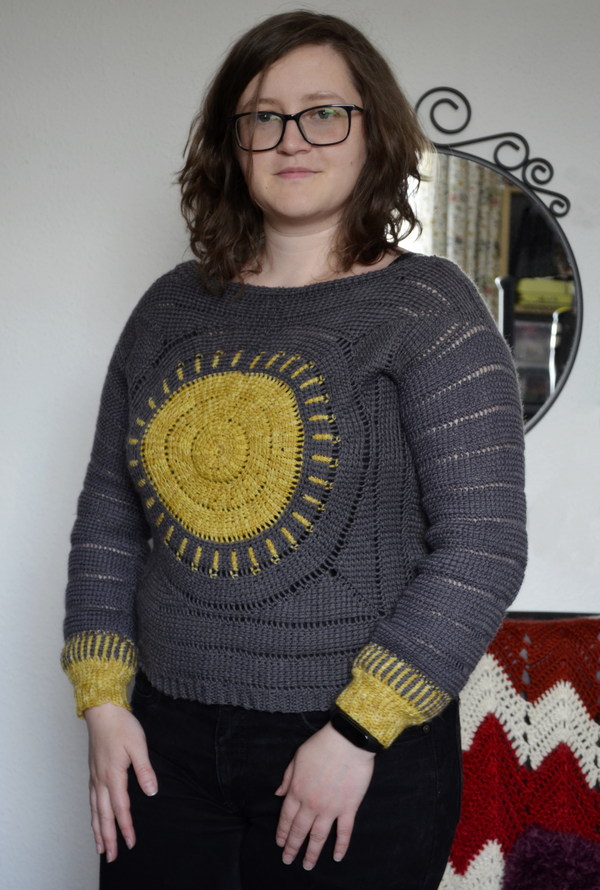
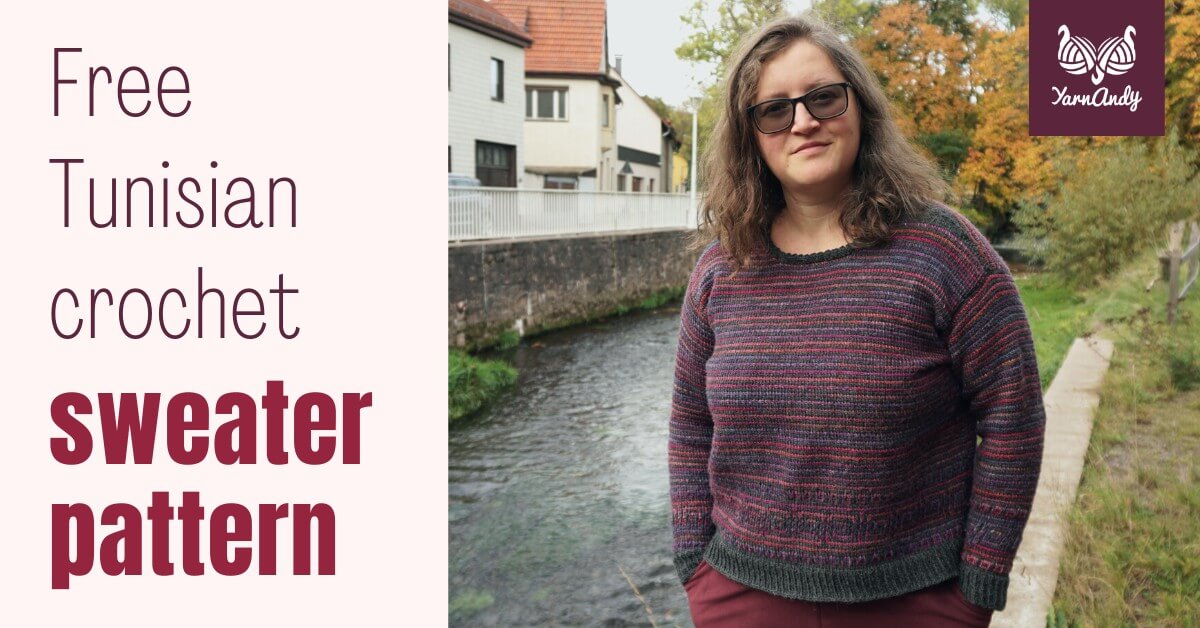
You could also add a bit of shoulder shaping and a couple of sleeves and you’ve got yourself a sweater, like I did when I first came up with this kind of circular Tunisian crochet pattern.
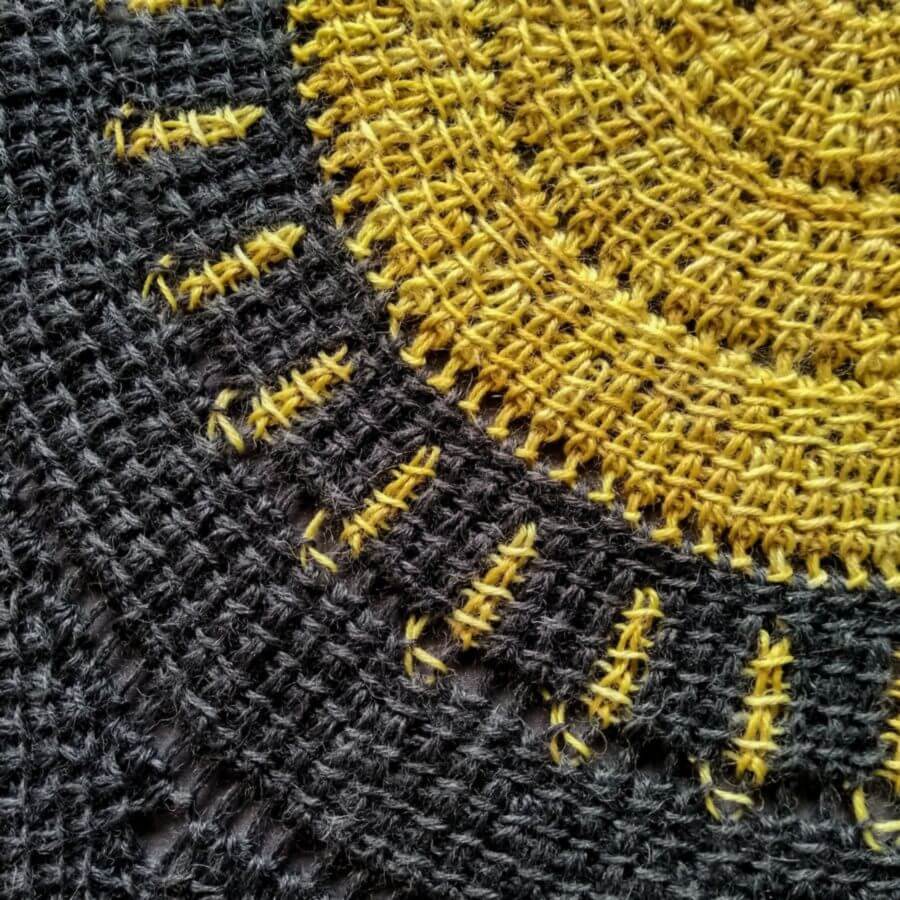
In the photos below you’ll see a close-up and a full view of the sweater made with mushroom-dyed yarn. You’ll notice that there are three sections of yellow, but the principle is the same.
You’ll also notice that the sun’s rays look a bit funny and that there are rows of holes around each section.
All of these details are fixed in the current pattern, so make sure you read the observations! Or follow along with the video, as I’ll show you exactly what to do.
Now let’s get started on that square!
Size
The finished square should measure 30 by 30 cm or 12 by 12 inches.
If the square comes out smaller, you can modify the last section to increase the size, following the instructions provided before the last section.
Skill level
Intermediate – you need to know how to make Tunisian simple stitches, how to make short row returns (explained in the Stitches section), and how to increase in Tss.
Notions
- Yarn – about 50 grams or 100-160 meters of DK weight yarn (200-230 meters per 100 grams) in two colors, about 15-20 grams or 30-45 meters of C1 (color 1 – the color of the sun) and about 35-40 grams or 70-90 meters of C2 (color 2 – the color of the sky or the background);
- Hook – 7- or 8-mm crochet hook or size that will give you gauge;
- Scissors and tapestry needle for weaving in ends.
Gauge
Make a gauge swatch using the following instructions and adapt your hook size to reach the recommended size.
The final square should measure 5 by 5 cm or 2 by 2 inches.
R1. Ch7, pick up loops in all back bumps of the chains, R
Rows 2-6. 6Tss, Ls, R
There is no need to bind off, just measure the width and height of your swatch.
Stitches and other abbreviations
- Ch – chain;
- FS – first Tunisian crochet stitch – the first loop on every row, it is worked into as the top of a stitch on the subsequent section;
- Ls – last Tunisian crochet stitch – insert hook behind the two vertical loops in the last stitch and pull up a loop;
- M1 – pick up a loop in the next horizontal space between stitches or between a stitch and the side of the section you are working into;
- MR – magic ring;
- R – return pass – used throughout this pattern for all rows where you have a stitch to anchor to: insert hook into the necessary stitch, pick up a loop, repeat [YO and pull through 2 stitches on hook] until you are left with only one loop on the hook;
- Sc – single crochet;
- Sl St – slip stitch;
- SR – short row – this marking tells you that you will be working a short row;
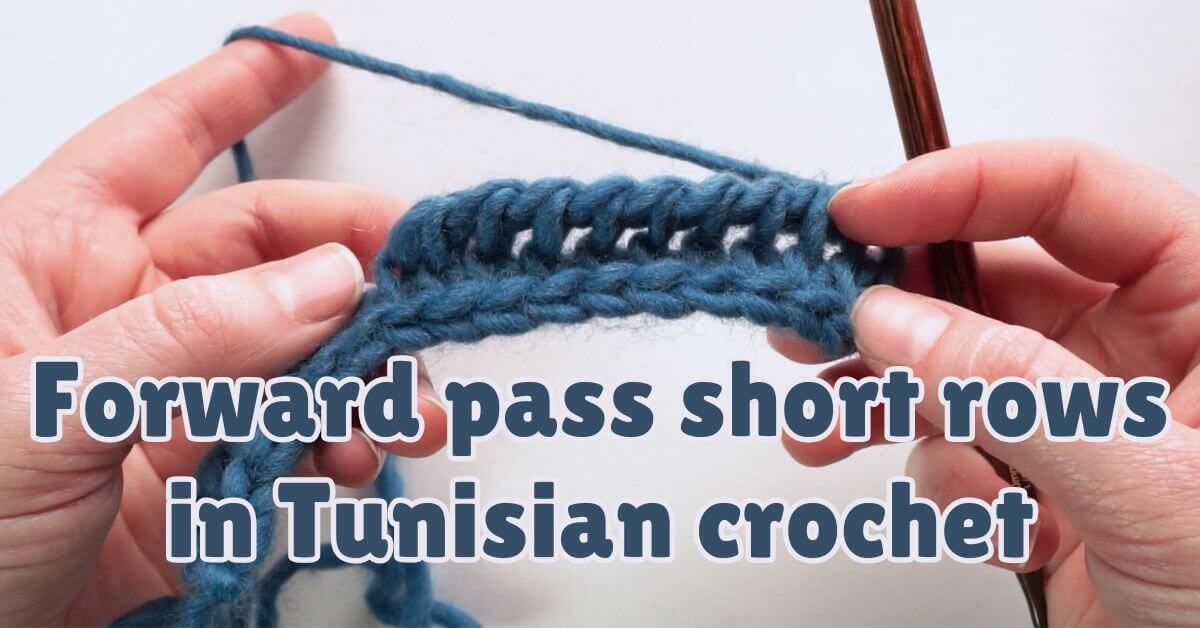
- SRR – short row return – used for short rows: repeat [YO and pull through 2 stitches on hook] until you are left with only one loop on the hook;
- Tss – Tunisian simple stitch – go behind the vertical post of the stitch, YO and pull up a loop.
Observations
- After you finish one section, you will work into the side loops of the rows on the previous section, including the third loop on the back, to prevent holes from forming.
- Except for section 1, all rows are worked into the next stitch in the previous section, unless otherwise specified (when doing a SRR or working into a diagonal stitch).
- At the end of each row before the return pass, the number of loops that need to be on your hook is written in (round brackets).
- When making a Tss into a stitch that was the last stitch for a short row, you work into the stitch below the short row, not the last stitch of the short row.
- When working with two colors in the same section, you end each row with C2, irrespective of the main color of that row, to keep the edge in C2.
- All SR count as rows, they are marked like this for convenience.
- Work until section 3 is completed and measure your circle. If the diameter is below 22 cm or 8.5”, continue with the regular pattern. Otherwise, continue with the modified section 4 to square off.
- You can follow the photo instructions in section 5 for the modified section 4 (early squaring).
Instructions
See below for video, or get the PDF version for step-by-step photo instructions for all sections.
Section 1 – worked in C1
R0. 8Sc in a magic ring, Sl St to first Sc
R1. Ch 4, 4Tss to first Sc, R (6)
SR2. 3Tss, SRR (4)
R3. 4Tss to first Sc, R (6)
SR4. 3Tss, SRR (4)
R5. 4Tss to next Sc, R (6)
SR6. 3Tss, SRR (4)
R7. 4Tss to the same Sc, R (6)
SR8. 3Tss, SRR (4)
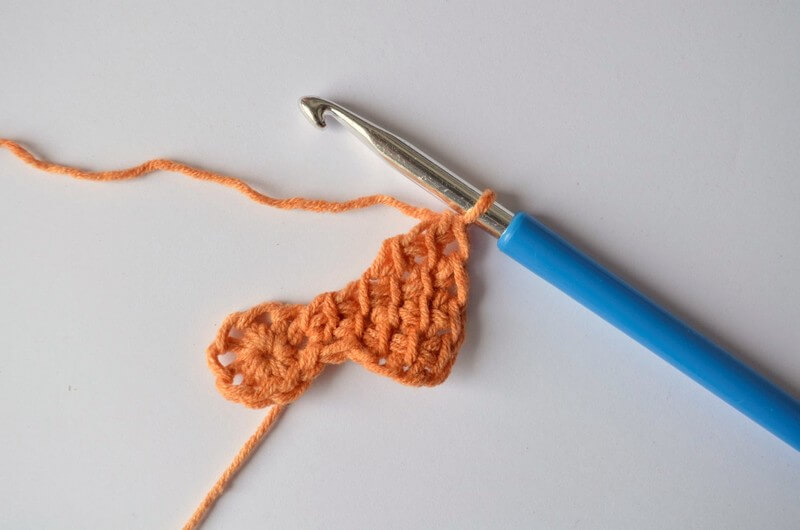
Repeat rows 5-8 6 more times, each time working into a new Sc from the foundation row, for a total of 32 rows.
Sl St into the top of R1.
Section 2 – worked in C1
R1. Ch 4, 4Tss, R (6)
SR2. 2Tss, SRR (3)
SR3. 4Tss, SRR (5)
R4. 4Tss, R (6)
R5. 4Tss, R (6)
SR6. 2Tss, SRR (3)
SR7. 4Tss, SRR (5)
R8. 4Tss, R (6)
Repeat rows 5-8 14 more times, for a total of 64 rows.
Sl St into the top of R1.
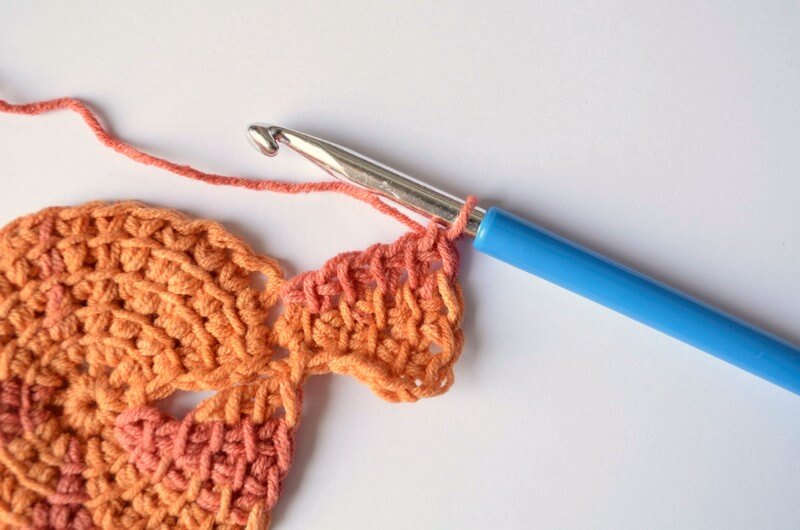
Section 3 – worked in C2 and C1
R1. Using C2, Ch 5, 5Tss, R (7)
SR2. Using C1, 4Tss, SRR, switching back to C2 on the last return St (5)
R3. Using C2, 5Tss, R (7)
R4. Using C2, 5Tss, R (7)
SR5. Using C1, 4Tss, SRR, switching back to C2 on the last return St (5)
R6. Using C2, 5Tss, R (7)
Repeat rows 4-6 30 more times, for a total of 96 rows.
When you finish the final R6 repeat, Sl St into the top of R1.
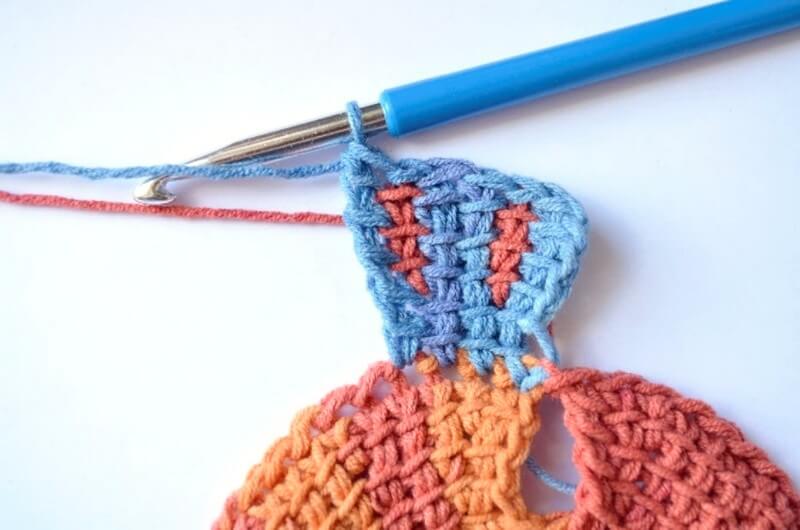
Cut off only C1, leaving a tail to sew in.
If your circle measures more than 22 cm or 8.5” after section 3, please follow the instructions on the next page to square off the circle in the modified section 4.
Section 4 – worked in C2 only
R1. Using C2, Ch 5, 5Tss, R (7)
R2. 5Tss, R (7)
SR3. 4Tss, SRR (5)
R4. 5Tss, R (7)
R5. 5Tss, R (7)
R6. 5Tss, R (7)
SR7. 4Tss, SRR (5)
R8. 5Tss, R (7)
Repeat rows 5-8 30 more times, for a total of 128 rows.
Sl St into the top of R1.

Section 5 – worked in C2 only
Increasing part
R1. Ch 1, 1Tss, R (3)
Rows 2-5. 1Tss, R (3)
R6. 1Tss, M1, R (4)
Rows 7-8. 2Tss, R (4)
R9. 2Tss, M1, R (5)
R10. 3Tss, R (5)
R11. 3Tss, M1, R (6)
R12. 4Tss, R (6)
R13. 4Tss, M1, R (7)
R14. 5Tss, R (7)
R15. 5Tss, M1, R (8)
R16. 6Tss, R (8)
SR17. 6Tss, SRR (7)
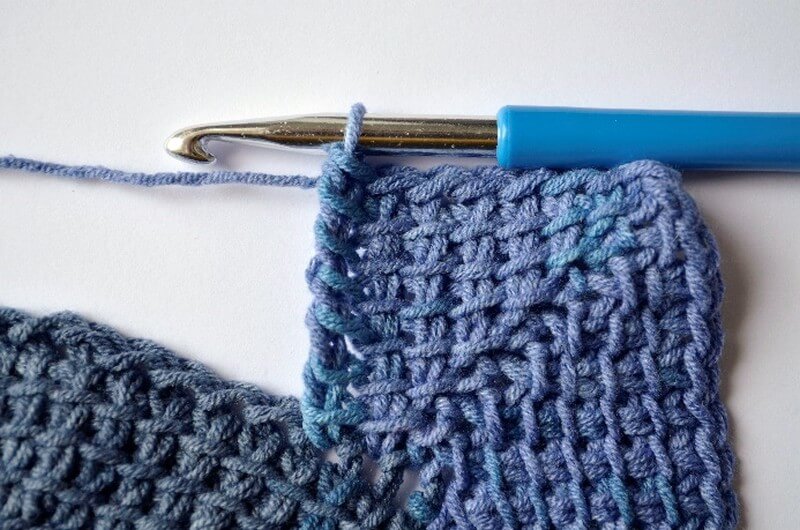
Going around the corner
SR18. 5Tss, SRR (6)
SR19. 4Tss, SRR (5)
SR20. 3Tss, SRR (4)
SR21. 2Tss, SRR (3)
SR22. 1Tss, SRR, Ch1 (2)
R23. 1Tss, pick up a loop in diagonal, R (3)
R24. 1Tss, M1, pick up a loop in diagonal, R (4)
R25. 2Tss, M1, pick up a loop in diagonal, R (5)
R26. 3Tss, M1, pick up a loop in diagonal, R (6)
R27. 4Tss, M1, pick up a loop in diagonal, R (7)
R28. 5Tss, M1, pick up a loop in diagonal and next St in Section 4, R (8)
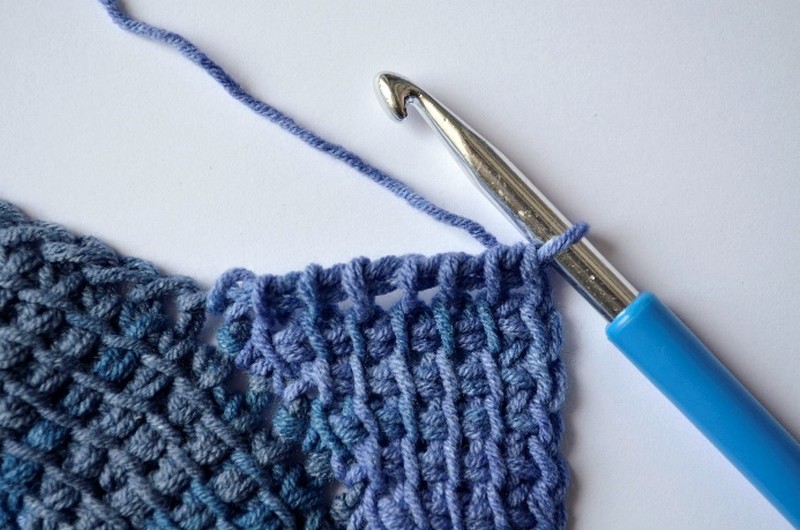
Decreasing part
R29. 6Tss, R (8)
R30. 4Tss, Tss2Tog, R (7)
R31. 5Tss, R (7)
R32. 3Tss, Tss2Tog, R (6)
R33. 4Tss, R (6)
R34. 2Tss, Tss2Tog, R (5)
R35. 3Tss, R (5)
R36. 1Tss, Tss2Tog, R (4)
Rows 37-38. 2Tss, R (4)
R39. Tss2Tog, R (3)
Rows 40-43. 1Tss, R (3)
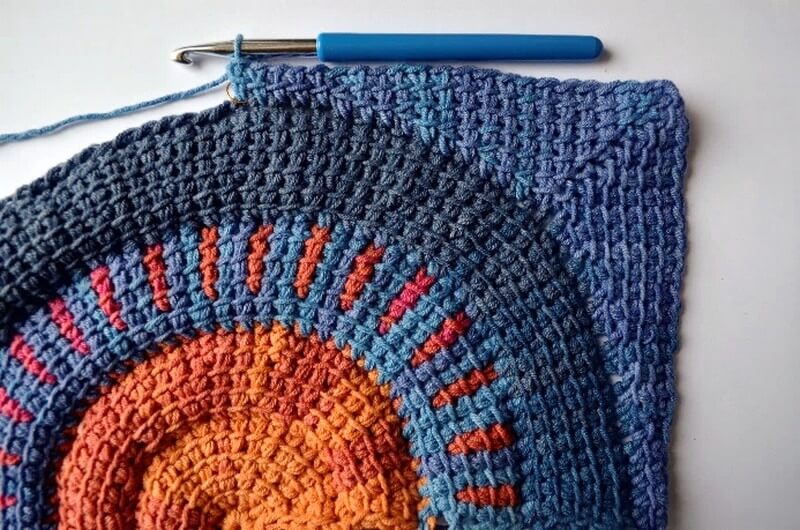
Repeat rows 1-43 3 more times, skipping the Ch1 on R1 repeats, for a total of 172 rows.
Do not Sl St into the top of the first row, but follow the instructions below to close the gaps.
Modified Section 4 instructions
You will use this early squaring section if the circle after section 3 is about 9 inches or 23 cm in diameter.
You work this section in C2 only.
R1. Ch 4, 4Tss, R (6)
Rows 2-4. 4Tss, R (6)
R5. 4Tss, M1, R (7)
R6. 5Tss, R (7)
R7. 5Tss, M1, R (8)
R8. 6Tss, R (8)
R9. 6Tss, M1, R (9)
R10. 7Tss, R (9)
R11. 7Tss, M1, R (10)
R12. 8Tss, R (10)
SR13. 8Tss, SRR (9)
SR14. 7Tss, SSR (8)
SR15. 6Tss, SRR (7)
SR16. 5Tss, SRR (6)
SR17. 4Tss, SRR (5)
SR18. 3Tss, SRR (4)
SR19. 2Tss, SRR (3)
SR20. 1Tss, SRR, Ch1 (2)
R21. 1Tss, pick up a loop in diagonal, R (3)
R22. 1Tss, M1, pick up a loop in diagonal, R (4)
R23. 2Tss, M1, pick up a loop in diagonal, R (5)
R24. 3Tss, M1, pick up a loop in diagonal, R (6)
R25. 4Tss, M1, pick up a loop in diagonal, R (7)
R26. 5Tss, M1, pick up a loop in diagonal, R (8)
R27. 6Tss, M1, pick up a loop in diagonal, R (9)
R28. 7Tss, M1, pick up a loop in diagonal and next St in Section 3, R (10)
R29. 8Tss, R (10)
R30. 6Tss, Tss2Tog to next St, R (9)
R31. 7Tss, R (9)
R32. 5Tss, Tss2Tog, R (8)
R33. 6Tss, R (8)
R34. 4Tss, Tss2Tog, R (7)
R35. 5Tss, R (7)
R36. 3Tss, Tss2Tog, R (6)
Rows 37-40. 4Tss, R (6)
Repeat rows 1-40 3 more times, skipping the Ch1 on R1 repeats, for a total of 160 rows.
Do not Sl St into the top of the first row, but follow the instructions below to close the gaps.
Closing the gaps
To close up the gaps between the two sides, thread the beginning yarn tail from C1 through the needle and go up through the horizontal loops, starting on the right and alternating left and right, like in the photos below. Make sure you take up all loops on both sides.
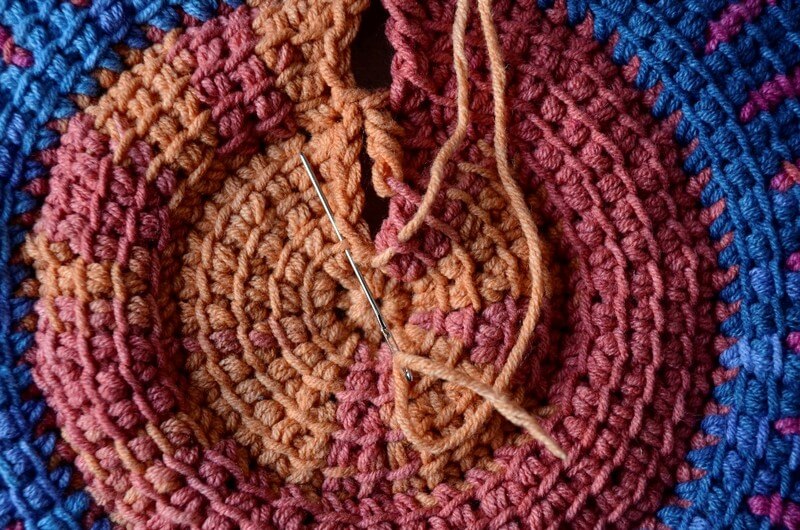
Start on one side, below the first horizontal loop, then move to the other side and come up with the needle, from below the corresponding horizontal loop.
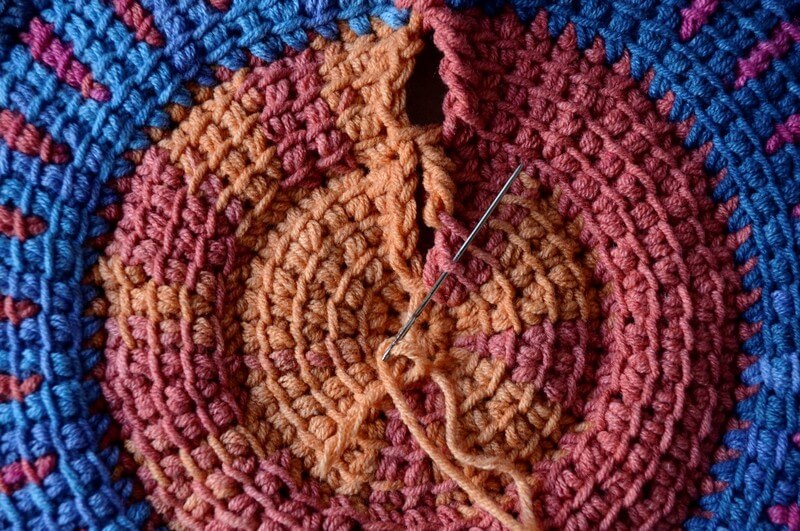
Move back to the first side, either through the stich or along the edge, with the needle going up behind the next horizontal loop. Then repeat this process.
Then repeat this process with the tail from C2, picking up the loops on alternate sides, starting on the right.
When you finish seaming up the hole, weave in the ends on the back of the square, going through the loops and making sure the yarn doesn’t show on the surface.
Weave the tails in back and forth three times to secure them, then cut off the excess.
The square will have a right and wrong side. On the wrong side you will see floats. If you enjoyed this pattern and would like to be notified when more Yarnandy patterns become available, please sign up for updates here.
Video for the Tunisian crochet sun square
You can also follow along with the video tutorial, if you prefer it. Click on the thumbnail to go to YouTube and follow along with the tutorial.
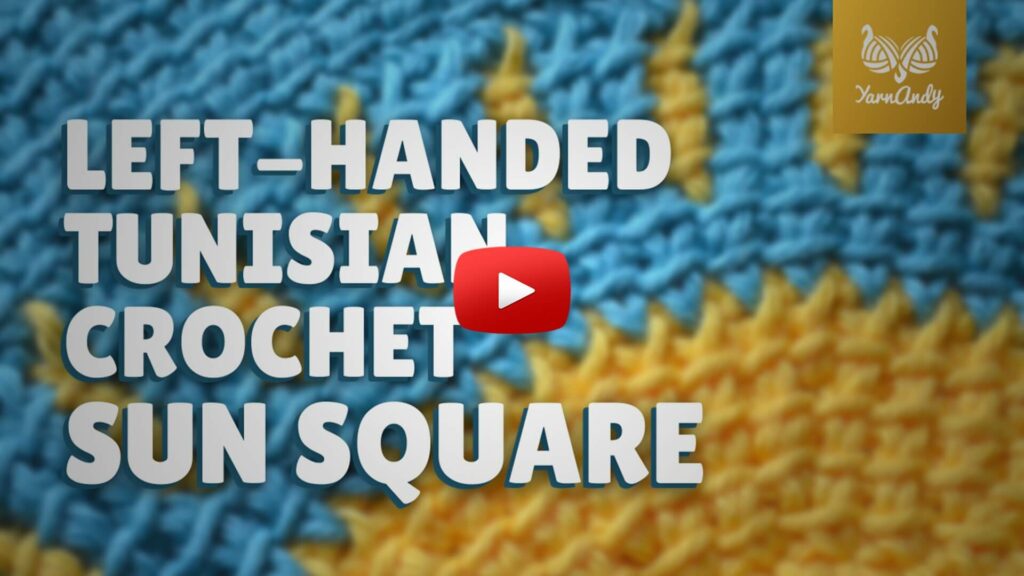
Here’s the left-handed version too, in case you need it. Please comment on it or share it with other left-handed crocheters, so more left-handed people can find it.
Final thoughts
If you like this pattern for a Tunisian crochet sun square and would like to support me in creating more patterns, please consider buying a PDF copy from the product page (or from Payhip, Etsy or Ravelry).
If you use Ravelry, you can add it to your project queue or make a project page and link it with the pattern page, so I can see what you make.
Keep close and sign up to my emails if you haven’t already (you’ll get a nice pattern too).
If you want more Tunisian crochet patterns, check these out:
And make sure you try out all the other squares in the CAL. If you want Arunima to let you know when the other designers are ready to publish their square patterns, make sure you sign up to her updates.
I’ll see you soon.
Hugs,
Andrea


I really enjoyed learning this pattern; thank you for your easy to understand and follow directions and video. I’d like to make my square larger using the Tunisian stitch…any advice on how to do that? Thanks and hopefully you can offer some insight.
Hi Yvonne,
I’m happy you enjoyed the pattern!
You can make the square larger by adding sections all around, making the same corner turn as in the last section of the pattern.
You’ll start with a chain of X stitches (depending on how large you want to make the section), then at the corner you will decrease for the same number of rows and turn the corner and increase back to X stitches per row.
You’ll anchor the first row with X stitches into the same corner stitch (not like in the rounding section, where you anchor to the next stitch on the circle) and continue to the next corner, and so on.
Hope this helps, please let me know if you need any other help!
Andrea