
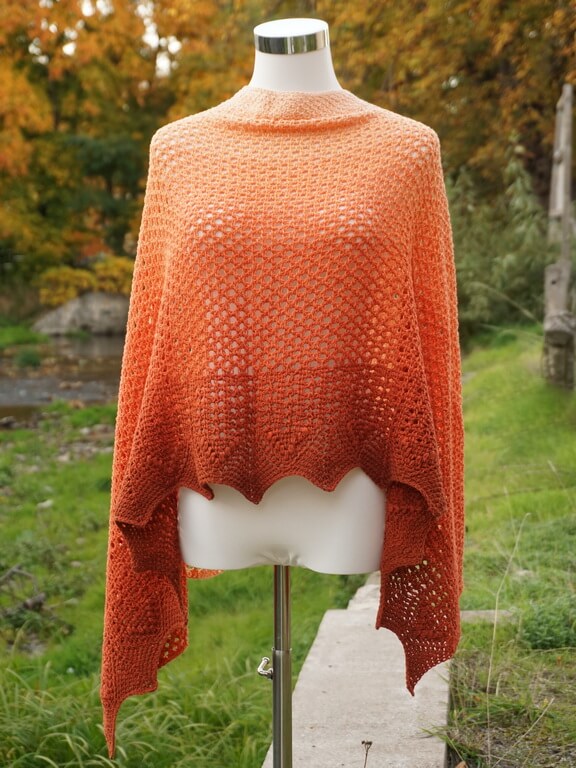
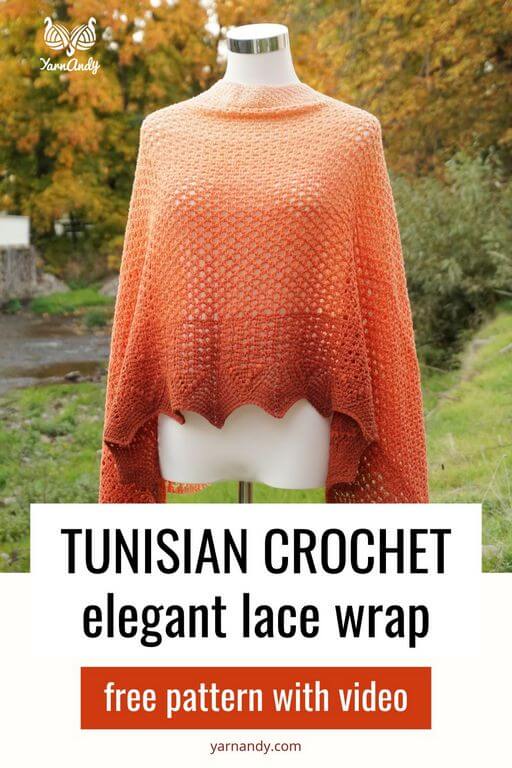
Challenge your Tunisian crochet skills with this elegant rectangular wrap with three sections of lace with different textures.
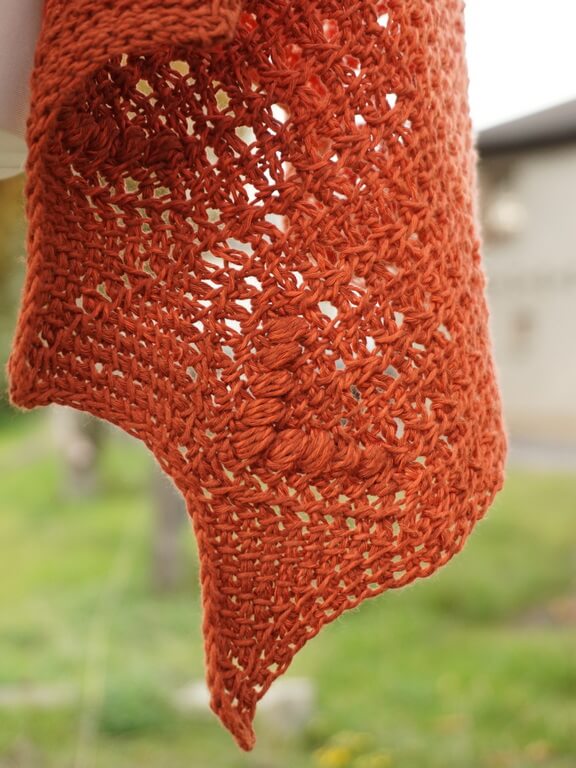
The bottom edge is scalloped due to the increases and decreases, and also has a little more weight due to the puff stitches that form V shapes along the bottom.
The middle section has a dense lace pattern with offset increases and decreases.
The last lace section is made up of a meditative, easy to remember lace pattern made with eyelets and skipped stitches.
This pattern was first published in 2021, so it follows the style that I used at that time. I have updated it somewhat from the PDF version.
Contents
About the pattern
I created this pattern to show off the elegance of a flowy gradient cake of yarn, all 1000 meters of it.
It makes use of increases and decreases to create a playful and elegant bottom edge.
It shows off gradient yarns beautifully, allowing the whole cake to shine.
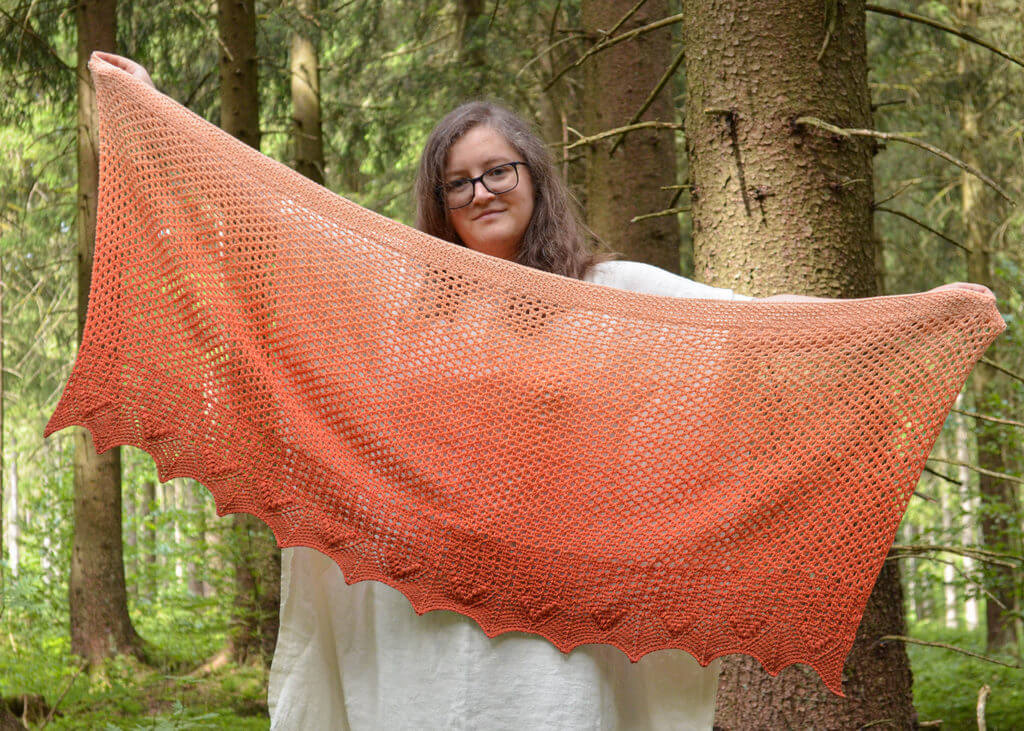
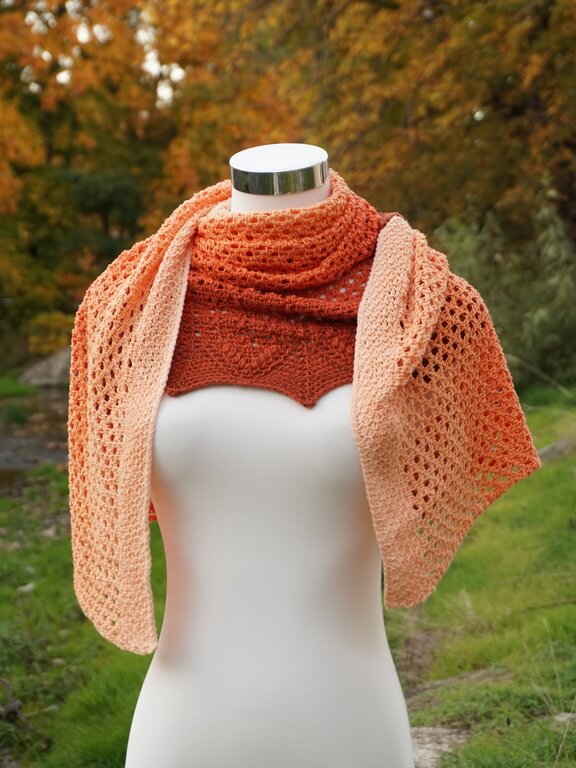
It’s also highly textured and can be a great wardrobe enhancer. It’s a perfect accessory as a wedding or other special occasion wrap.
You could also make this using a single color or different colors for the different sections. You could even make this wrap into a skirt, if you sew up the ends, fold the top band and add an elastic.
Skill level
Intermediate – you will be working with Tunisian crochet lace stitches – check out the video to learn how to make the specific stitch combinations used in this pattern.
Notions
- Yarn: one cake of Hobbii Twirls Deluxe, 100% cotton, 1000 meters per 250g; sample made in colorway Koi Diamond; substitute with any other gradient cake of the same weight;
- Hook: Tunisian crochet hook – hook with a cable – 5.5 mm or hook appropriate for your yarn;
- Scissors and tapestry needle for binding off.
Finished size
If you follow either of the instructions and the recommended yarn, getting gauge, you’ll make a rectangle of 150 cm by 60 cm or 59″ by 23.5″.
If you want to make the wrap longer and narrower, you should add chains to the first row. You will increase by 20, adding one more pattern repeat for each increase.
Observations
- The wrap is worked in Tunisian crochet, which means you will be working on only one side of the wrap (the front/right side), with a forward pass and a return pass for each row.
- Use loose tension when working this pattern. Do not pull tightly on the yarn after picking up the loops. Keep the loops slightly loose, so they can glide on the hook and the cable.
- Follow the chart if you are more comfortable with symbols.
- Use a high-quality Tunisian crochet hook. It is essential that the hook and cable join are smooth, as this kind of yarn snags easily on the tiniest splinter.
- If you want to use a different cotton-based yarn, make sure it’s a twisted yarn.
- When working in eyelets, insert the hook through the eyelet and pull up a loop. In the pattern, these stitches are considered Tss.
- Instructions in [square brackets] will be repeated the number of times mentioned after the brackets.
Stitch abbreviations – for right-handed crocheters
For left-handed, mirror the instructions.
- Ch – Chain;
- Ls – Tunisian last stitch – put hook behind the 2 vertical loops at the end of the row, YO and pull up a loop;
- Puff – puff stitch – insert hook through next St, pull up a loop, repeat [YO, pull up a loop] 3 times; when returning, pass the slip stitch through all 7 loops belonging to the puff;
- R – regular Tunisian return: Ch 1, repeat {YO and pull through 2 loops} until 1 loop left on hook;
- Rep – repeat;
- Sk – skip a stitch;
- Sl St – slip stitch;
- St – stitch;
- Tss – Tunisian simple stitch – insert hook from right to left behind the next vertical bar, YO and pull up a loop;
- Tss2Tog – 2 Tunisian simple stitches together – insert hook from right to left behind the next 2 vertical bars, YO and pull up a loop;
- Tss3Tog – 3 Tunisian simple stitches together – insert hook from right to left behind the next 3 vertical bars, YO and pull up a loop;
- YO – yarn over.
Gauge swatch
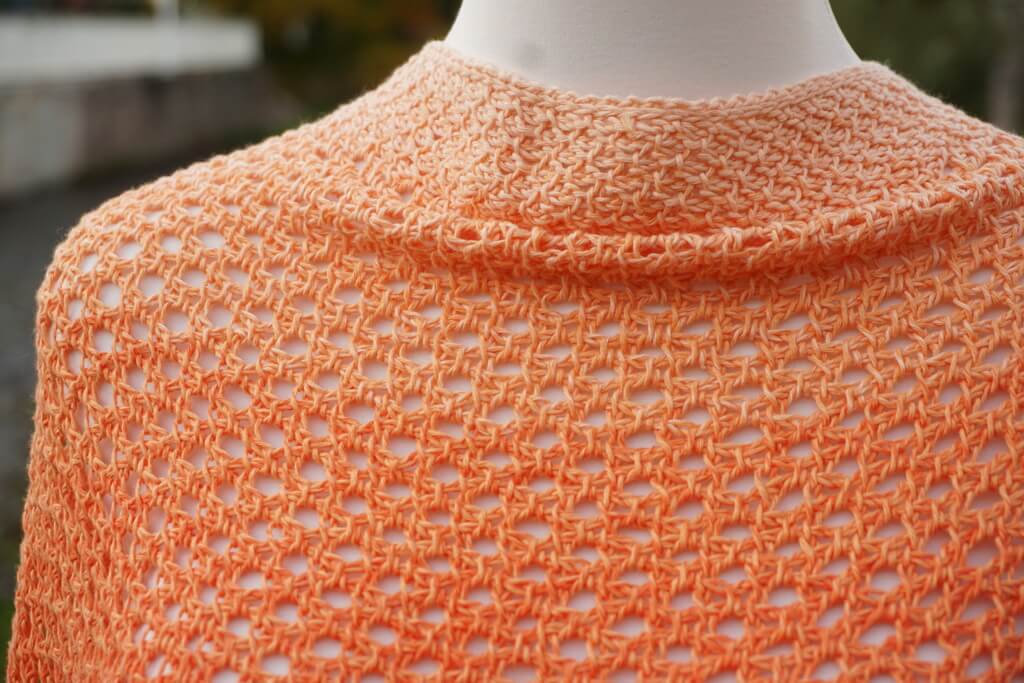
Use the gauge pattern to get a 10 cm by 10 cm square. If the gauge swatch is too large, switch to a smaller hook; if it’s too small, try a bigger hook. You want a fabric that has drape, so it’s not too compact, nor too loose.
Here’s a video on how to make the swatch. The full stitches that are mentioned in the video are considered Tss in this pattern. You’ll also get used to making yarn overs.
Start with a slip knot on your hook.
Row 1. Ch 17, 17 Tss, R
Row 2. 16 Tss, Ls, R
Row 3. repeat [YO, Tss2tog] 8 times, Ls, R
Row 4. 16 Tss, Ls, R
Row 5. 16 Tss, Ls, R
Row 6. repeat [Tss2tog, YO] 8 times, Ls, R
Row 7. 16 Tss, Ls, R
Rows 8-16: repeat Rows 2-7 twice and Rows 2-4 one more time.
Video tutorials
The first link is the right handed version, the second the left handed.
The following two videos show you how to make the entire pattern (skipping rows 7-10).
Right handed version
Left handed version
If you need a refresher on Tunisian crochet techniques, see the tutorials below. Click on the video to watch larger on YouTube.
Foundation row
Tunisian simple stitch
Tunisian purl stitch
Weaving in ends in Tunisian crochet
Written instructions
Section 1
Row 1. Ch a multiple of 20+22. For example, Ch 262 (12*20+22).
Pick up loops in all chains (counts as 265 Tss and 1 Ls), R (263)
Row 2. Tss2Tog, 8 Tss, YO, 1 Tss, Rep [YO, 8 Tss, Tss3Tog, 8 Tss, YO, 1 Tss] 12 times, YO, 8 Tss, Tss2Tog, Ls, R
Row 3. Tss2Tog, 7 Tss, YO, 2 Tss, Rep [1 Tss, YO, 7 Tss, Tss3Tog, 7 Tss, YO, 2 Tss] 12 times, 1 Tss, YO, 7 Tss, Tss2Tog, Ls, R
Row 4. Tss2Tog, 6 Tss, YO, Tss2Tog, YO, 1 Tss, Rep [YO, Tss2Tog, YO, 6 Tss, Tss3Tog, 6 Tss, YO, Tss2Tog, YO, 1 Tss] 12 times, YO, Tss2Tog, YO, 6 Tss, Tss2Tog, Ls, R
Row 5. Tss2Tog, 5 Tss, YO, Tss2Tog, YO, 2 Tss, Rep [1 Tss, YO, Tss2Tog, YO, 5 Tss, Tss3Tog, 5 Tss, YO, Tss2Tog, YO, 2 Tss] 12 times, 1 Tss, YO, Tss2Tog, YO, 5 Tss, Tss2Tog, Ls, R
Row 6. Tss2Tog, 4 Tss, YO, Tss2Tog, YO, 2 Tss, Puff, Rep [ 2Tss, YO, Tss2Tog, YO, 4 Tss, Tss3Tog, 4 Tss, YO, Tss2Tog, YO, 2 Tss, Puff]12 times, 2 Tss, YO, Tss2Tog, YO, 4 Tss, Tss2Tog, Ls, R (careful with the puff stitches when doing the return pass!)
Row 7. Tss2Tog, 3 Tss, YO, Tss2Tog, YO, 2 Tss, Puff, 1 Tss, Rep [Puff, 2 Tss, YO, Tss2Tog, YO, 3 Tss, Tss3Tog, 3 Tss, YO, Tss2Tog, YO, 2 Tss, Puff, 1 Tss] 12 times, Puff, 2 Tss, YO, Tss2Tog, YO, 3 Tss, Tss2Tog, Ls, R
Row 8. Tss2Tog, 2 Tss, YO, Tss2Tog, YO, 2 Tss, Puff, 2 Tss, Rep [1 Tss, Puff, 2 Tss, YO, Tss2Tog, YO, 2 Tss, Tss3Tog, 2 Tss, YO, Tss2Tog, YO, 2 Tss, Puff, 2 Tss] 12 times, 1 Tss, Puff, 2 Tss, YO, Tss2Tog, YO, 2 Tss, Tss2Tog, Ls, R
Row 9. Tss2Tog, 1 Tss, YO, Tss2Tog, YO, 2 Tss, Puff, 3 Tss, Rep [2 Tss, Puff, 2 Tss, YO, Tss2Tog, YO, 1Tss, Tss3Tog, 1Tss, YO, Tss2Tog, YO, 2Tss, Puff, 3Tss] 12 times, 2Tss, Puff, 2Tss, YO, Tss2Tog, YO, 1Tss, Tss2Tog, Ls, R
Row 10. Tss2Tog, YO, Tss2Tog, YO, 2 Tss, Puff, 4 Tss, Rep [3 Tss, Puff, 2 Tss, YO, Tss2Tog, YO, Tss3Tog, YO, Tss2Tog, YO, 2 Tss, Puff, 4 Tss] 12 times, 3 Tss, Puff, 2 Tss, YO, Tss2Tog, YO, Tss2Tog, Ls, R
Section 2
Row 11. 1 Tss in each St across, Ls, R
Row 12. Tss2Tog, YO, 7 Tss, YO, Tss3Tog, Rep [YO, 7 Tss, YO, Tss3Tog, YO, 7 Tss, YO, Tss3Tog] 12 times, YO, 7 Tss, YO, Tss2Tog, Ls, R
Row 13. 4 Tss, YO, Tss3Tog, YO, 4 Tss, Rep [3 Tss, YO, Tss3Tog, YO, 7 Tss, YO, Tss3Tog, YO, 4 Tss] 12 times, 3 Tss, YO, Tss3Tog, YO, 4 Tss, Ls, R
Rows 14-21. Repeat Rows 12-13 another 4 times.
Section 3
Row 22. 1 Tss in each St across, Ls, R
Row 23. 2 Tss, Rep [YO, Sk1, 3 Tss] to the end of the row, Ls, R
Row 24. YO, 1 Tss, Rep [2 Tss, YO, 1 Tss] to the end of the row, Ls, R
Repeat Rows 23-24 until you reach the last color change or have 5% of the yarn left.
Stop when you reach about 50 rows in total or when the wrap is wide enough.
Top edge rows
Row 1 edge. Rep [1 Tss, 1 P] across, Ls, R
Row 2 edge. Rep [1 P, 1Tss] across, Ls, R
Repeat these two rows until you are left with enough yarn for half a row.
Bind off the top using slip stitches. Weave in the two ends.
Block the wrap gently, on a flat surface, using pins to accentuate the bottom edge of the wrap. Use a blocking wire on the top part of the wrap.
Blocking the wrap will help accentuate the points at the bottom.
Final remarks
If you enjoyed this pattern, there are more free patterns for Tunisian crochet projects on the blog.
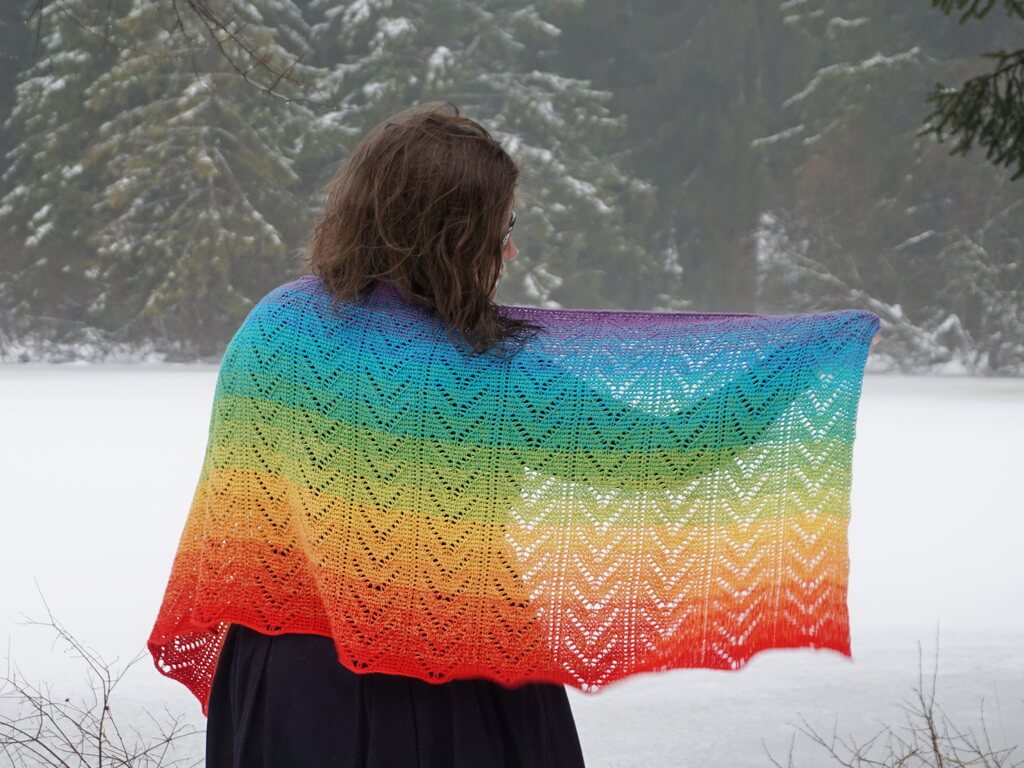
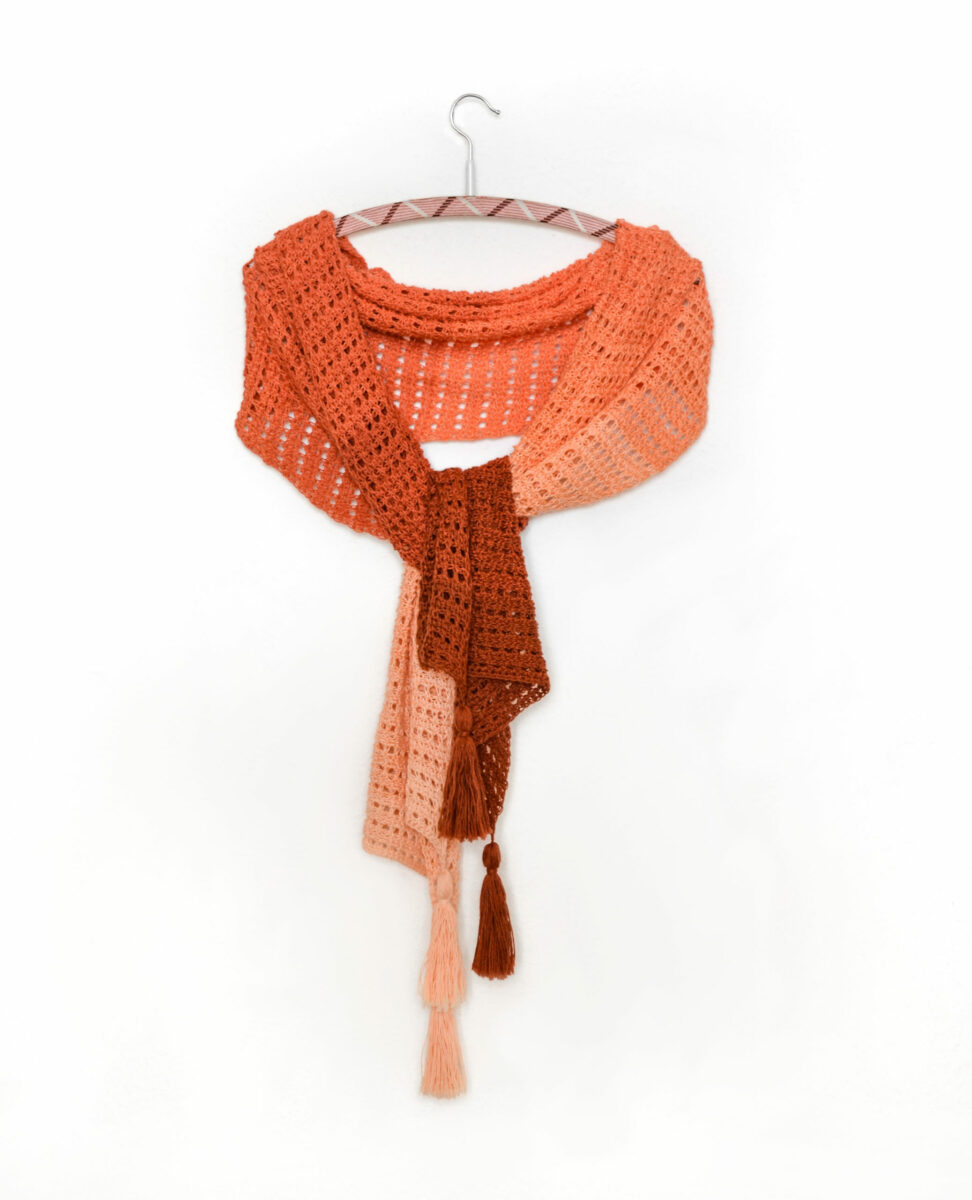
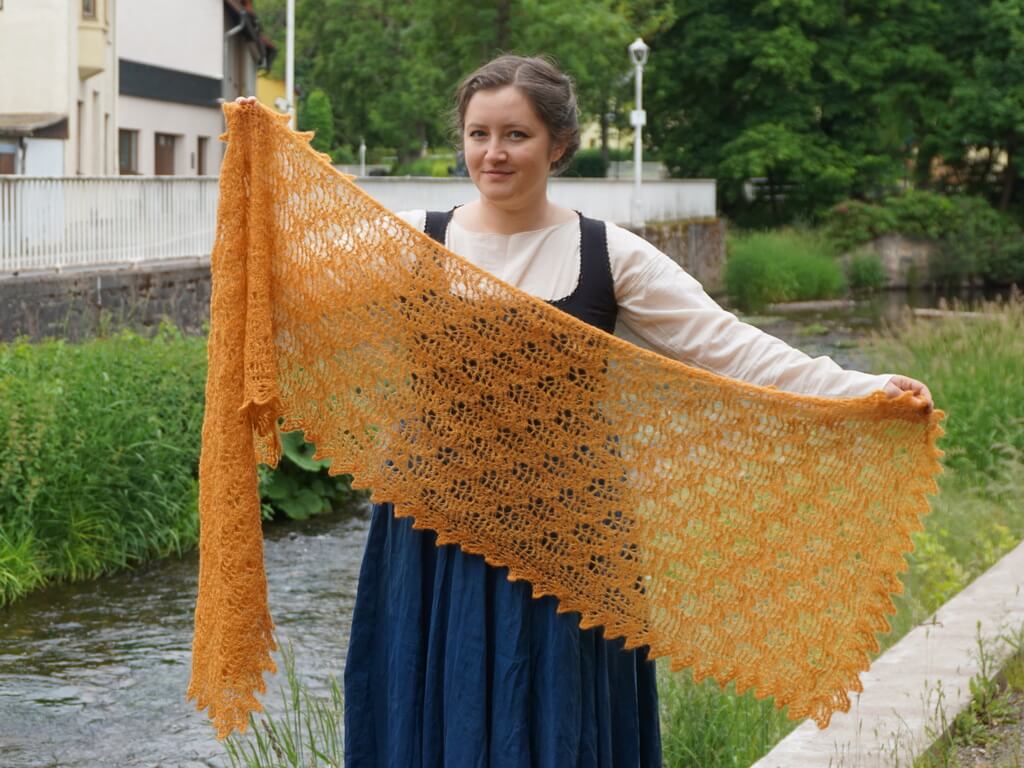
Here are some patterns for accessories in Tunisian crochet that you might also enjoy:
If you want to know when I publish more free tutorials, sign up to my email updates below.
And if you want to save this post for later, you can use the image below to pin it.
I am experienced crocheter in regular and Tunisian, and just got your lovely Crisp Peach Wrap. I would like to adapt it to a crescent shawl shape. Any suggestions? I want to keep the lower and upper borders the same. Do you think I could start the pattern as written and then when I get to the middle mesh section do decreases at each end to make the crescent shape, bind off and then work the top edge? how many stitches and what rate ( every row or every other row?) do you think I should do the decreases? Any thoughts would be appreciated. Thanks Susan Keller