Make a pair of spooky granny square crochet earrings to complete your Halloween look or to gift them to someone who can’t get enough of the spooky season.
This tutorial contains affiliate links, which may make me a small commission at no cost on your part, if you make any purchases using my links.
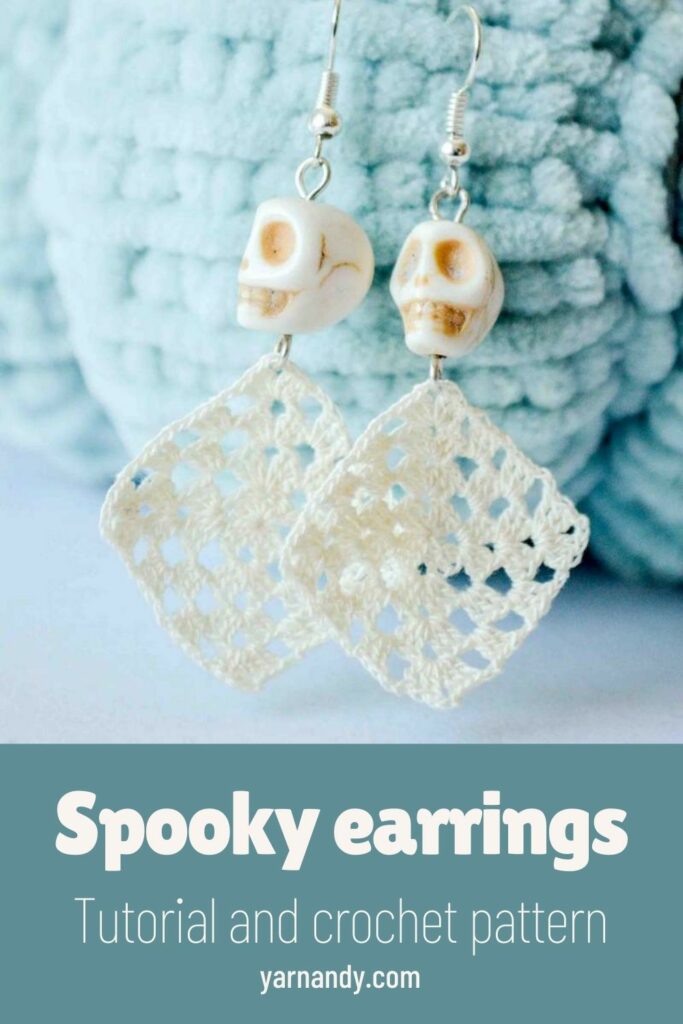
About the tutorial
The spooky season is upon us and kids will soon be wandering about wearing funny costumes and searching for the houses with the best candy (I really hope we can be one of those houses this year).
If you’re giving out candy and other snacks, you might as well dress up for the part. And even if you don’t have time or energy, you can make up a little pair of spooky crochet earrings with wacky colors and fun beads.
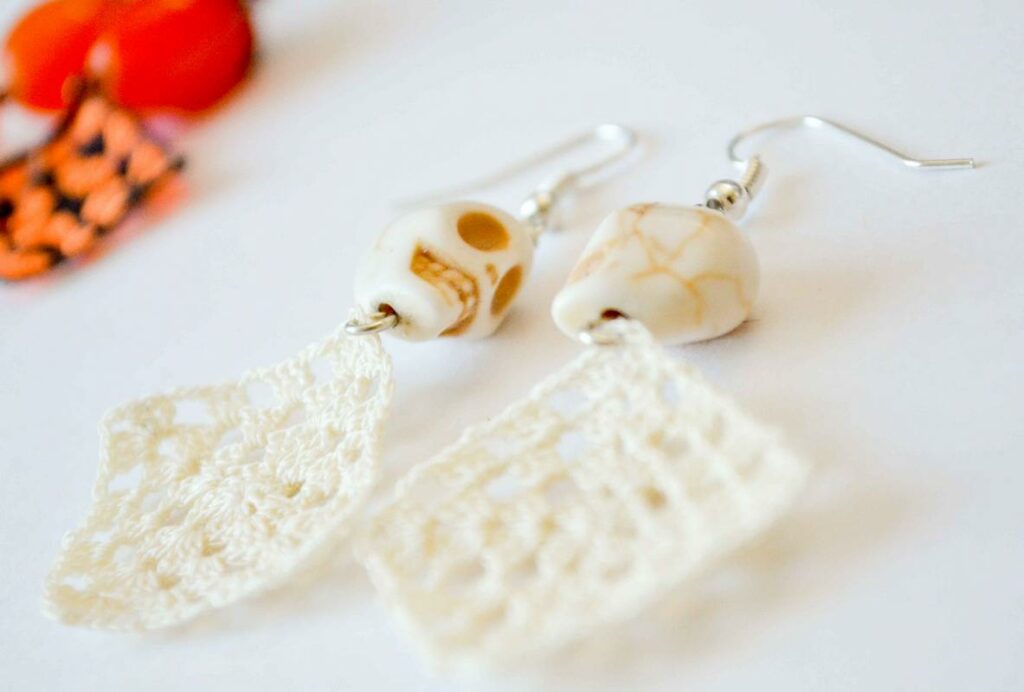
You can also be on trend with some granny square earrings, as granny squares are back in force. Apparently even celebrities now sport the humble granny square.
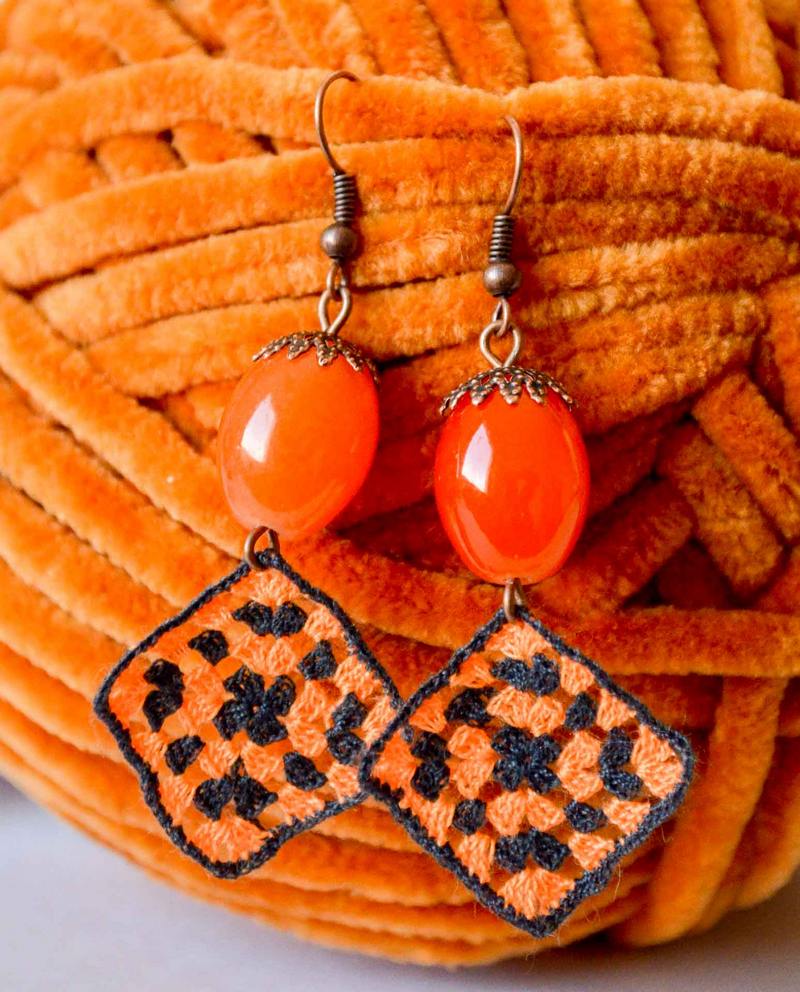
For this tutorial, I’ve prepared two pairs of earrings, one with colorful granny squares and plain beads, one with single-color granny squares. You can choose either combination, depending on what you have available.
I also worked with the thinnest crochet hook that I ever owned (0.5 mm) and sewing thread, but you don’t have to. Just choose a size that you are comfortable with.
The tutorial includes both a pattern for a really simple granny square and assembly instructions.
Materials and tools
To make the granny squares, you will need:
- Yarn – sewing thread or cotton thread between sizes 80-12 (where 80 is the thinnest); between 1 and 4 colors; about 5-10 meters per color per earring; here are some ideas for thread, a size 12 cotton thread with lots of colors and a cotton sewing thread also with lots of colors;
- Hook – between 0.5 mm and 1 mm steel crochet hook – choose a smaller hook for thinner thread;
- Sewing needle and scissors;
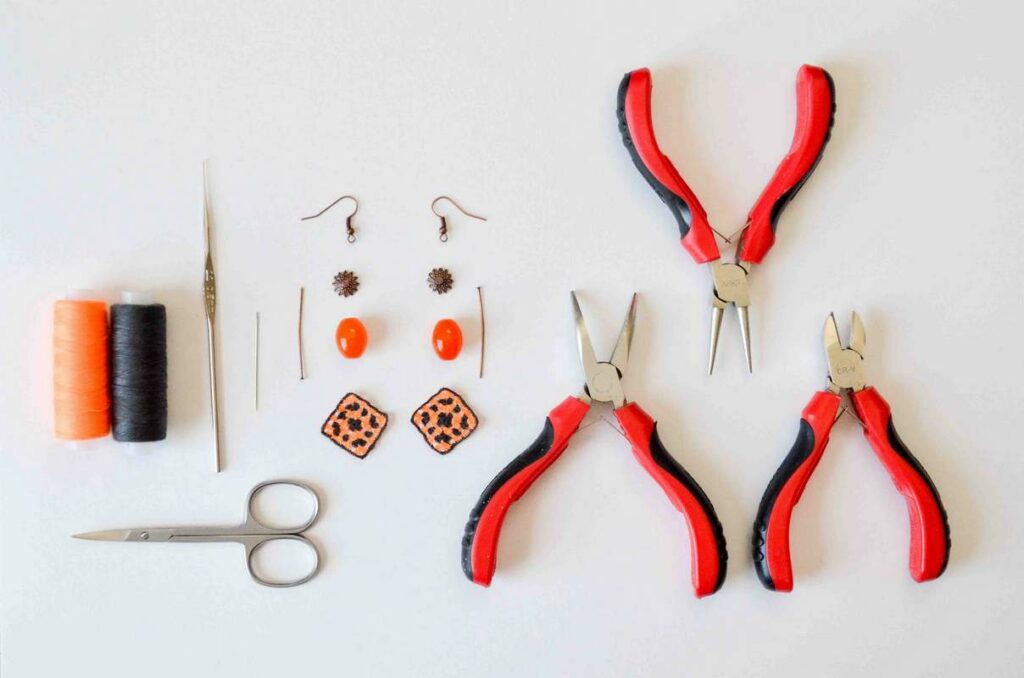
To make the earrings, once you have the granny squares, you will need:
- Beads – two large beads, about 1.2-1.5 cm in height – here you are free to choose whatever you wish, I had these berry-like orange beads and the skull beads that are approximately the same size;
- Bead pins – two pins that you can cut and bend easily with pliers:
- Earring loops – two in your favorite shape and color;
- Optional: bead caps that fit your beads – use these for regular round/oval beads, the specialty beads don’t need caps;
- Jewelry pliers: one flat-nosed, one round-nosed, one for cutting.
Observations
- Instructions in [square brackets] are repeated;
- Instructions in {curly brackets} are worked in the same stitch or space;
Abbreviations – US terms
- Ch – chain;
- Dc – double crochet stitch;
- MR – magic ring;
- SDc – standing double crochet stitch – draw up a tall loop and YO using it, insert the hook in the required space and draw up a loop, YO and pull through 2 loops on hook twice to complete the stitch;
- Sl St – slip stitch;
- Sp – space;
- St – stitch;
Instructions
Making the granny squares
Working with really thin thread is challenging only until you get used to the tension required to keep the thread taut, after that it flows like nothing else, since you don’t need large wrist movements.
Work in MR:
R1. Ch1, SDc, 2Dc, Ch2, repeat [3Dc, Ch2] 3 times, Sl St to top of 1st St. Pull on the tail to close the MR.
If working with one color, Sl St to the next Ch2 Sp. If changing color, start the new row in the next Ch2 Sp.
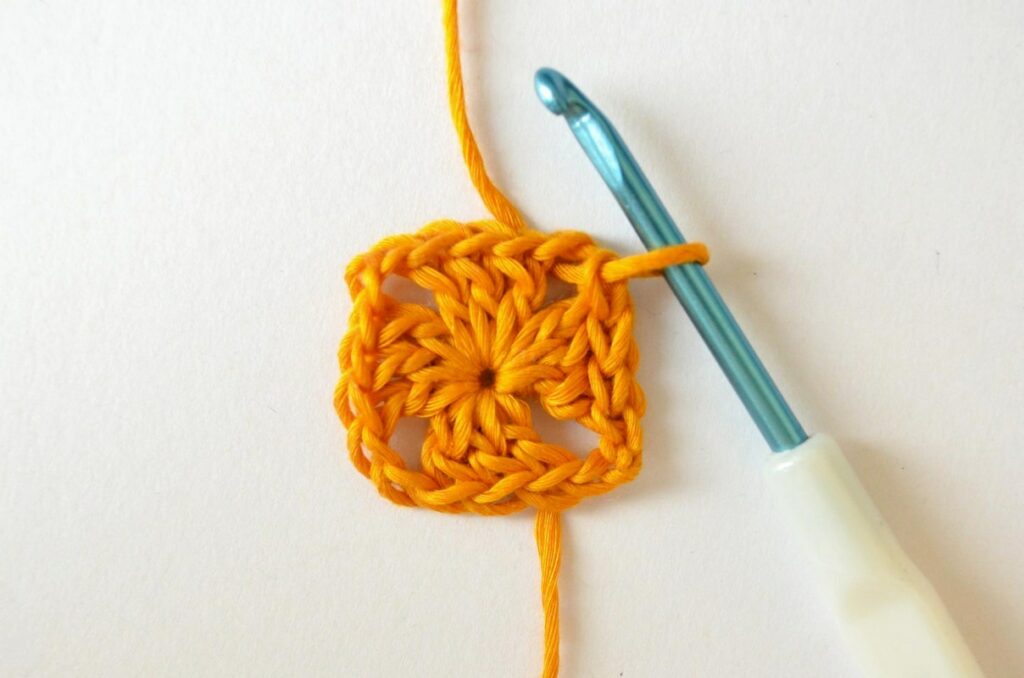
R2. {SDc, 2Dc, Ch2, 3Dc} in Ch2 Sp, repeat [Ch2, {3Dc, Ch2, 3Dc} in next Ch2 Sp] 3 times, Ch2, Sl St to top of 1st St.
If working with one color, Sl St to the next Ch2 Sp. If changing color, start the new row in the next Ch2 Sp.
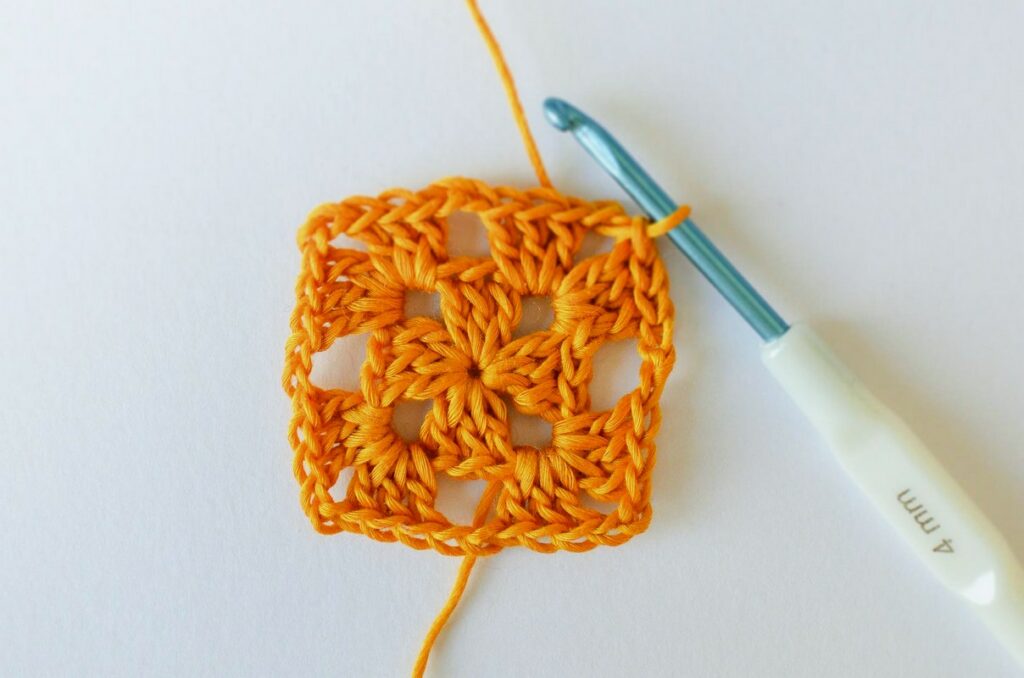
R3. {SDc, 2Dc, Ch2, 3Dc} in Ch2 Sp, repeat [Ch2, 3Dc in next Ch2 Sp, Ch2, {3Dc, Ch2, 3Dc} in next Ch2 Sp] 3 times, Ch2, 3Dc in next Ch2 Sp, Ch2, Sl St to top of 1st St.
If working with one color, Sl St to the next Ch2 Sp. If changing color, start the new row in the next Ch2 Sp.
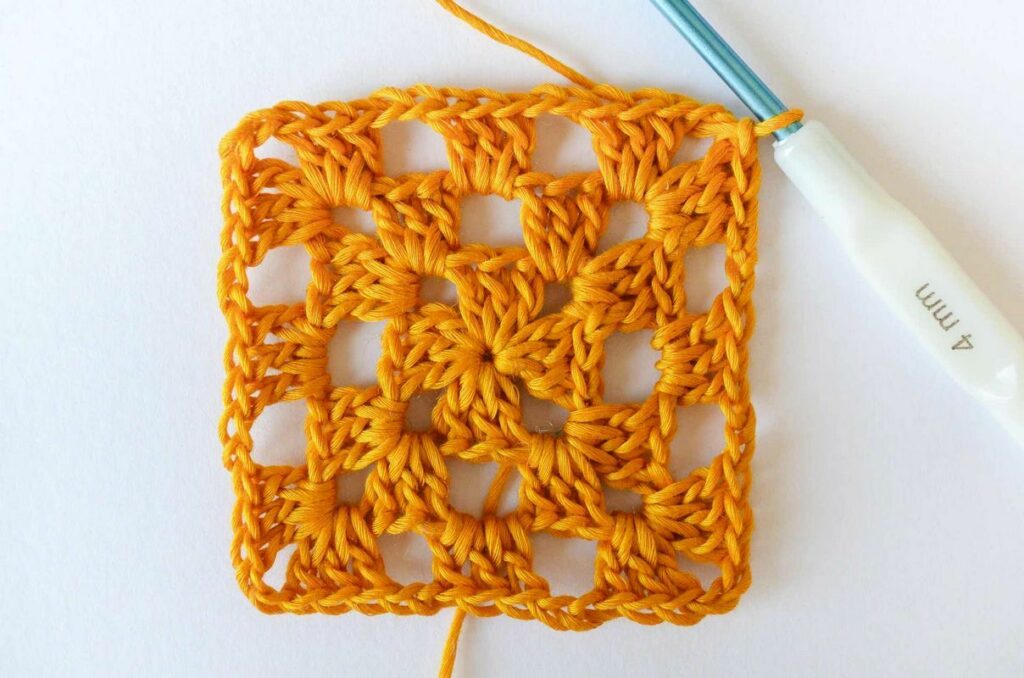
R4. {SDc, 2Dc, Ch2, 3Dc} in Ch2 Sp, repeat [Ch2, 3Dc in next Ch2 Sp, Ch2, 3Dc in next Ch2 Sp, Ch2, {3Dc, Ch2, 3Dc} in next Ch2 Sp] 3 times, Ch2, 3Dc in next Ch2 Sp, Ch2, 3Dc in next Ch2 Sp, Ch2, Sl St to top of 1st St.
If working with one color, continue working from where you stopped. If changing color, start the new row in the same spot where you finished R4.
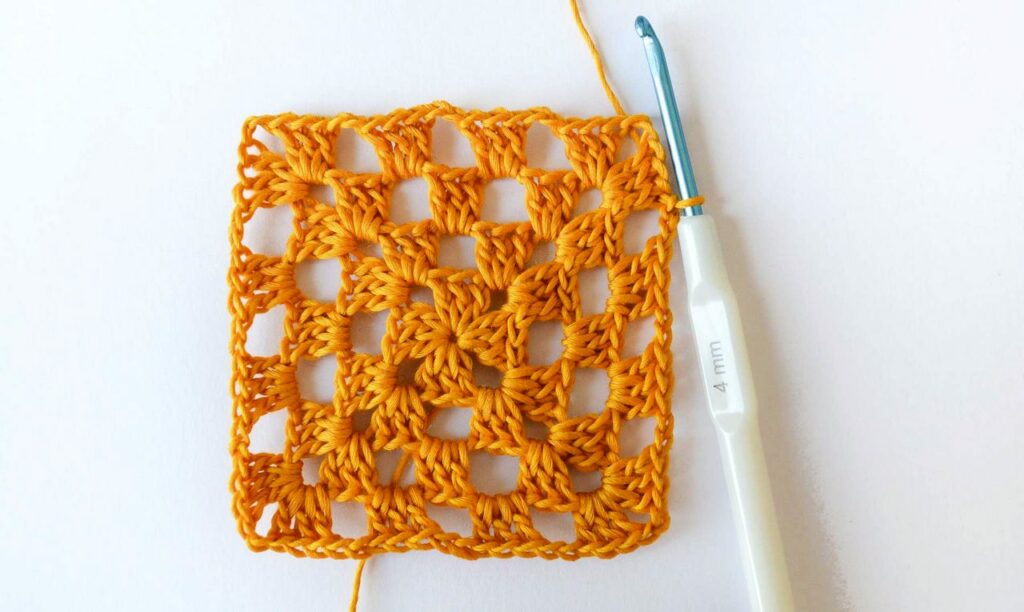
R5. 1Sc in each St across, with 2Sc in Ch2 spaces, 3Sc in corner Ch2 spaces. Do not Sl St in the first St, but make an invisible join using the method I show in this video.
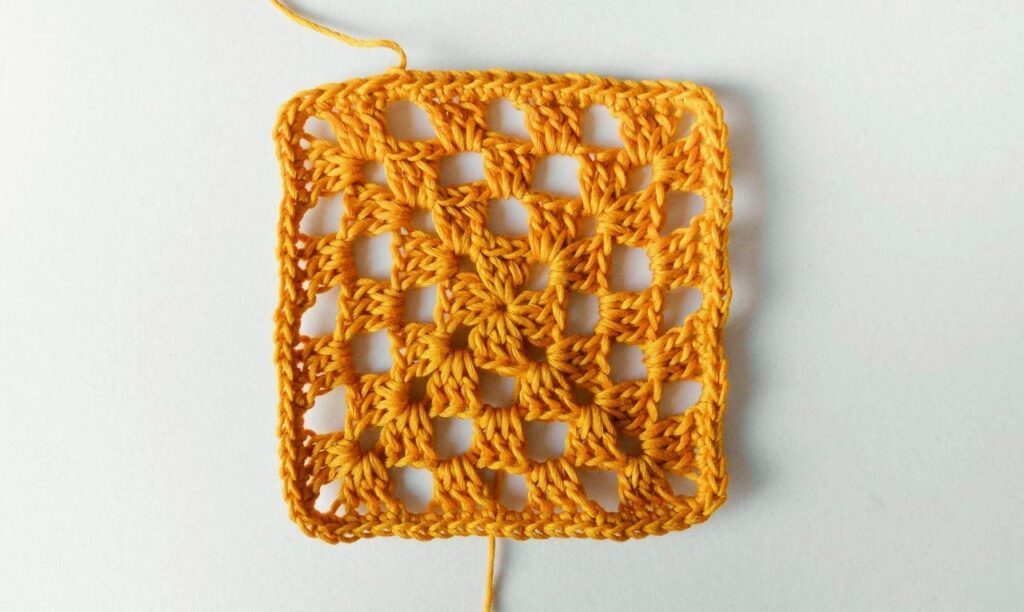
After finishing the last row, weave in the ends using the needle.
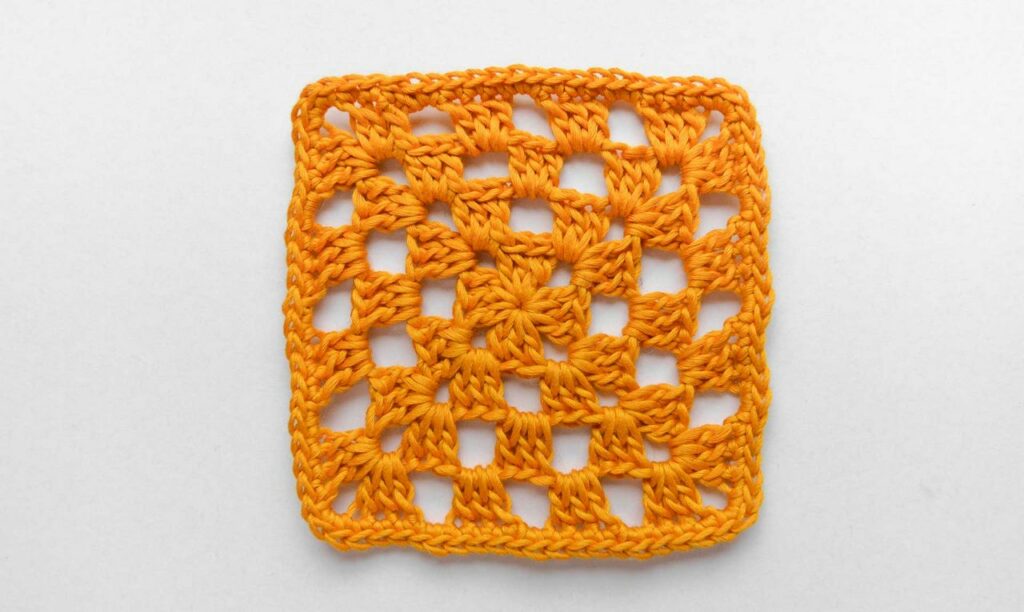
Make two squares and finish them up. They can be identical or completely different, your choice.
I was limited in my color choices by the fact that these are some of the few colors that were not packed away in boxes or bags, but I would have made some rainbow ones as well otherwise.
Assembling the crochet earrings
Once you have the two tiny squares, it’s time to assemble them into earrings.
First, make a loop at one end of each pin using the round pliers.
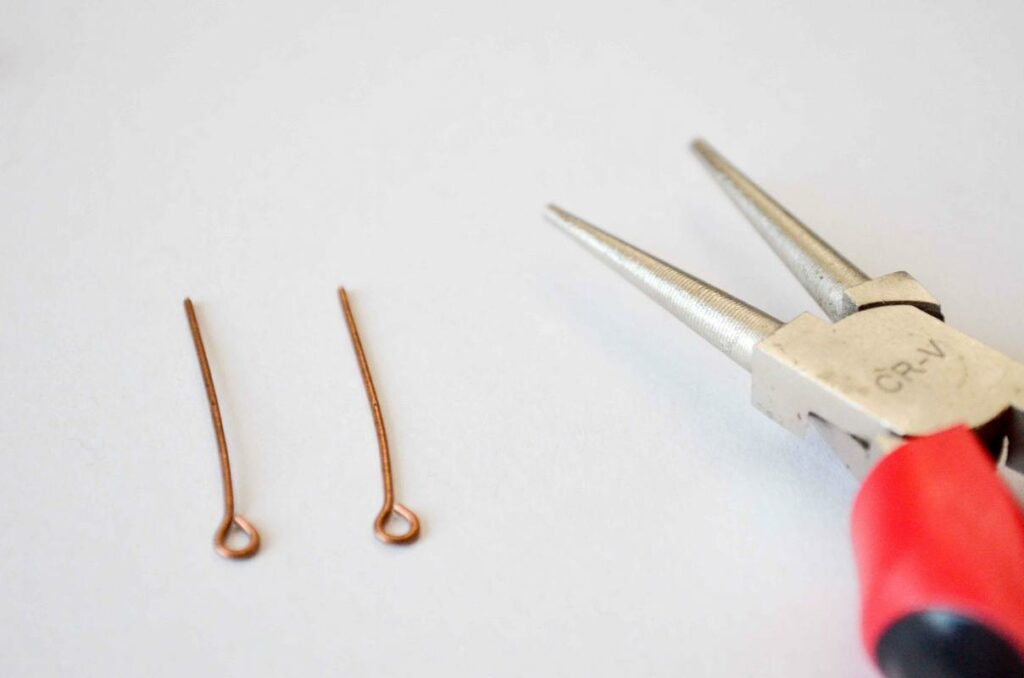
Open the loops with the flat pliers, twisting away from you, then pass one corner of each granny square through one loop. Twist the loop towards you to close it back up.
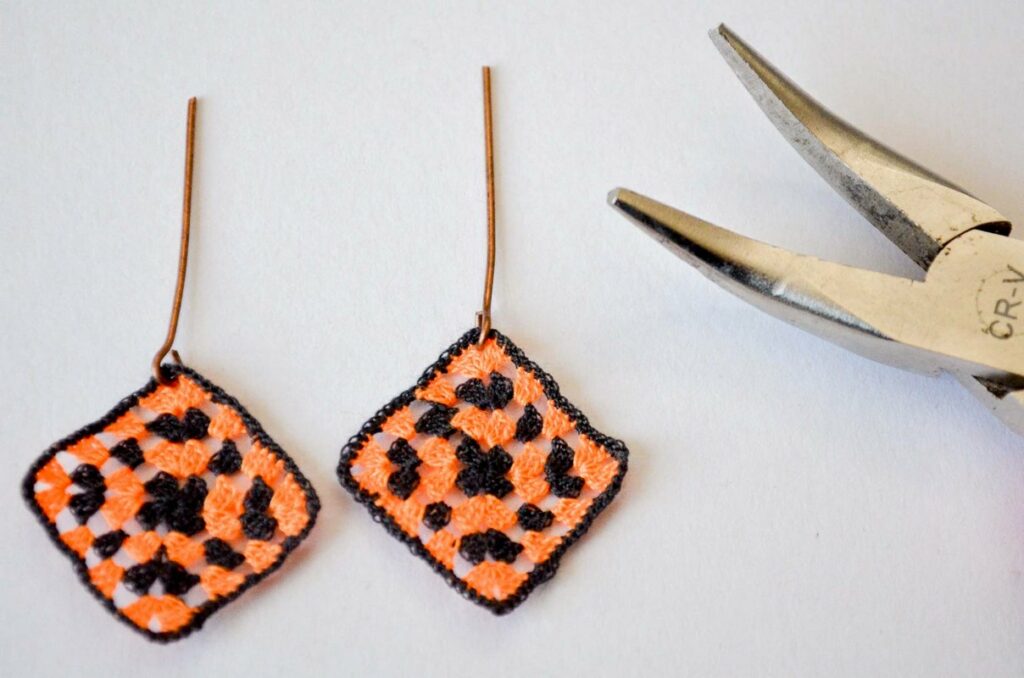
Slide a bead and bead caps onto the pin. Bend the remaining wire and create a loop at the top of the bead. Cut off any excess wire using the wire cutter.
Make sure the two loops are at a 90 degree angle from each other.
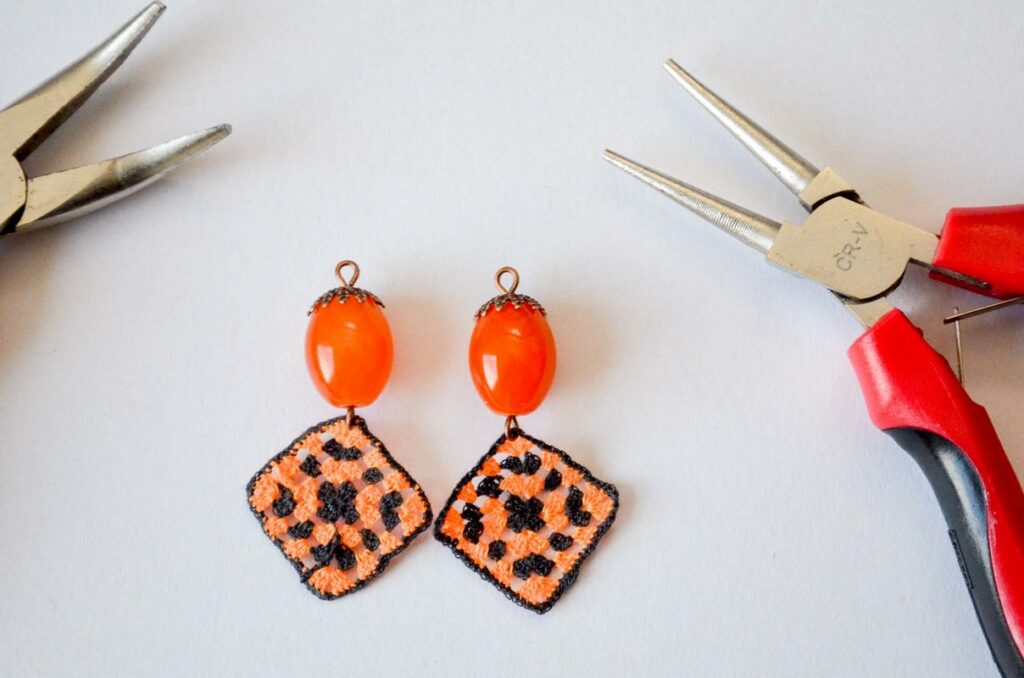
Using the flat-nosed pliers, open the loops at the bottom of the earring hooks and then insert the top loop of the earrings. Close the loop by twisting in the opposite direction.
Now the earrings are complete!
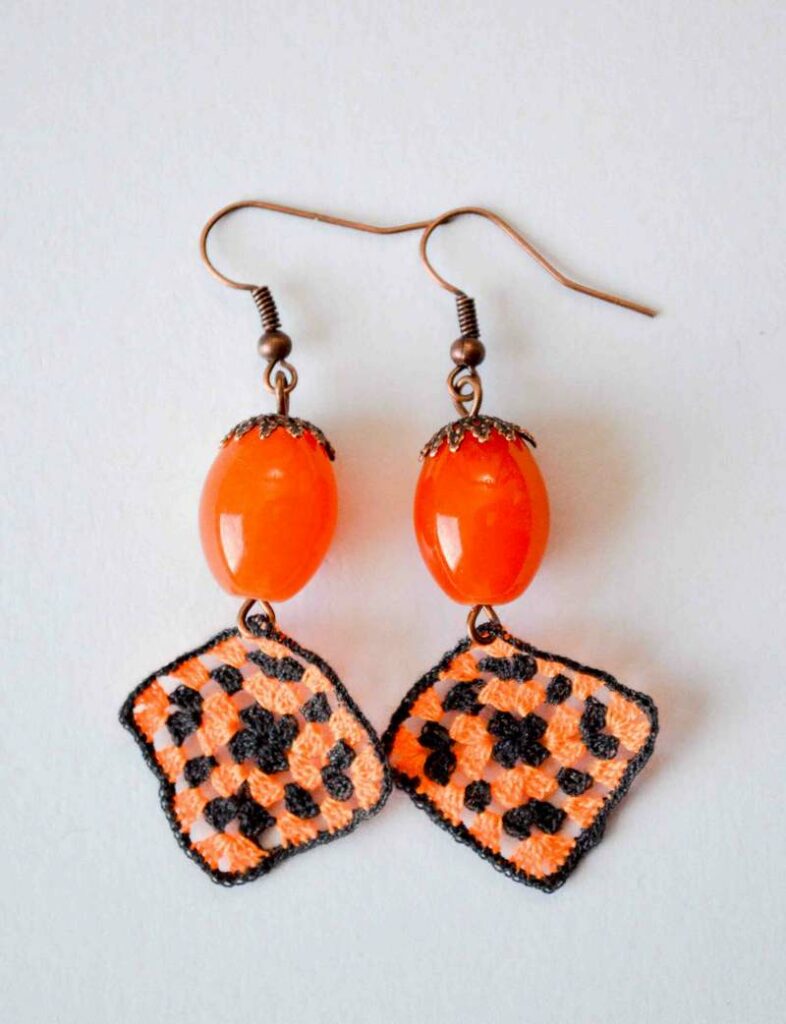
Enjoy wearing them and make a few more pairs for friends! They’ll love them.
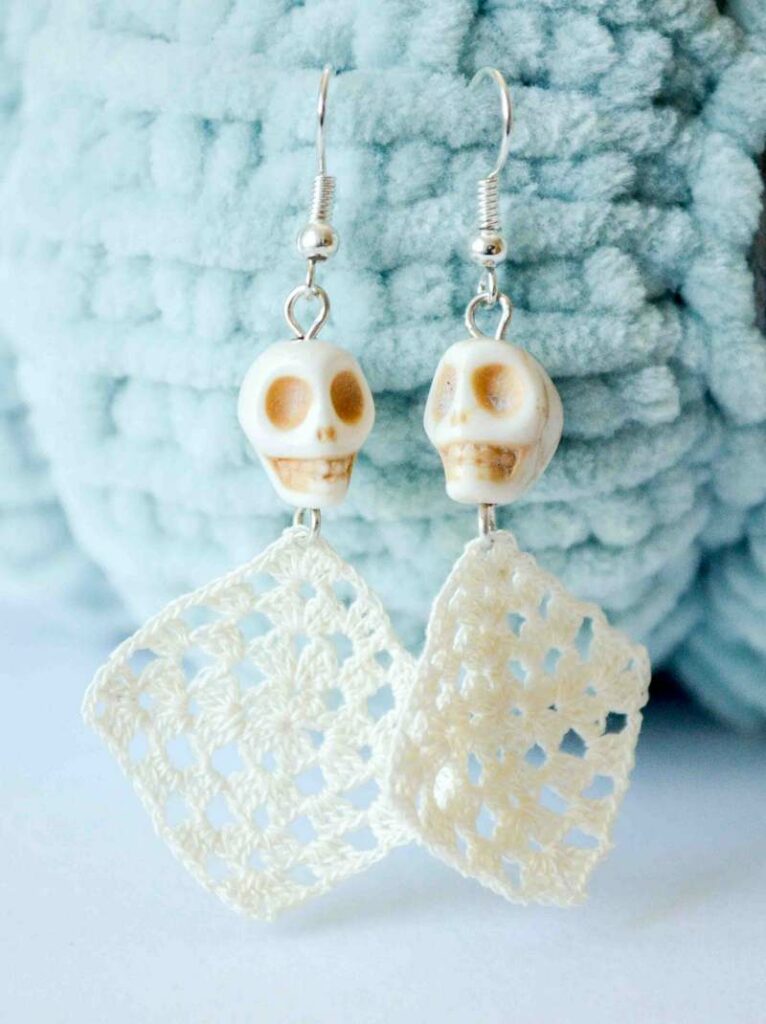
I hope you’ve enjoyed this tutorial. If you want to try out other patterns for earrings, make sure you sign up to my email updates below, so you don’t miss the next pattern.
Here you’ll find other spooky or Halloween-related patterns:
Happy crocheting and happy spooky season!
Andrea



2 thoughts on “Easy pattern for spooky crochet earrings”