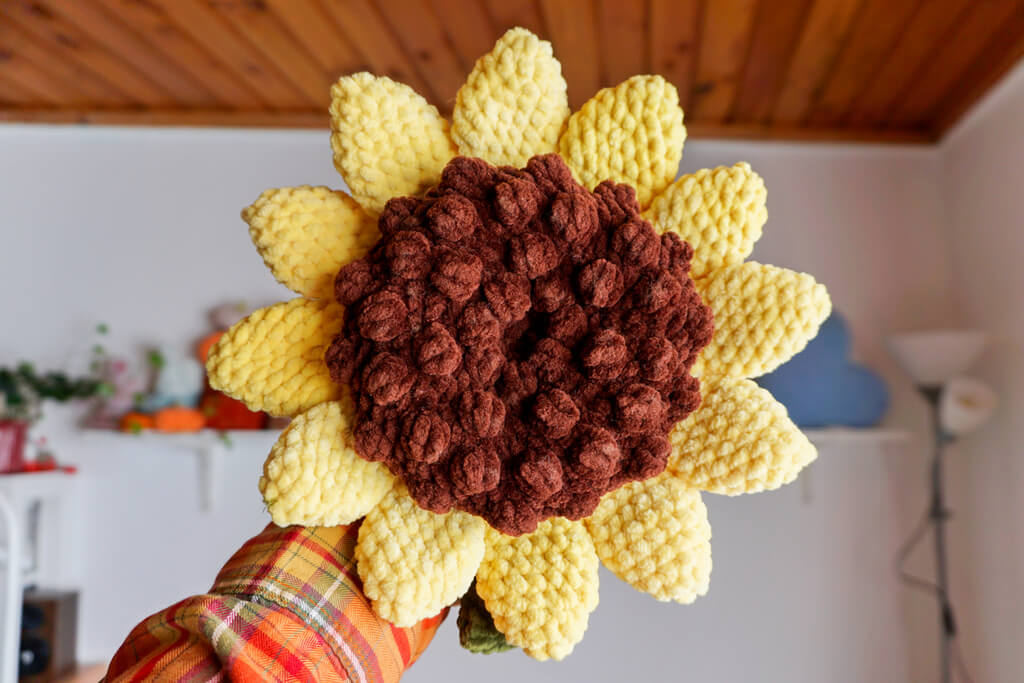
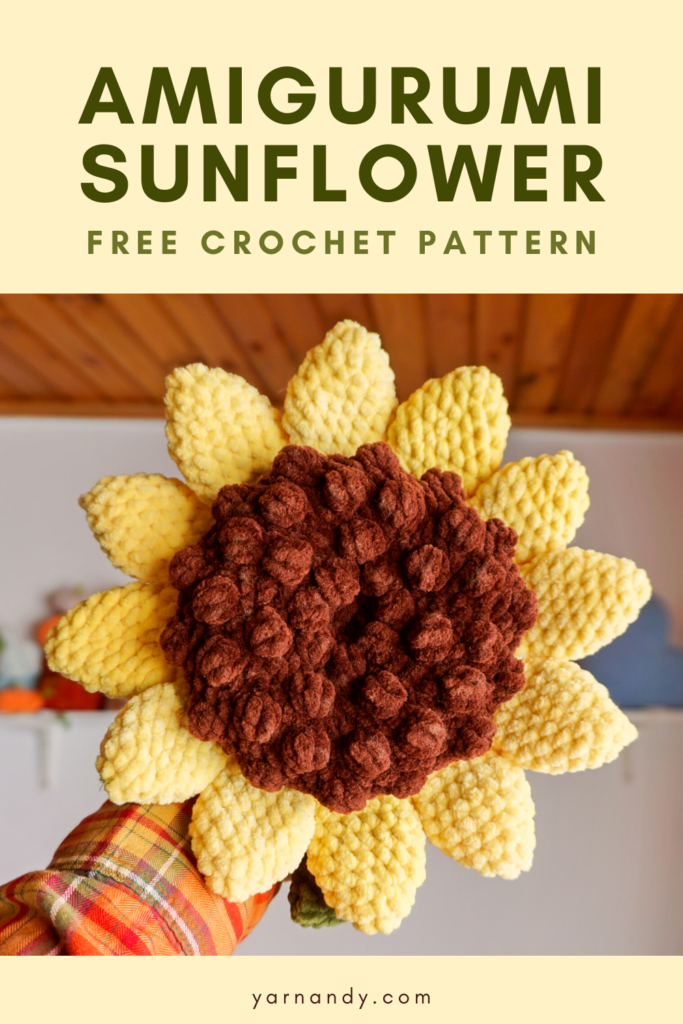
Use this free sunflower amigurumi pattern to make a fidget toy that looks like your favorite flower and share it with the world for this Autism Acceptance & Accessibility month (Autistic Pride Day is in June).
I will donate 50% of all proceeds from this pattern to an organization helping disabled people fleeing from the Russian invasion in Ukraine.
Whether you like working with chenille yarn to make plushies or you want to make something cute and fidgety for yourself or a neurospicy loved one (someone who is neurodivergent, a group that includes autistics, ADHD people and many more), you will find that this chenille sunflower amigurumi pattern is a joy.
A joy to make and a joy to play with. Especially if you make the big version, which has a good weight to it, which makes it fun to spin around.
Now it’s time to pick up your hook and some velvet yarn and start crocheting this soft and cuddly amigurumi sunflower that can be used as a fidget toy.
About this free sunflower amigurumi pattern
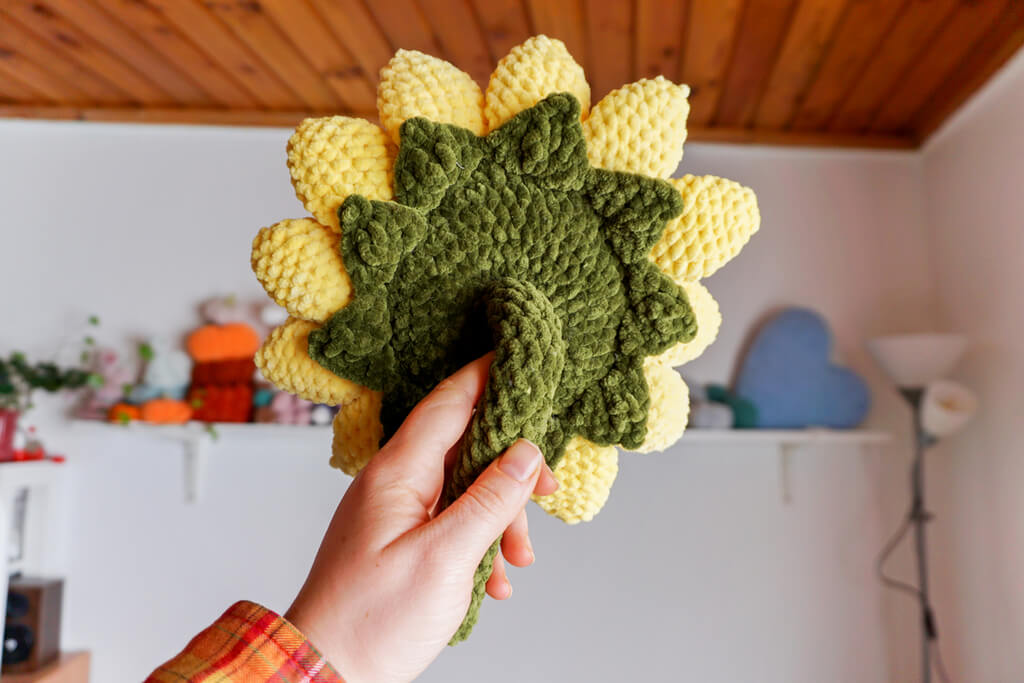
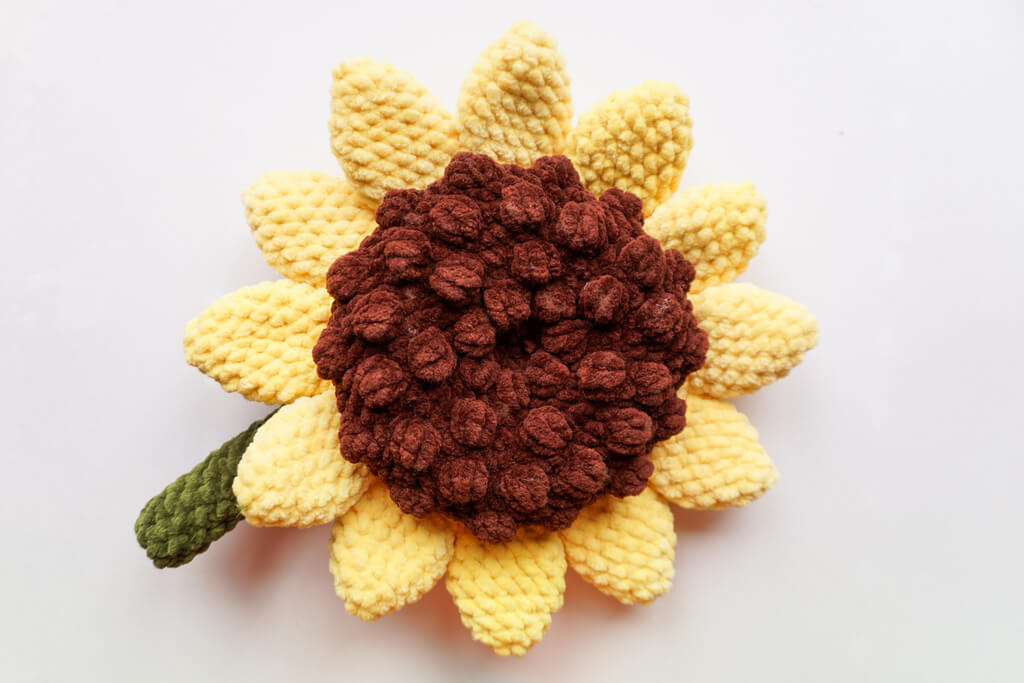
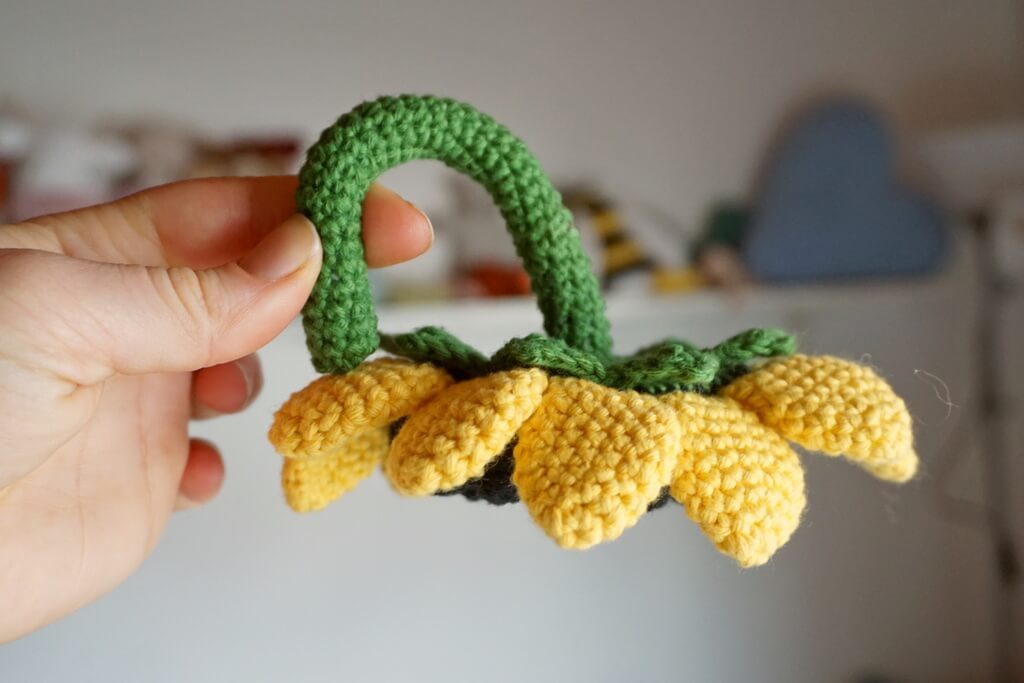
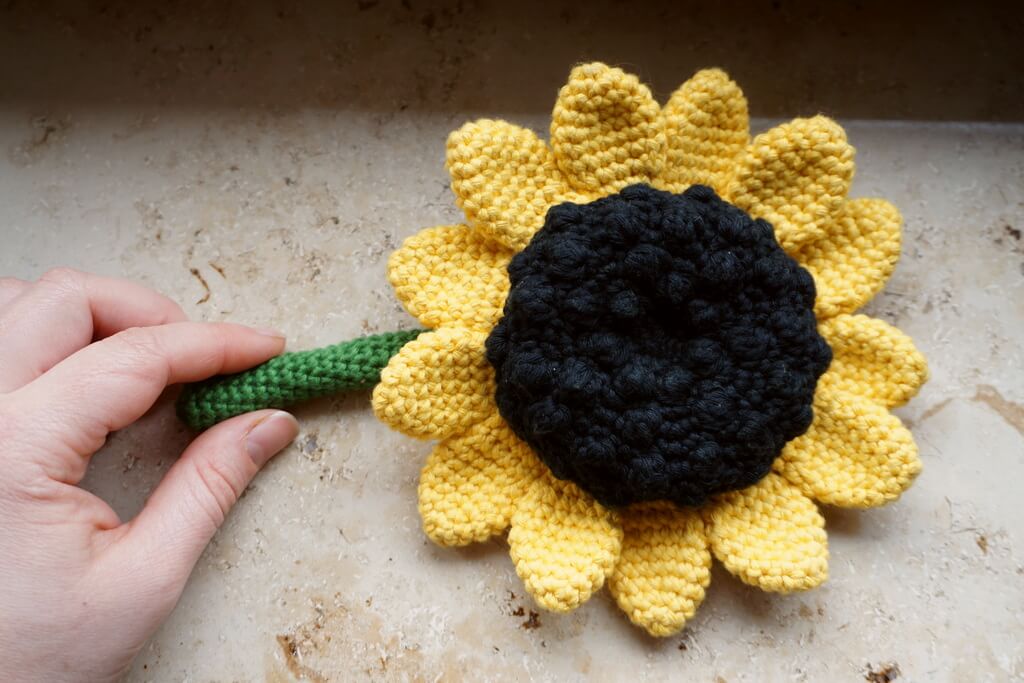
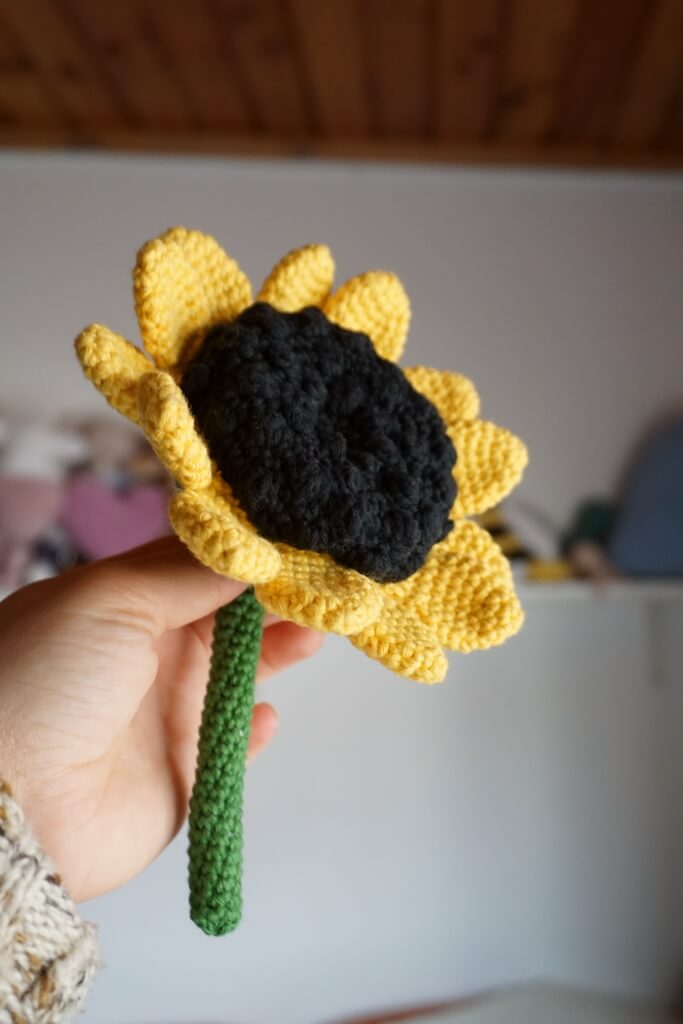
This is a chenille or velvet yarn toy in the shape of a sunflower with 12 petals, bobbles in the center, sepals on the back, as well as a solid stem that makes the toy easy to manipulate and play with as a fidget toy.
The free pattern includes full instructions
You can make it in any weight of yarn and various sizes for different uses. The velvet yarn version is suitable for adults.
If you want to make a smaller version for children, use DK weight yarn or 8ply and a smaller hook.
You can also make this sunflower toy pocket sized with sock yarn and a 2 mm hook, brooch-sized by using Pearl cotton thread and a 1 mm hook or you can make it into a pillow by using blanket yarn and skipping the stem.
Autism Awareness, Acceptance & Equity
Sunflowers are the national flower of Ukraine, but also a (supposedly) internationally recognized symbol for invisible disabilities.
I know of if from the UK sunflower lanyards, but there are surely other instances where this symbol is used.
So what better way of using this pattern than in support of disabled people in Ukraine trying to survive an absurd war?
As an autistic person myself with an invisible disability (that I wasn’t even aware of until recently due to internalized ableism and lots and lots of masking), I know there are many people out there with various level of support, whose support system (if they even had one to begin with) has been shattered to pieces.
April is known as “Autism Awareness month” in some circles, but people who are actually autistic have started expanding it into:
- Acceptance – non autistic people should not just be aware we exist, but also accept us as we are;
- Accessibility – we have different accessibility needs from non autistic people and they should be met);
- Equity – we all have the same rights, which means that some people require some different accommodations in order to benefit from those rights.
As I am publishing this pattern in April, I want to use this overlap of themes to support acceptance, accessibility and equity not only for autistic people, but especially for them.
Donations
I mentioned in the introduction of this article that I mean to donate 50% of all proceeds from this pattern to an organization helping disabled people flee from Ukraine.
Here’s the plan.
I will add up any sales and donate weekly the resulting sum (50% of what I receive, not 50% of what you pay, since the platforms take fees from any sale I make).
I’m looking for organizations that accept PayPal, as other methods are cumbersome (I mostly get paid in my PayPal account).
So far I have found a GoFundMe campaign to help disabled people and their families and the platform accepts PayPal, so I will be donating there.
There are other platforms as well, for example this one from Help Europe, so if you can donate directly, please do so as well.
I am holding out hope that the war will end soon and people will be able to get home, but I know that disabled folks, just like everyone else, will need our support long after the war is over.
This will be an ongoing campaign on my part, just like with the Tunisian crochet hats I told you about in a separate article (I still make donations whenever I make a sale of that pattern).
This is not the only thing I’m doing to help, but it is one way that I can contribute in the long run.
I am not asking for people to help boost my sales so I can donate more, I rather invite you to donate directly and tell others to do the same, but if people want to buy this pattern, half of what I get will get sent on to the NGO.
All proceeds from the video will also be donated, if I’ll get any, but that can only happen once a month.
This pattern is written in US terms. For UK terms, please buy a copy of the PDF pattern.
PDF version of this amigurumi sunflower
I also prepared a PDF version for this pattern that includes a chart for Part 2, files for US terms and UK terms, as well as easy read files for both US terms and UK terms.
Here is where you will find the PDF pattern on different platforms.
Size
The flower made of velvet yarn measures 27 cm or 10.5″ in diameter with the large petals, or 24 cm or 9.5″ in diameter with the small petals and 4-5 cm or about 2″ in thickness.
The middle (brown) part measures about 14 cm or 5.5″. When using different yarns, the size will vary with the thickness of the yarn.
Different yarns will give different results (based on tester’s sunflowers):
- DK weight or size 3: 14-16 cm or 5.5-6″;
- Worsted or size 4: 20 cm or 8″;
- Chenille (theoretically super chunky/super bulky, but in reality more like chunky/bulky) or size 5: 25 cm or 10″;
- Blanket yarn, the real super chunky/super bulky or size 6: 50 cm or 20″;
Different yarns will also make different kinds of items, so decide the use and pick the appropriate yarn for it based on the estimations above.
Skill level
Intermediate – the pattern includes bobble stitches, tall stitches (Dc, EDc) and picots. You also need to sew the petals.
The making of this flower will take you between 4-8 hours the first time, depending on your skillset and experience. The second time will be faster.
Notions
- Yarn – 3 colors of size 5-6 velvet or chenille yarn at 120 meters per 100 grams (example: Himalaya Dolphin Baby or similar velvet yarns);
- C1: yellow – large petals, about 85-90 grams or 100-110 meters, small petals about 60 grams or 72 meters;
- C2: brown – about 30 grams or 36 meters;
- C3: dark green – about 35-40 grams or 40-50 meters;
- Hook – 4 or 4.5-mm crochet hook or hook that goes with your chosen yarn;
- Scissors and tapestry needle for weaving in ends;
- Stuffing for amigurumi;
- Stitch markers – at least one.
Different weights of yarn (these are approximate weights from testers):
| Yarn weight | C1 | C2 | C3 | Hook size |
| DK weight or size 3 (200-230 m/100 g) | 30-40 g | 20-30 g | 20-30 g | 3 mm |
| Worsted or size 4 (160-180 m/100 g) | 70 g | 30 g | 30-35 g | 3.5-3.75 mm |
| Chenille or size 5 (120 m/100 g) | 85-90 g | 30 g | 35-40 g | 4-4.5 mm |
| Blanket yarn or size 6 (70-80 m/100 g) | 250-270 g | 130-140 g | 130-140 g | 6-6.5 mm |
Gauge
16 Sc stitches per row and 16 rows should give you a 10 by 10 cm or 4” by 4” square.
Abbreviations (US terms)
- BLO – back loop only;
- Bob – bobble stitch – repeat [YO, insert the hook into working space and pull up a loop, YO and pull through 2 loops] 3 times, YO and pull through 4 loops on the hook;
- C – color;
- Ch – chain;
- Dc – double crochet;
- Dec – Sc decrease through FLO – insert hook under the 2 front loops of the next 2 stitches, pull up a loop, YO and pull through 2 loops;
- EDc – extended double crochet – YO, insert hook into working space and draw up a loop, Ch 1, repeat [YO and pull through 2 loops on hook] 2 times to complete the stitch;
- FLO – front loop only;
- Inc – Sc increase – 2 Sc worked into the same stitch;
- MR – magic ring;
- Pic – 2 chain picot: Ch 2, Sl St in back bump of second Ch from hook;
- Sc – single crochet;
- Sk – skip;
- Sp – space;
- St – stitch;
- YO – yarn-over.
Observations
- Use tight tension and the yarn-under/yarn-over technique for tighter stitches.
- This amigurumi pattern includes other stitches than regularly used in amigurumi, so please refer to the list of abbreviations for instructions.
- The toy is worked in the round in a spiral, where you don’t join the rounds, but continue with the next row on top of the previous one. Use a stitch marker to mark the beginning of the round.
- There are no instructions for placing the stitch marker in the text; just place the stitch marker either in the first or last stitch of each round – be consistent. Optionally, place stitch markers at the beginning of each pattern repeat in Part 2.
- You will use the tails from the petals to sew them to the flower, so leave them long enough (about 10-15 cm or 4-6″). Keep the remaining bits of the tails towards the inner side of the flower.
- If you use non-velvet yarn (anything smooth), you need to weave in all the ends or at least secure them.
- If you use a different yarn than the one recommended, make sure you use a small enough hook size, so there is no space between the stitches that the stuffing can be seen through. For sock/fingering weight, use a 1.9-2 mm hook, for DK 3 mm, for Aran or worsted weight a 3.5-4 mm hook, for blanket yarn a 6-6.5 mm.
- The videos show all the steps required to make the flower, so follow along if you need visual cues.
- You can make large petals, with 7 grams or 10 meters of yarn per petal, or smaller petals with 4-5 grams or 5-6 meters per petal. There are instructions for both sizes of petal.
- The number of petals needed to go around will vary from person to person and depending on the size of your yarn and hook. You will need between 8-13 petals.
- Stitches in {curly brackets} are all worked in the same stitch.
- Stitches in [square brackets] are repeated.
- Stitch counts are provided in (round brackets).
Instructions
Part 1, option 1 – Large petal – make 8-10
Start with C1 and a magic ring. Work in a spiral.
R1. 5 Sc in MR. Pull on the tail to close the MR (5)
R2. 5 Inc (10)
R3. 10 Sc (10)
R4. 1 Sc, 2 Inc, 3 Sc, 2 Inc, 2 Sc (14)
R5. 2 Sc, 2 Inc, 5 Sc, 2 Inc, 3 Sc (18)
R6. 18 Sc (18)
R7. 18 Sc (18)
R8. 18 Sc (18)
R9. 2 Sc, 2 Dec, 5 Sc, 2 Dec, 3 Sc (14)
R10. 14 Sc (14)
R11. Short row: 3 Sc
R12. 7 Sc worked in two stitches each, one on each side, over the gap (7)
Make sure you pick up all the stitches. The first Sc will be made over the first and the last Sc from the previous round.
Cut off the yarn, leaving a long tail for sewing the petal. Pull the tail through the last loop and close it up.
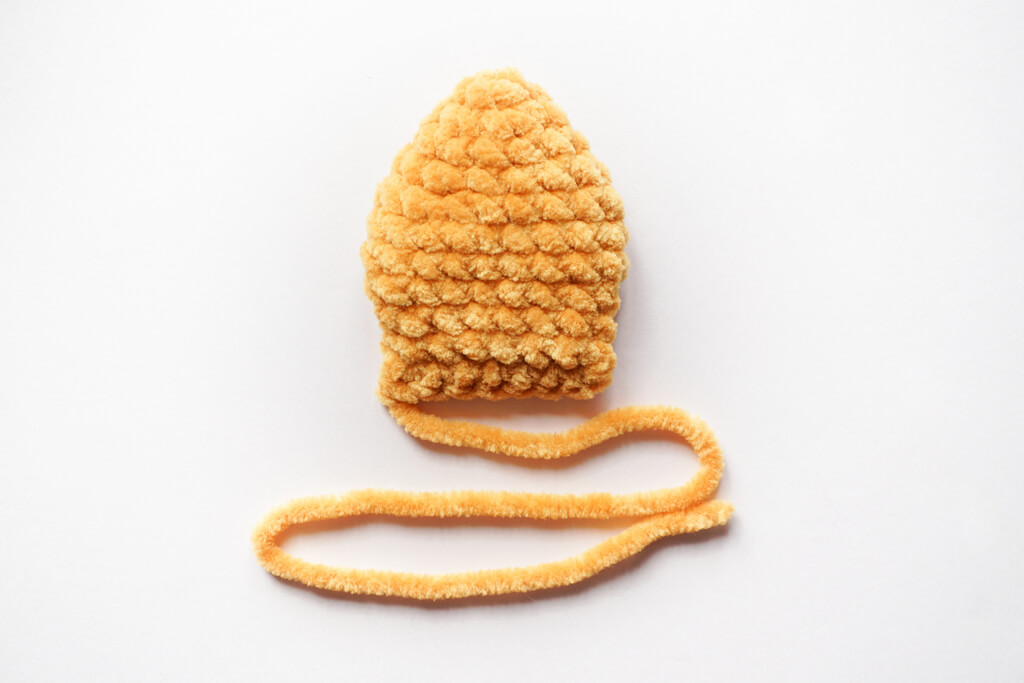
If you prefer smaller petals, follow the instructions in the next section.
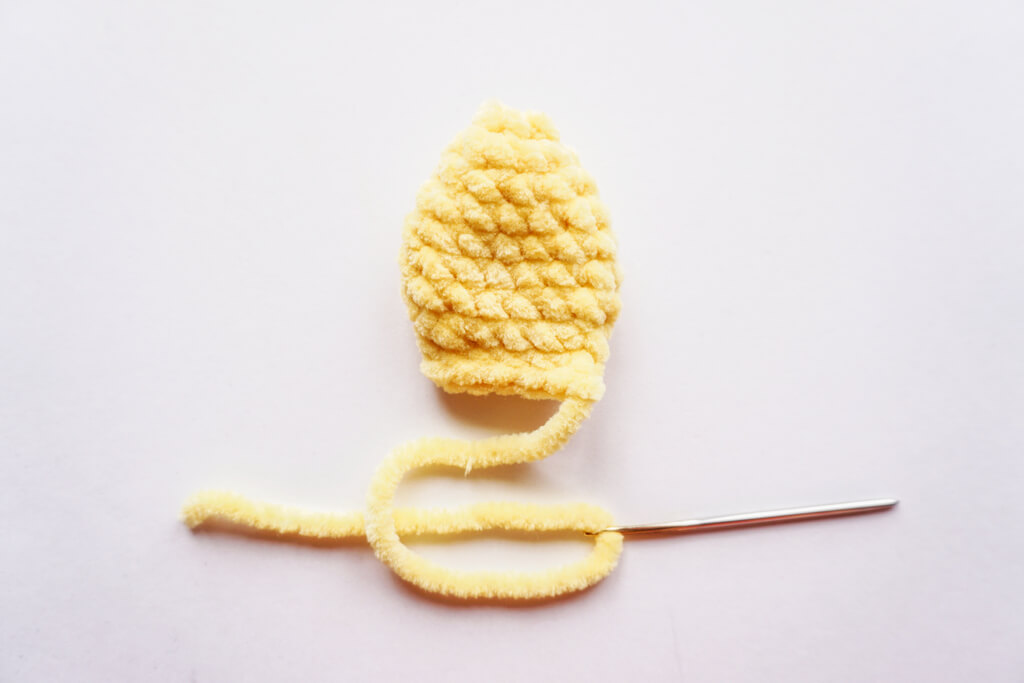
Part 1, option 2 – Small petal – make 12-13
Start with C1 and a magic ring. Work in a spiral.
R1. 5 Sc in MR. Pull on the tail to close the MR (5)
R2. 5 Inc (10)
R3. 10 Sc (10)
R4. 1 Sc, 2 Inc, 3 Sc, 2 Inc, 2 Sc (14)
R5. 14 Sc (14)
R6. 14 Sc (14)
R7. 14 Sc (14)
R8. 1 Sc, 2 Dec, 3 Sc, 2 Dec, 2 Sc (10)
R9. Short row: 2 Sc
R10. 5 Sc worked in two stitches each, one on each side, over the gap (5)
Make sure you pick up all the stitches. The first Sc will be made over the first and the last Sc from the previous round.
Cut off the yarn, leaving a long tail for sewing the petal. Pull the tail through the last loop and close it up.
Part 2 – Middle of the flower
Start with C2 and a magic ring. Work in a spiral.
R1. 7 Sc in MR. Pull on the tail to close the MR (7)
R2. 7 Inc (14)
R3. Repeat [Inc, 1 Bob] 7 times (21)
R4. Repeat [2 Sc, Inc] 7 times (28)
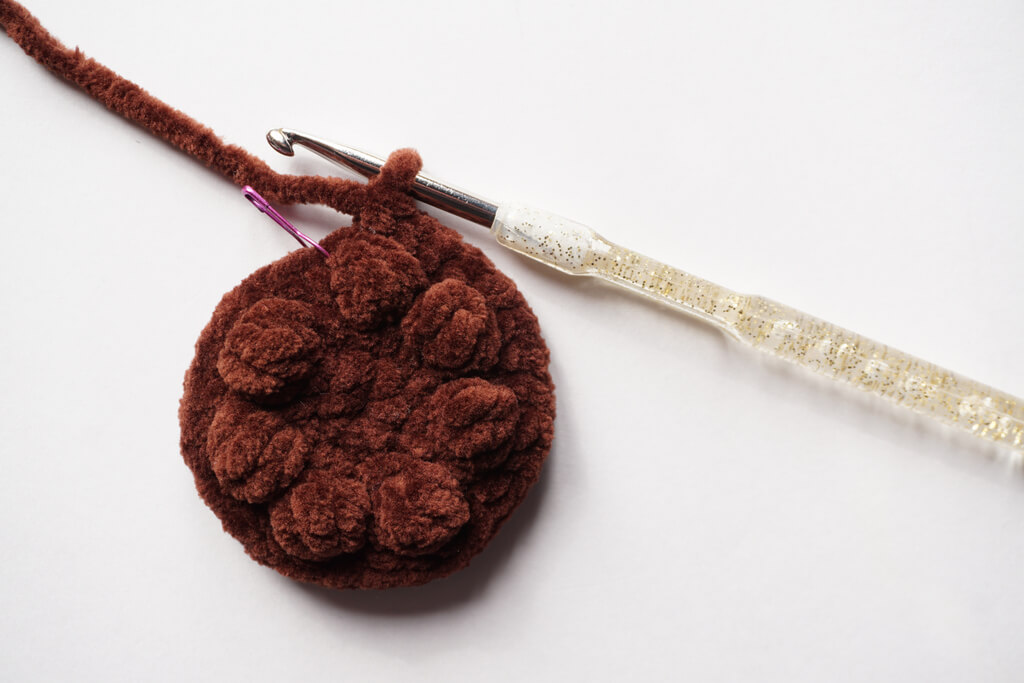
R5. Repeat [1 Sc, 1 Bob, 1 Sc, Inc] 7 times (35)
R6. Repeat [1 Sc, Inc, 3 Sc] 7 times (42)
R7. Repeat [1 Bob, 2 Sc, 1 Bob, Inc, 1 Sc] 7 times (49)
R8. Repeat [1 Sc, Inc, 5 Sc] 7 times (56)
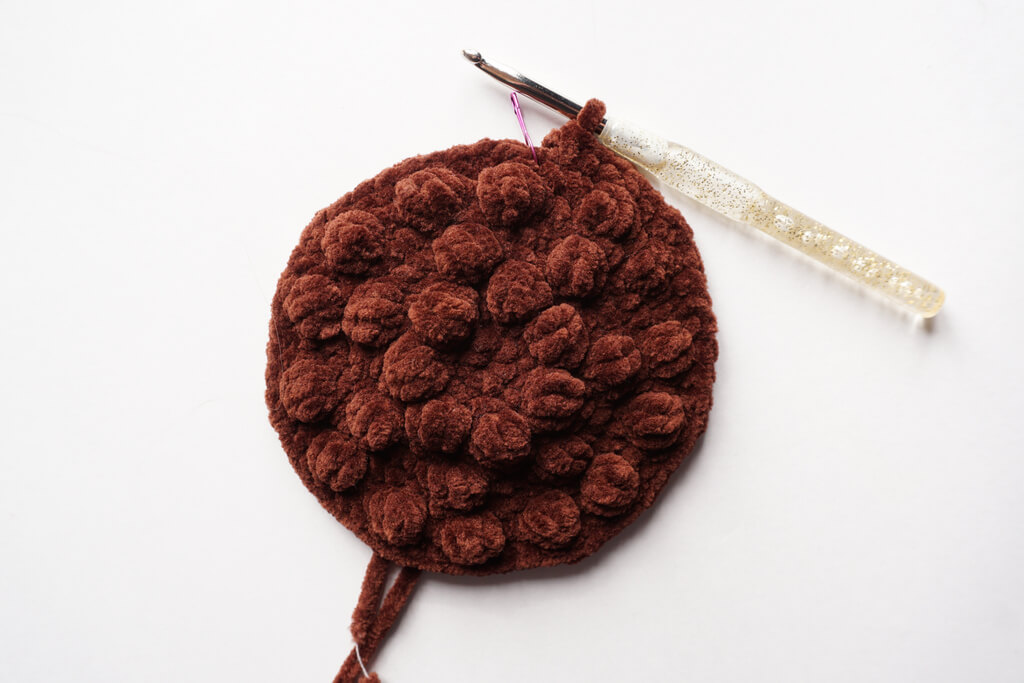
R9. Repeat [3 Sc, 1 Bob, 1 Sc, Inc, 1 Sc, 1 Bob] 7 times (63)
R10. Repeat [3 Sc, Inc, 5 Sc] 7 times (70)
R11. Repeat [1 Sc, Dec, 7 Sc] 7 times (63)
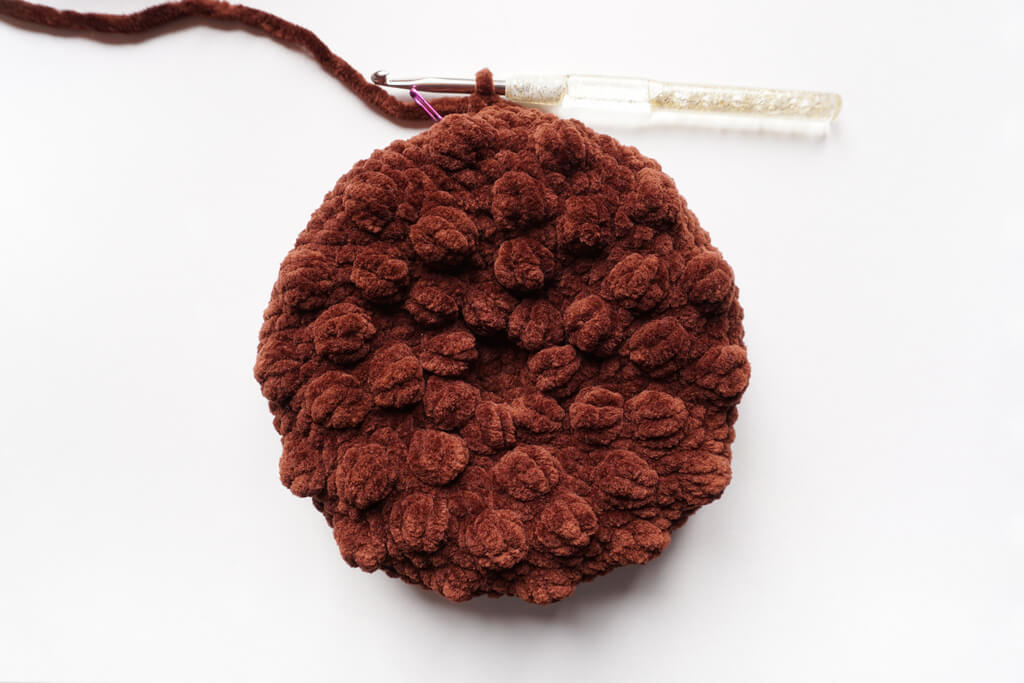
Part 3 – Back of the flower
Change color to C3 (green).
Sl St in BLO, picking up C3, Sl St in BLO of next St with C3.
Move the stitch marker two stitches over (to the left for right handed, to the right for left handed) to the new start of the row.
R1. Repeat [5 Sc, Dec, 2 Sc] 7 times (56)
Working in FLO:
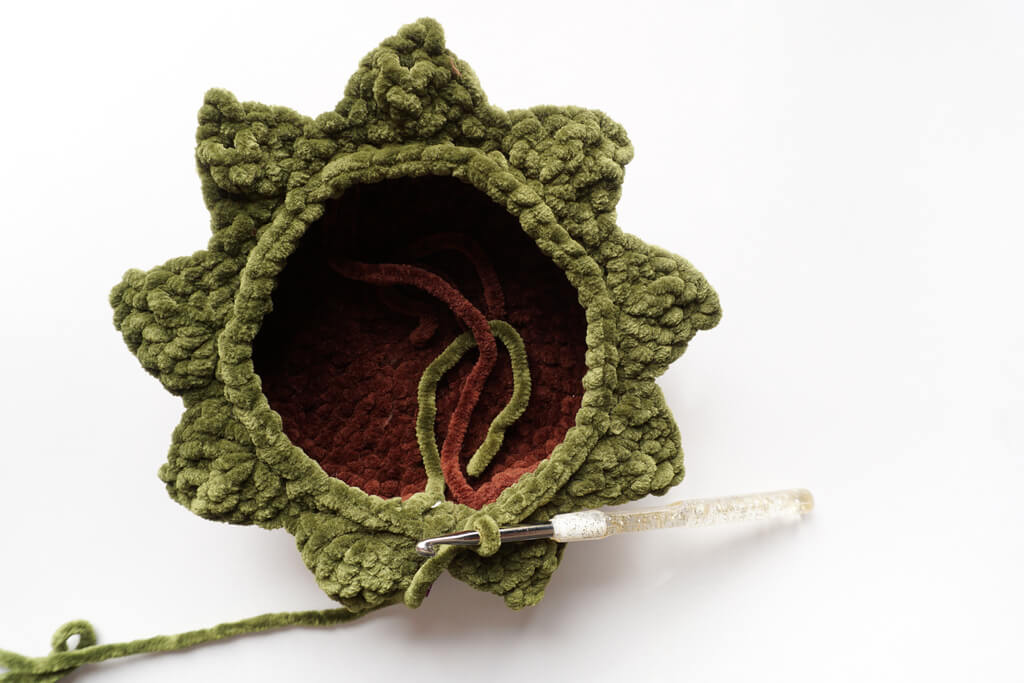
R2. Repeat [1 Sc, Sk2, {2 Dc, 1 EDc, Pic, 1 EDc, 2 Dc} in next St, Sk 2] 4 times, 1 Sc, Sk 3, {2 Dc, 1 EDc, Pic, 1 EDc, 2 Dc} in next St, Sk 2, repeat [1 Sc, Sk 2, {2 Dc, 1 EDc, Pic, 1 EDc, 2 Dc} in next St, Sk 2] 3 times, 1 Sc, Sk 3, {2 Dc, 1 EDc, Pic, 1 EDc, 2 Dc} in next St, Sk 2 (9 sepals)
Working in BLO where only one loop is available, in both loops where the stitches were skipped:
R3. Repeat [5 Sc, Dec] 7 times (49)
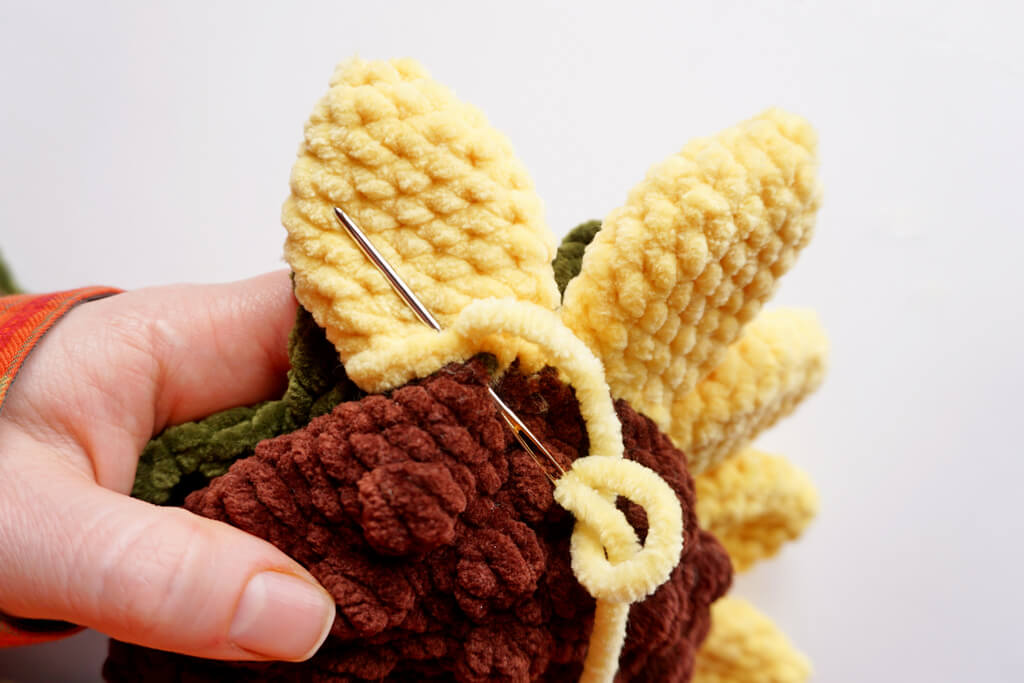
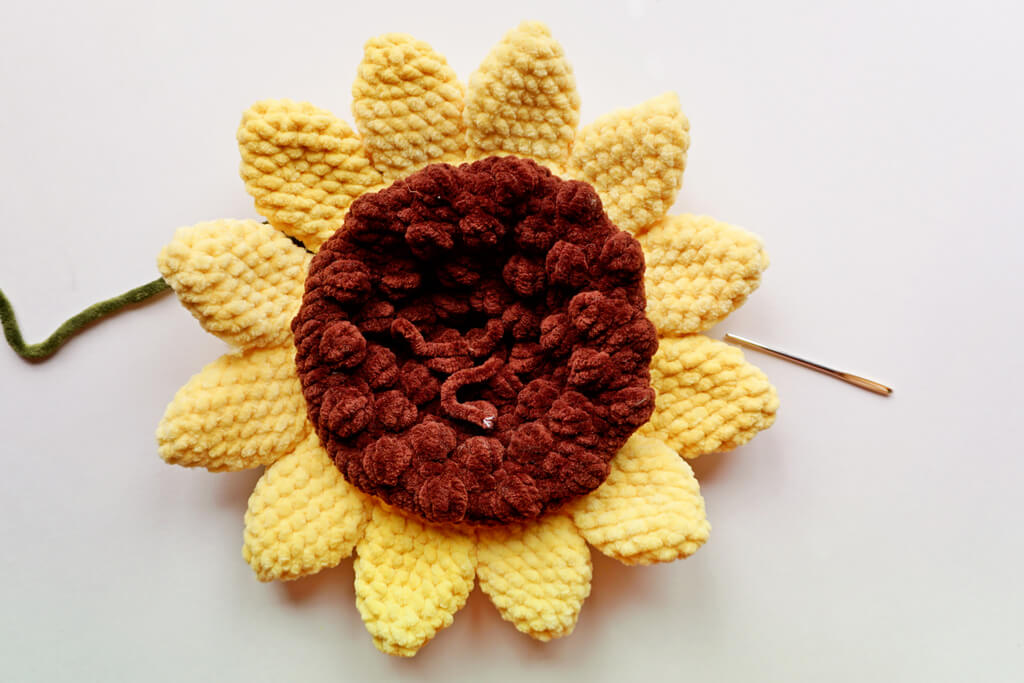
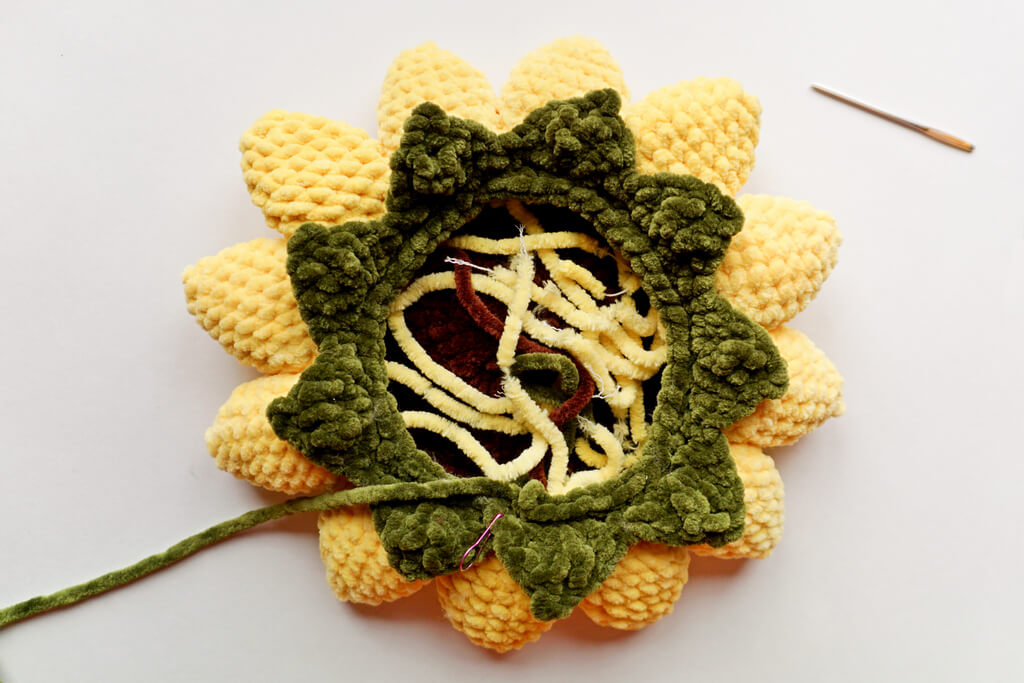
Sew the petals to the last row made in C2. Sew them one after the other, leaving no gap between the bases of the petals. They should also not overlap.
Sew only through one row, going from the front of the flower to the back, then back to the front through the next stitch. See the photo tutorial for placement.
Bring the middle tail from C2 to the front of the flower (see photo below).
R4. Repeat [5 Sc, Dec] 7 times (42)
R5. Repeat [4 Sc, Dec] 7 times (35)
R6. Repeat [3 Sc, Dec] 7 times (28)
R7. Repeat [2 Sc, Dec] 7 times (21)
R8. Repeat [1 Sc, Dec] 7 times (14)
Stuff lightly with about 10 grams of stuffing.
R9. 6 Dec, 2 Sc (8)
Using the C2 tail, sew the front of the flower to the back, so the flower stays relatively flat instead of bulging from the stuffing.
Alternatively, use some thread to do this. The stitches should be hidden by the velvet yarn.
Rows 10-32. 8 Sc (8)
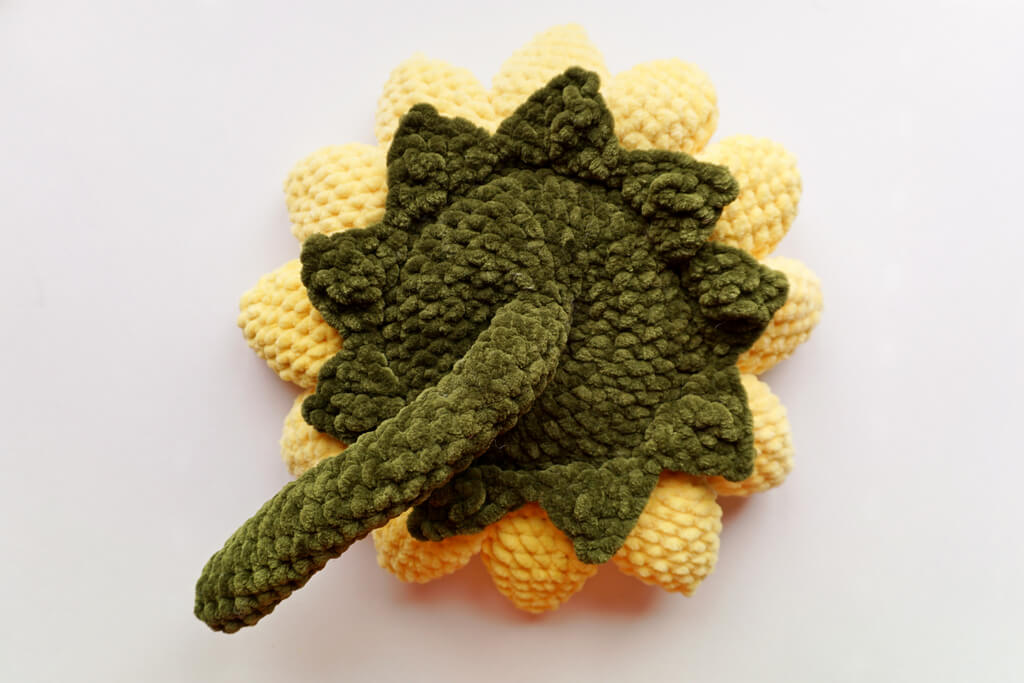
Stuff the stem every 4-5 rows, making sure the stuffing is solid inside. Use the back of your hook to insert the stuffing.
Add more rows if the stem is not long enough (it should be about 15 cm or 6″).
Cut off the yarn and close the gap by going with the tapestry needle through the front loops of all 8 stitches, from the outside towards the inside (see photo).
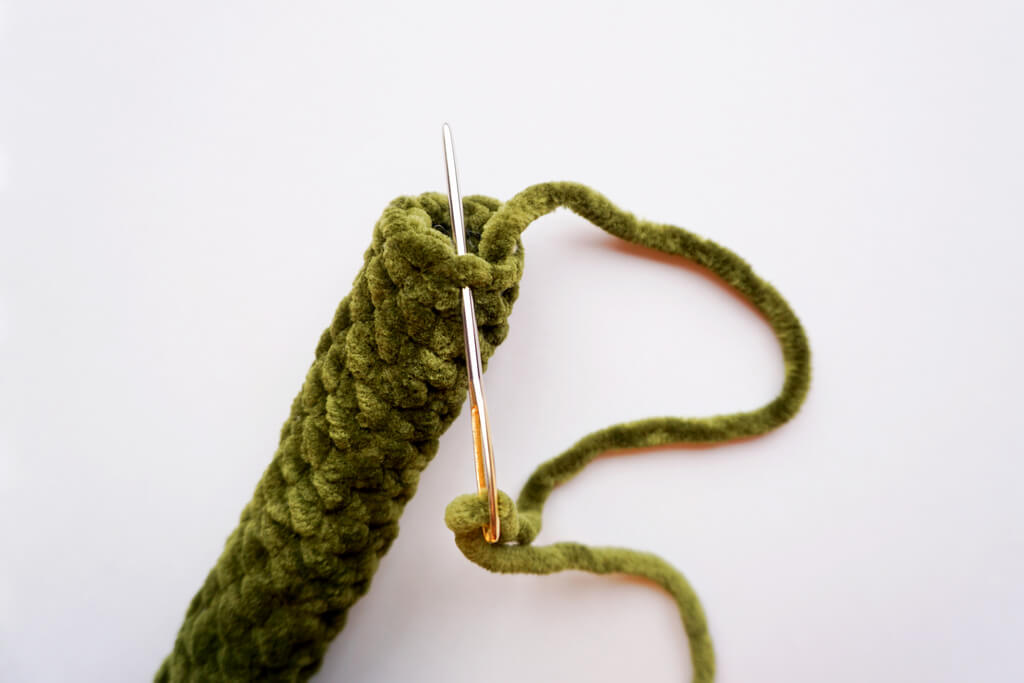
Pull on the tail and weave it in through the stem.
The flower is now finished.
Acknowledgements
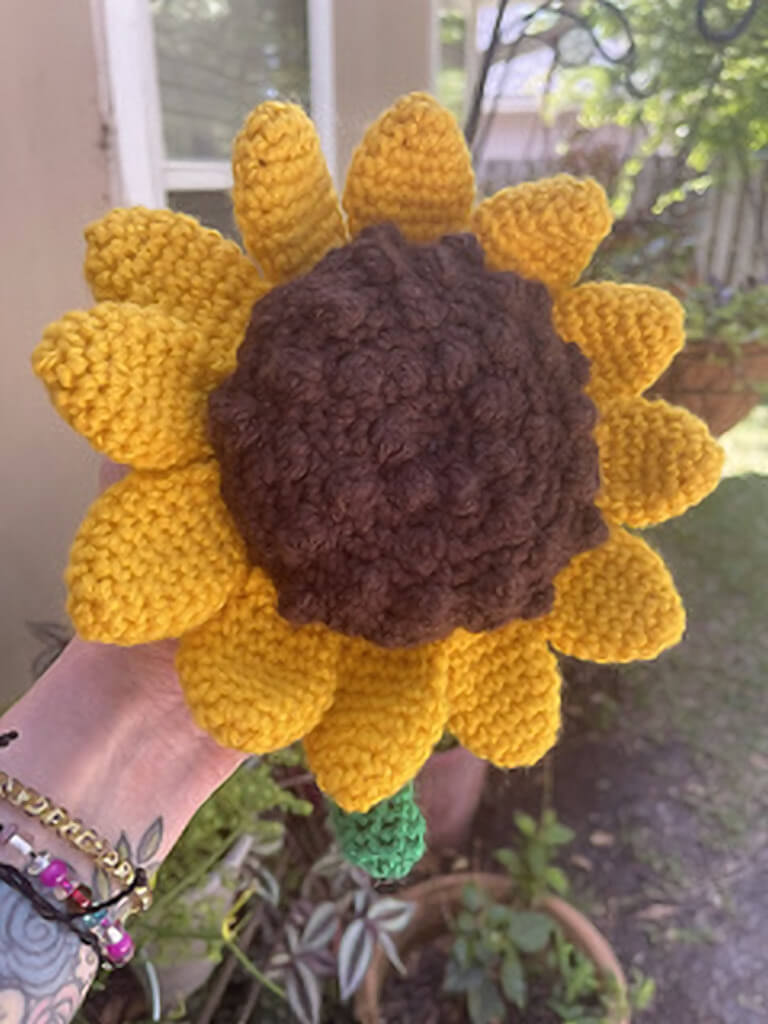
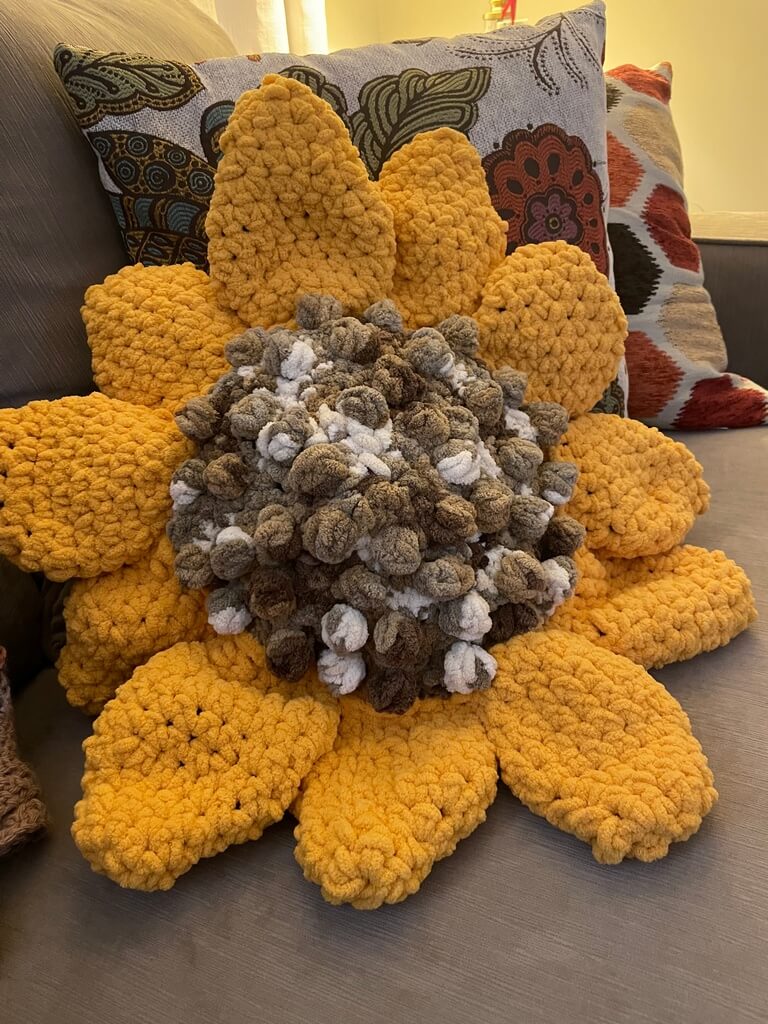
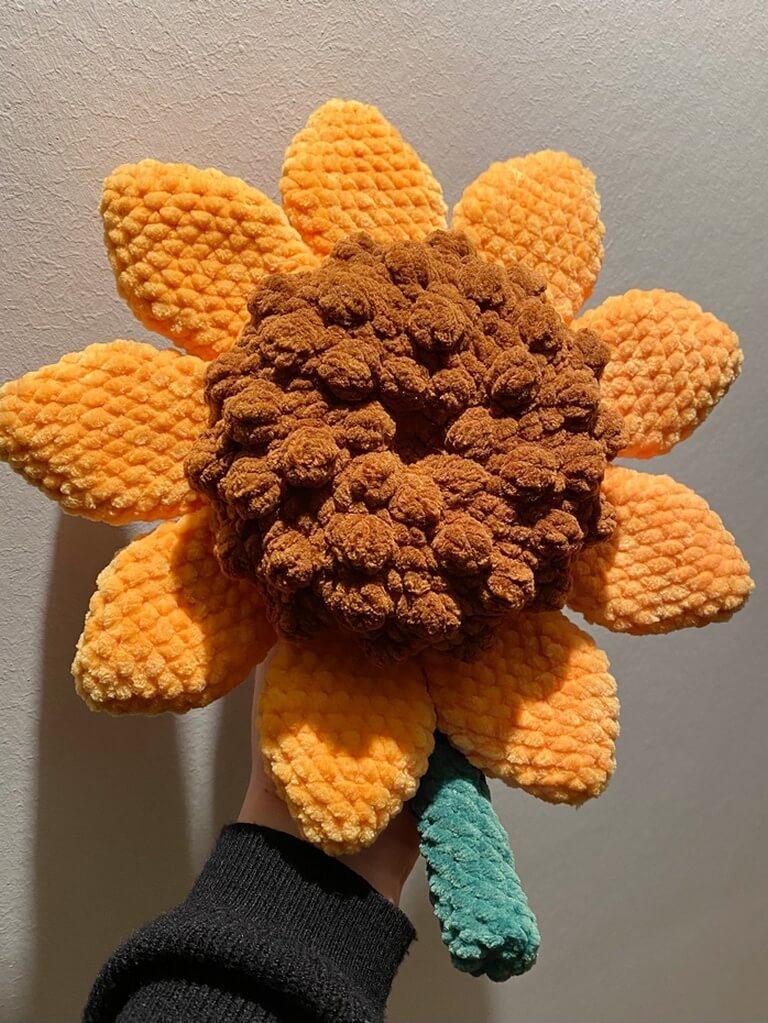
Thank you to all the testers who have made sunflowers to test this pattern. Some have given me permission to share their names/Instagram handles and their photos.
@flibeau.lux, @SandyEva, Gina Mastro, @Rainbowmoonstone12, Caroline Palmer, Allison Ren.
They have provided these photos of their finished flowers for your enjoyment.
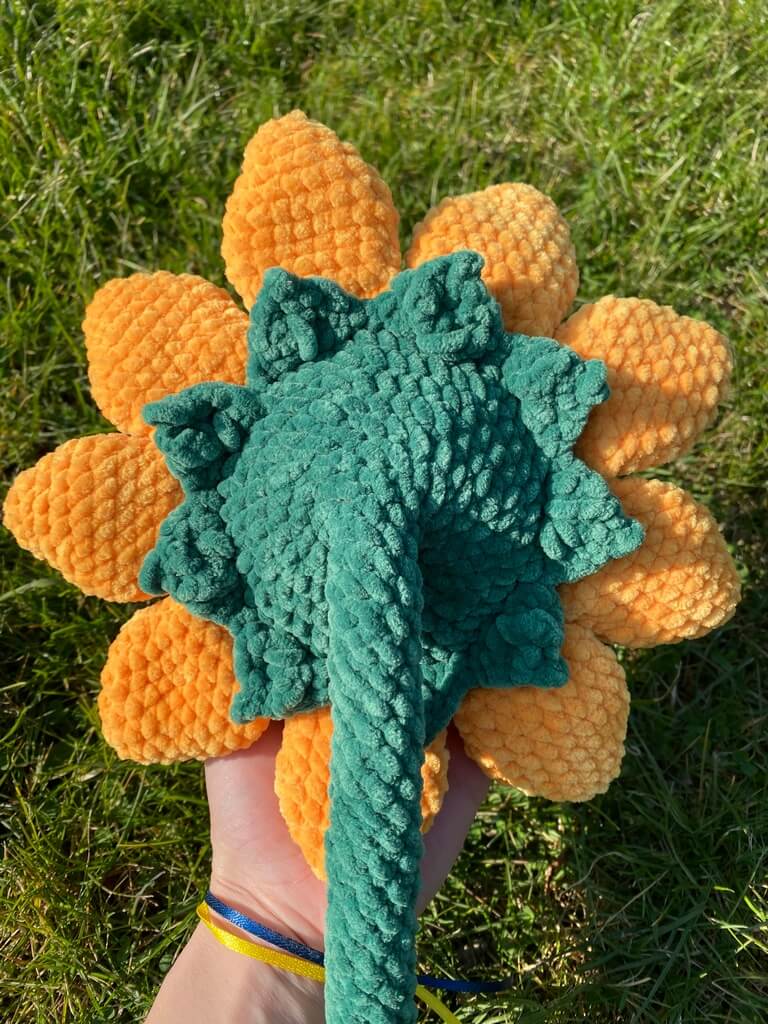
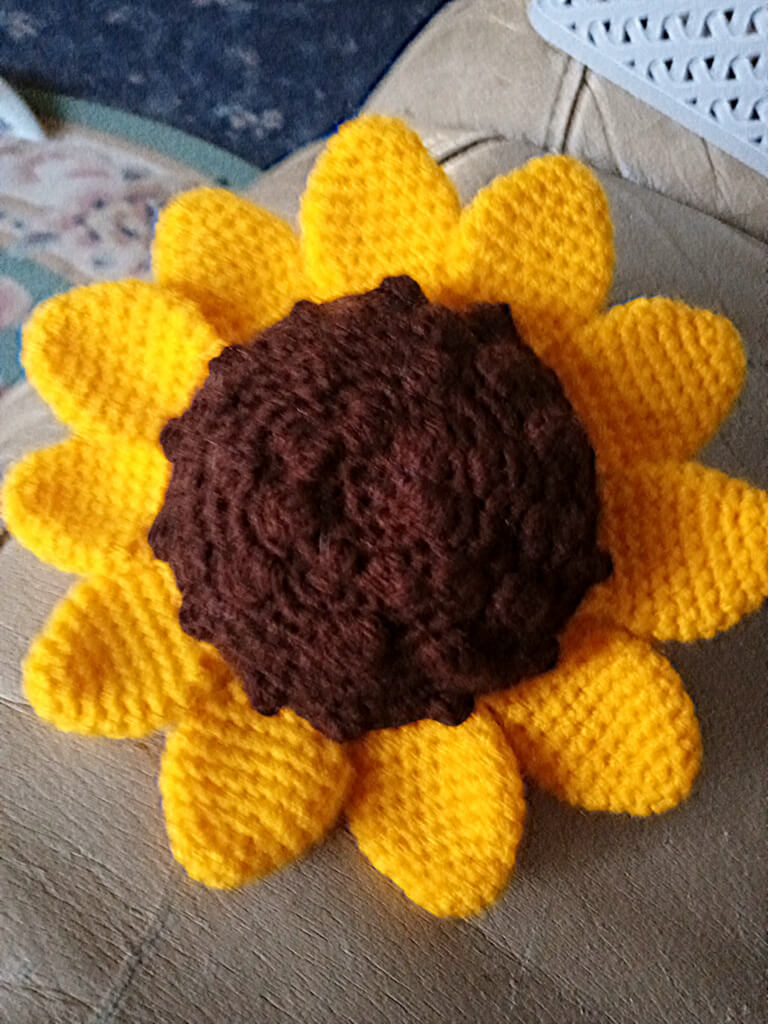
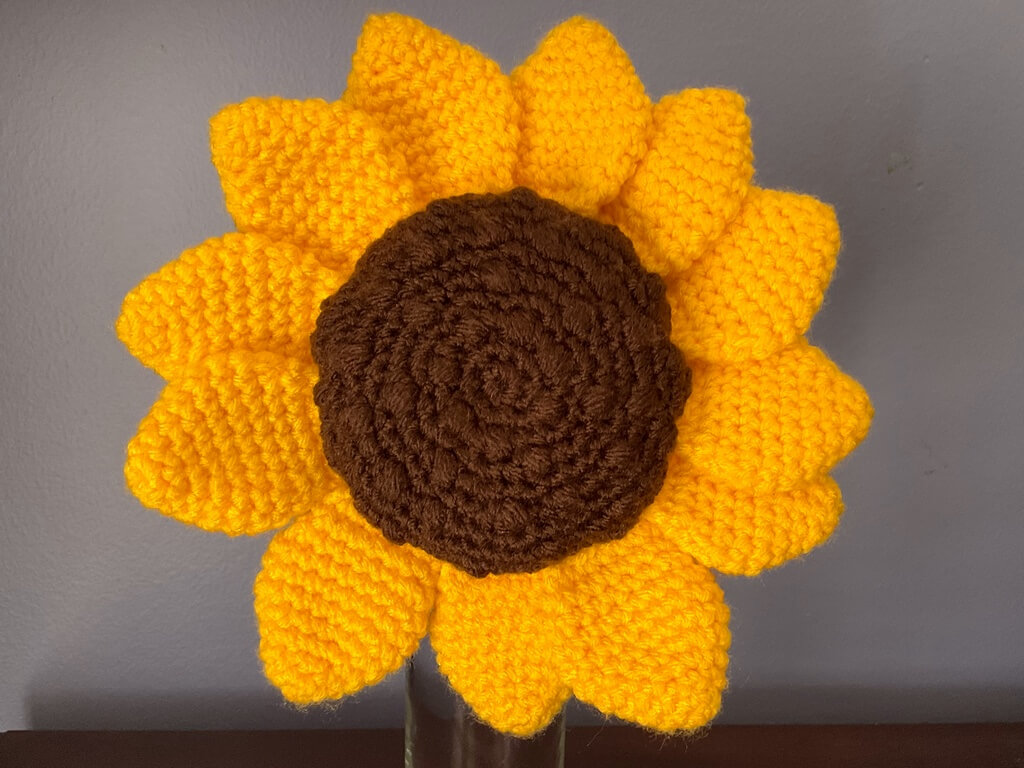
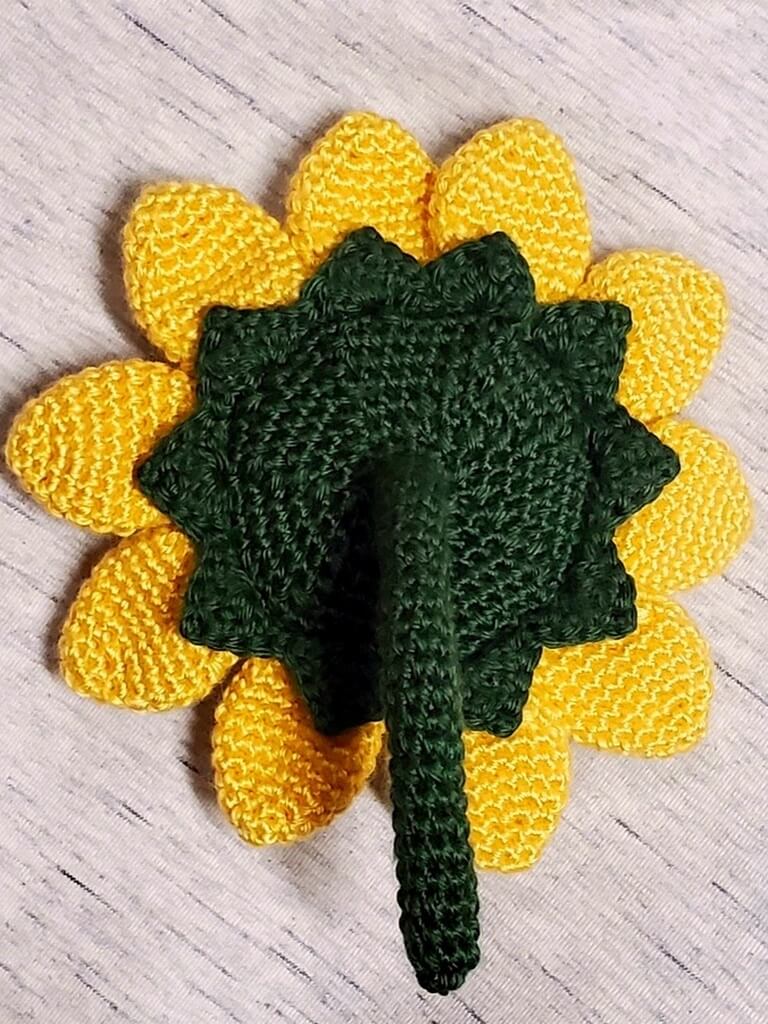
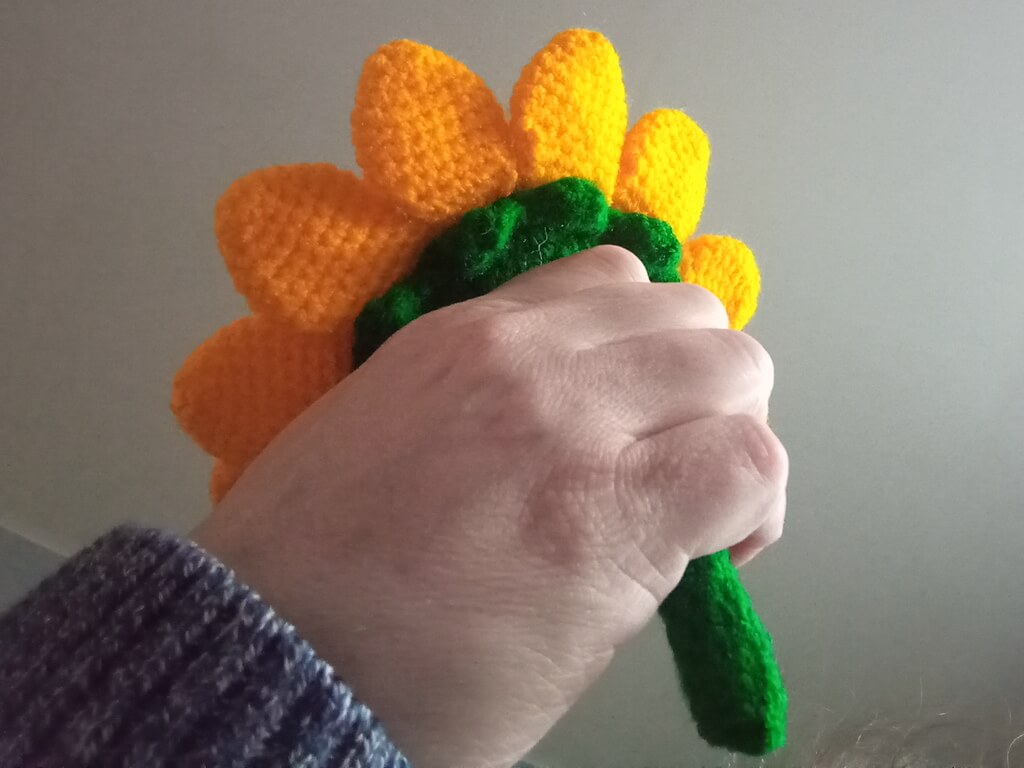
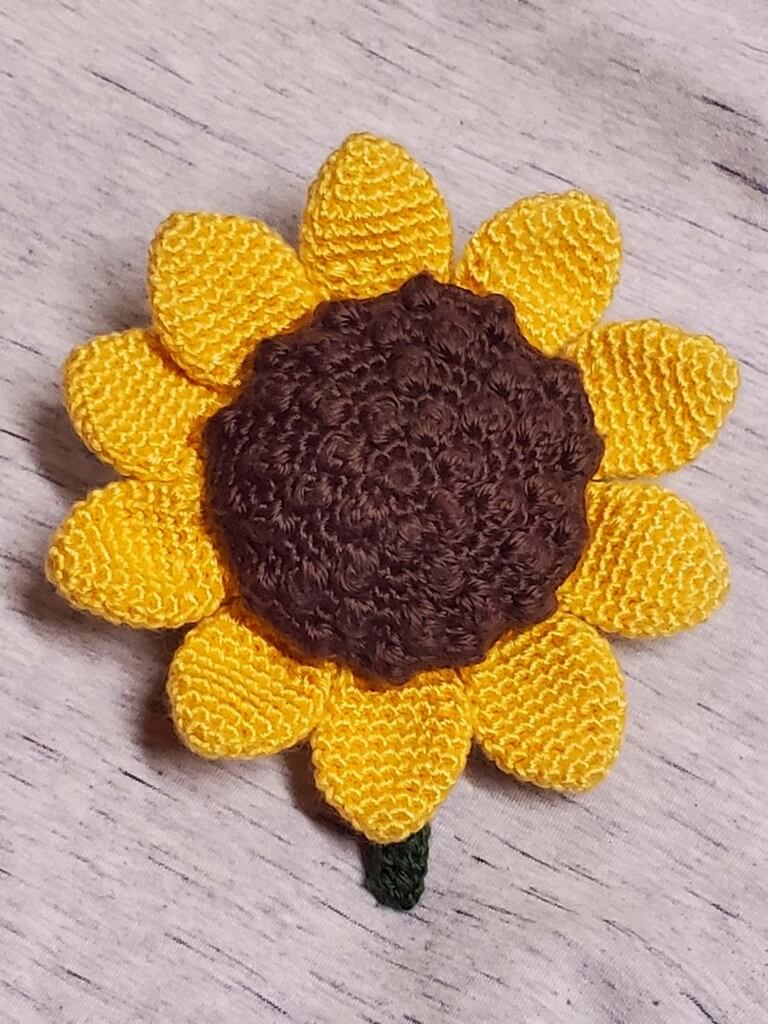
If you’d also like to participate in future pattern tests, make sure to sign up to the Yarnandy email updates here or visit https://yarnandy.com/subscribe.
Chart
The PDF pattern includes a chart for Part 2 and 2 rows of Part 3, which should help with the placement of the stitches, especially when making the sepals.
See above how to get the PDF version that includes charts with US and UK terms.
Easy read version
This pattern comes with easy read versions for both US terms and UK terms. These respect the following requirements:
- 24 point Arial font; 26 and 28 point and bold for headings;
- black text, white background;
- left justified, 1 inch margins;
- no columns;
- page numbers bottom left;
- no charts;
- all abbreviations explained in the list.
I’ve also added a table of contents to the beginning, I hope it will be useful.
You get the easy read versions when you buy the PDF version of this pattern and get access to all the files.
Video tutorials
You can also follow along with me while I make one of these flowers on video. I explain all the steps.
Closed captions will be available as soon as possible.
Right handed version
If you are right handed, please use the video below.
Left handed version
If you are a left handed crocheter, please use the version below.
Final remarks
I hope you enjoyed this pattern and that you’ll share with me your projects (tag me on Instagram @yarnandy).
If you liked this pattern and would like to try other free patterns I have published, check them out below. Or explore all the free crochet patterns on the blog if you’re into discovering something new.
Don’t foget to subscribe to my emails if you want to know when I publish more patterns, blog posts, testing calls and new videos.
Here’s a handy link to subscribe and you also get a copy of my Kizilkaya pattern.
Take care and I’ll see you soon in your inbox.
Hugs,
Andrea





2 thoughts on “Free sunflower amigurumi pattern”